原料
高筋麵粉: 300克, 全蛋液: 30克, 食用油: 15克, 糖: 30克, 牛奶: 165克, 鹽: 3克, 酵母: 4克, 餡料 :: , 椰蓉: 40克, 黃油: 15克, 糖: 25克, 蛋液: 30克
步驟
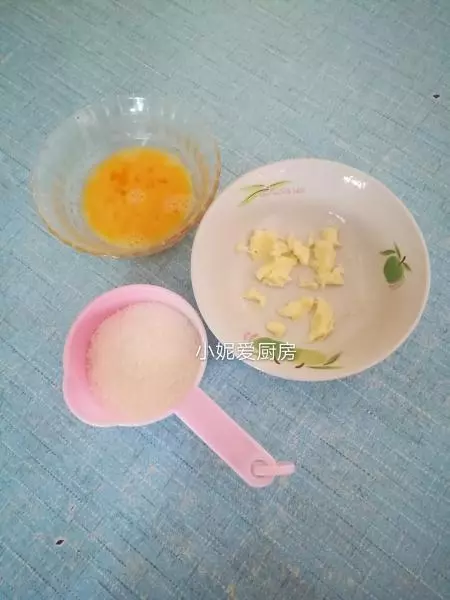
1備好材料

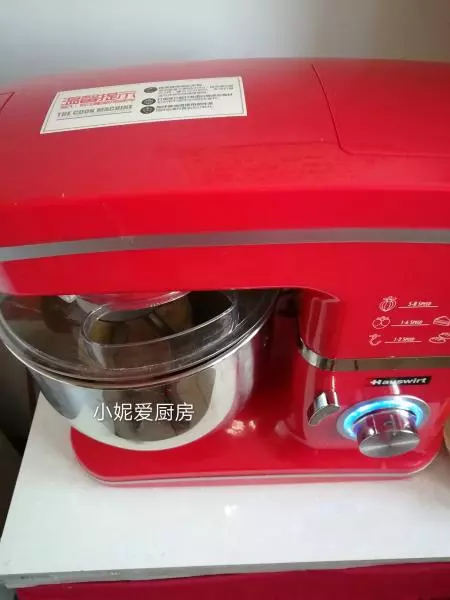
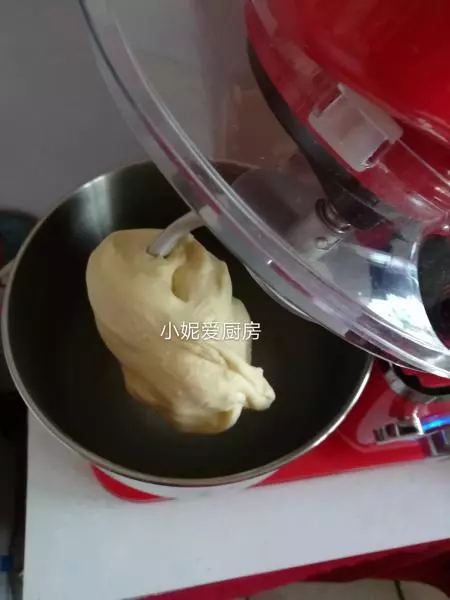
2把所有食材放入廚師機里,油也一起加里,牛奶或水預留一點,找乾濕度,先一擋5至6分鐘,二檔5至6分鐘,三檔8至10分鐘
3揉出膜
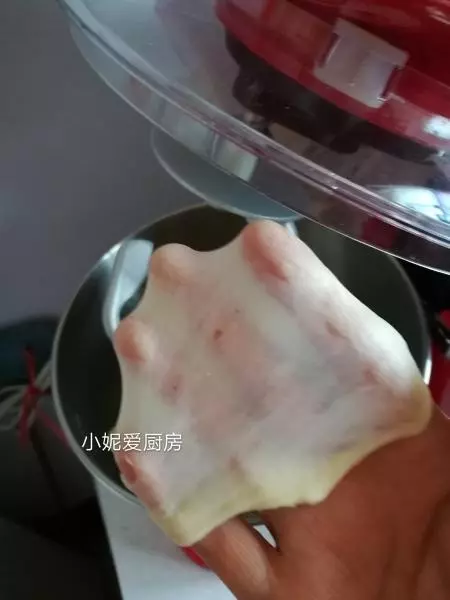
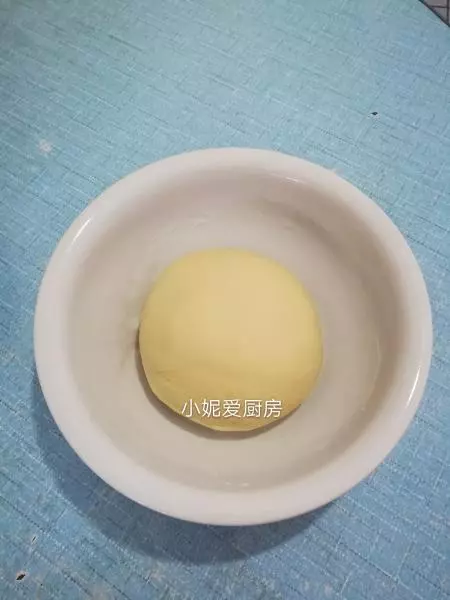
4完成
5放入盆中蓋上保鮮膜一次發酵,
6發酵的時間,拌椰蓉餡,糖忘拍照了,
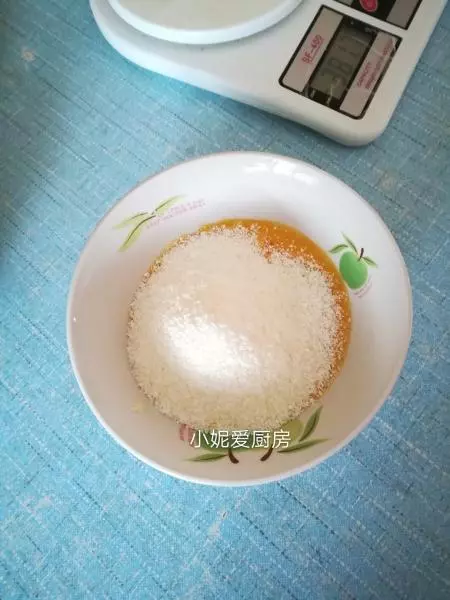
7把椰蓉餡料所有食材放人碗中
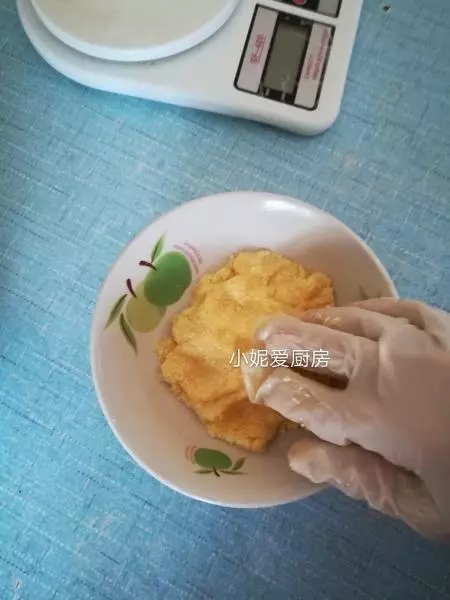
8戴上手套抓拌均勻
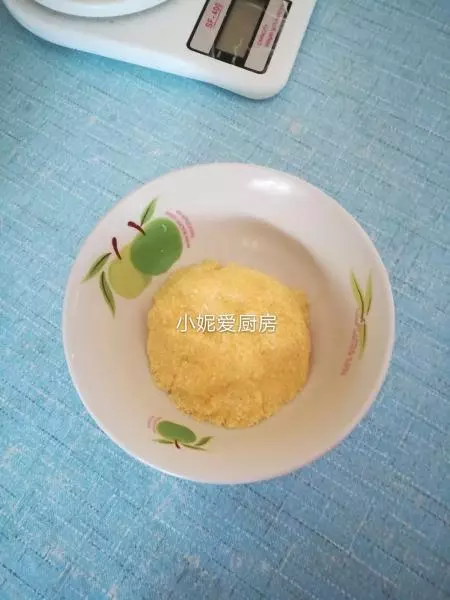
9拌好蓋上保鮮膜備用
10這時,麵糰也發酵好了,戳洞不回縮,發酵時間試室溫冷暖而定

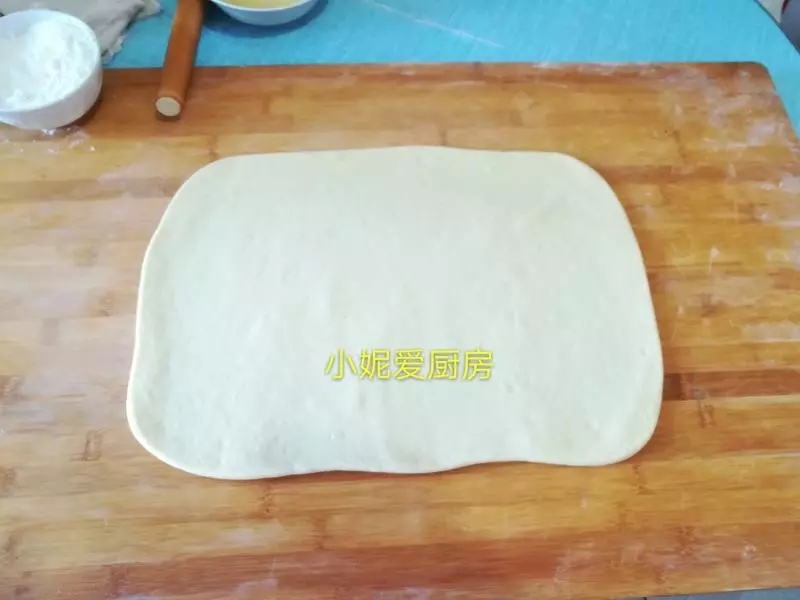
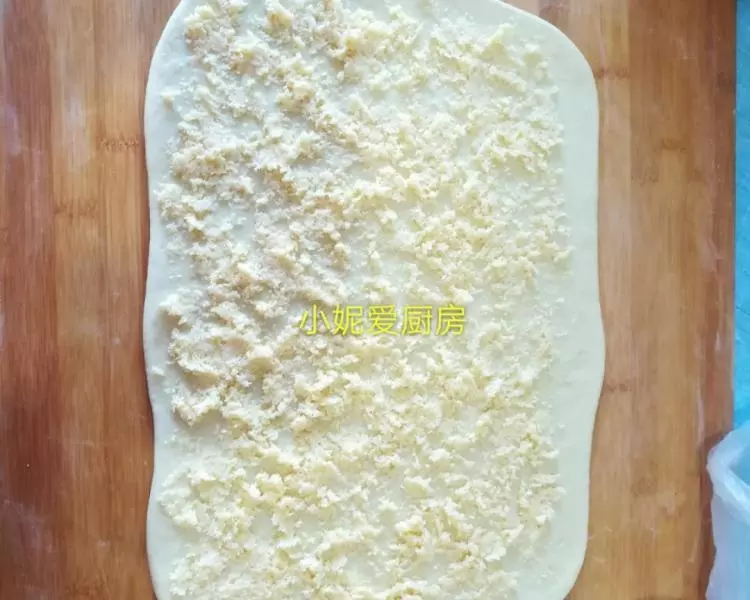
11排氣,擀成長方形面片
12把椰蓉餡料均勻鋪上,前端邊緣留出一點不要鋪餡料好粘合
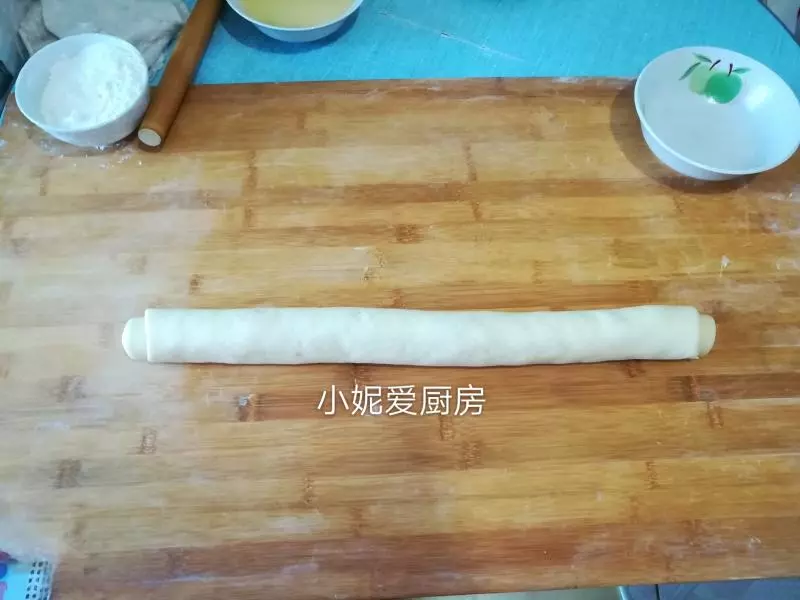
13捲起來

14卷好整形
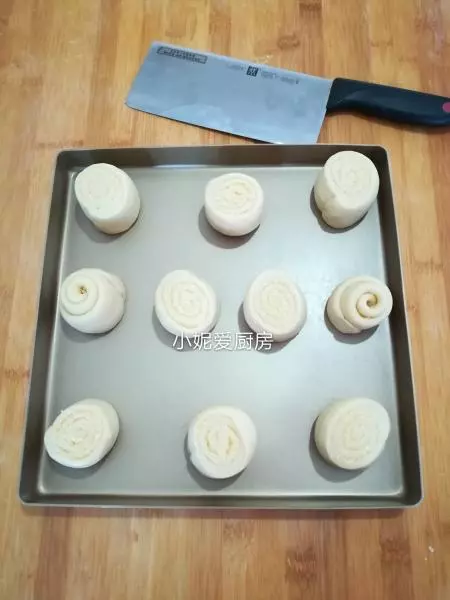
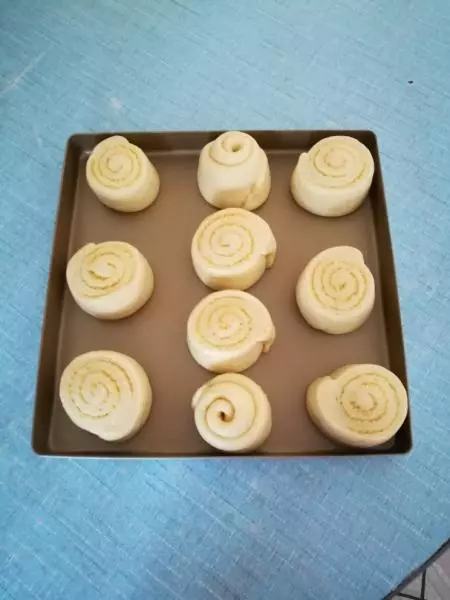
15大小隨意分割,豎起來擺入烤盤省事多了,我切的不均勻
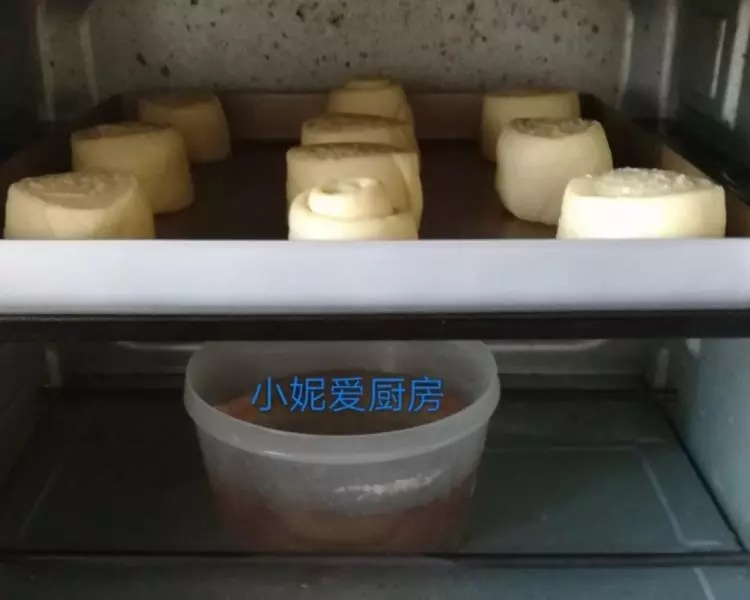
16不要開烤箱,二次發酵,下面放碗熱水保濕,
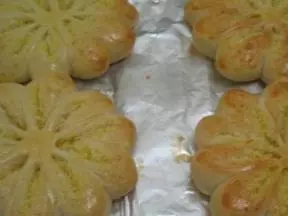
17發酵完成
18輕輕刷上蛋液
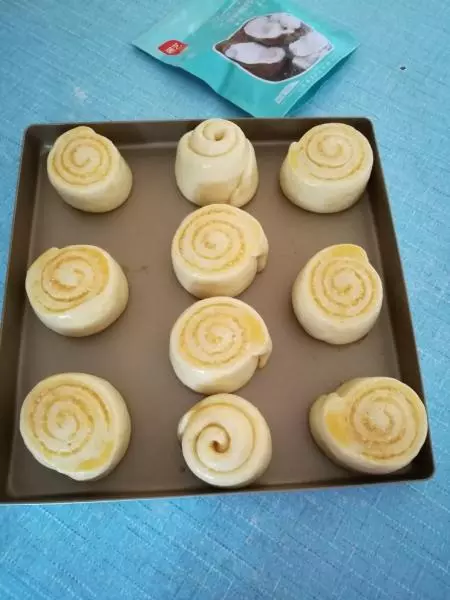
19撒上椰蓉

20預熱烤箱,放入中層,
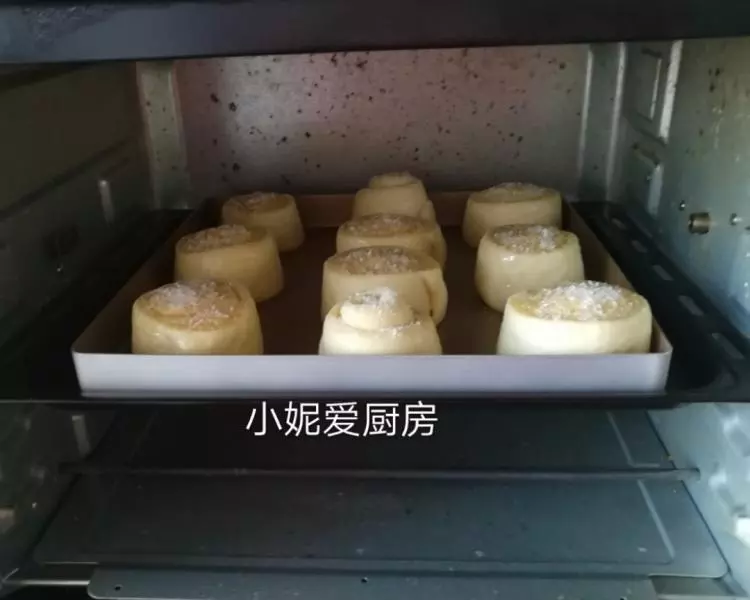
21180度,烤20至22分鐘,上色滿意蓋錫紙

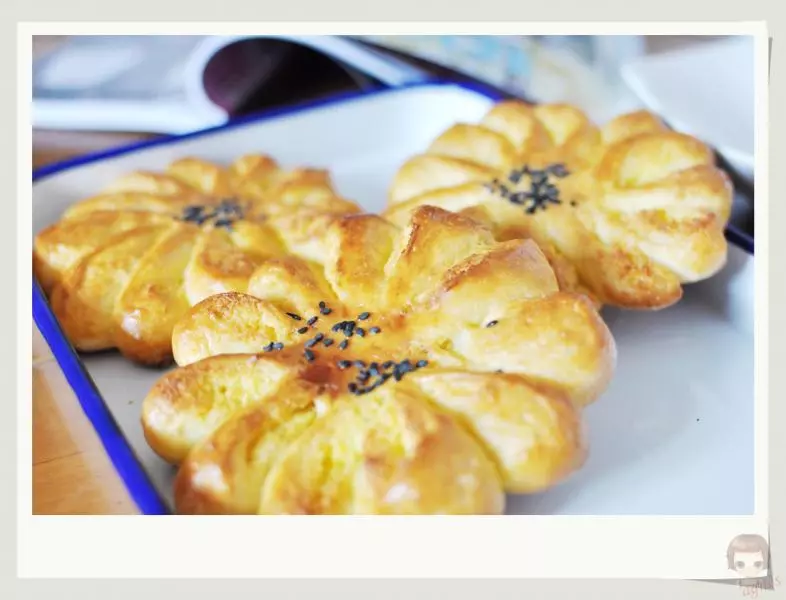
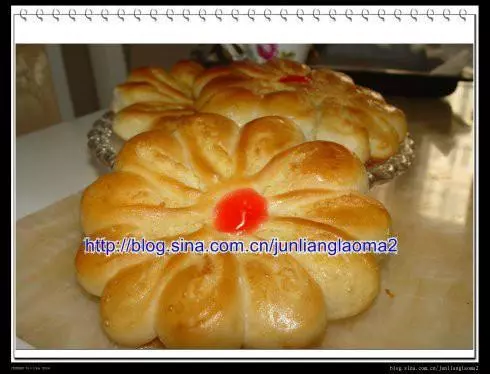
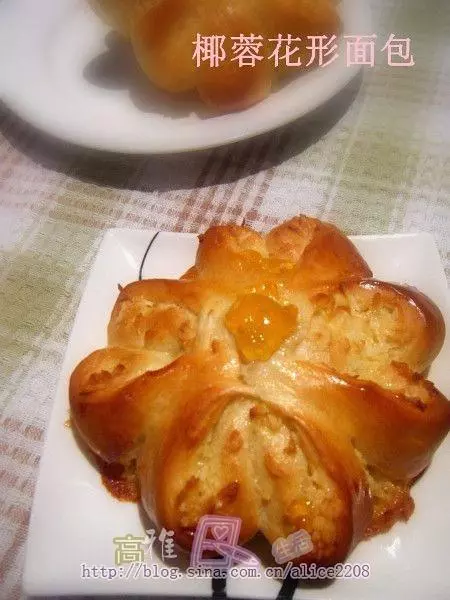
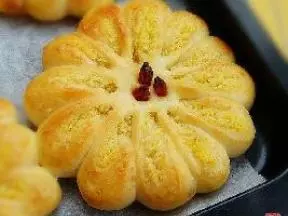
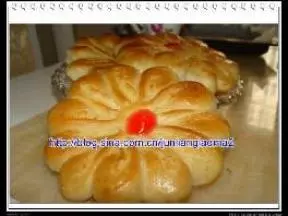
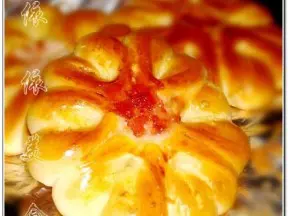
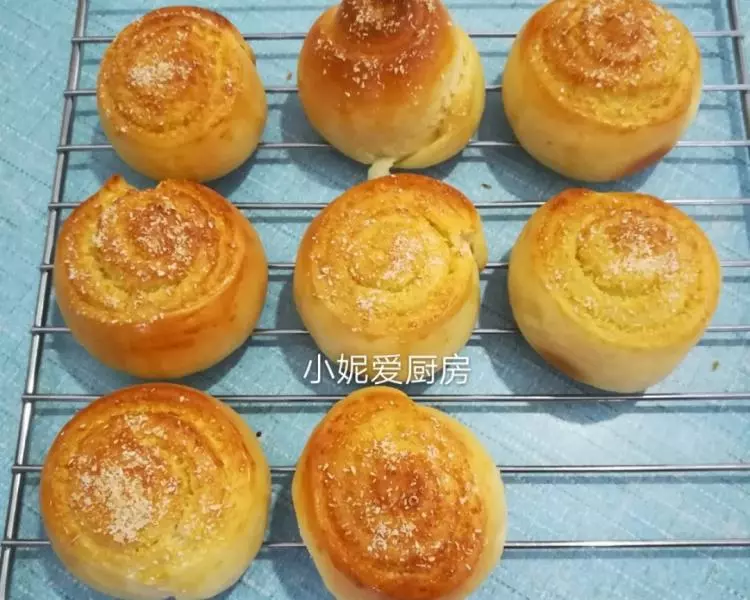
22出爐
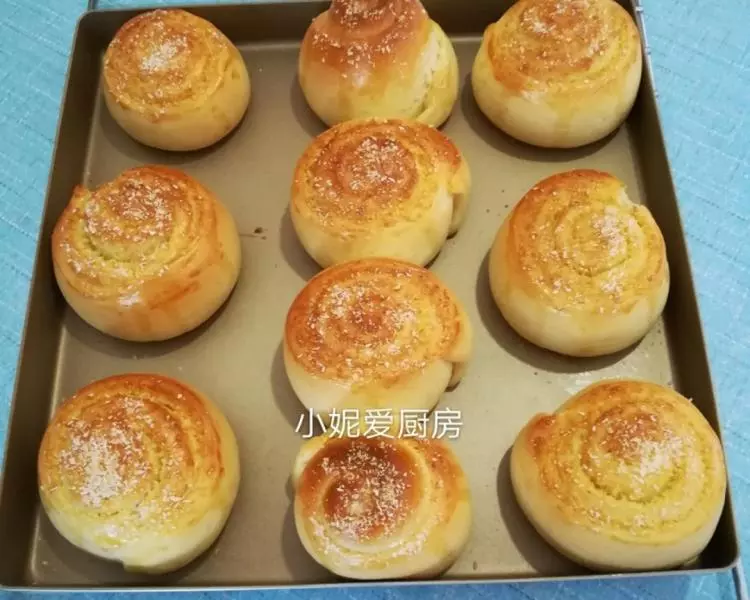
23放在涼網上散熱

24簡單美味的椰蓉花麵包做好了,配上一杯牛奶或豆漿,早餐就有啦!

25漂亮不?

26出爐就被吃掉兩個。
小技巧
烤箱不同,溫度不同,靈活掌握