原料
黃油 40g, creamcheese 300g, 消化餅乾 120g, 青檸 1枚, 蛋白 meringue頂原料, 雞蛋 2枚, 白砂糖 75g, 椰蓉 25g(可選)
步驟
1全部原料:120g消化餅乾,40g黃油,300g creamcheese 青檸

2準備餅底:120g消化餅放入袋中用擀麵杖擀碎,好吧後面那片完好的被我直接吃了

3加入40g融化黃油

4攪拌均勻
5壓入模具底部,確認用勺子壓實。入冰箱冷藏待用

6300g奶酪放置至室溫,擠入40ml青檸汁,稱取50g白砂糖糖加入

7分次打入兩個雞蛋,第一個確認攪拌勻後再加入第二個。如果覺得不順滑可以在攪拌完畢後過篩一次

8拌好的乳酪糊

9澆在餅底上

10抹平表面,在平台上磕幾下震出氣泡,入預熱160度的烤箱中層烤45-55min

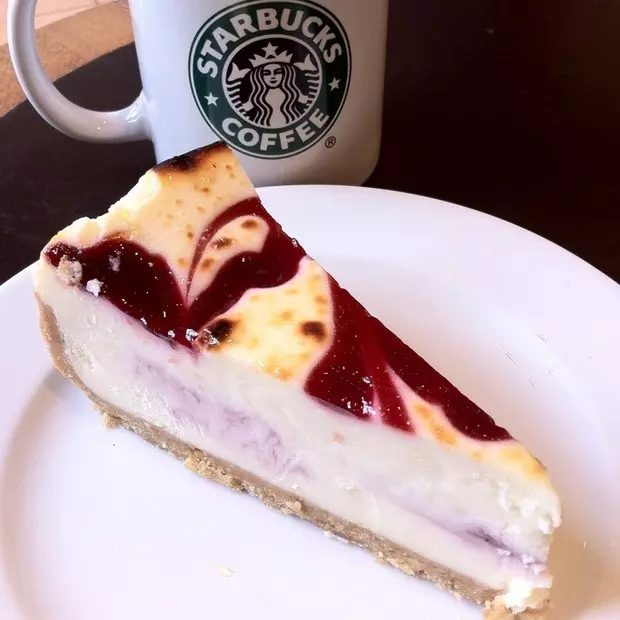
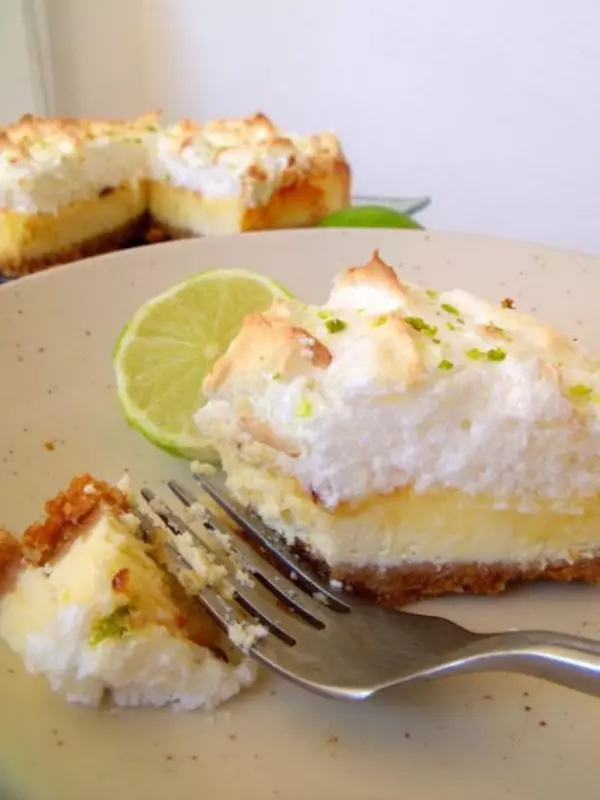
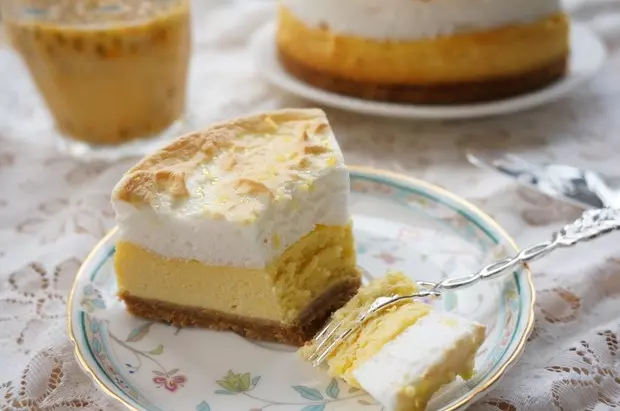
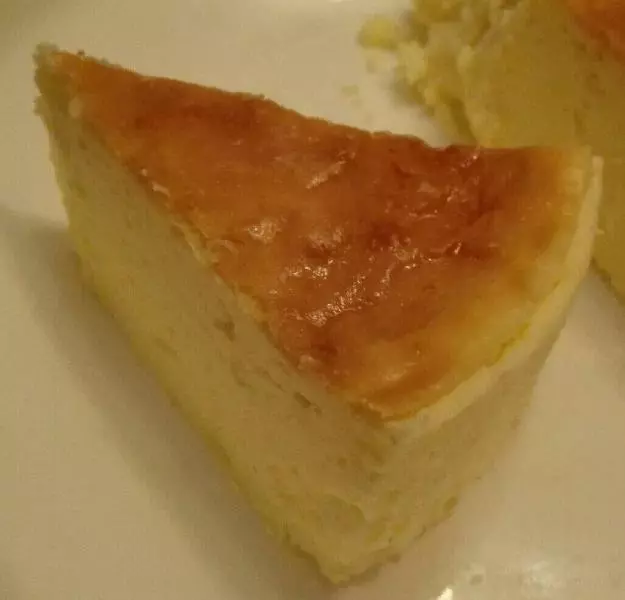
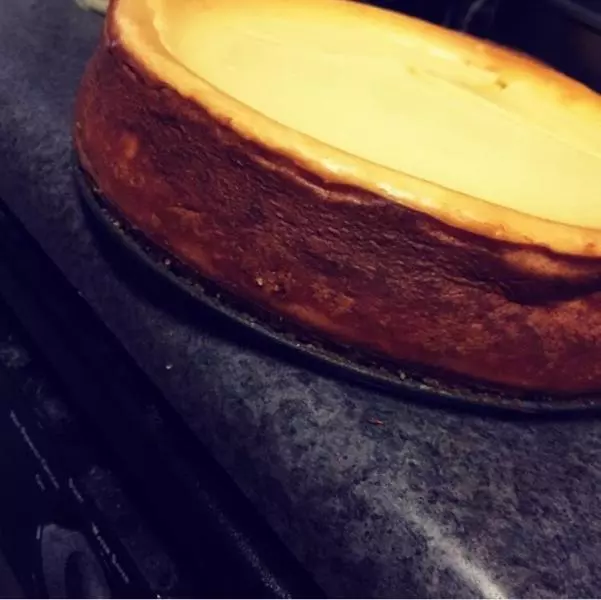
11烤好的成品,沒有用水浴是因為...你丫愛裂不裂,後面還有個蛋白頂要放上去。烤好之後就可以拿出來晾涼,準備meringue蛋白頂層

12蛋白meringue頂原料:2枚雞蛋,75g白砂糖,1枚青檸,25g椰蓉(可選)

13雞蛋取蛋白

14分次加入白砂糖,打發至硬性發泡

15加入椰絲翻拌均勻

16鋪在烤好的奶酪蛋糕上

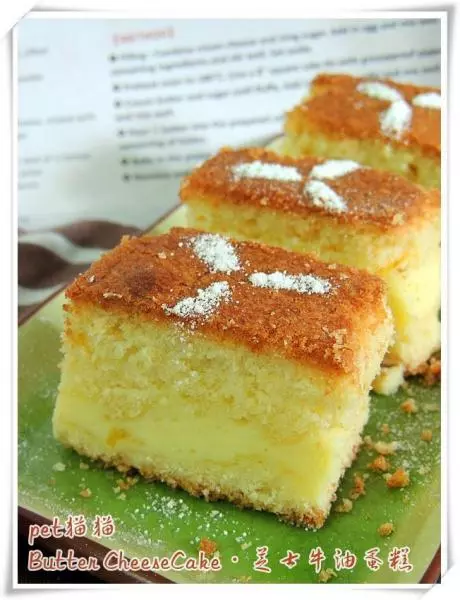
17抹平,用勺子輕輕點出不規則的凸起,入烤箱220度上火上層烤約5分鐘,看到顏色變了就可以拿出來了

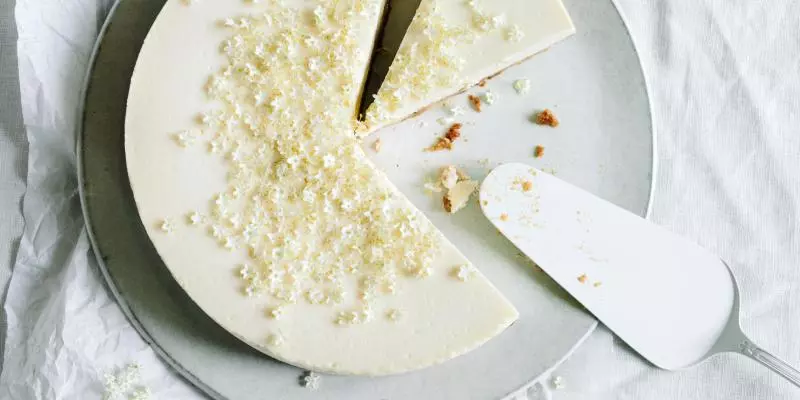
18烤好後放入冰箱至少2小時,吃的時候在表面刨上青檸皮屑

小技巧
乳酪層已經很不甜,蛋白層的甜度剛好可以中和之。


![免烤花生醬芝士蛋糕[Peanut butter cheesecake]](/images/node/27/276427.webp?1638106685)