原料
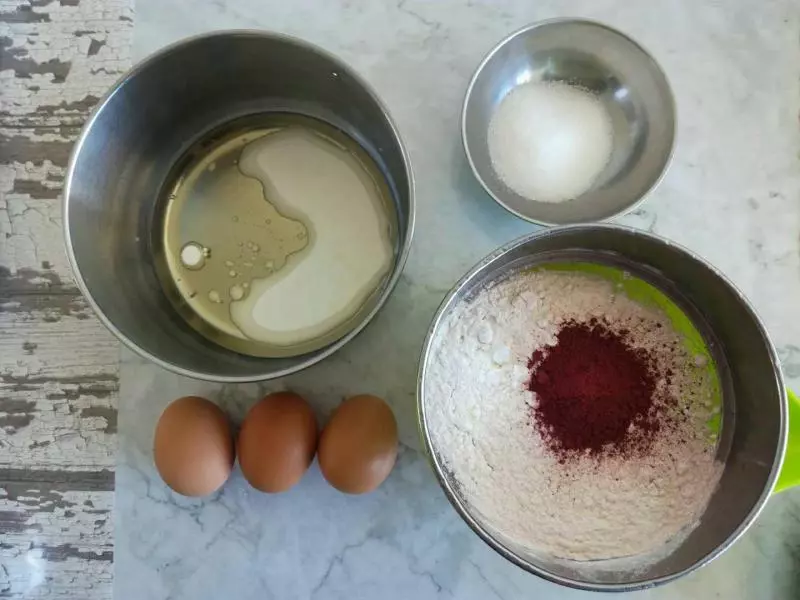
低筋面粉: 50克, 红曲粉: 4克, 牛奶: 45克, 玉米油: 35克, 细砂糖: 35克, 鸡蛋: 3个, 醋: 几滴, 盐: 0.5克
步骤
1准备好所需材料。预热烤箱180度。
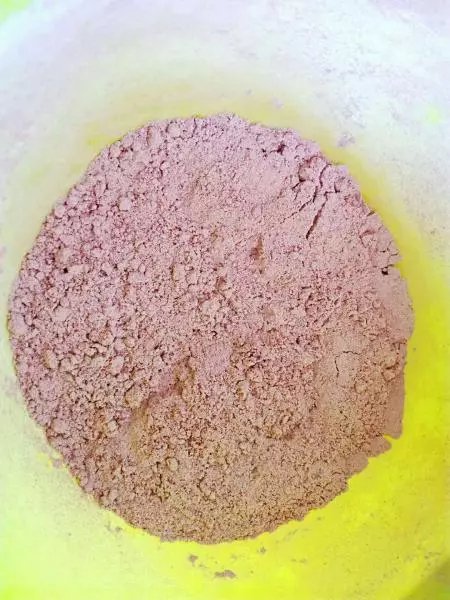
2把面粉和红曲粉过筛待用。
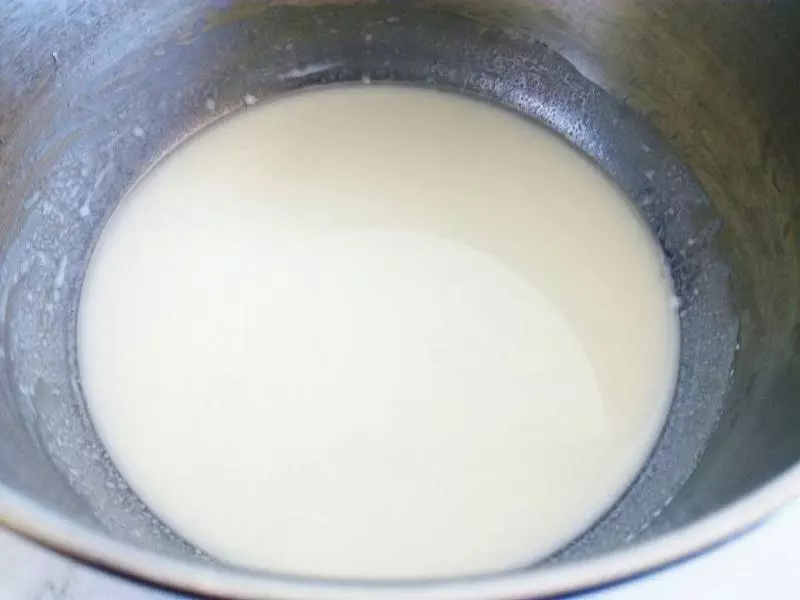
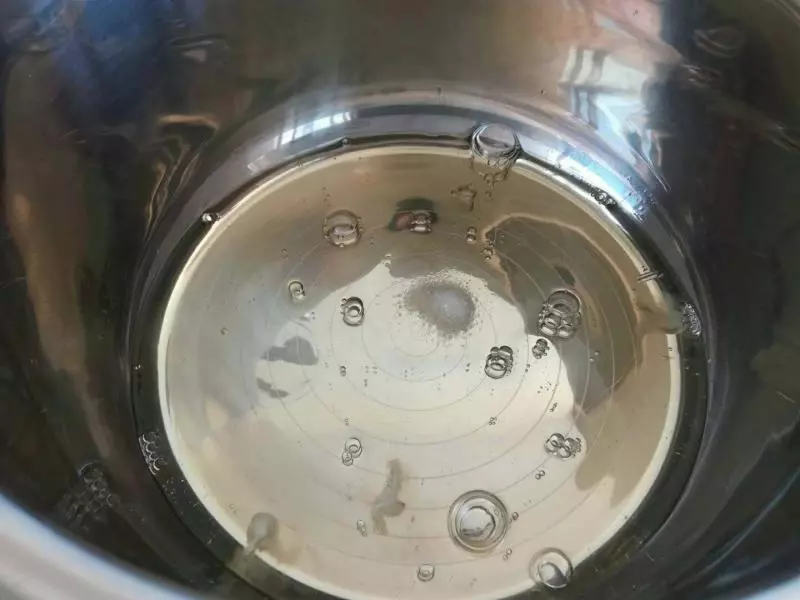
3把牛奶和玉米油混合搅拌均匀至无油滴。
4牛奶液中加入过筛后的面粉。

5用手抽或者硅胶刀混合均匀。
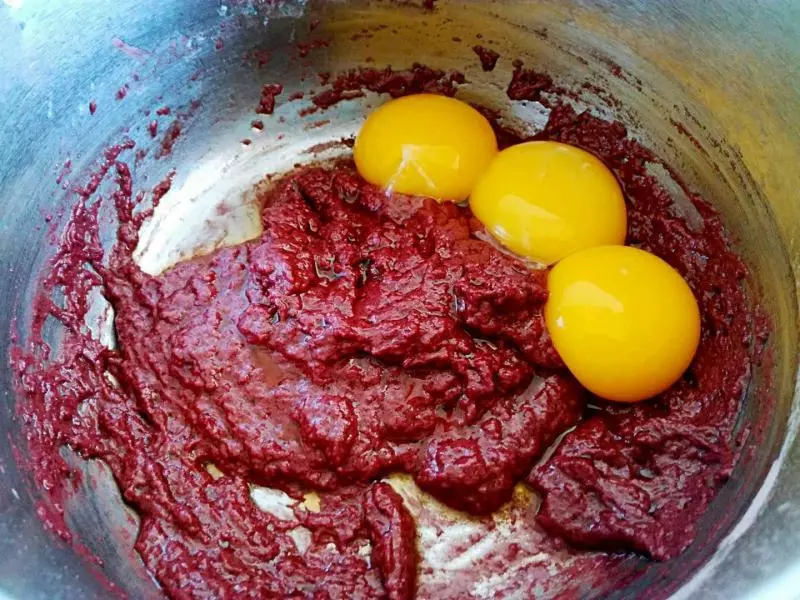
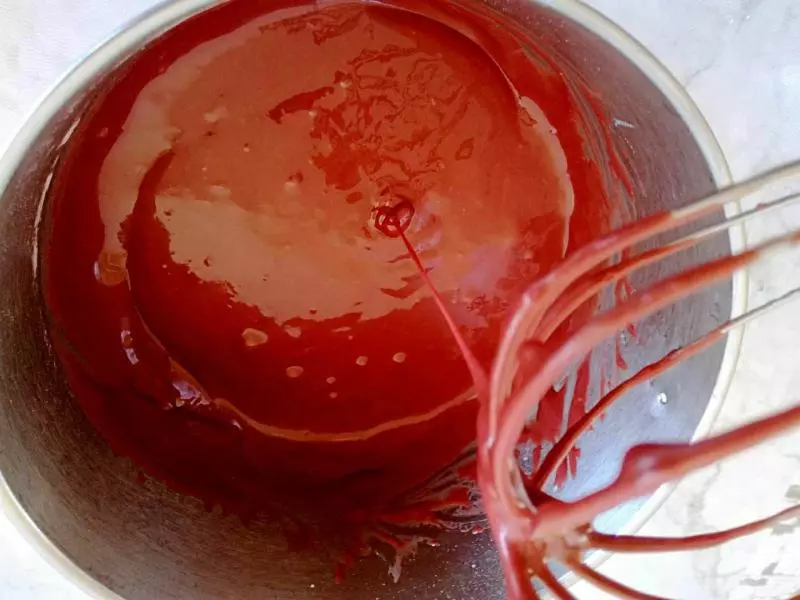
6把蛋黄加入面粉糊中。
7用手抽搅拌均匀,不要画圈,z字J字搅拌,如果不会,可以上下或者左右来回搅拌,千万不要不要画圈。
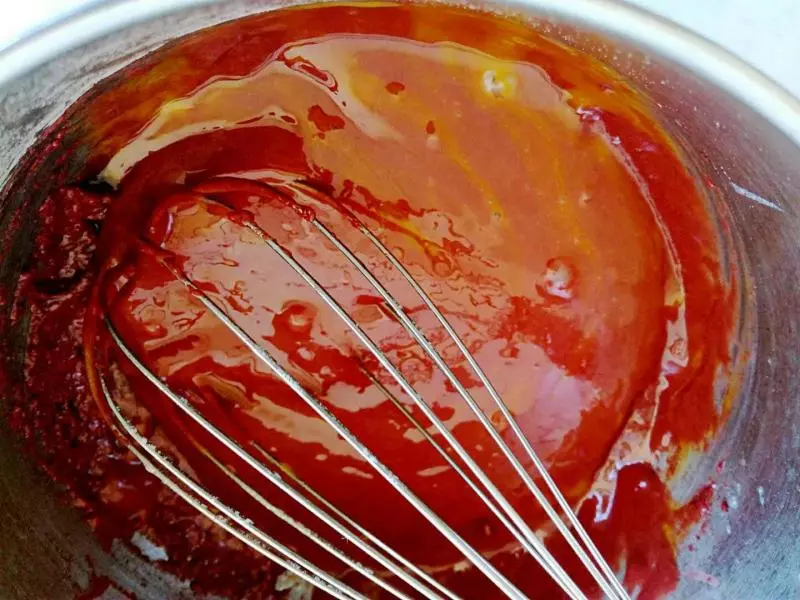
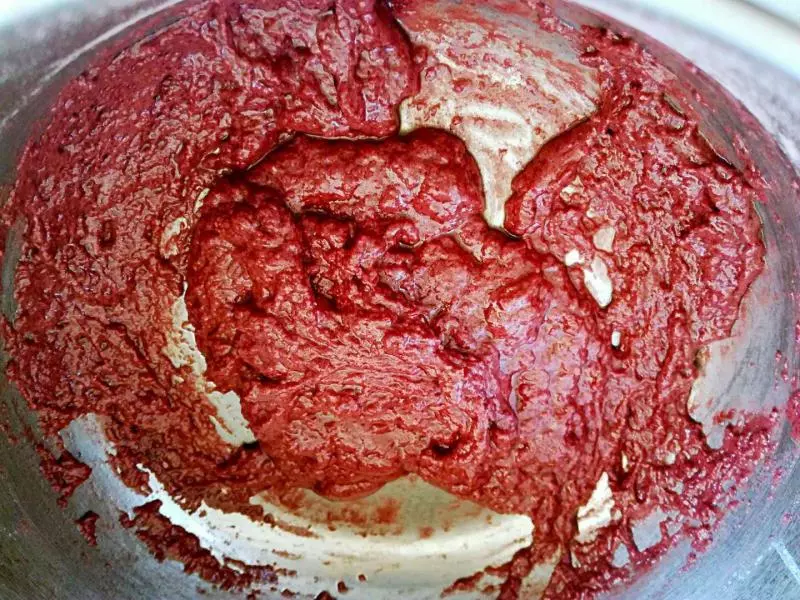
8搅拌好的面糊状态。细腻有光泽。放一旁待用。
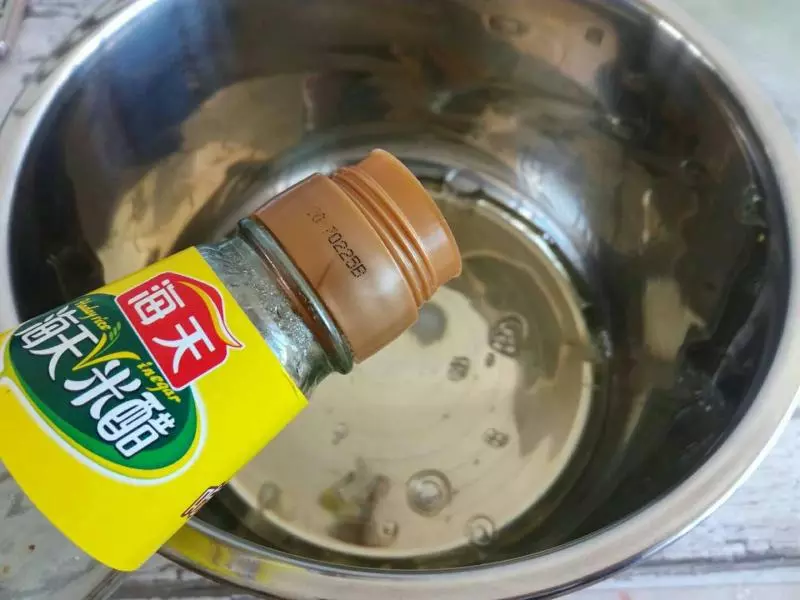
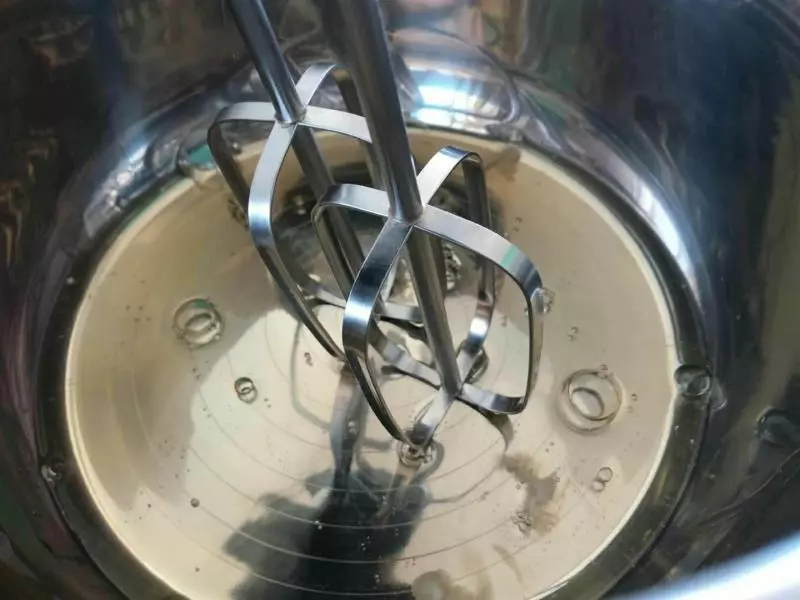
9准备打发蛋白,加入盐。
10蛋白中再滴入几滴醋。
11低速启动打蛋器打发。
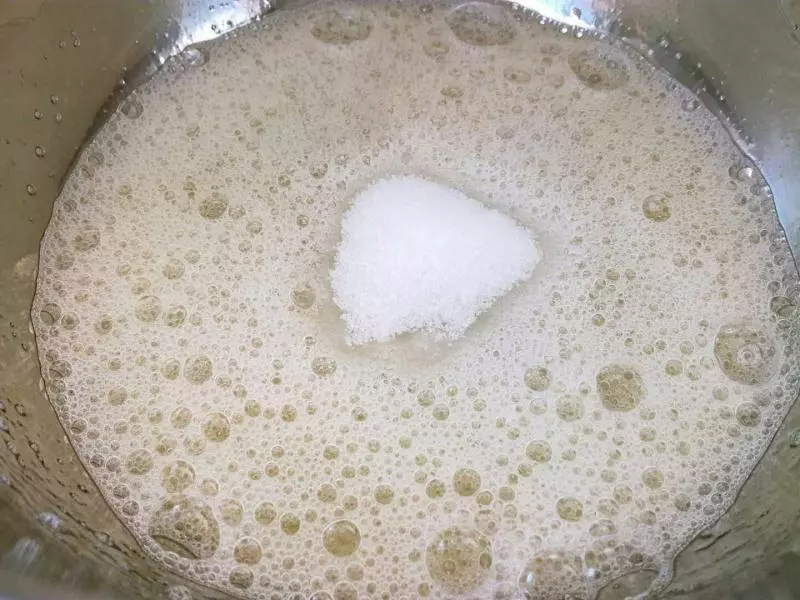
12打发至图片中鱼眼状加入3分之1的细砂糖。
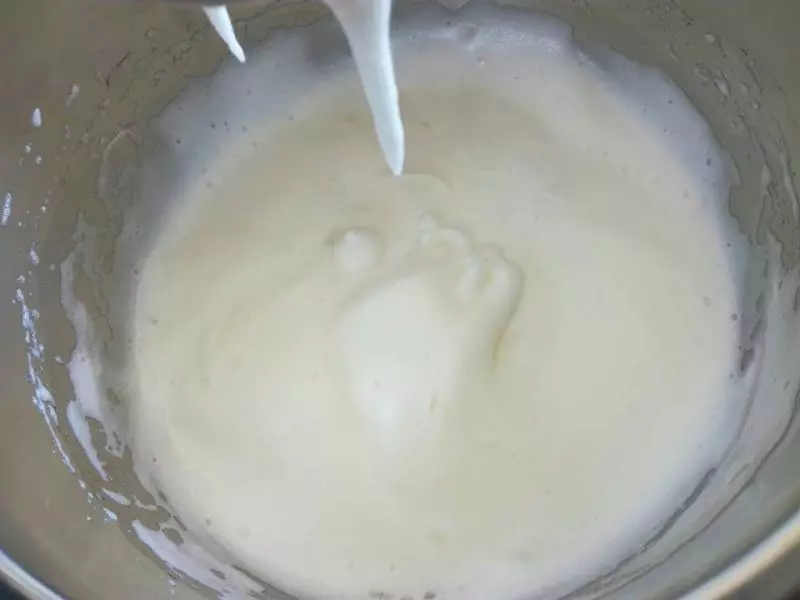
13打发至提起打蛋器蛋白不滴落。加入剩下的糖。继续中低速打发,个人建议全程中低速打发,这样打出来的蛋白细腻而且稳定。(糖可以分3次加入,也可以分2次加入,新手不要一次性的加入。)
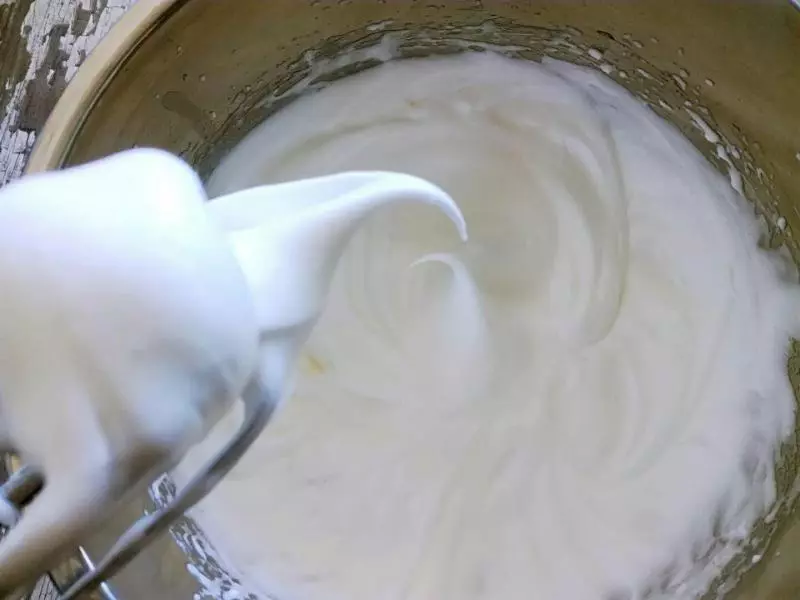
14检查蛋白,这种情况需要再打一会,打几下观察状态。
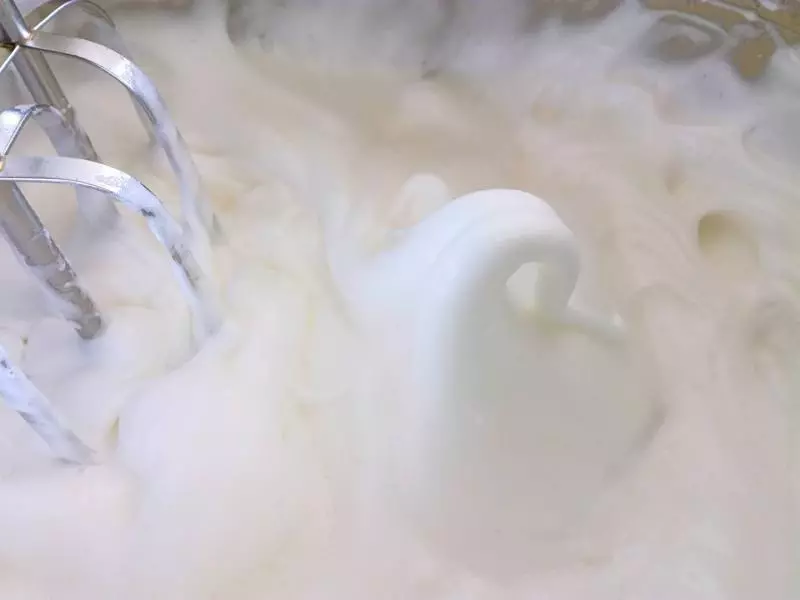
15提起打蛋器,蛋白呈弯钩状态。打发结束。
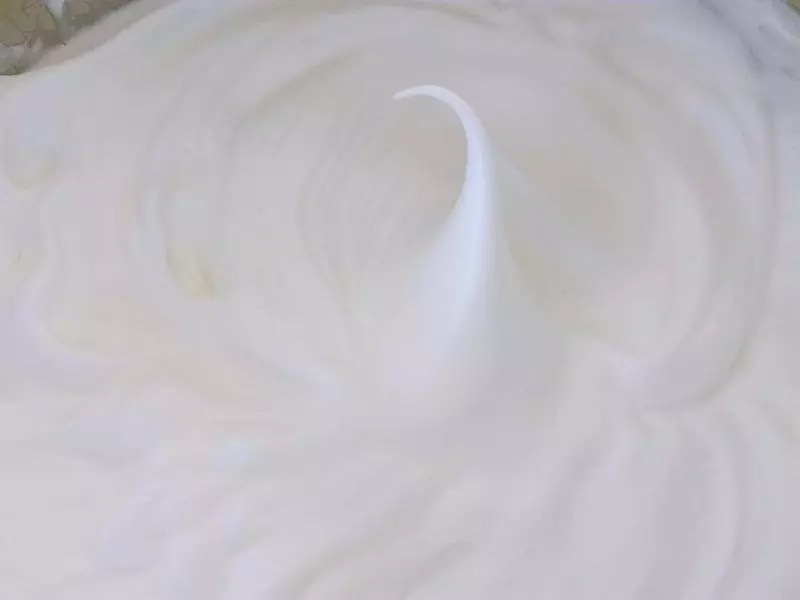
16特写,蛋白霜细腻有光泽。
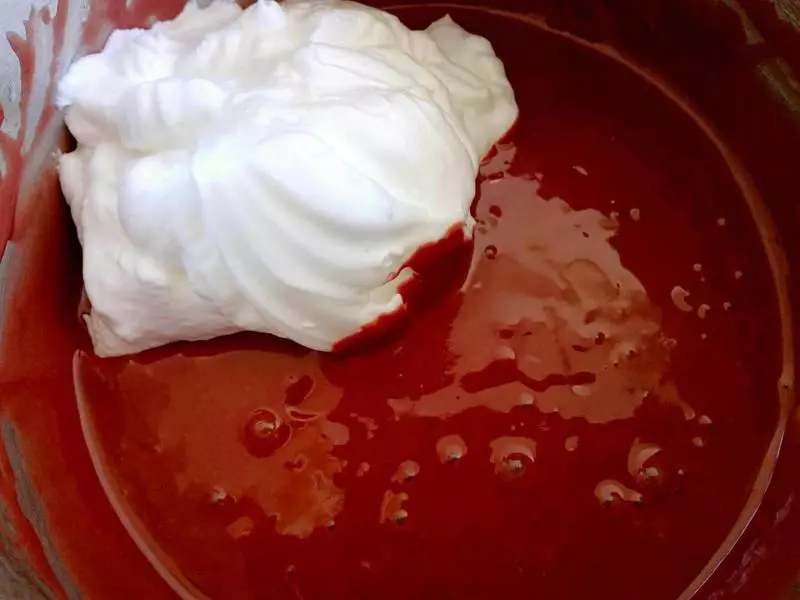
17蛋黄糊中加入3分之一的蛋白。刮刀切拌或者翻拌,用手抽也可以。切记不要画圈搅拌,画圈会消泡,消泡的蛋糕糊会导致蛋糕发不起来。所以这一步很关键哟。
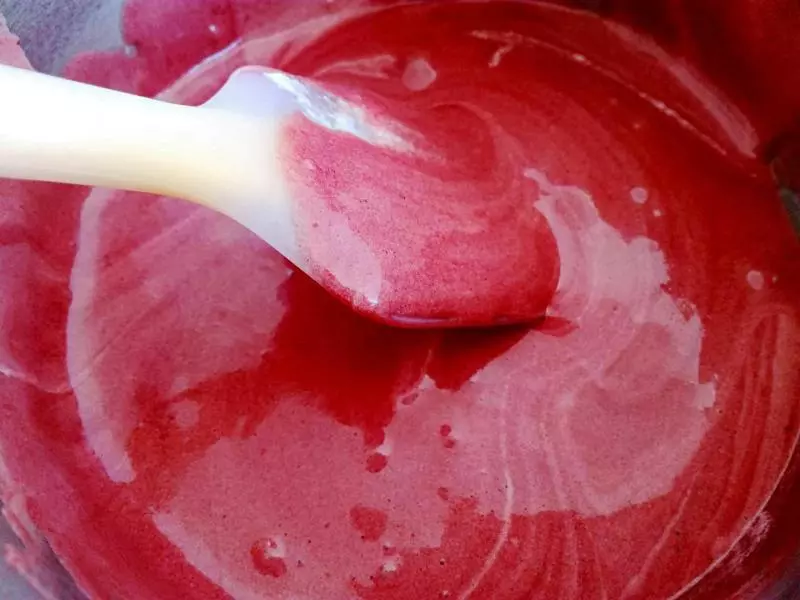
18把所有的蛋白和蛋黄糊都混合好。
19离烤盘15厘米左右的位置将蛋糕糊倒入烤盘中,表面如果不平整可以用刮板适当的处理下,或者用手从烤盘背面拍打几下,不要太纠结是否平整,差不多就可以。还有,如果表面有气泡可以适当的用牙签挑一下。 注意:这一步骤所有的操作都要尽量的快一点,快一点,快一点。

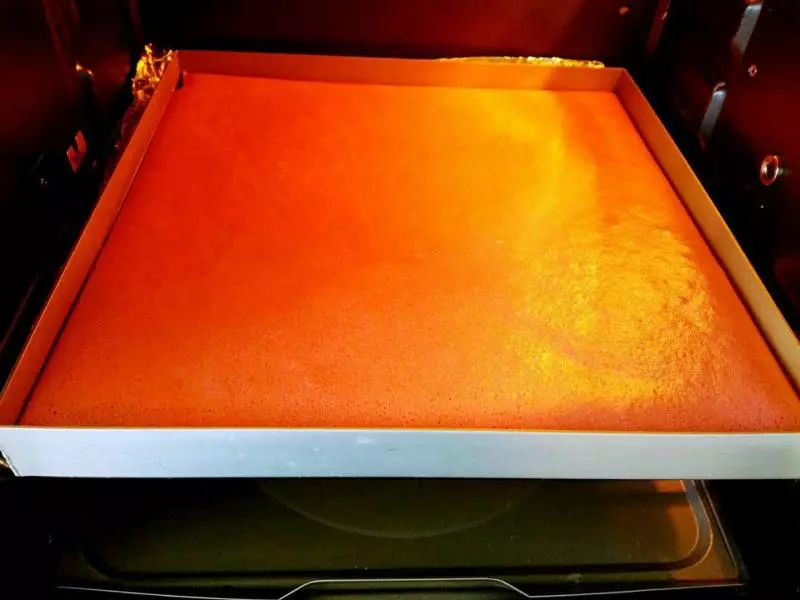
20送入烤箱烤制,180度22分钟。

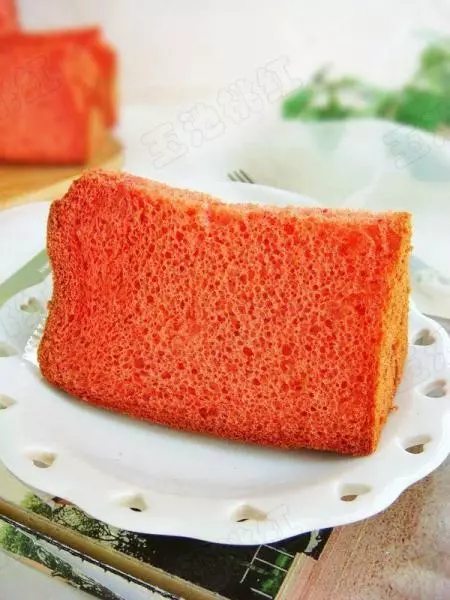
21几分钟后的状态,表面有一些变化了。烤好的蛋糕片出炉前表面摸起来会有一点硬,如果不硬就需要再多烤一会。
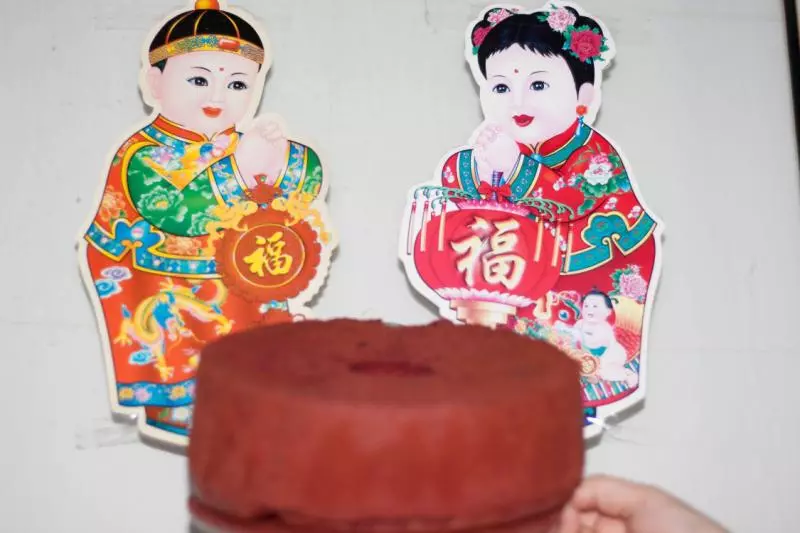
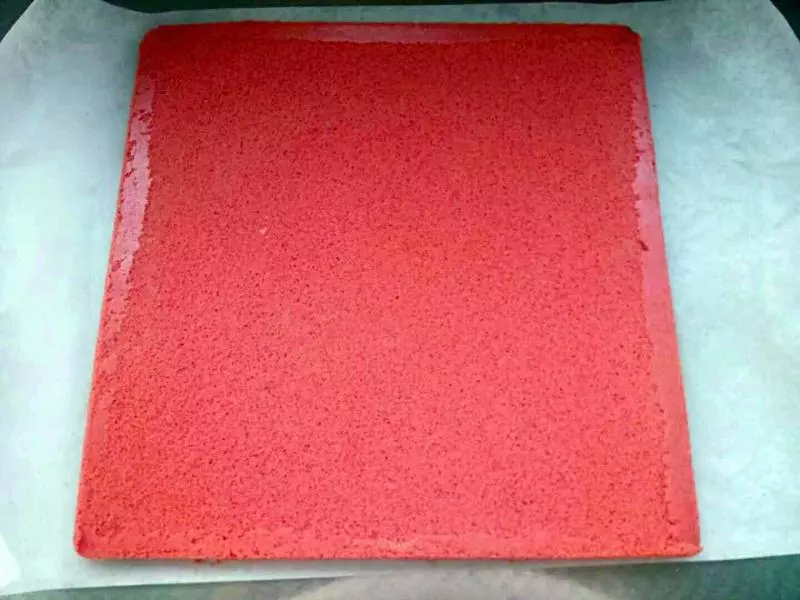
22时间到后出炉震一下,然后不用管他,自然晾凉一会,等到10-15分钟左右,用手摸蛋糕表面无热气散发,方可脱模。
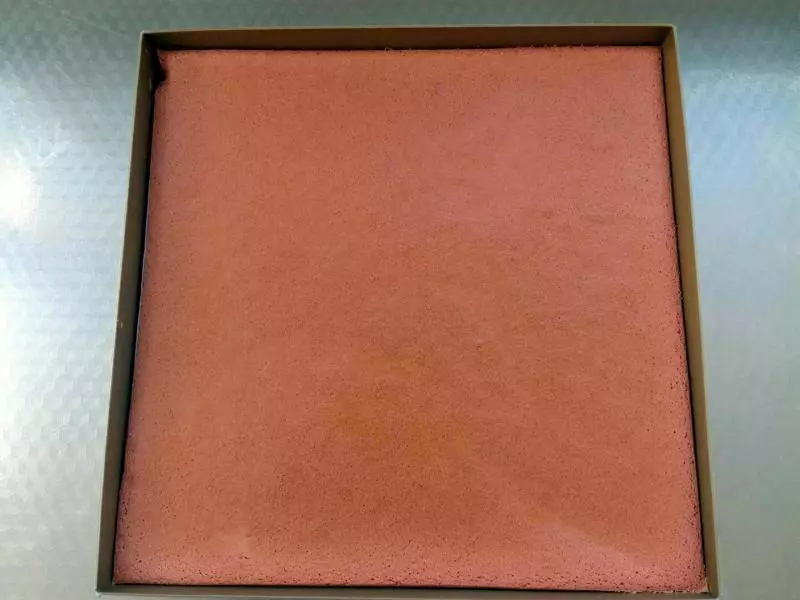
23时间到后出炉震一下,然后不用管他,自然晾凉一会,等到10-15分钟左右,用手摸蛋糕表面无热气散发,方可脱模。
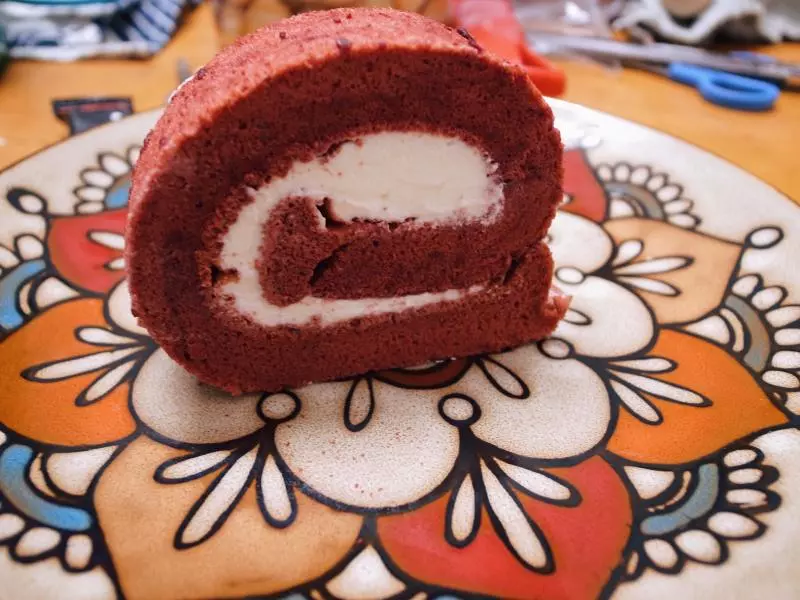
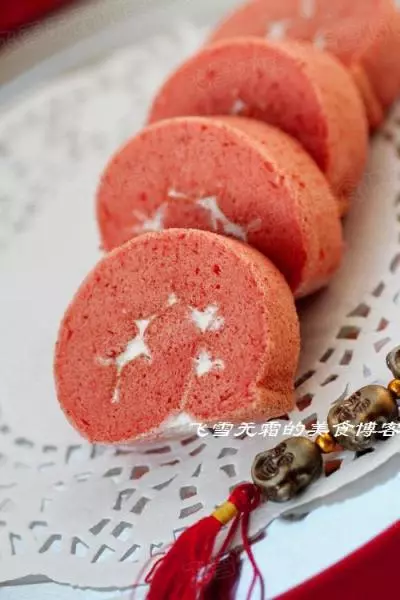
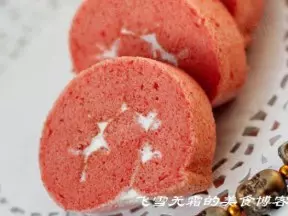
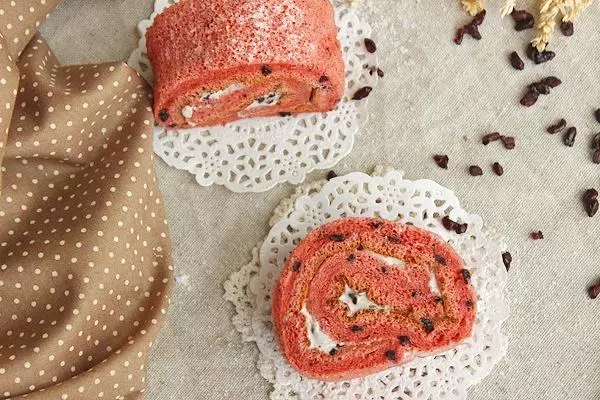
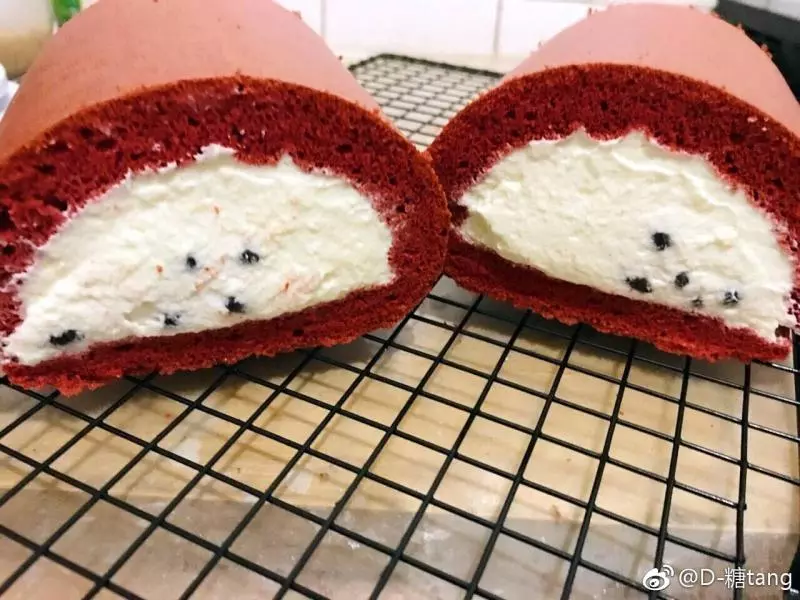
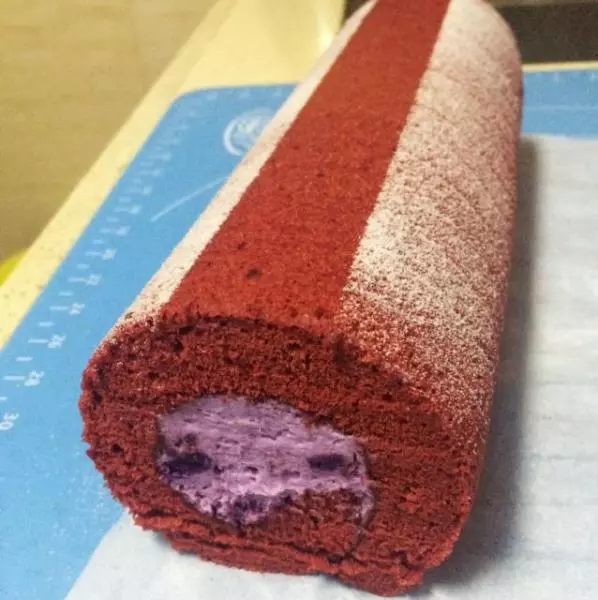
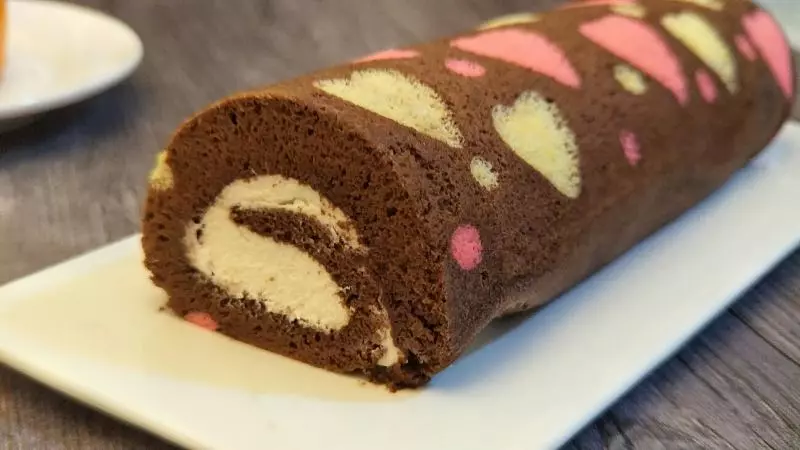
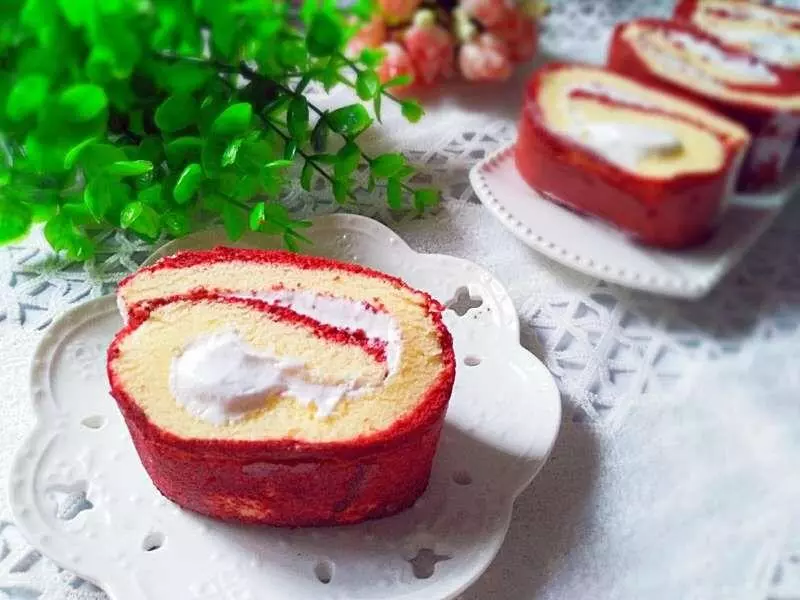
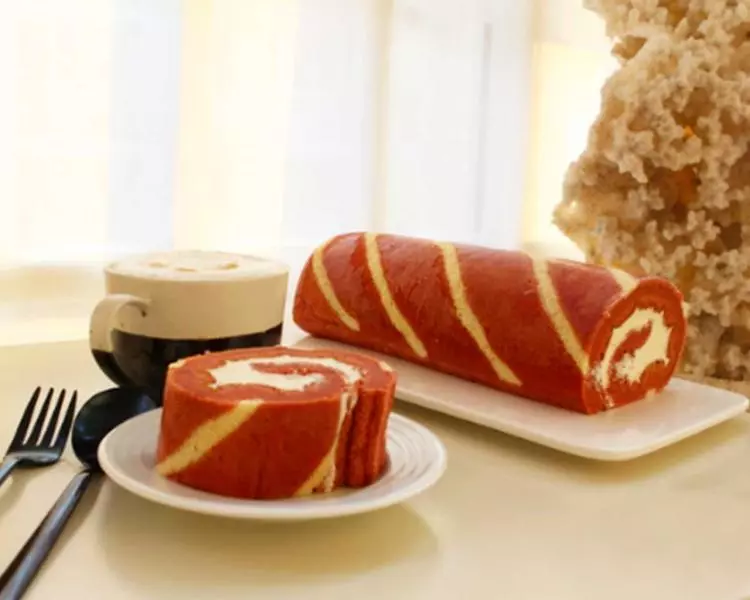
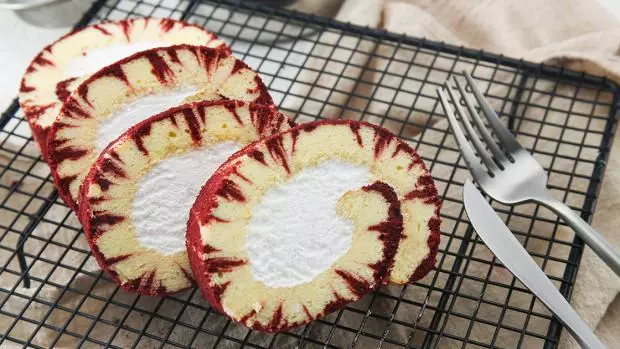
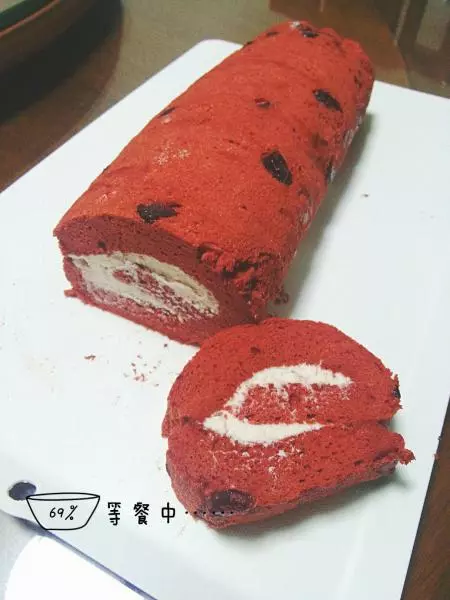
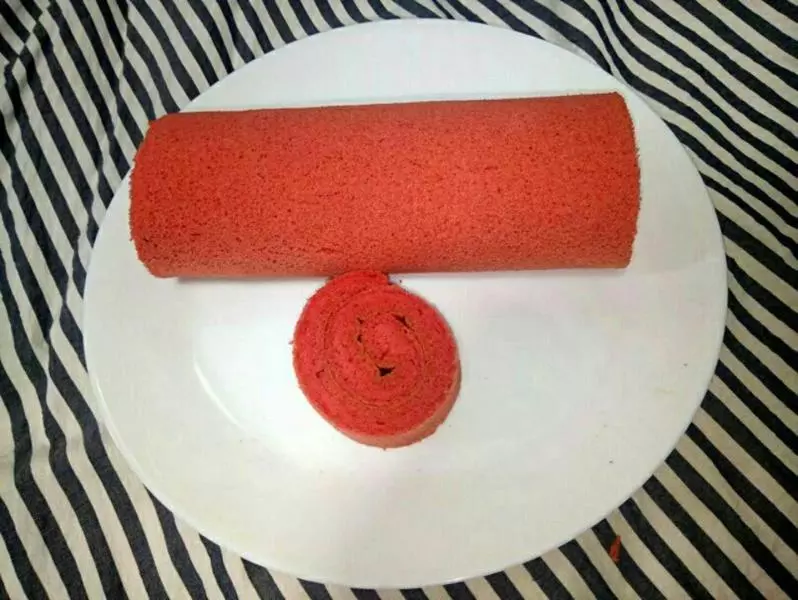
24卷起来的样子,盘子太小,我只能切下来一部分了。
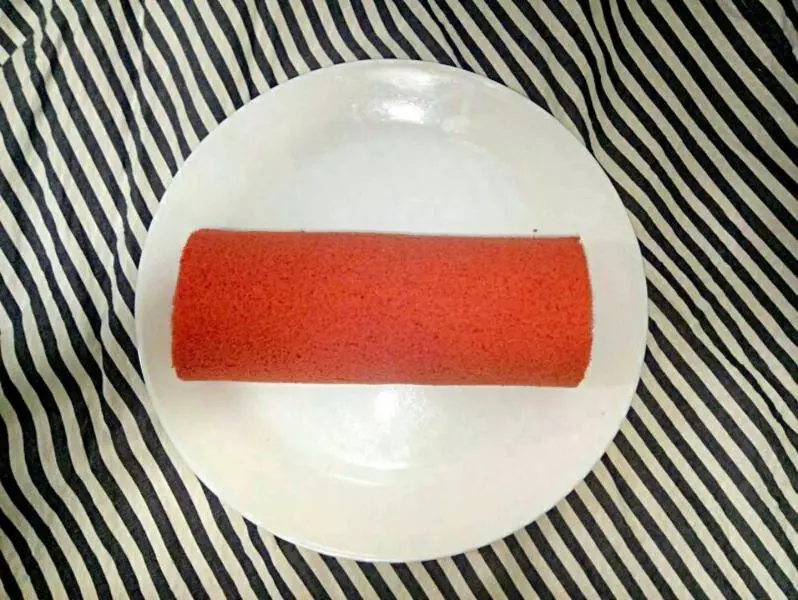
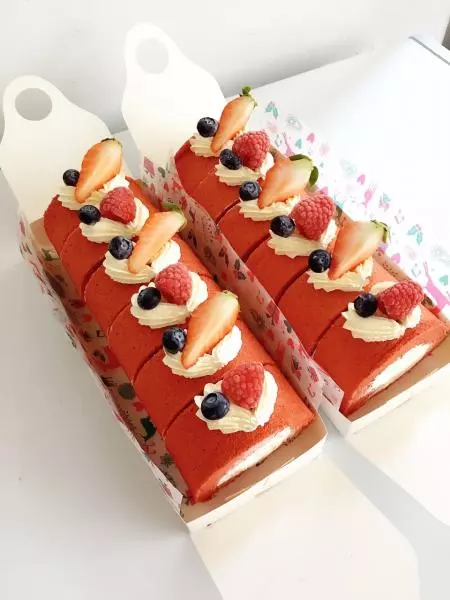
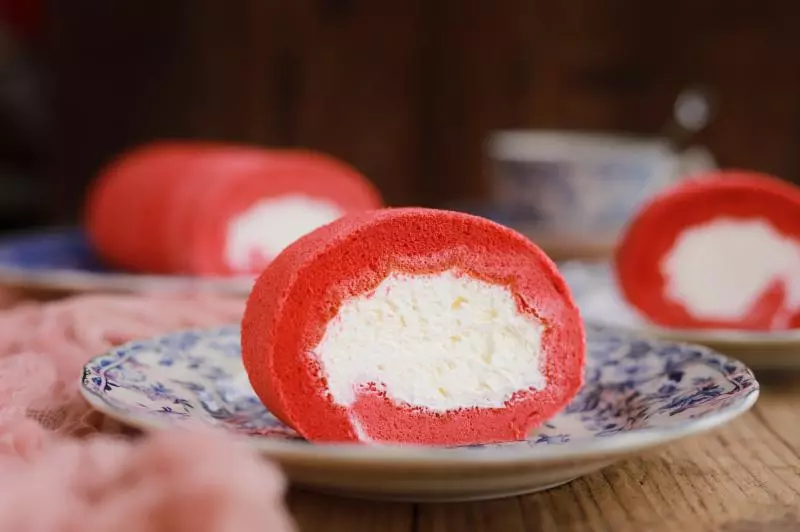
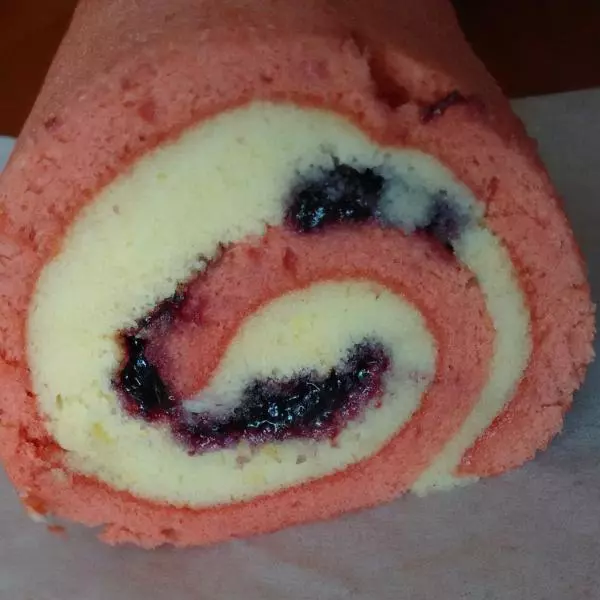
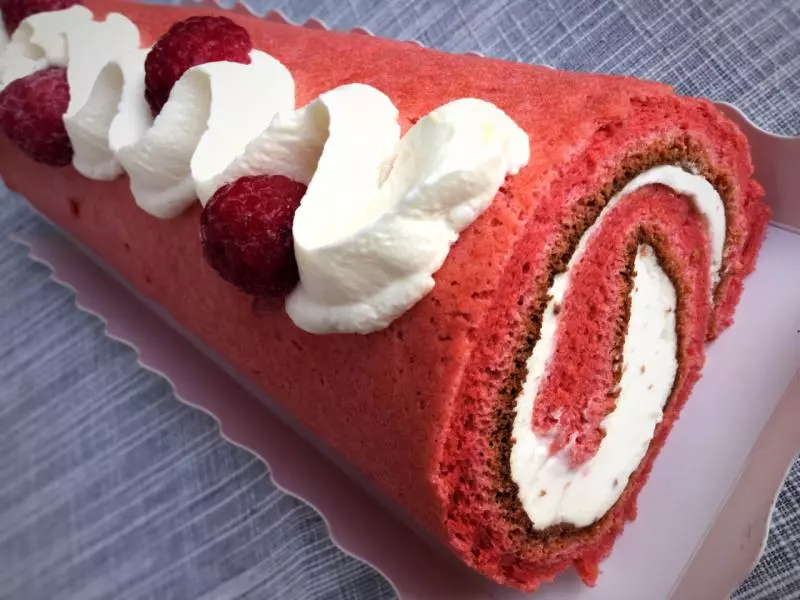
25来个近景,可以卷奶油,也可以卷肉松沙拉,当然,还可以做盒子蛋糕哟。总之,发挥你的想象力,想怎么吃就怎么吃。
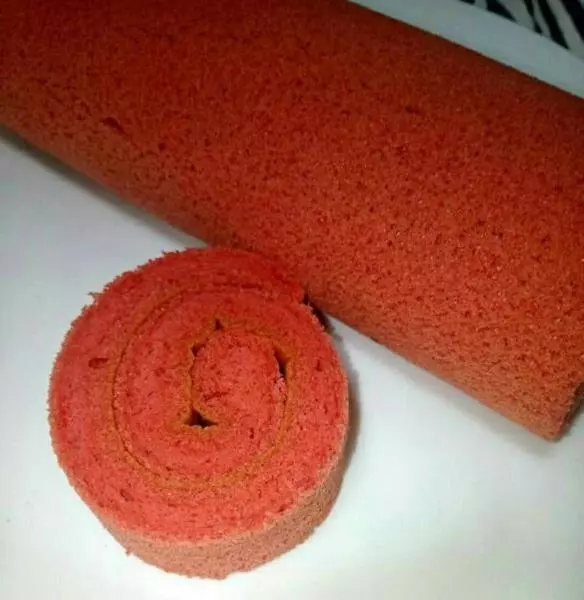
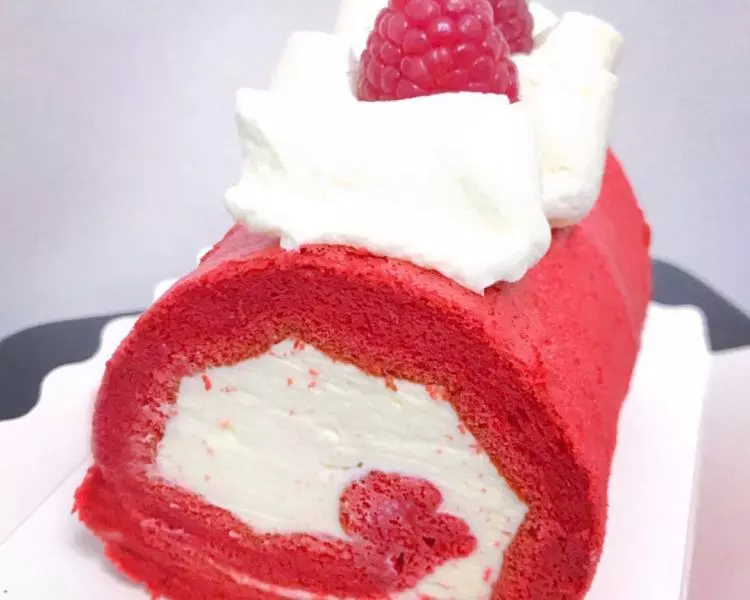
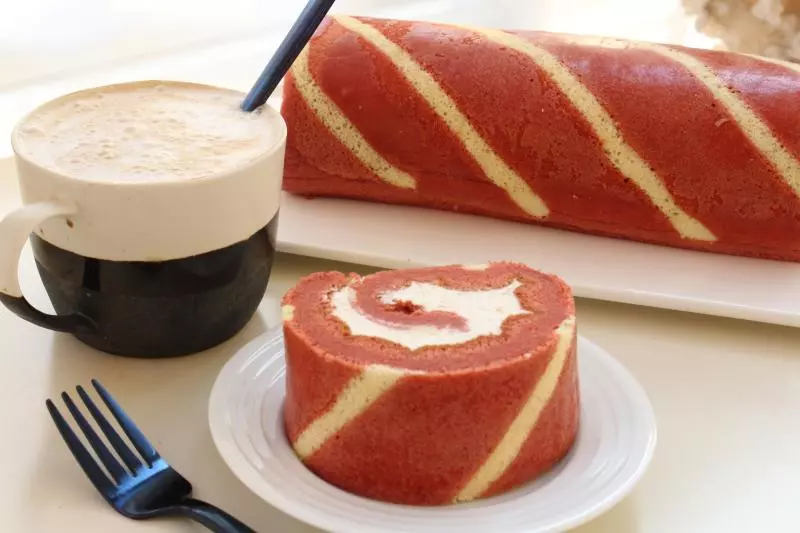
26过年吃红色蛋糕是不是很应景呢?

小技巧
鸡蛋我用的事60克左右一个的,红曲粉不吸水,在原味的基础上加几克就可以。如果相出毛巾面尽量多晾一会再撕掉油纸或者硅胶垫。还有温度也是一个参考,根据自己烤箱的脾气来调整。有的同学不喜欢放太多的糖会减掉一部分,这个配方的糖量已经是最少的了,不要再减了。