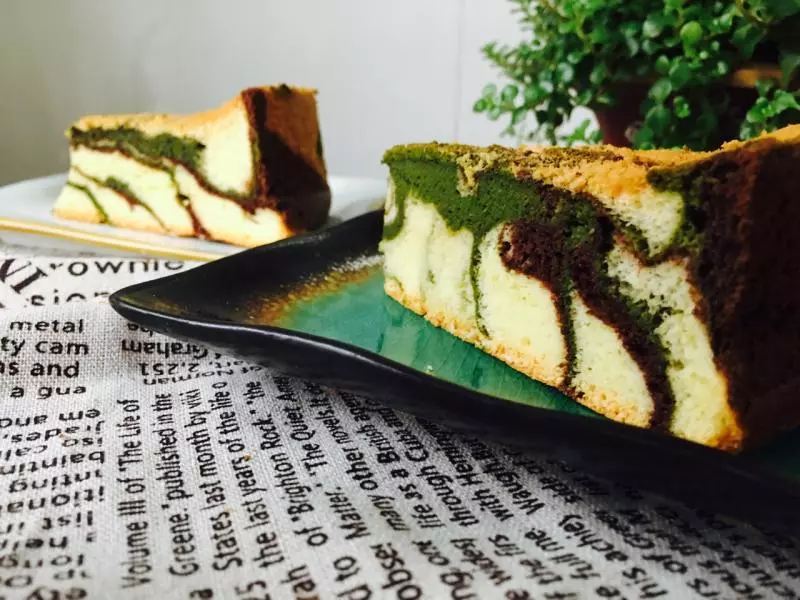
原料
材料A: , 低筋面粉: 90克, 蛋黄: 5粒, 细砂糖: 35克, 豆奶/牛奶: 80ml, 植物油: 60ml, 蛋白: 5粒, 细砂糖: 45克, 塔塔粉: 1/4小匙, 抹茶粉/绿茶粉: 2小匙, 温水: 1大匙
步骤
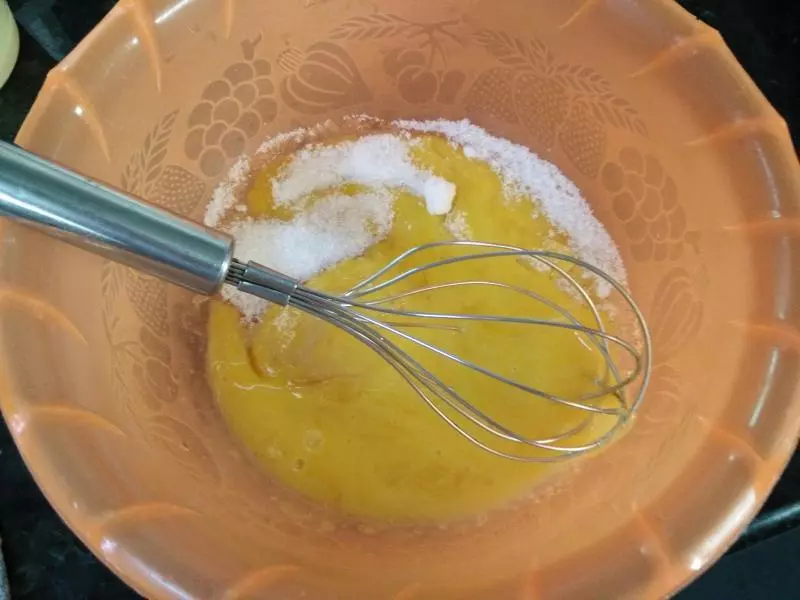
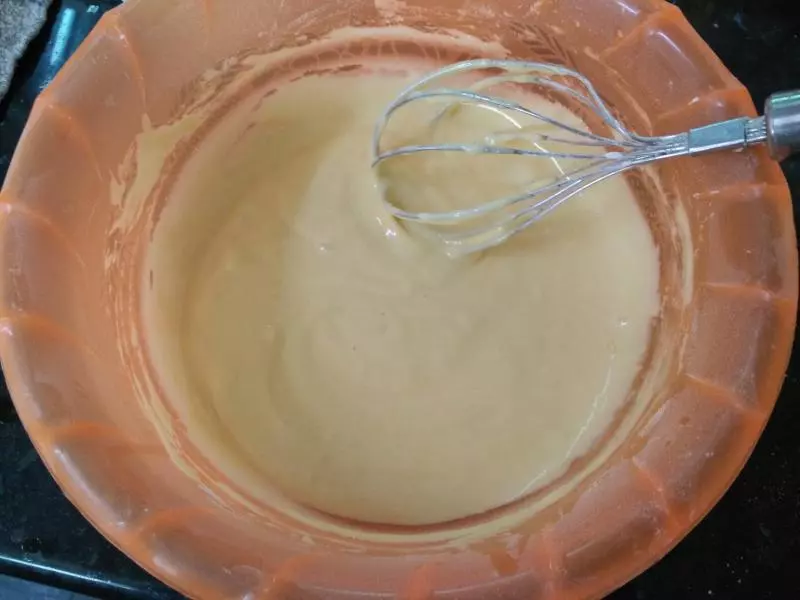
1材料A的蛋黄和细砂糖混合搅拌均匀
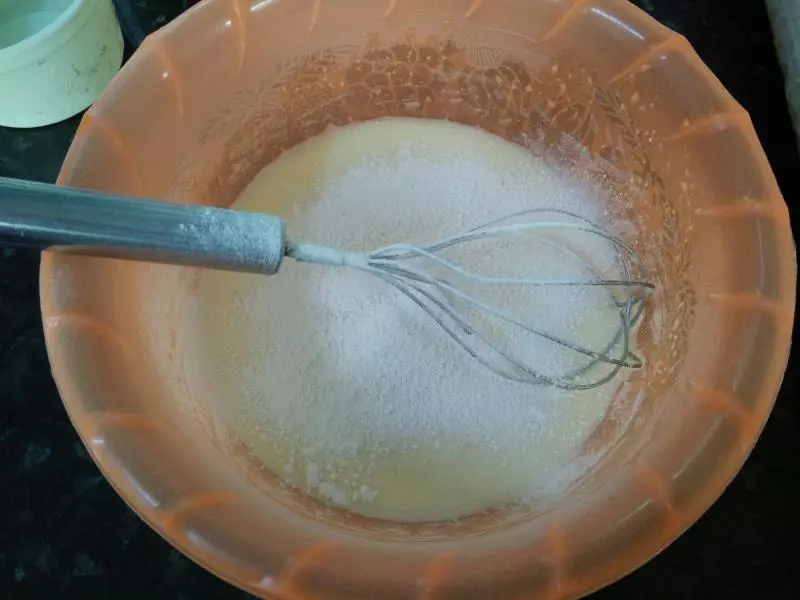
2倒入豆奶拌均

3过后分三次倒入筛过的粉半均匀
4然后慢慢的把植物油倒入面糊里拌均匀备用
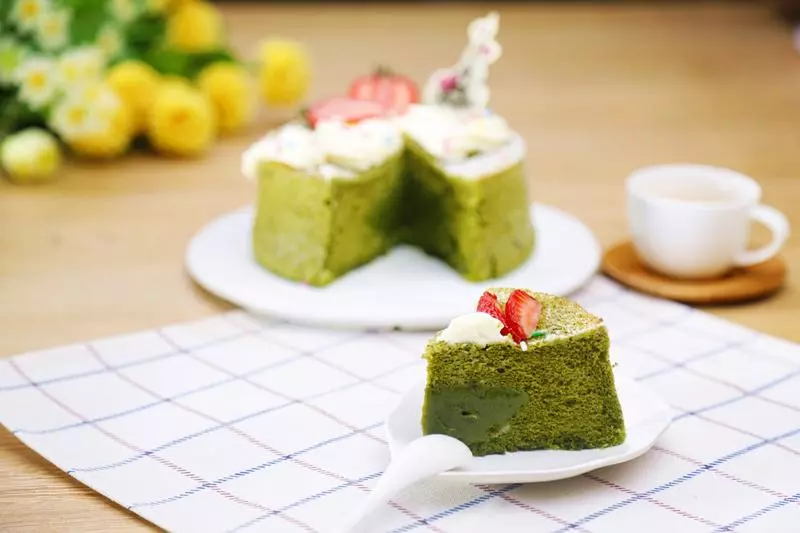
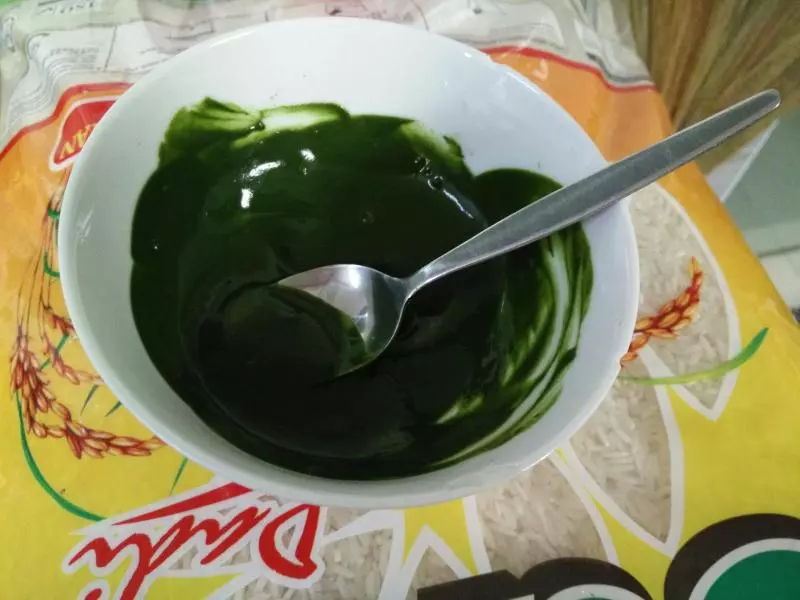
5抹茶粉倒入温水调均匀,不要有颗粒。备用
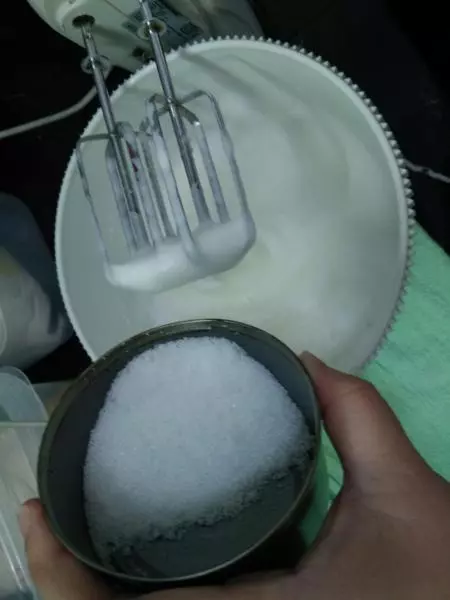
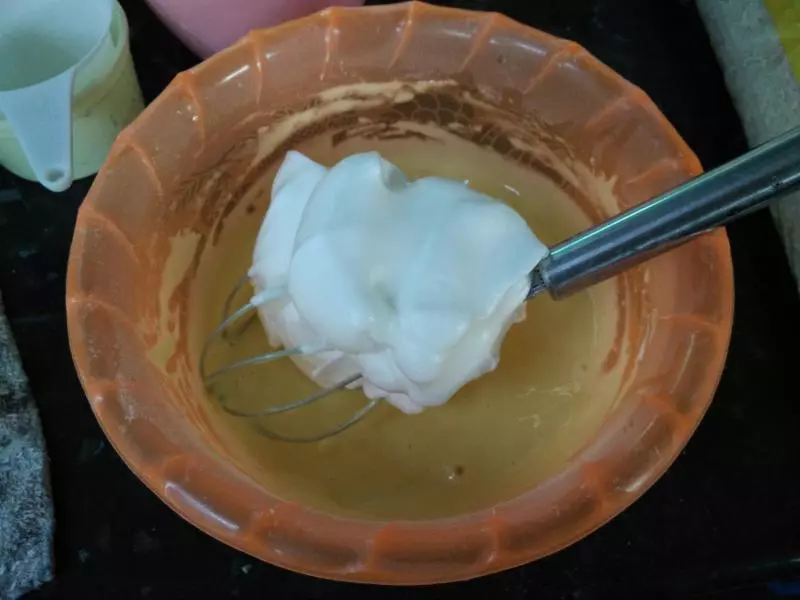
6蛋白打至起泡后倒入塔塔粉

7过后分次倒入材料B的细砂糖继续打
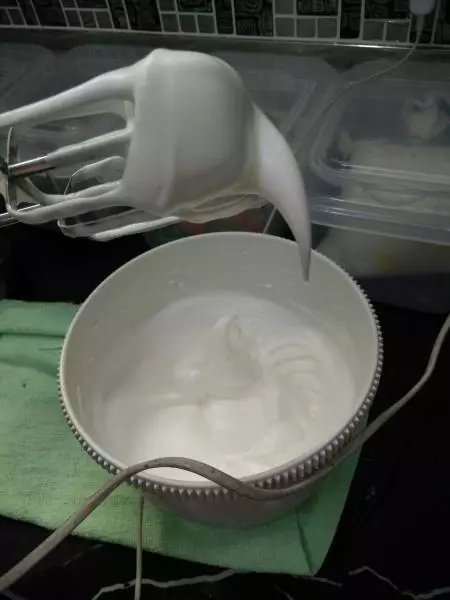
8把蛋白打至湿性发泡即可
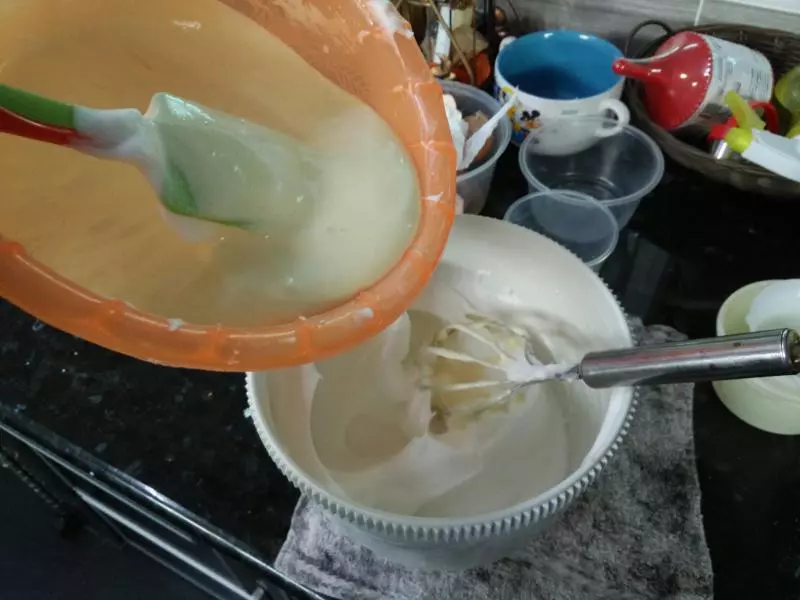
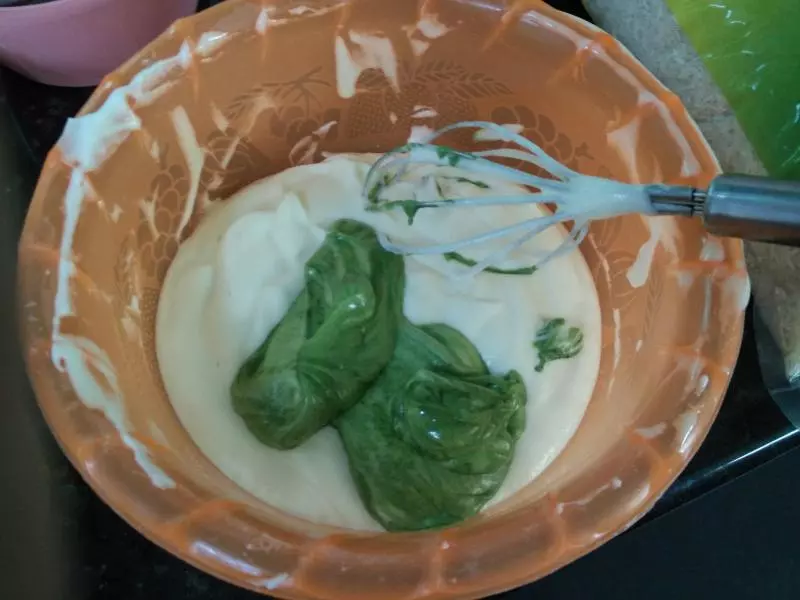
9取1/3的蛋白霜倒入蛋黄糊(4)里轻轻搅拌均匀
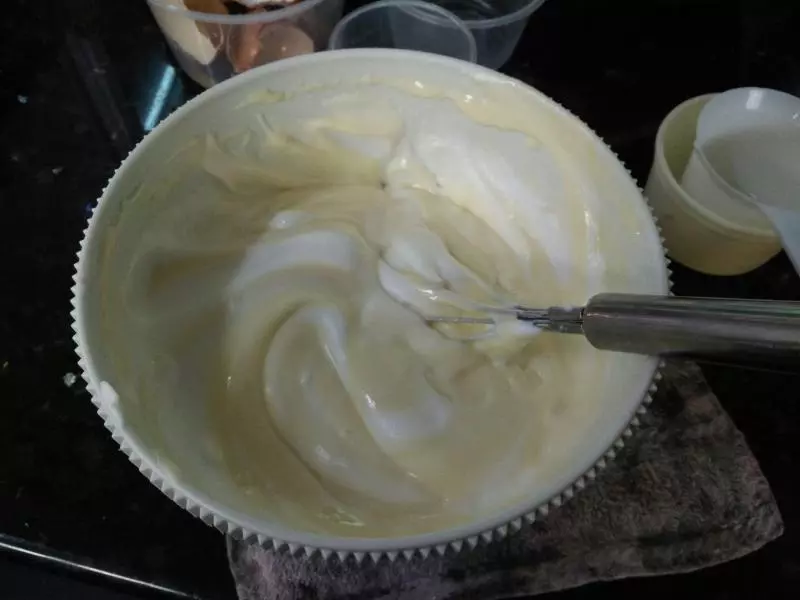
10过后再把搅拌均匀的(9)倒入其余的蛋白霜里
11轻轻搅拌均匀用fold in的方法。
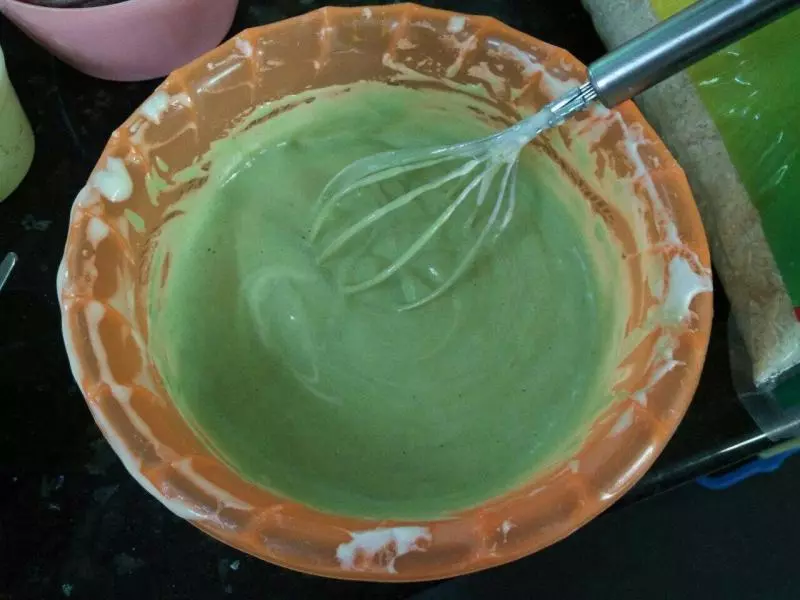
12取两大汤匙倒入抹茶糊搅拌均匀
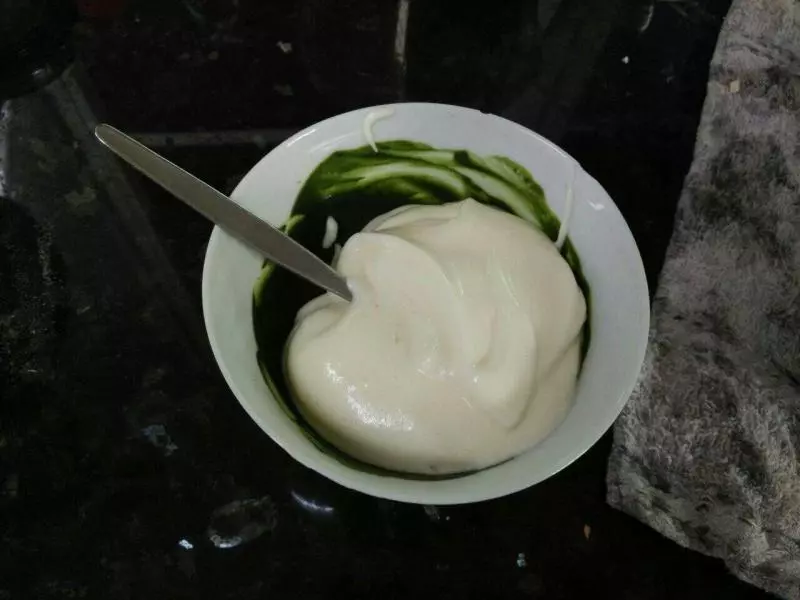
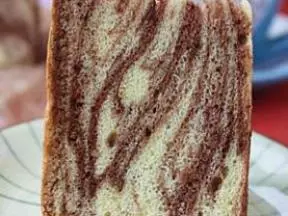
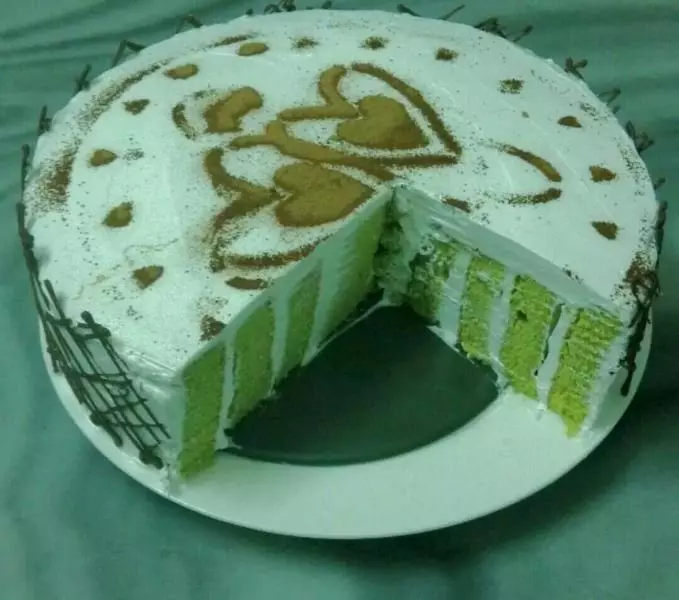
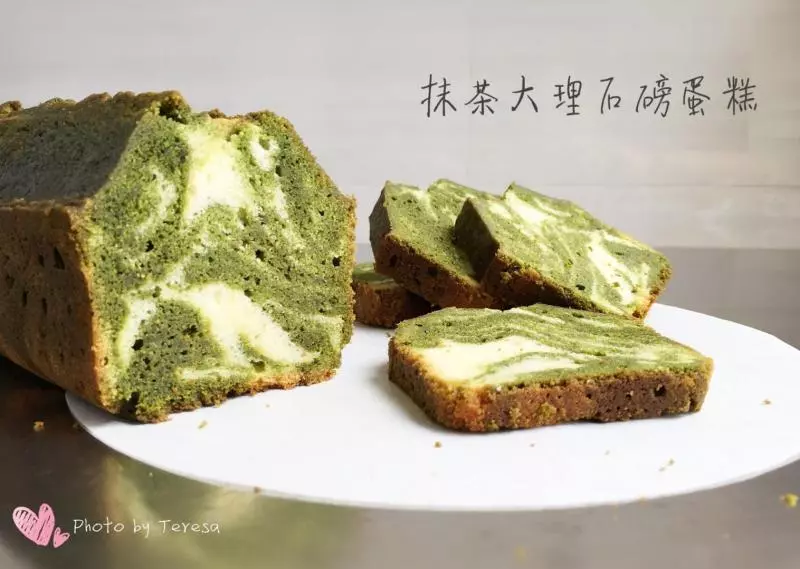
13把搅拌均匀(11)的蛋糕糊分成两份,把搅拌均匀(12)倒入其中的一份
14轻轻搅拌均匀成为抹茶糊
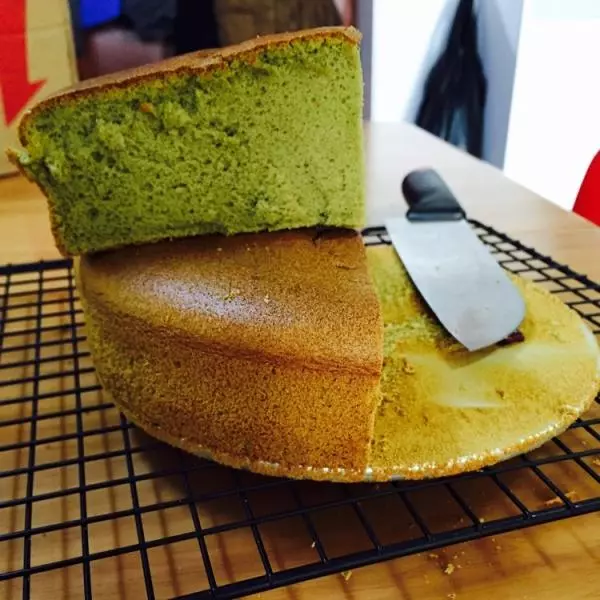
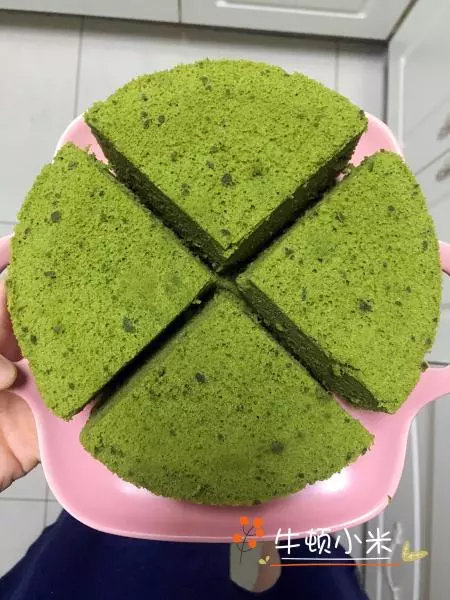
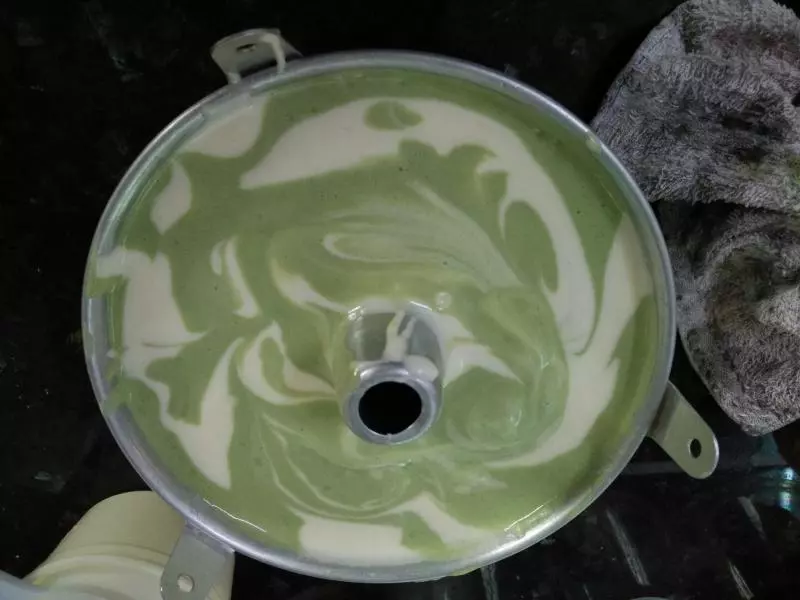
15倒入原味过后抹茶,一直重复直到面糊倒完为止
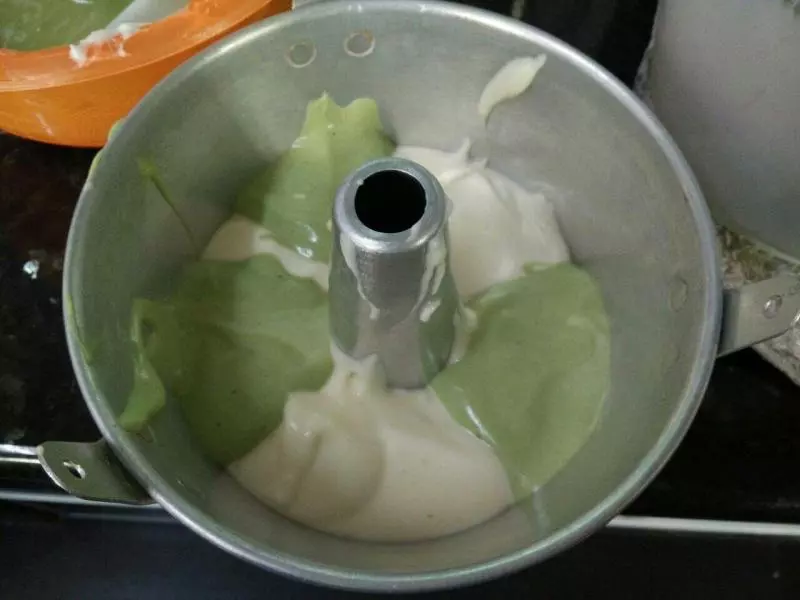
16过后用筷子圈旋转一圈

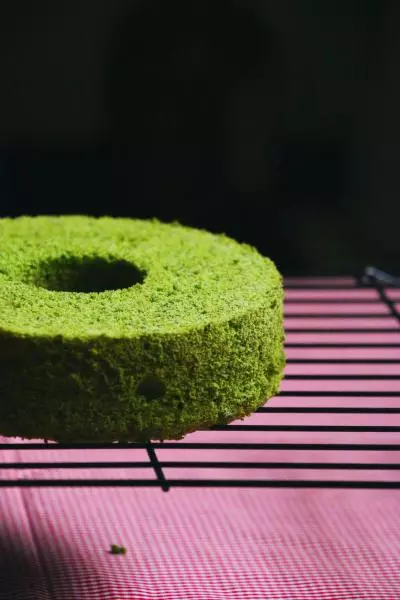
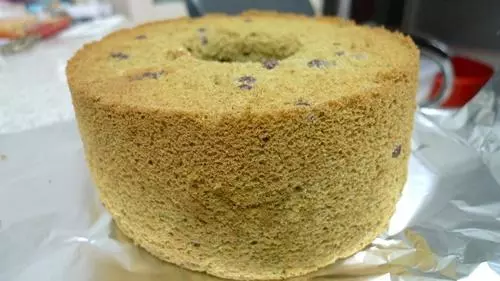
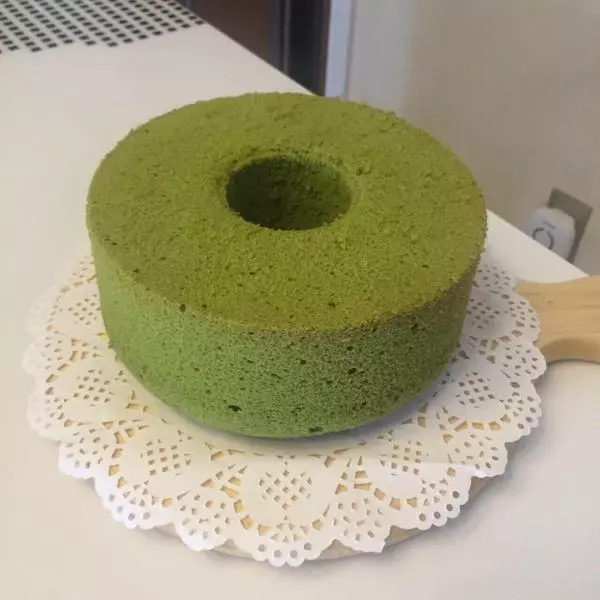
17进烤炉前敲三下,敲出气泡
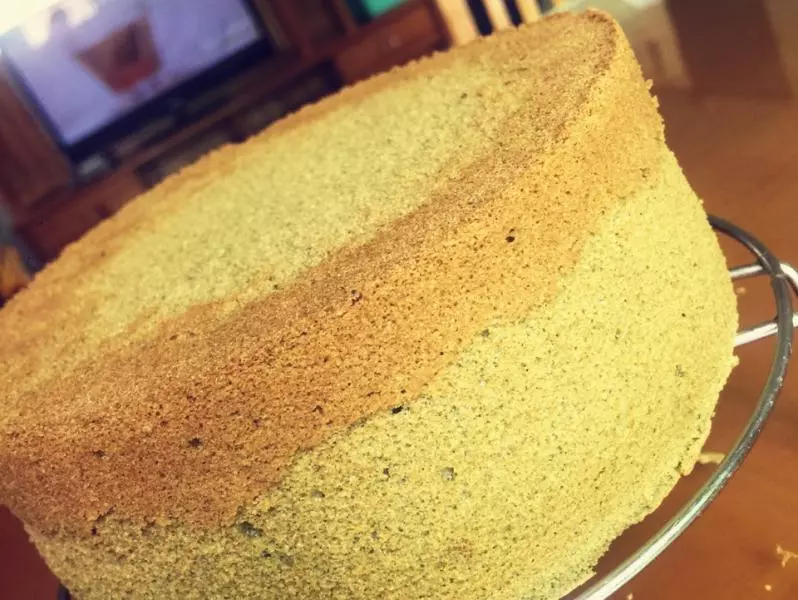
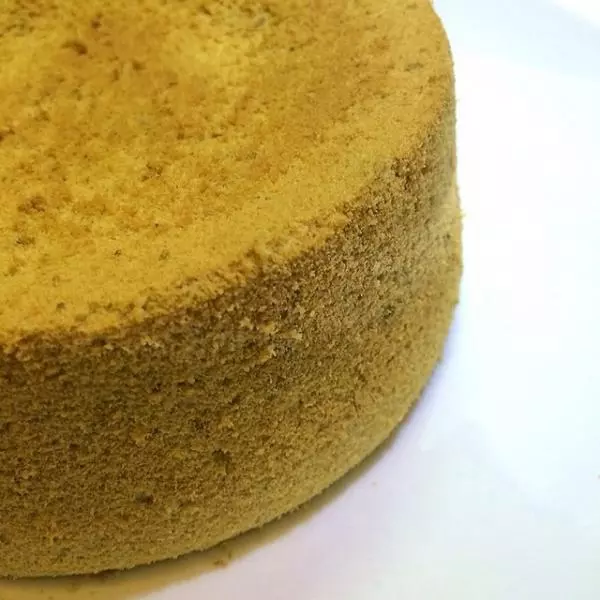
18烤箱预热170度C,烤大约35-40分钟,过后转150度c再烤15-20分钟至熟
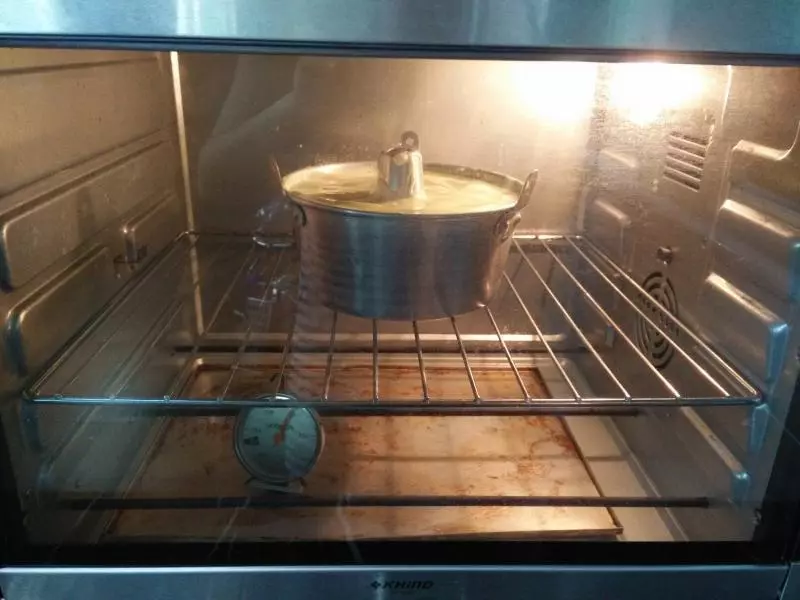
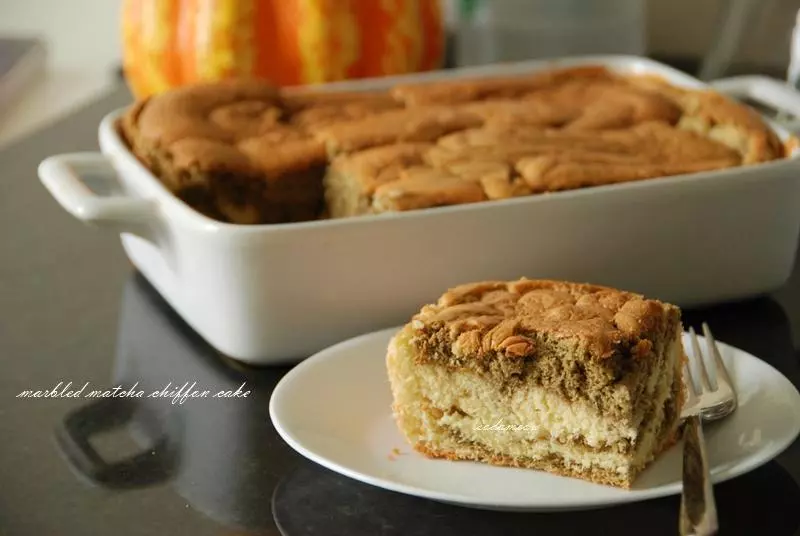
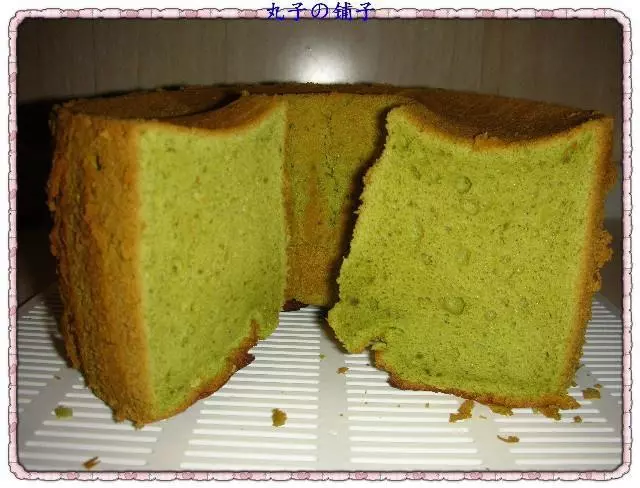
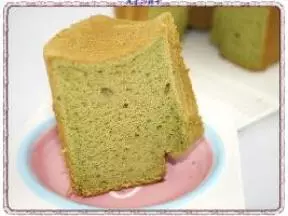
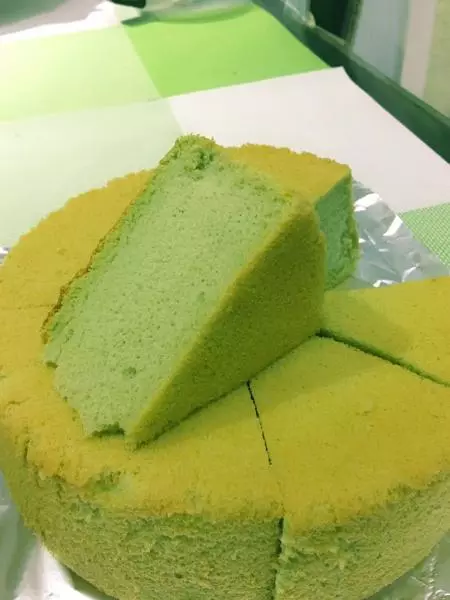
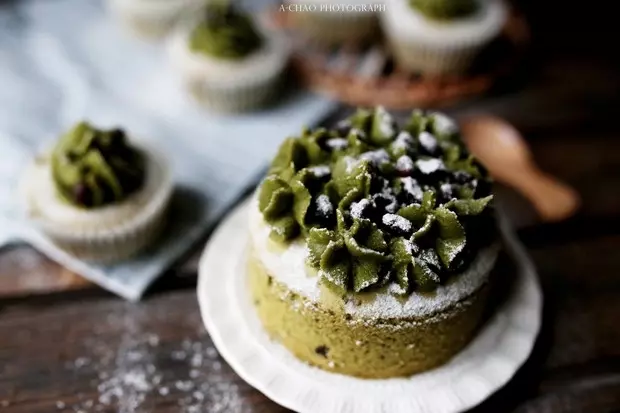
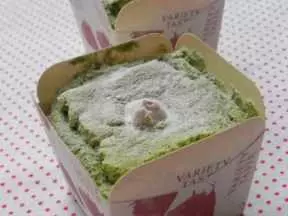
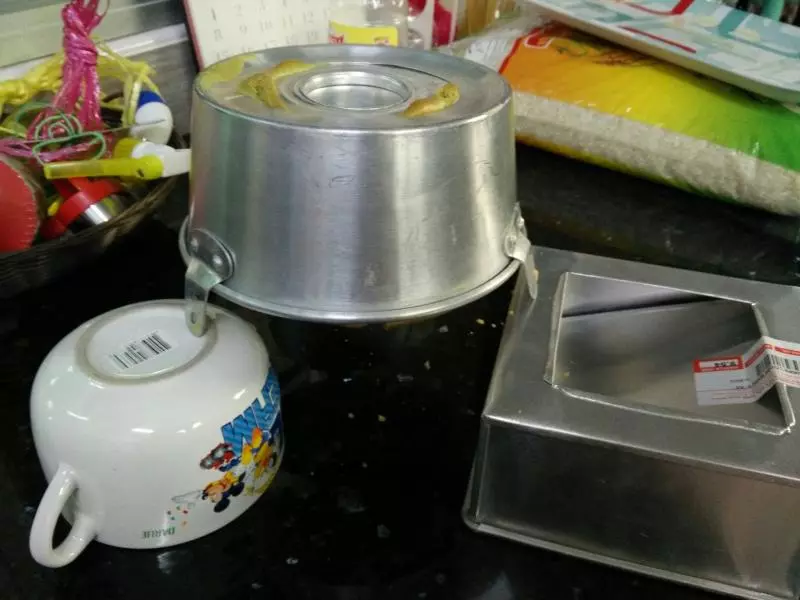
19出炉后马上倒扣待凉切片享用
小技巧
有些材料我已经稍微更改 糖部分都减了5克 把牛奶换去豆浆 原食谱: 蛋白6粒 每个烤箱温度有差异,所以要自行调整烤箱温度