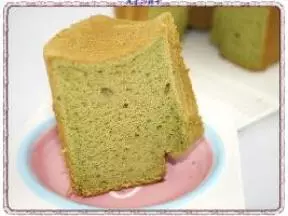
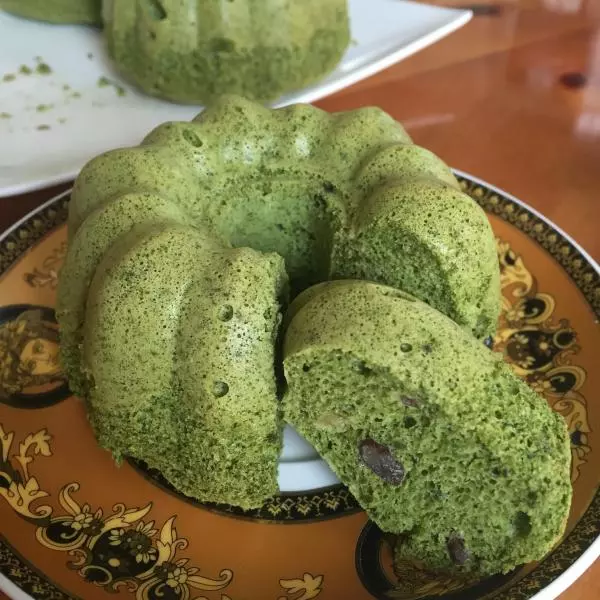
原料
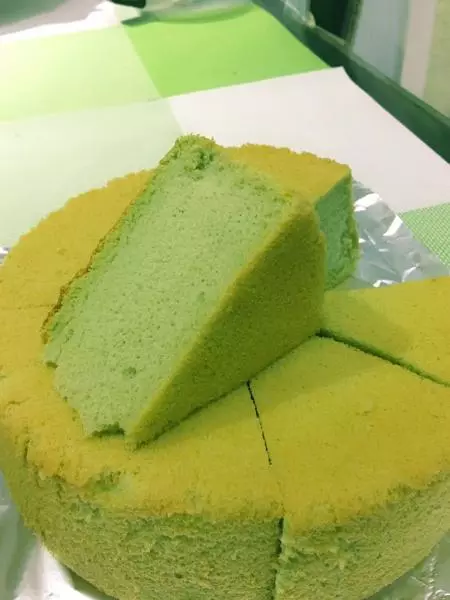
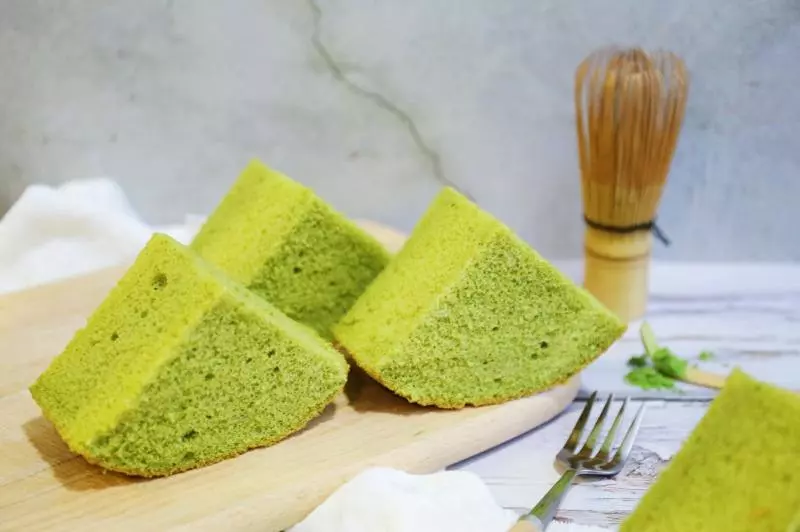
蛋黄: 3个, 植物油: 20g, 牛奶: 35g, 蛋清: 3个, 白砂糖: 40g, 玉米淀粉: 3g, 低筋粉: 45g, 抹茶粉: 7g, 蜜豆: 60g
步骤
1准备所以材料。蜜豆中加1小勺低粉(配方外),搅拌均匀,使蜜豆外均匀裹上低粉。蛋黄、植物油、水置于同一容器,将玉米淀粉放在白糖中,混合均匀。抹茶粉和低粉放在同一容器,混合均匀并过筛。

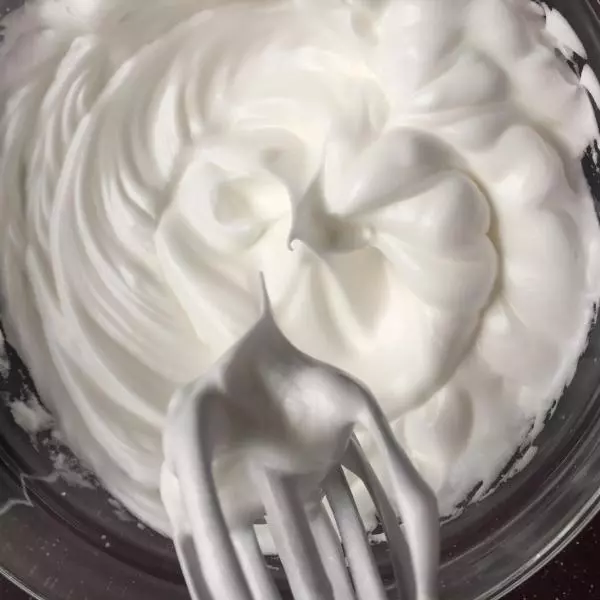
2打发蛋清:打蛋器打发蛋清,分别在蛋清呈粗泡、细泡和稍有纹路时加入白糖,继续打发至硬性状态,即提起打蛋器蛋白是小三角尖的形状即可。
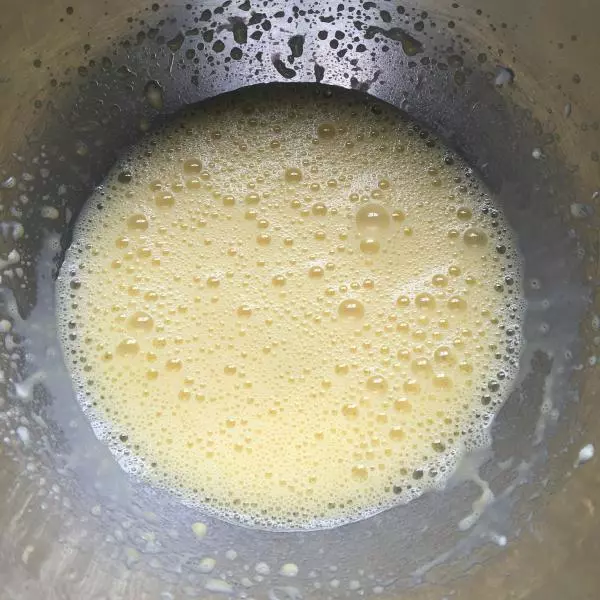
3搅拌蛋黄糊:用打蛋器搅拌蛋黄等液体材料,不用打发,搅拌至液体均匀没有油花即可。
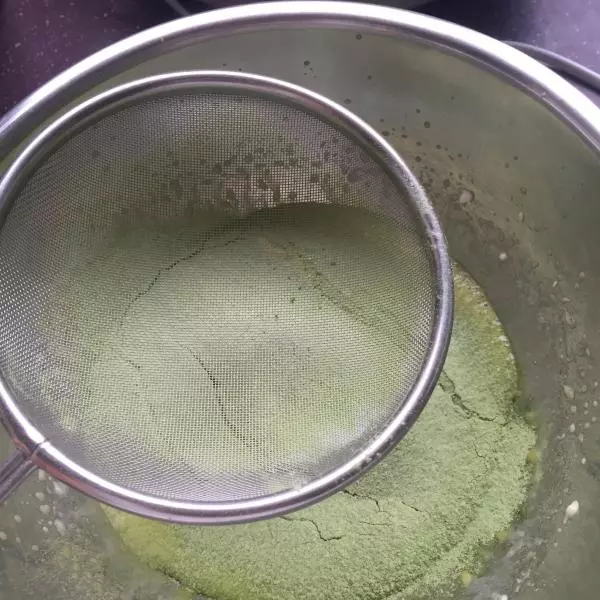
4将过过筛的低粉和抹茶粉加入蛋黄糊
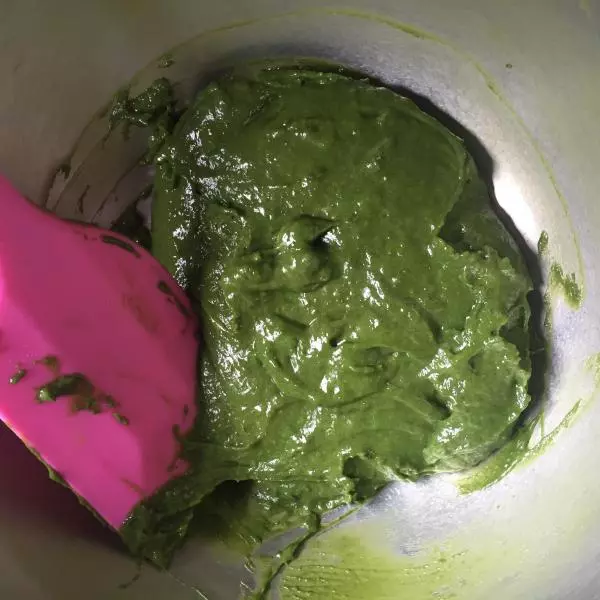
5将蛋黄糊搅拌均匀至没有颗粒感
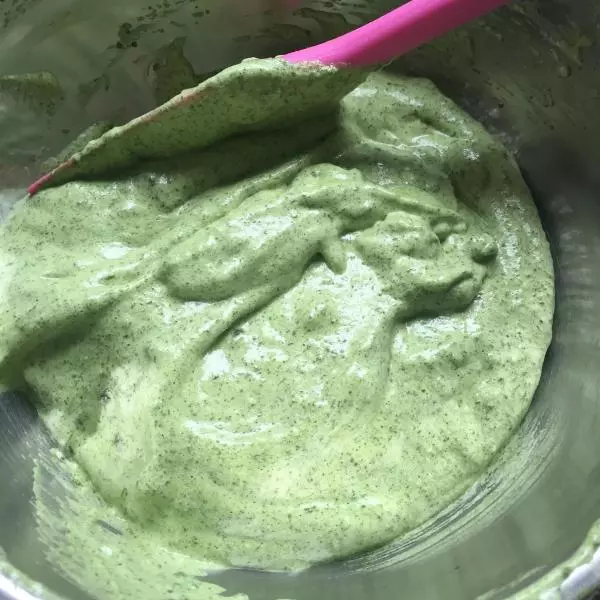
6蛋清分三次加入蛋黄糊,每次都要搅拌均匀,最后加入蜜豆搅拌均匀。
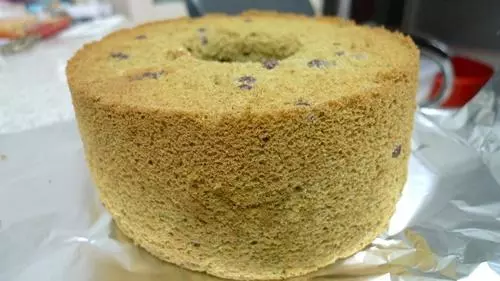
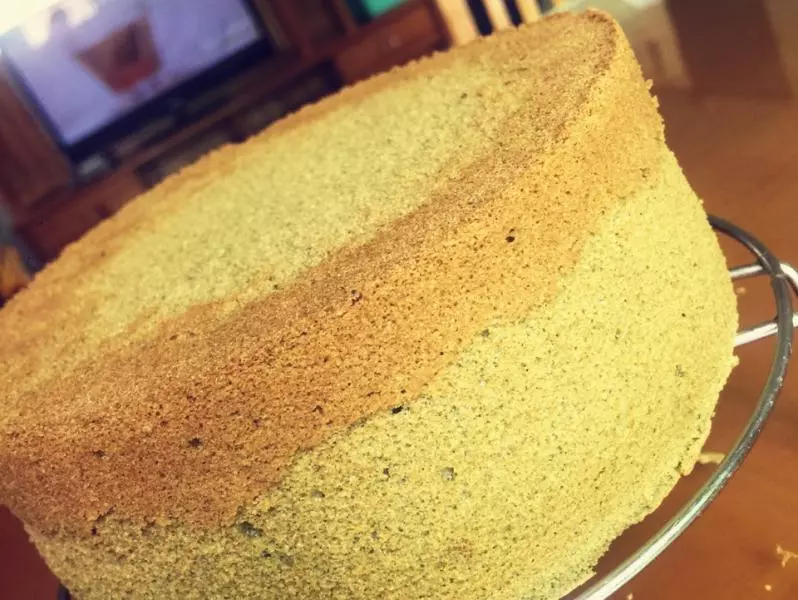
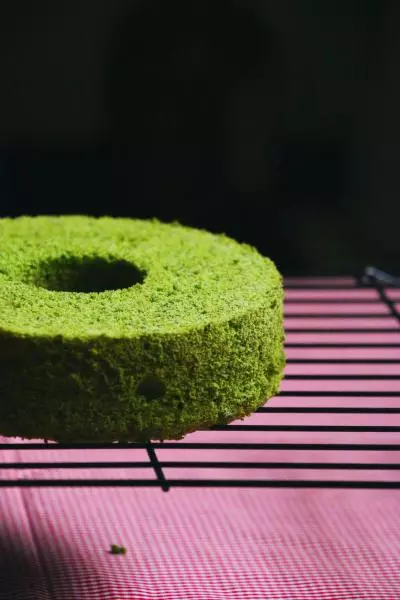
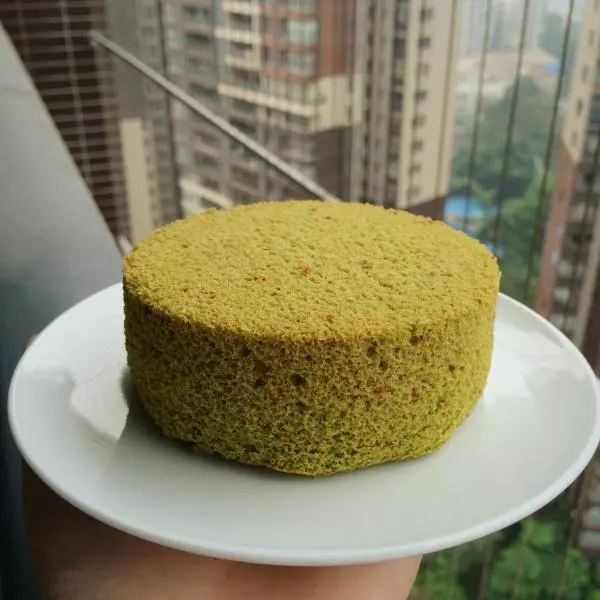
7烤箱预热150度,中下层烤37分钟出炉。

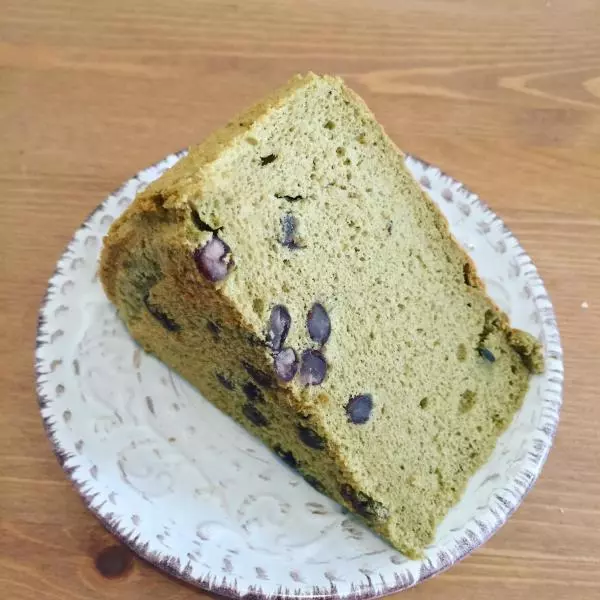
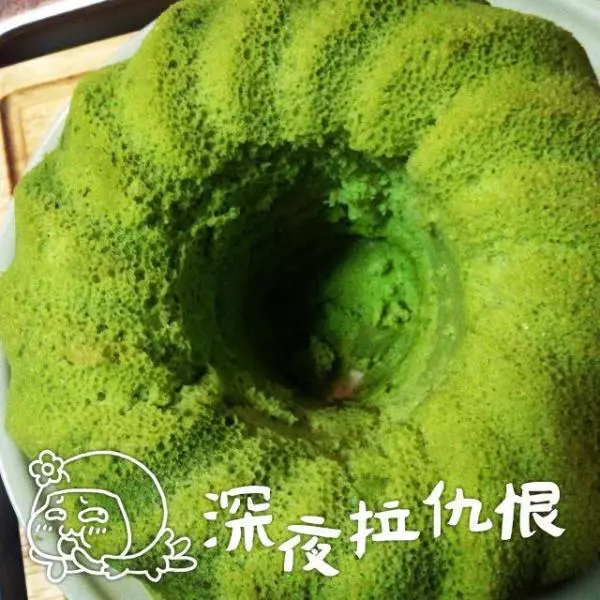
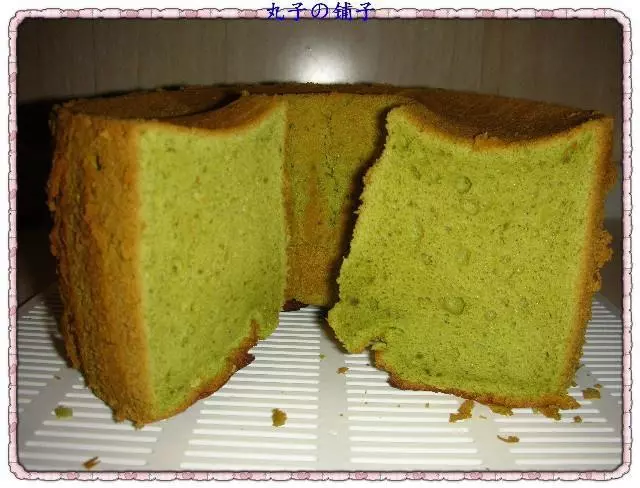
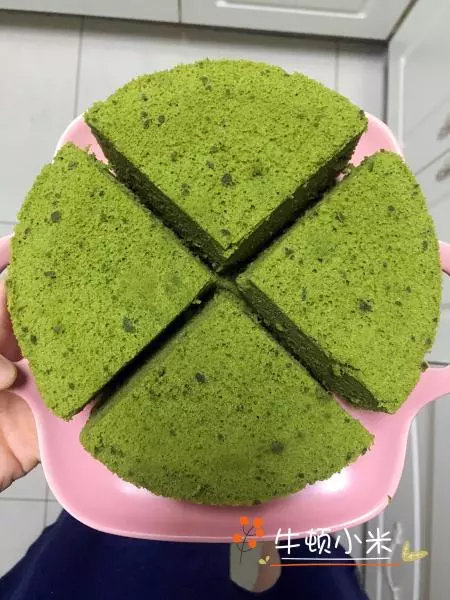
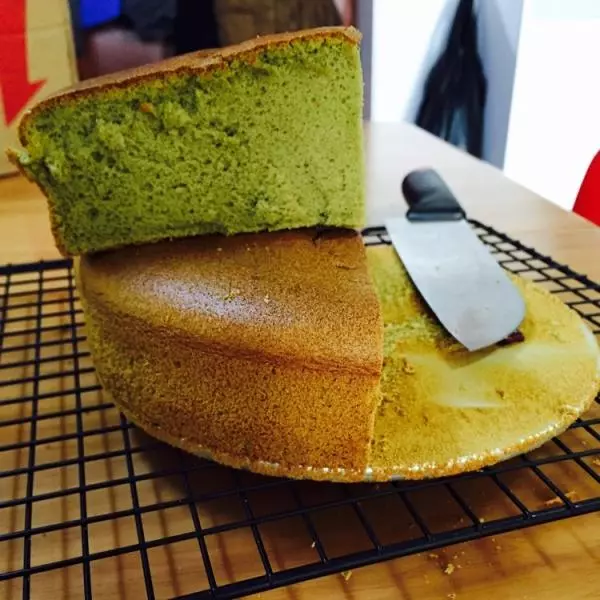
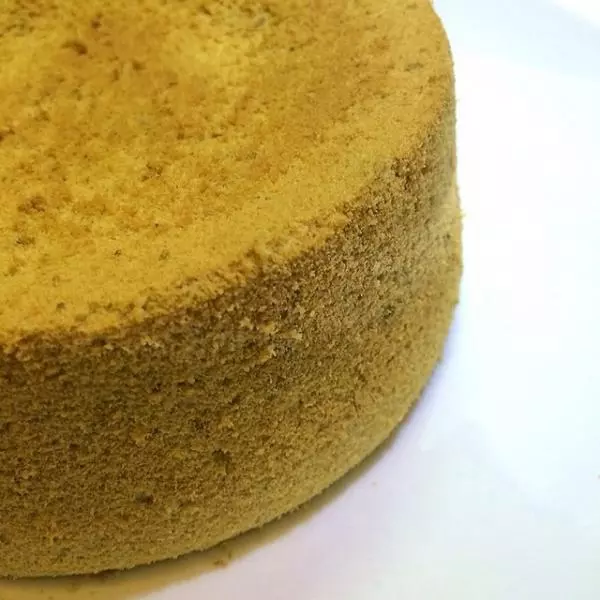
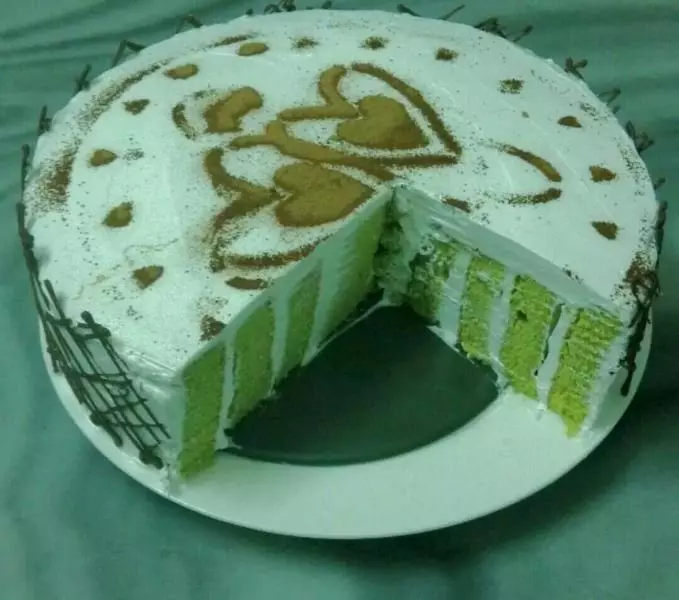
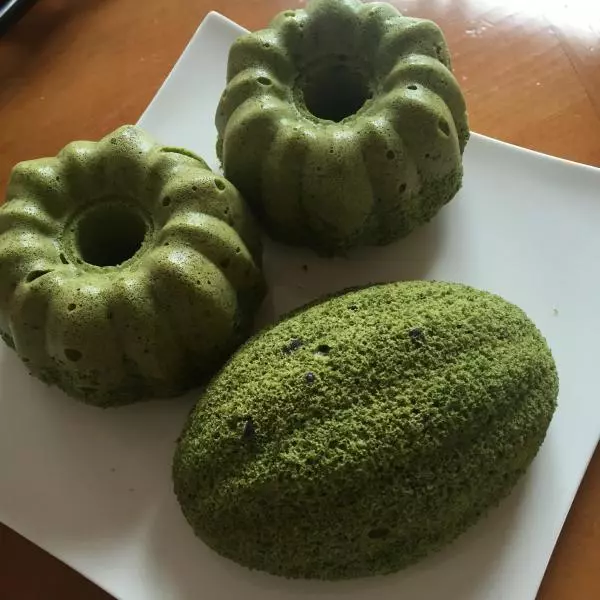
8出炉后倒扣,放凉后脱模即可食用。
小技巧
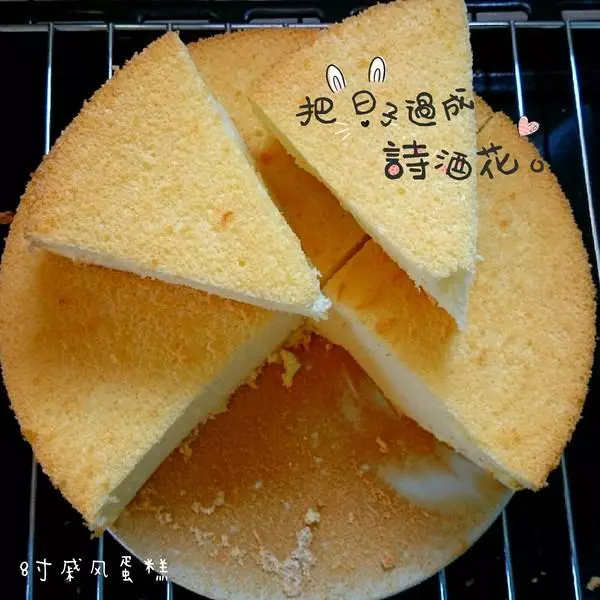
1、戚风关键在于搅拌手法,既要均匀又不能消泡,“搅拌均匀”4个字包含了很多意思。尤其是加了抹茶粉、可可粉之类的,蛋黄糊较粘稠,更容易消泡,搅拌是要注意。 2、蛋清的打发既要到位又不能过头,介于湿性和干性之间的状态最适合搅拌。 3、关于烘烤时间,时间是个非常灵活的数字,根据蛋糕大小和各自的烤箱情况都会有差异。一般6吋蛋糕我烤50分钟,这次用的是4吋模,烤了37分钟。关键要看蛋糕状态,轻拍蛋糕表面是嘭嘭嘭有弹性的感觉,而不是一按一个坑,就差不多好了。