原料
咸蛋黄: 11个, 红豆沙: 400g, 中筋面粉: 200g, 猪油: 70g, 清水: 90g, 糖: 10g, 低筋面粉: 140g, 猪油: 75g
步骤
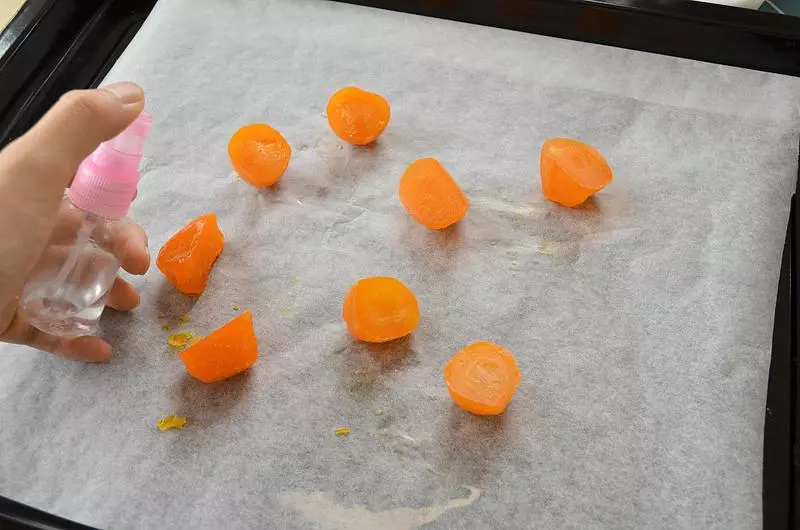
1将咸蛋黄切成两半,可以喷点朗姆酒去腥,放入烤箱150度烤至微微出油即可。(5分钟)
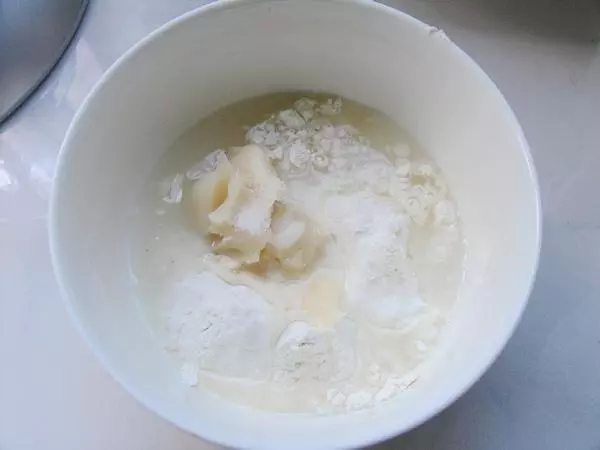
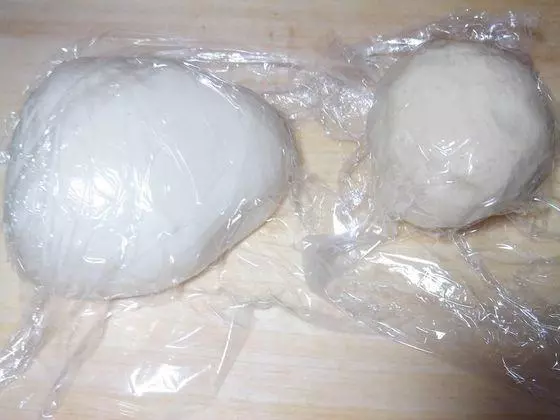
2水油皮所有原料混合,
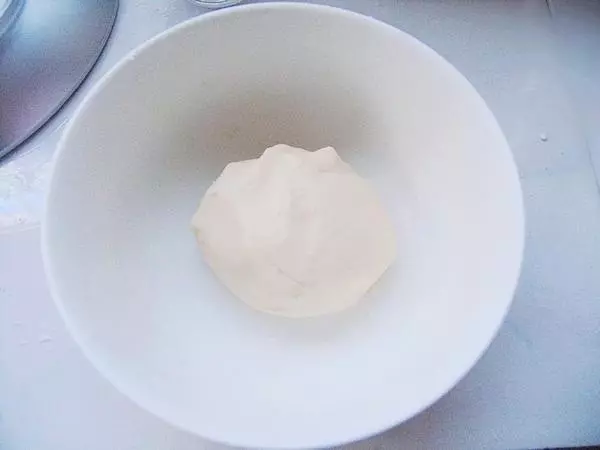
3揉合成面团,揉光。

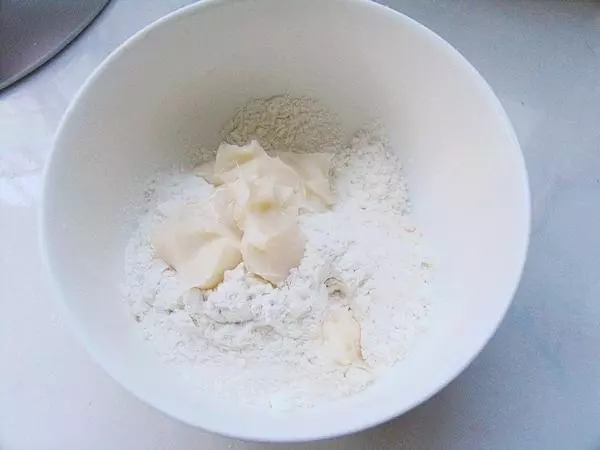
4油酥用料混合,
5揉成油酥面团。
6将油皮和油酥一起盖保鲜膜静置30分钟。
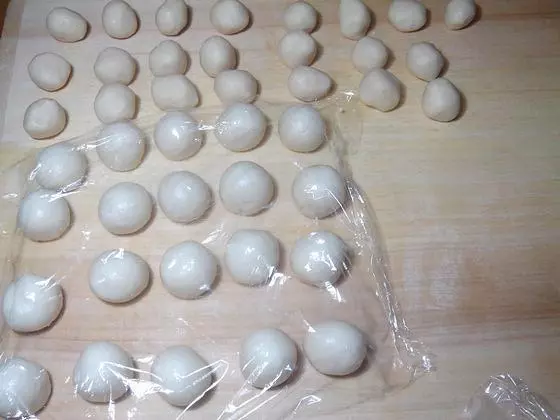
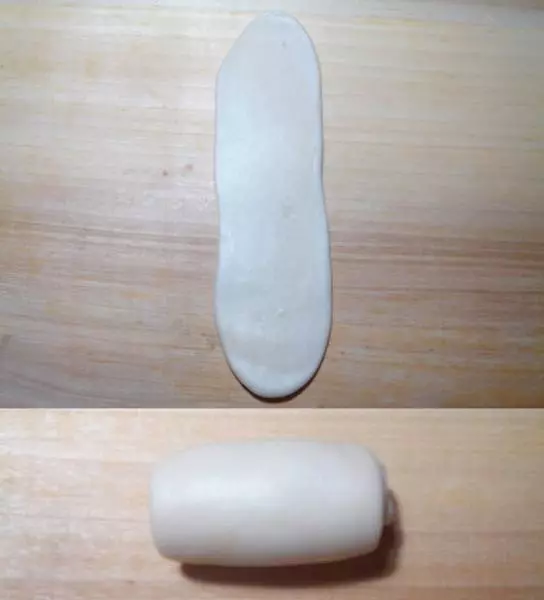
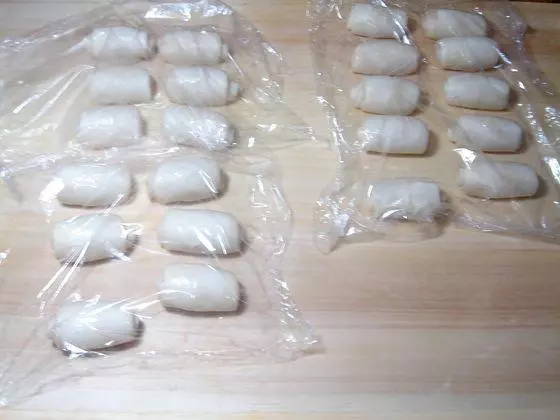
7然后分别将两块面团分成22份,并盖上保鲜膜,以免面团表皮吹风。
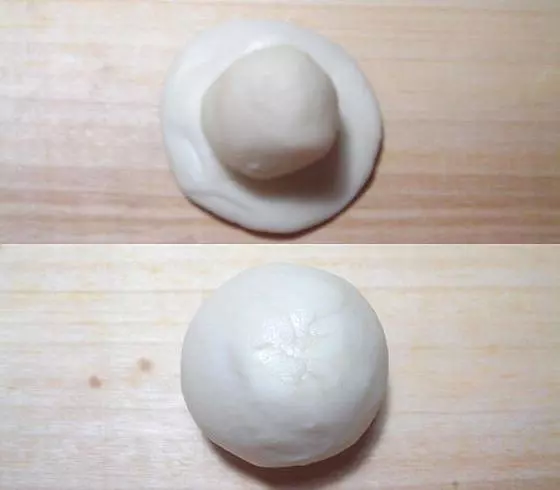
8将油皮压薄后放入油酥,包起来收口朝上。
9擀成长椭圆形,自上而下卷起来。
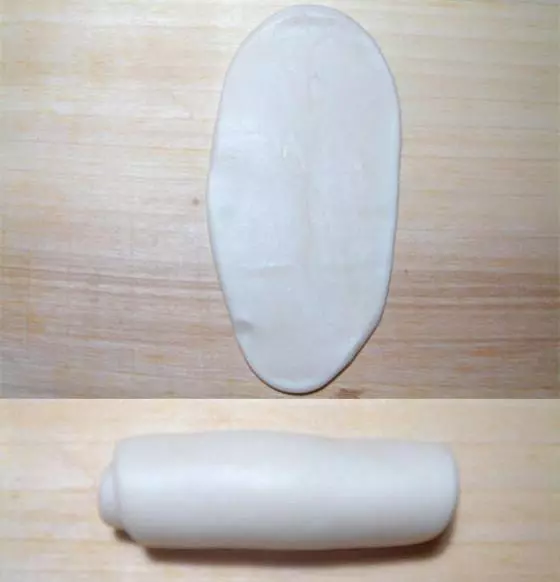
10再重复一次此步骤,再次擀长,自上而下卷起来。
11所有的都包好后盖好放置20分钟。
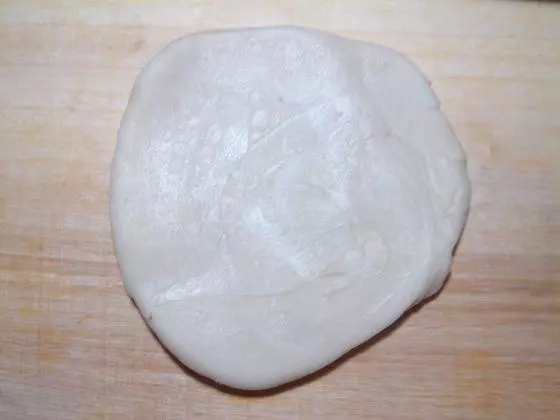
12醒发好后将面卷擀成圆形。
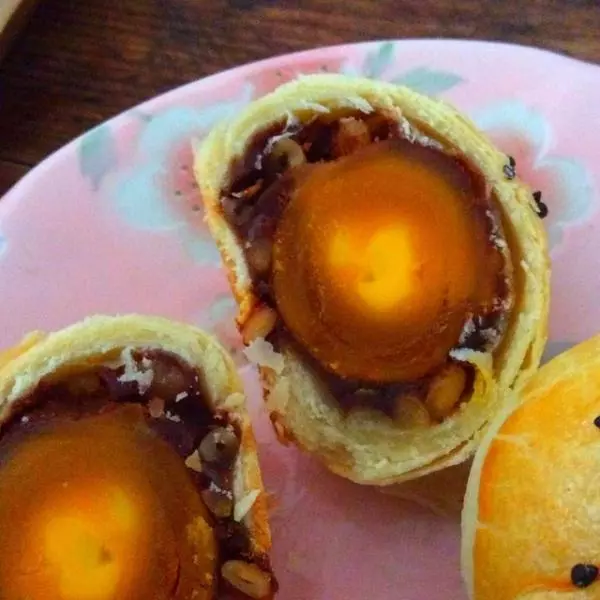
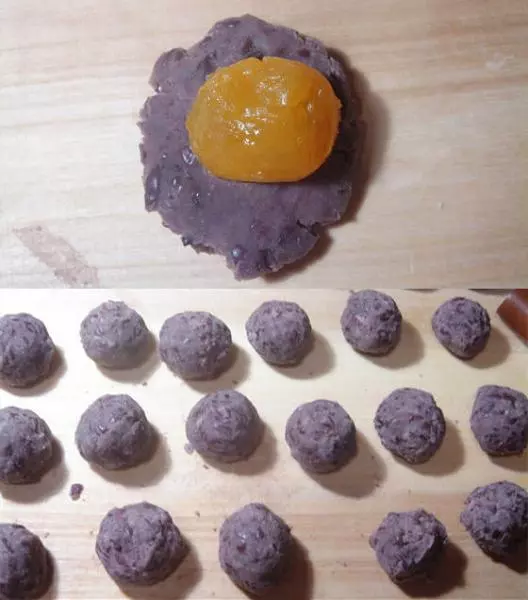
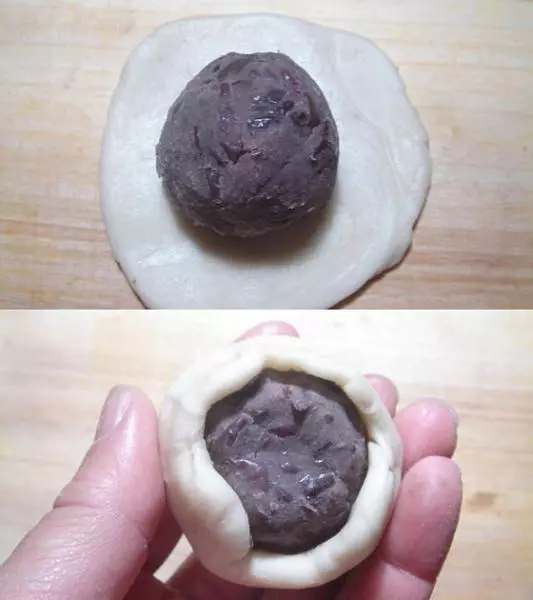
13蛋黄用红豆馅包起,尽量揉圆。红豆馅的制作:用高压锅煮熟后,把汤倒掉,加入适量的白糖搅匀后放炒锅炒至刚刚粘锅即可,做好的豆沙馅要盖保鲜膜,以防风干。
14包住蛋黄的豆沙再用面饼包起,收口捏紧。(不是包包子的包法,是用虎口部位往上推。)
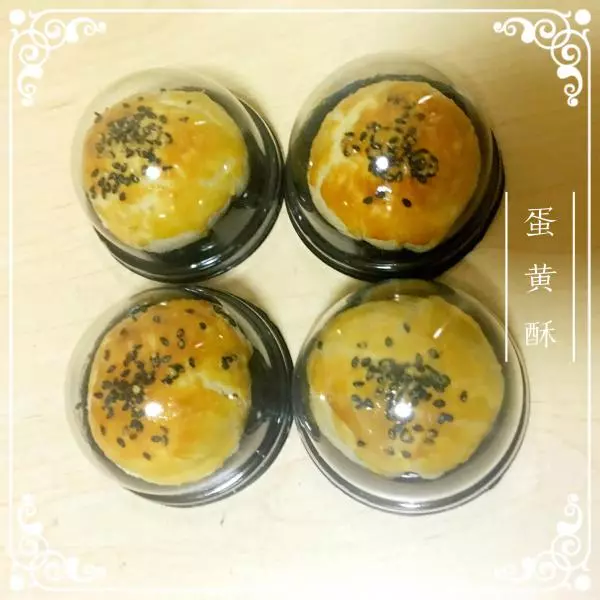
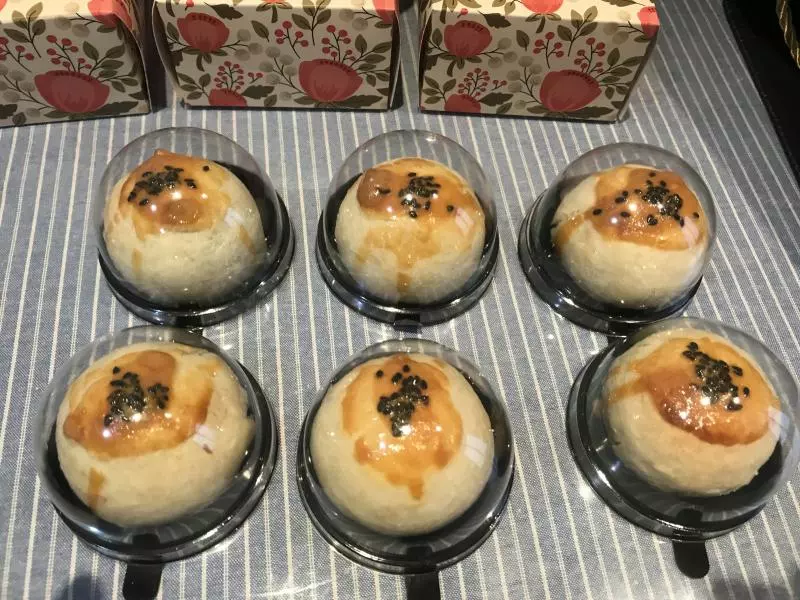
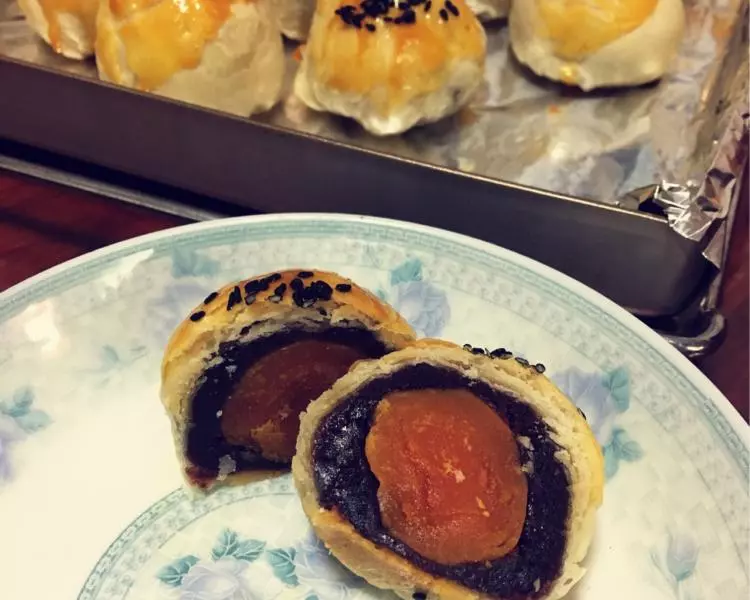
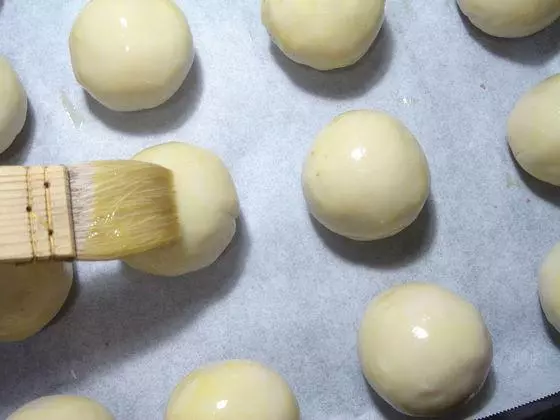
15收口向下放在烤盘上,表面刷蛋黄液,撒上黑芝麻。
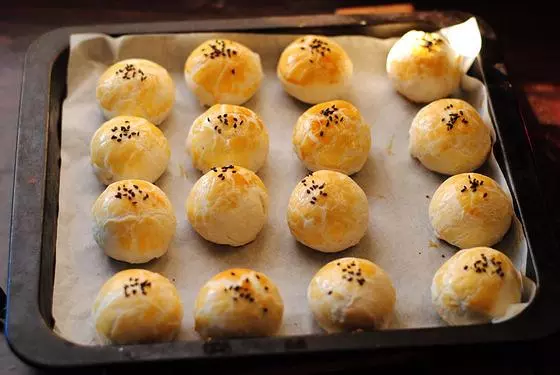
16烤箱预热,165度,中层,烤约25分钟至表面上色为金黄色即可。
小技巧
1、油皮油酥在操作过程中一定要盖好,风干后不好操作。 2、注意在包馅时封口要包严,防止在烤制时裂开口。 3、 猪油的起酥效果会更好更香。如果没有猪油,也可以用黄油或是植物油等量代替。 4、蛋黄酥也可以直接酥皮包蛋黄, 也可以使用这款酥皮包上各种不同的馅料, 成为各种不同风味的起酥糕点,比如莲蓉酥、枣泥酥等。