原料
低筋面粉A: 75g, 泡打粉: 2g, 黄油A: 75g, 低筋面粉A: 75g, 香草精: 2g, 糖粉: 75g, 盐: 1g, 黄油B: 适量, 低筋面粉B: 适量
步骤
1加入已经融化的黄油A,搅拌均匀,面糊放入裱花袋中,在冰箱里冷藏1小时。
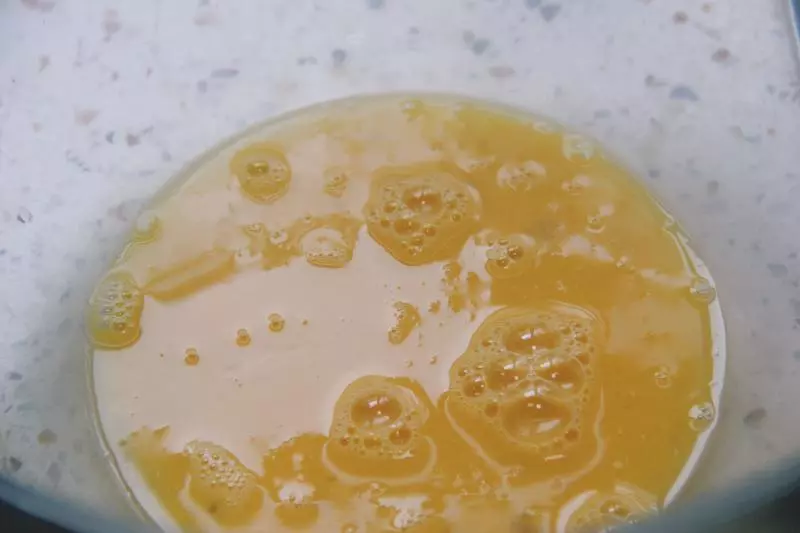
2鸡蛋中加入糖粉和盐,搅拌均匀。
3继续在鸡蛋中加入香草精(可以按个人口味调整用量)。

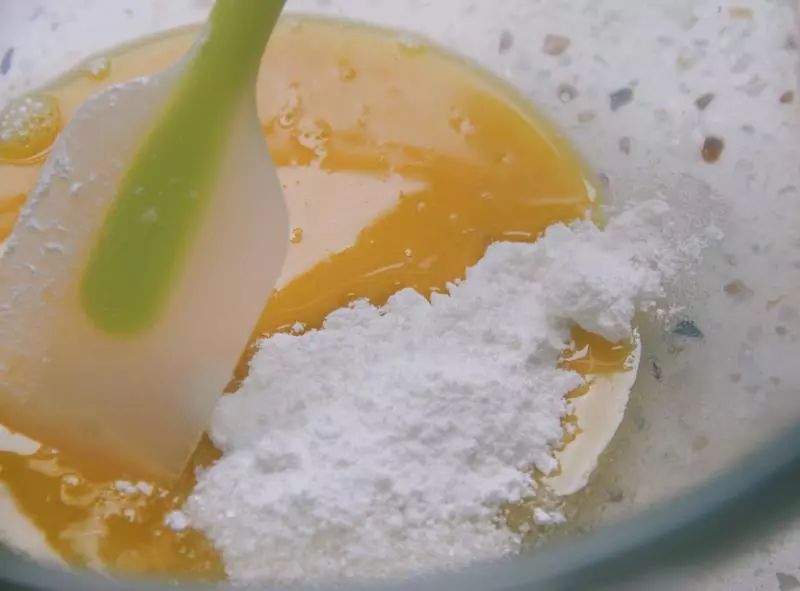
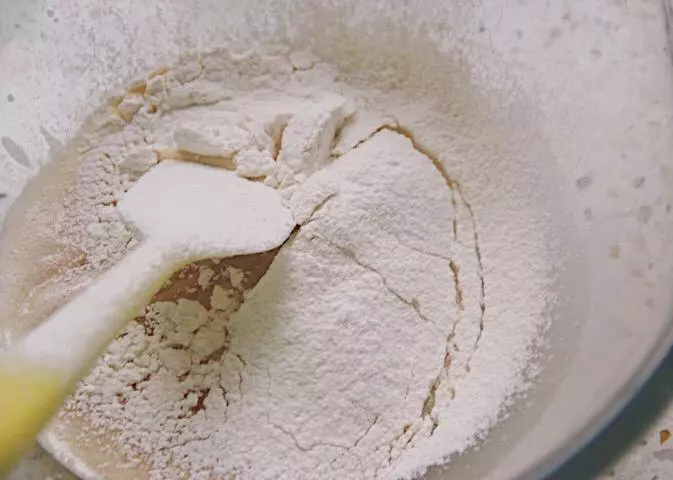
4加入已经过筛好的泡打粉和低筋面粉A的混合物,搅拌均匀。
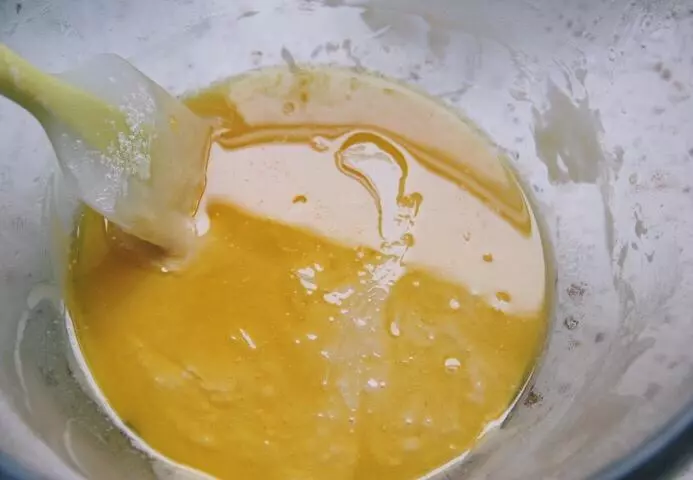
5加入已经融化的黄油A,搅拌均匀,面糊放入裱花袋中,在冰箱里冷藏1小时。
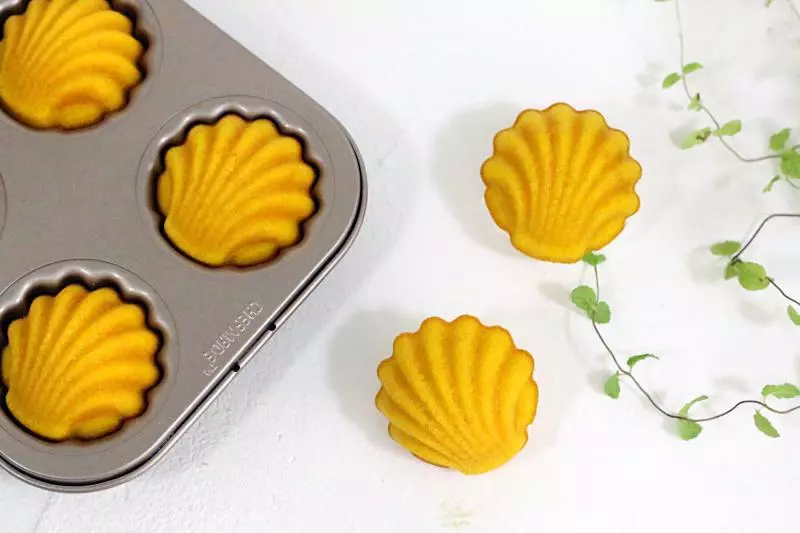
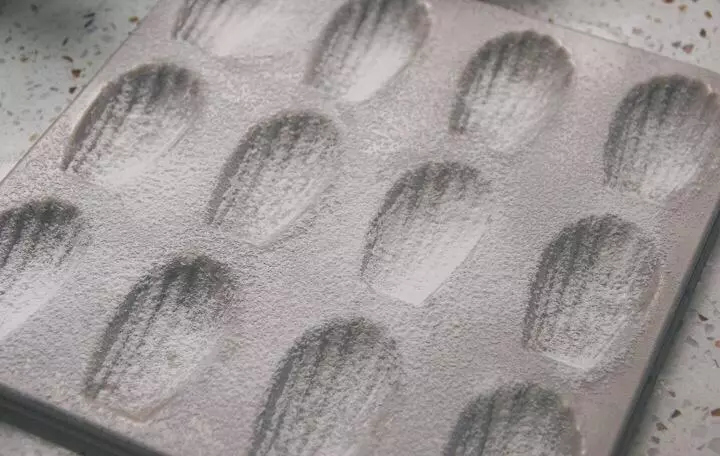
6【模具防粘】 以下可以提前做好 A.将黄油B室温软化,用刷子将黄油涂抹在玛德琳模具上,放入冰箱冷藏。一段时间后,取出撒一层的低筋面粉B,轻轻敲模具,将多余的面粉抖出。 B.用脱模膏涂抹在模具上。(可以搜索一下,我还没有试过呐ヾ)
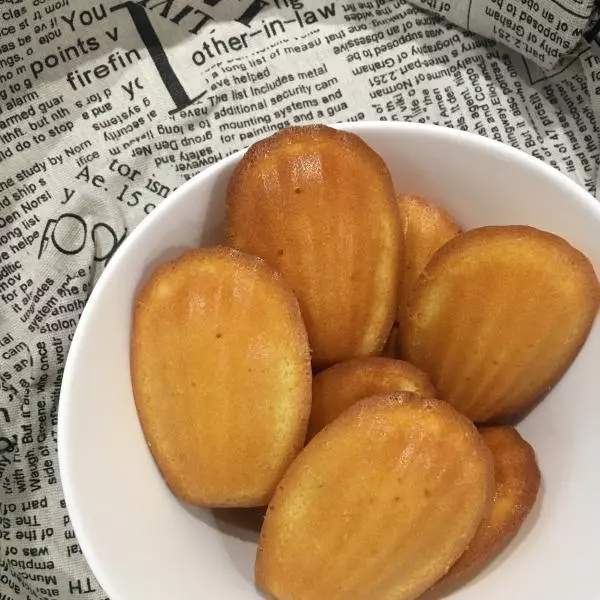
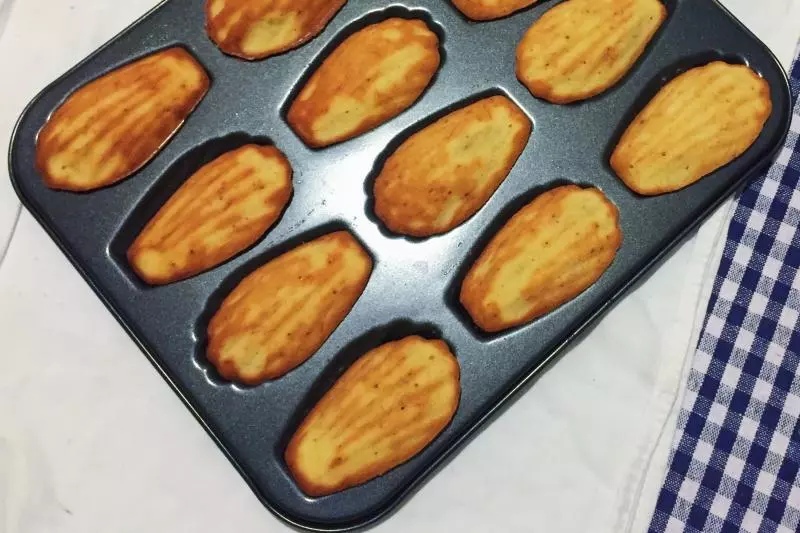
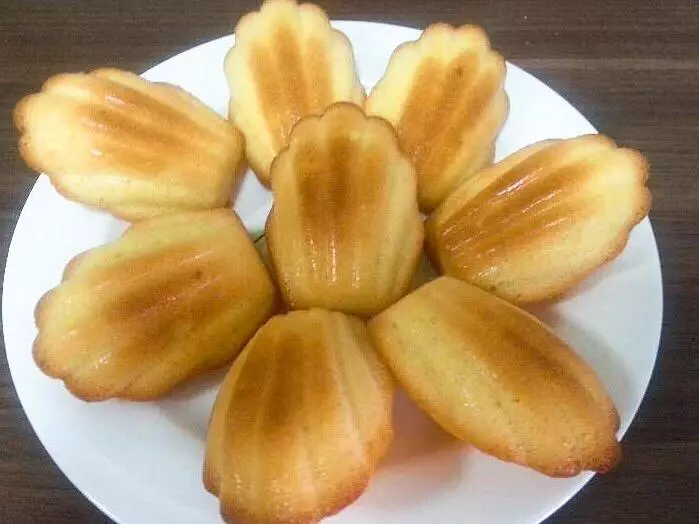
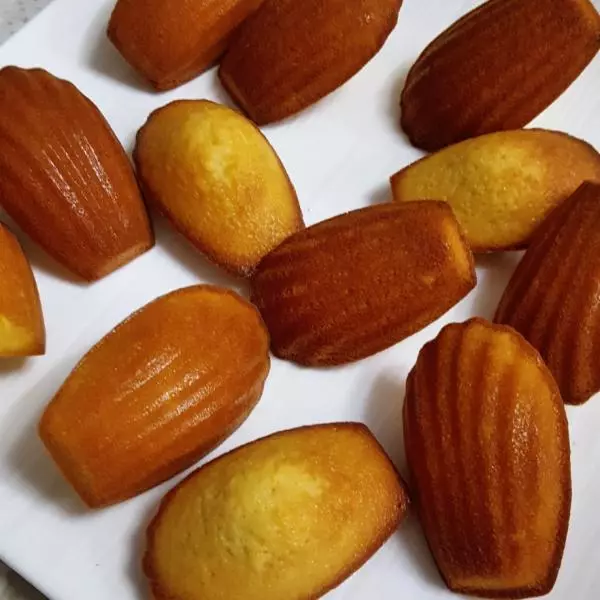
7将冷藏好的面糊挤入模具中8分满即可,以上提供分量可以做12-13个。(以上我做了12个,把每个模具中面糊挤的比较满,如果挤8分满,应该可以做13个)

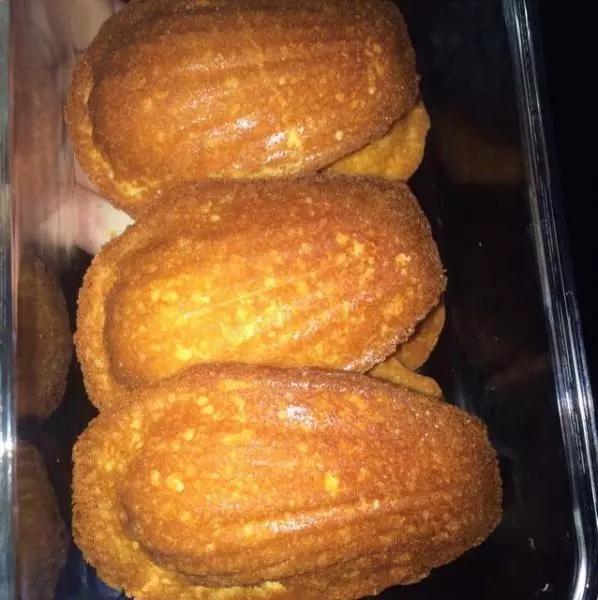
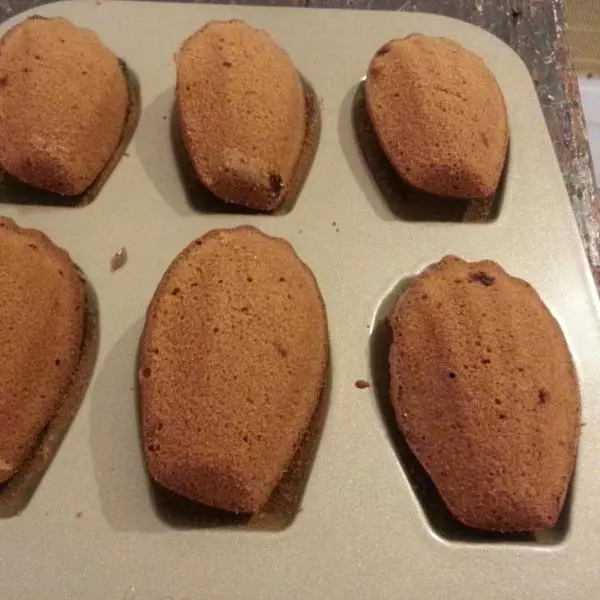
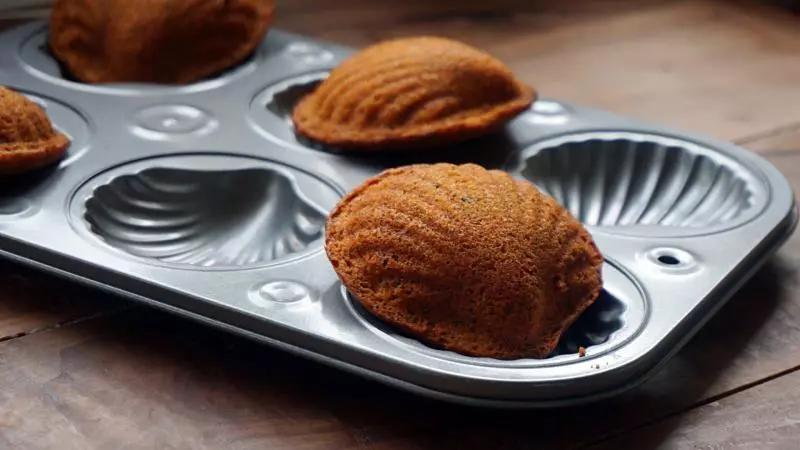
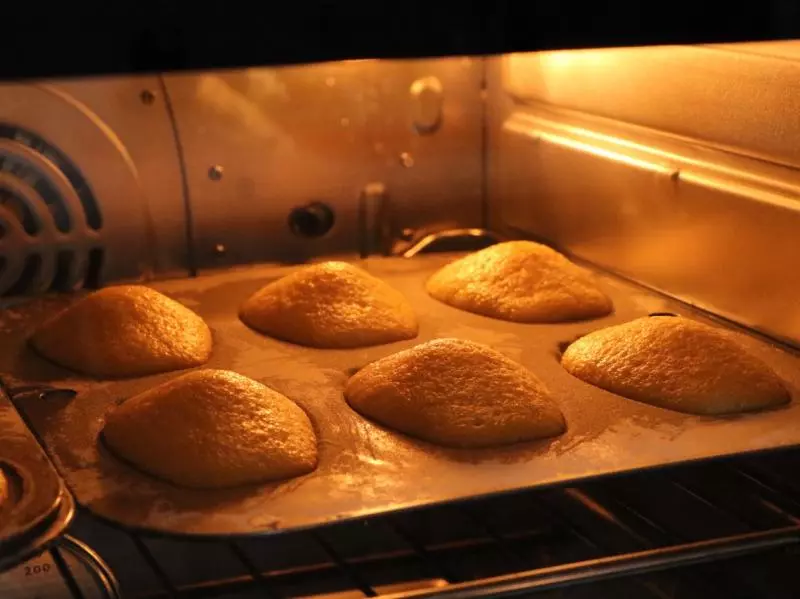
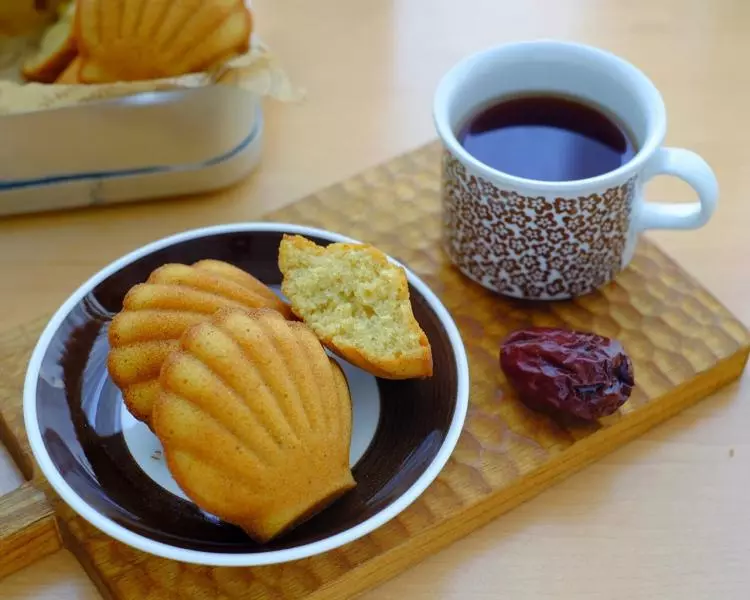
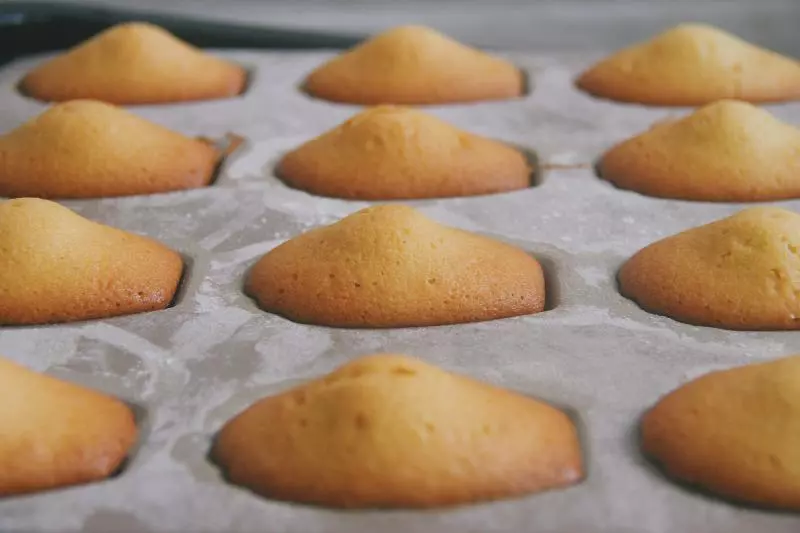
8预热烤箱至180度,烘烤16分钟左右。(“小肚子”已经出来啦)

小技巧
(1)一定要做好【模具防粘】,不然就会有很多蛋糕粘在模具上,弄不下来。 ps:我刷了两遍黄油,几乎没有粘在模具上 (2)香草精可按自己的喜好放入。 (3)不用放冰箱冷藏,除非你要保存很久,个人觉得还是室温下的好吃呐,请尽快食用。 (4)我只冷藏了30min的面糊,也没有什么问题呐。