原料
低筋面粉: 50g, 鸡蛋: 50g, 黄油: 60g, 干果: 50g, 橙皮: 5g, 君度橙酒: 2g, 砂糖: 50g
步骤
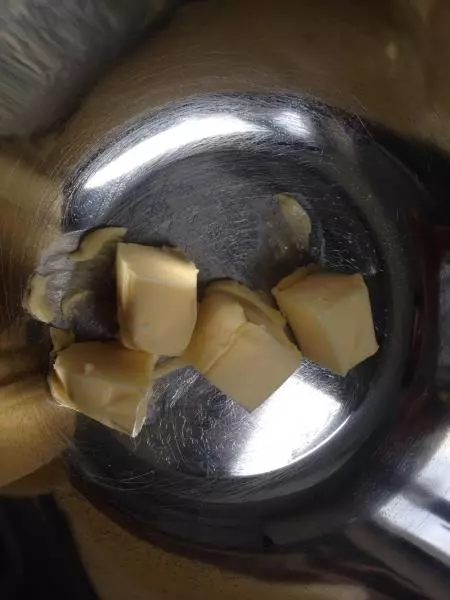
1重点的重点来了!黄油要室温软化,不要融成液态
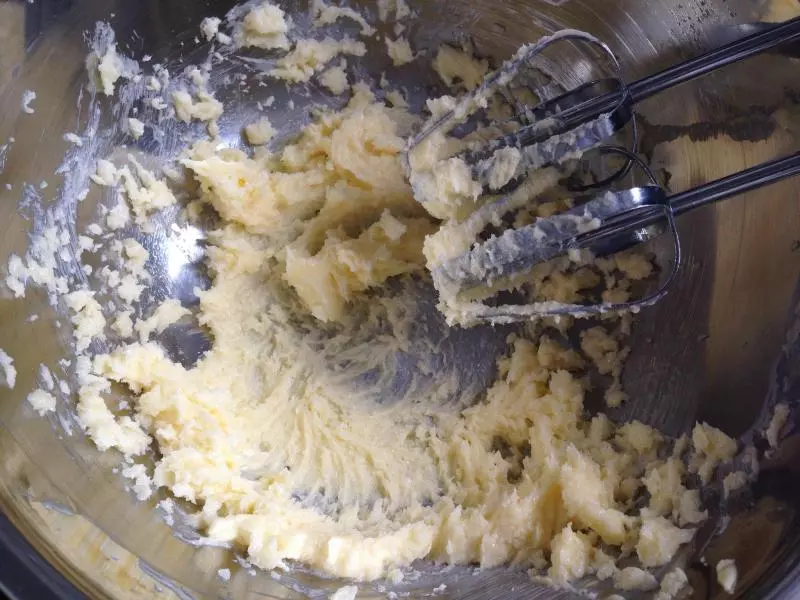
2加入1/2砂糖,用打蛋器混合好,分2次再慢慢加入剩余砂糖混合好,打至微发白,柔顺状态
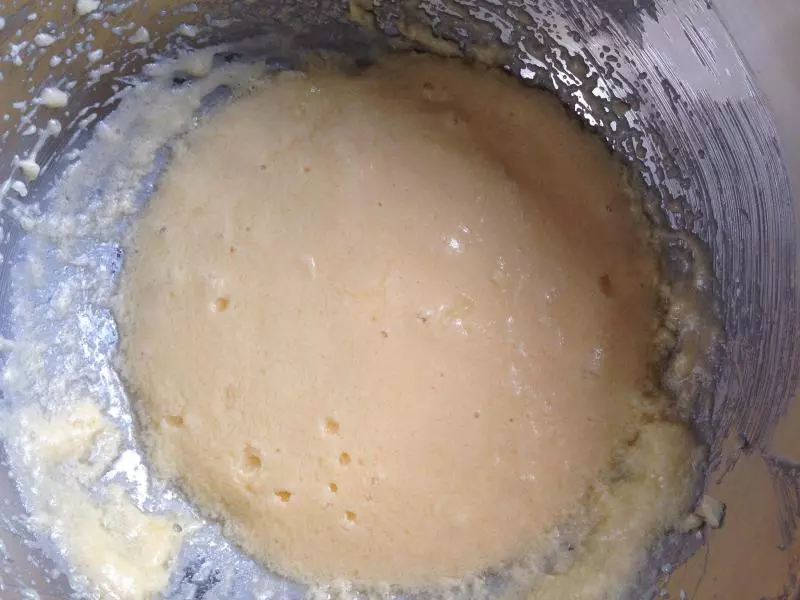
3分2次加入全蛋液,打至完全柔顺如图
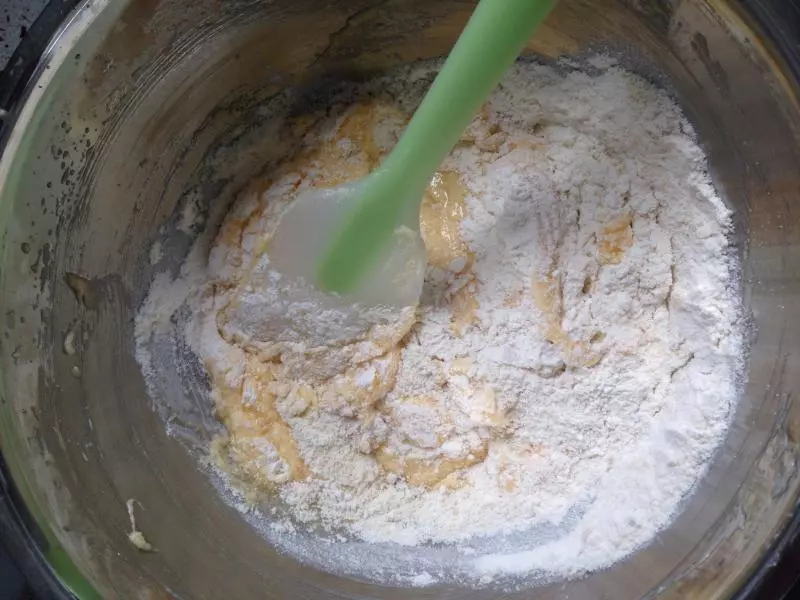
4把泡打粉,低筋粉过筛入奶油糊中,混合至无颗粒状态
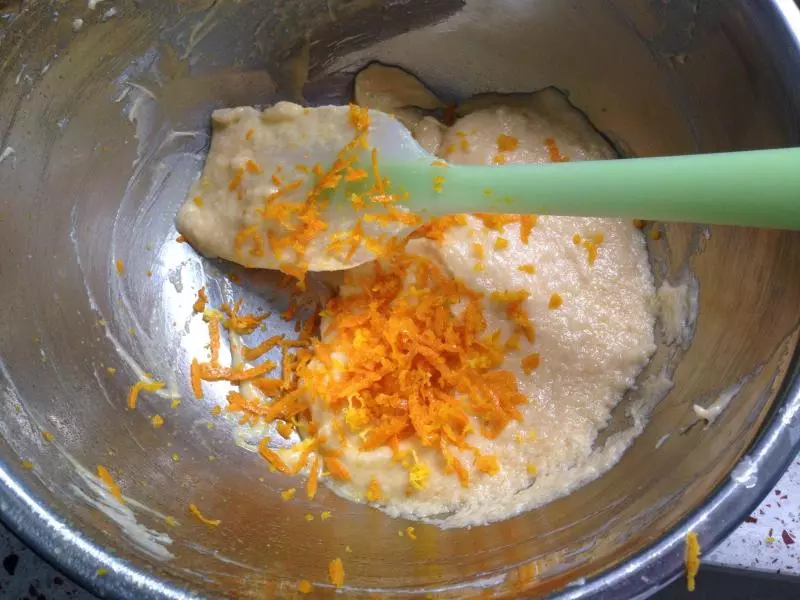
5把橙皮屑加入面糊中
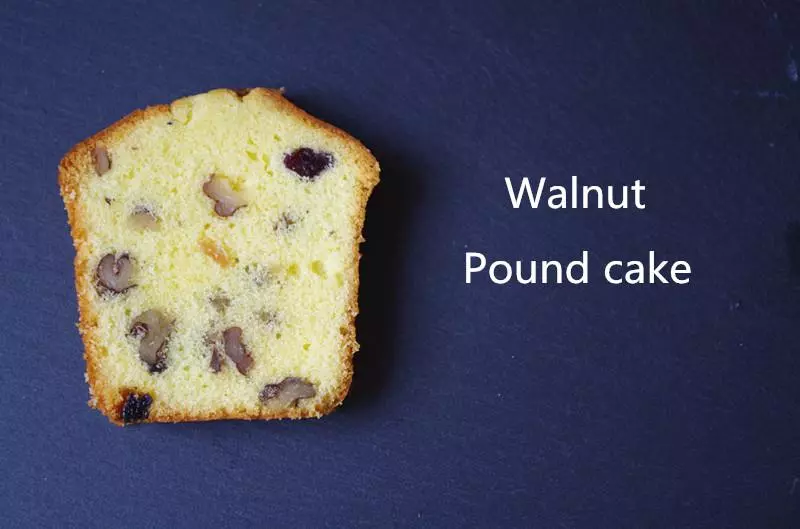
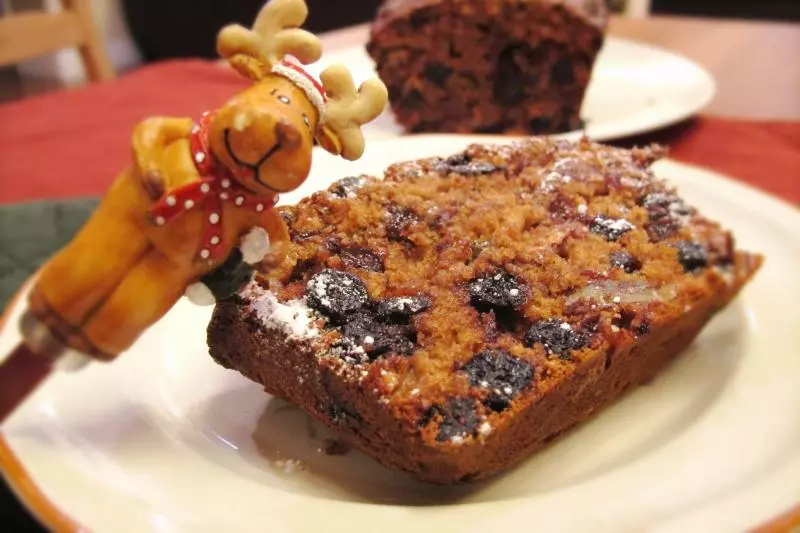
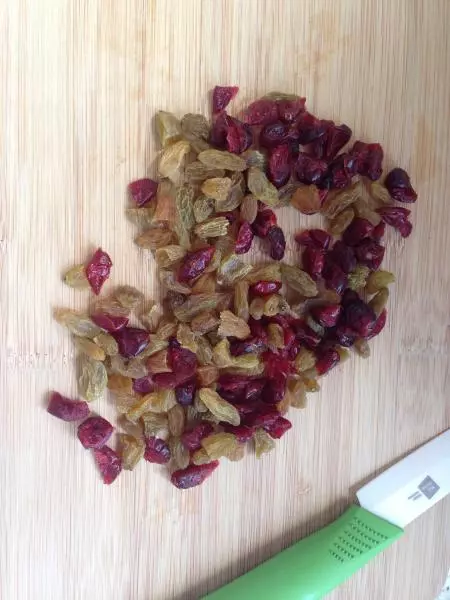
6把干果切碎
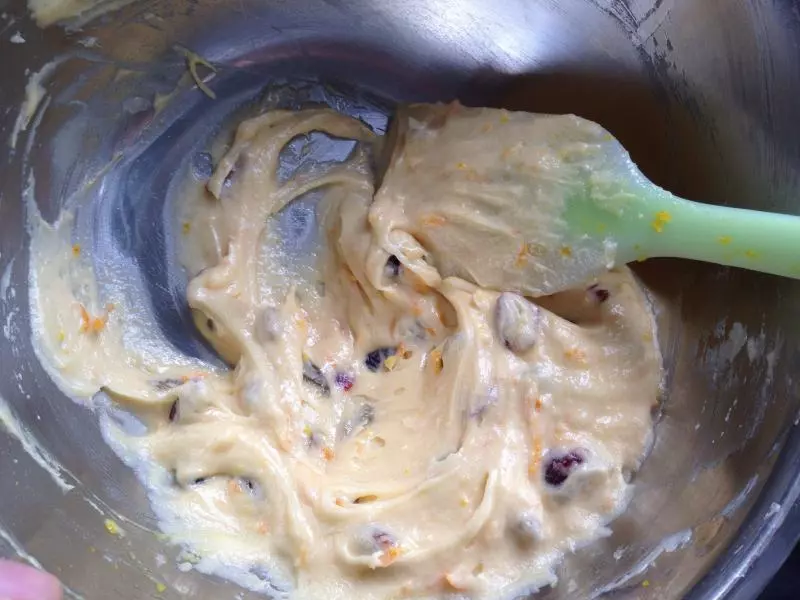
7把干果碎也加进面糊里混合好
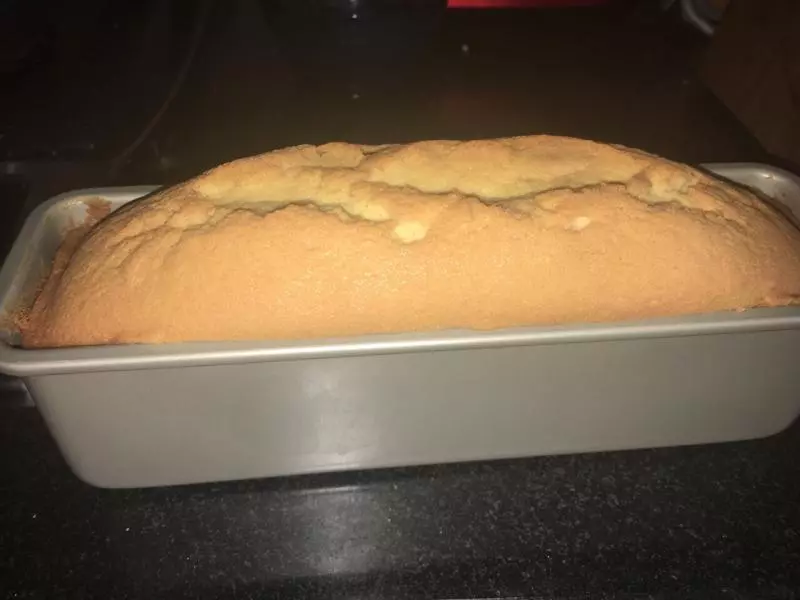
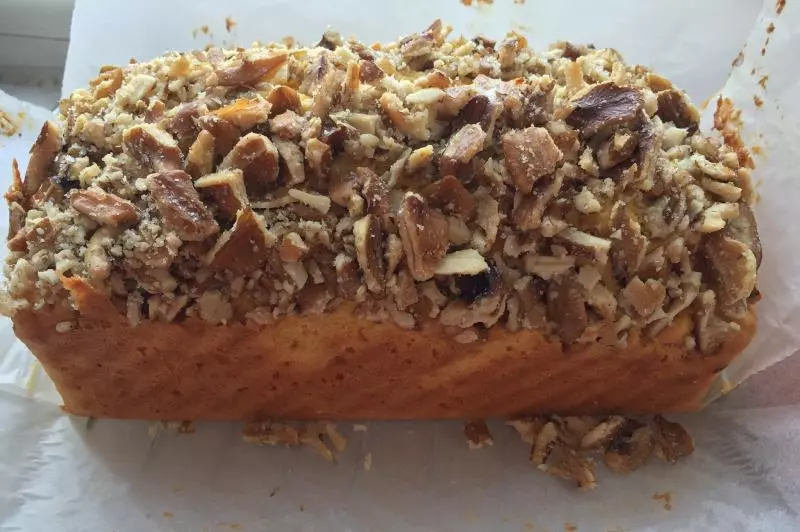
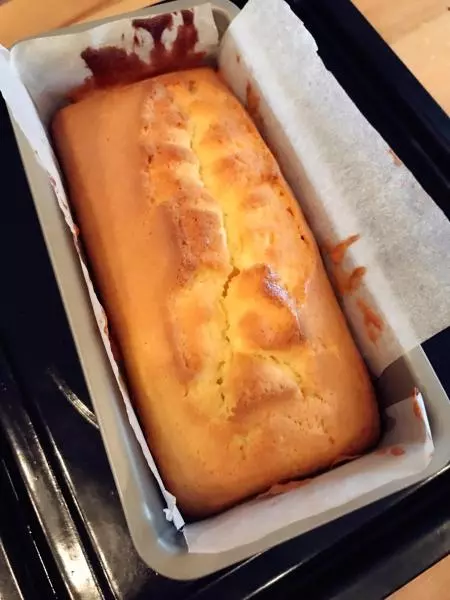
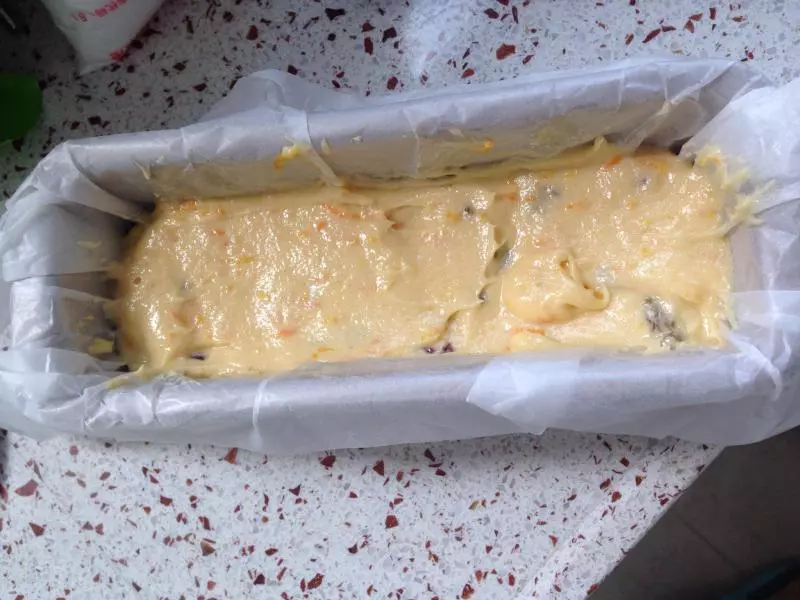
8倒进模具里,把面抹平,2侧稍高,中间端低,烘烤过程会中间膨胀,这样会使蛋糕面稍平点
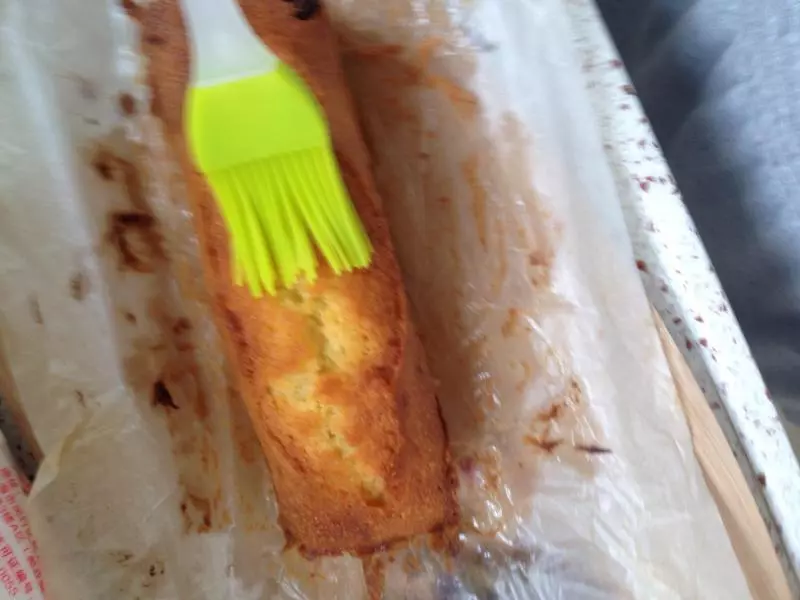
9预热烤箱170度烤15分钟,再把蛋糕对调移动一下位置,使颜色均匀,再烤15分钟,ok
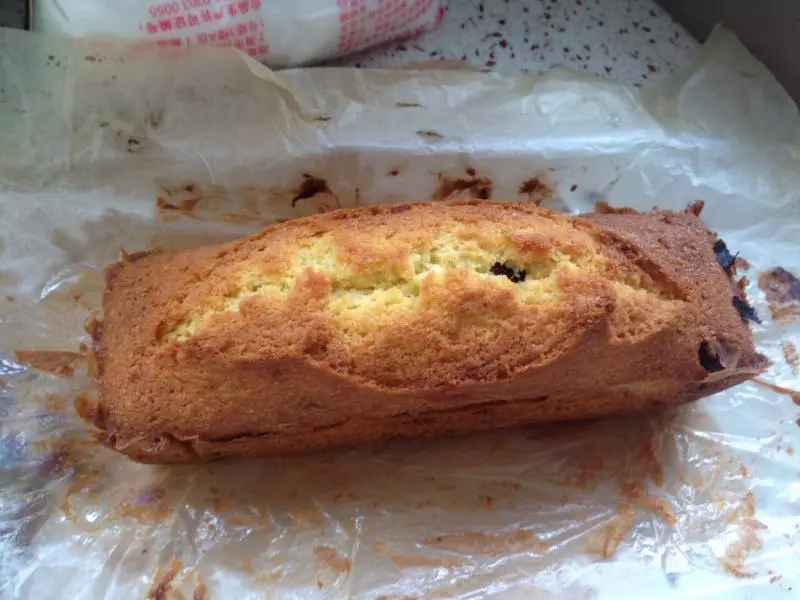
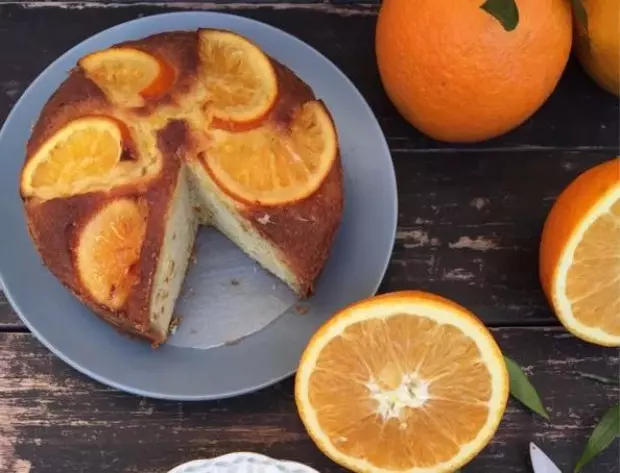
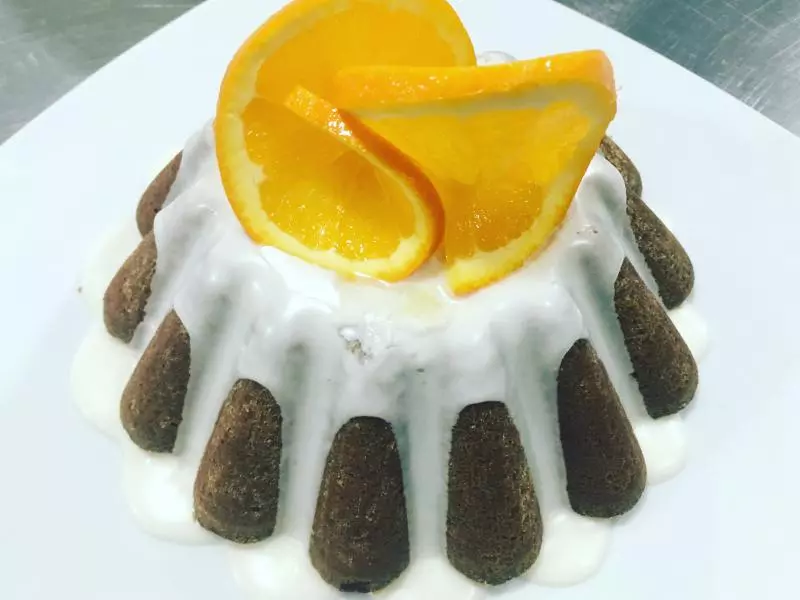
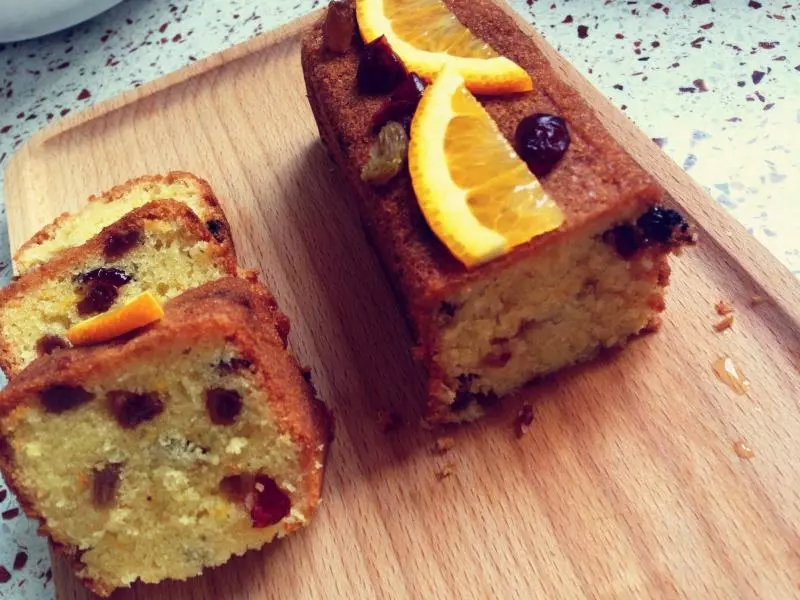
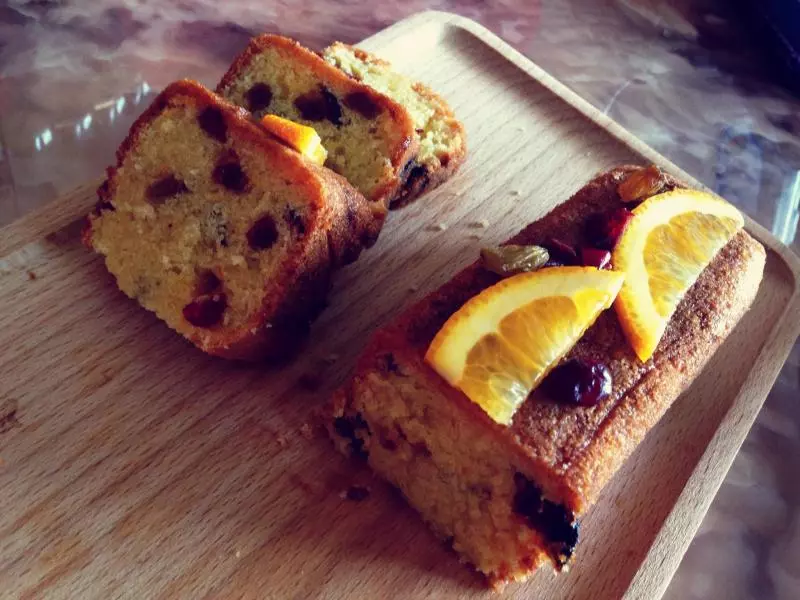
10重点的重点又来了!趁热用橙酒扫面,用保鲜膜包住,使酒渗进蛋糕里,可放进冰箱冷藏1小时再拿出来做装饰。我拿橙子汁兑了一点果胶抹面,再用橙子片,干果装饰。我把蛋糕翻过来做的装饰,更fashion。?
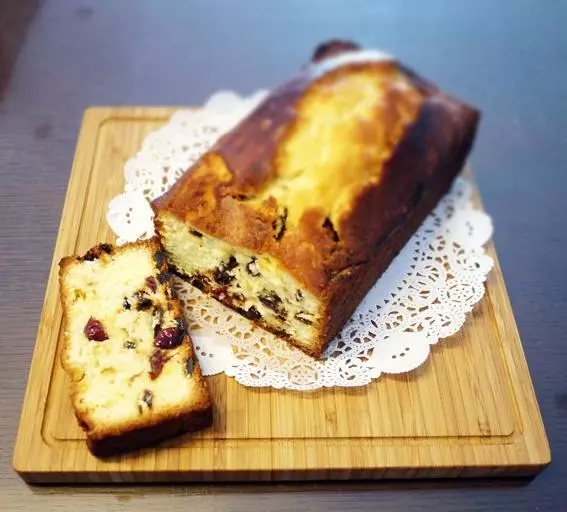
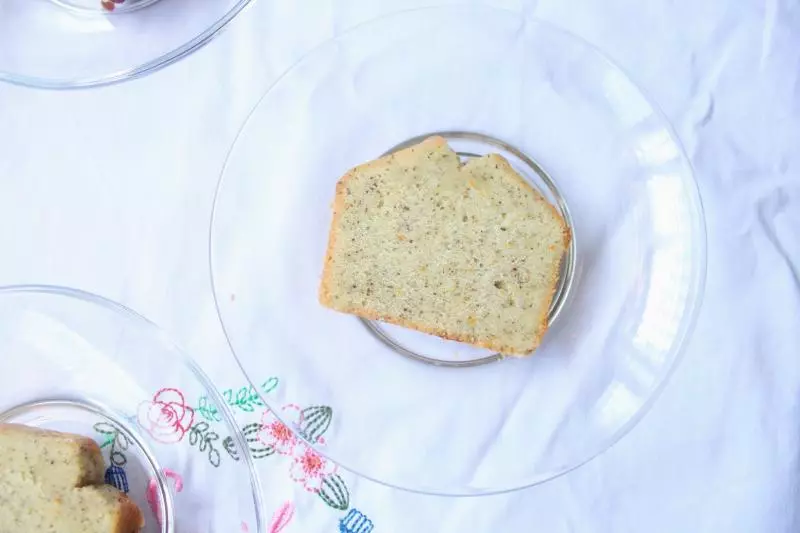
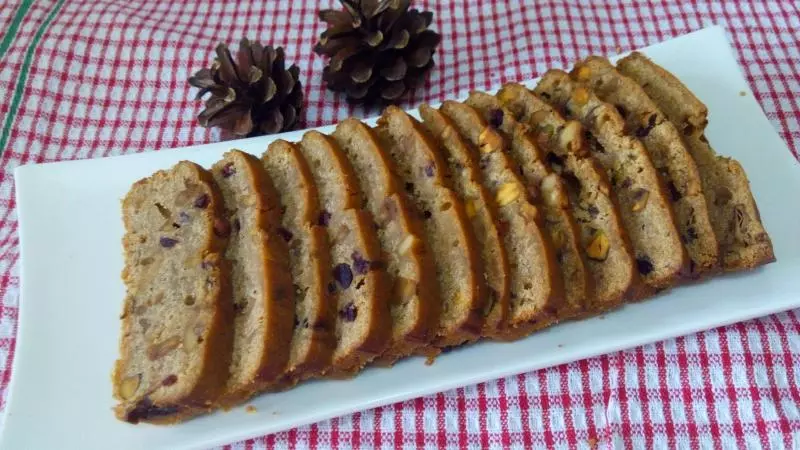
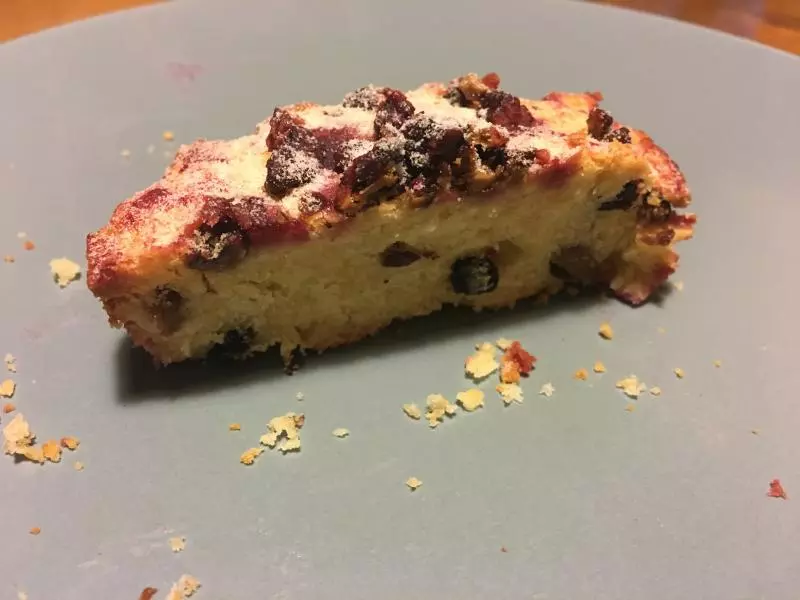
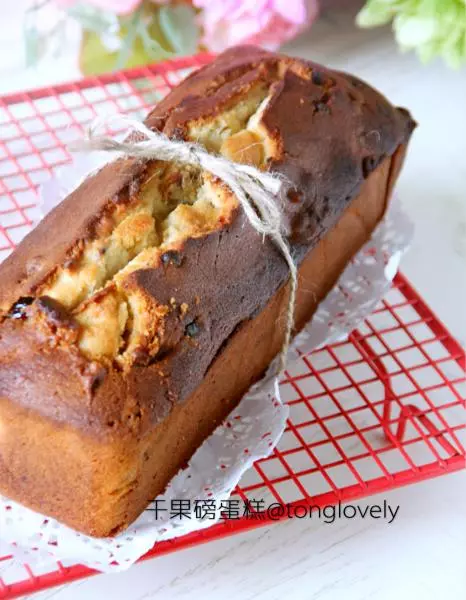
11完成
小技巧
我使用的模具比较小,是21178的磅蛋糕模。大家要是模具大那就翻倍原料就好