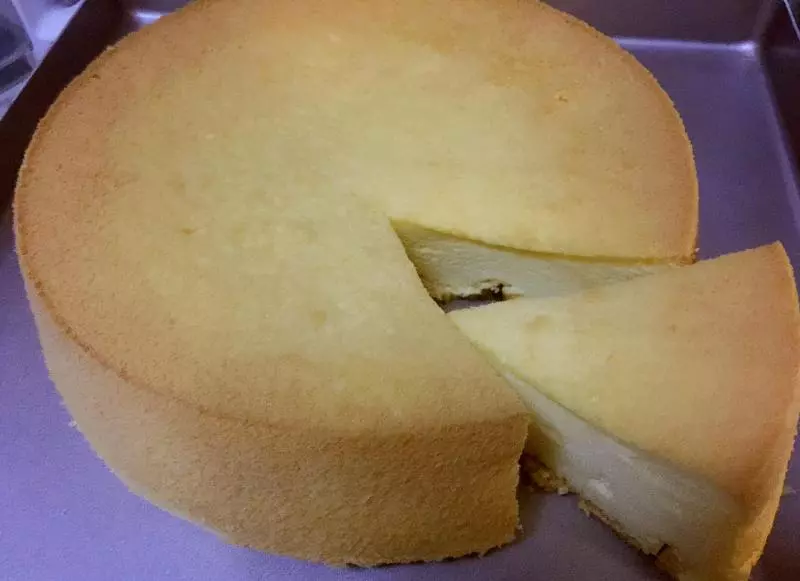
原料
蛋黄: 5个, 椰浆: 120毫升, 低粉: 95, 植物油: 60, 蛋白: 5个, 糖: 60, 柠檬汁: 几滴
步骤
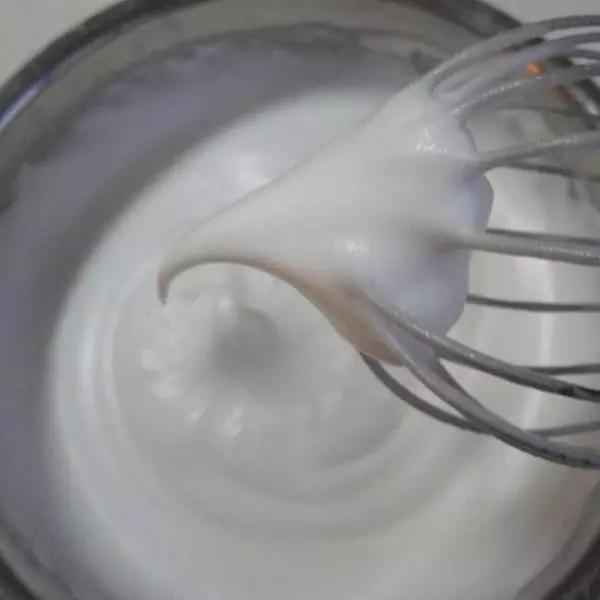
1蛋白加柠檬汁分三次加糖打至接近硬性。
2蛋黄加椰浆植物油用手抽打匀,加低粉轻轻打匀,我直接用电动打蛋器低速档打的,没有那么可怕啦。这里其实应该在蛋黄里加20克白糖,因为自己不喜欢太甜,所以没加糖。
3先取三分之一蛋白加入蛋黄糊拌匀,再将拌匀的面糊倒入蛋白中,翻拌均匀。
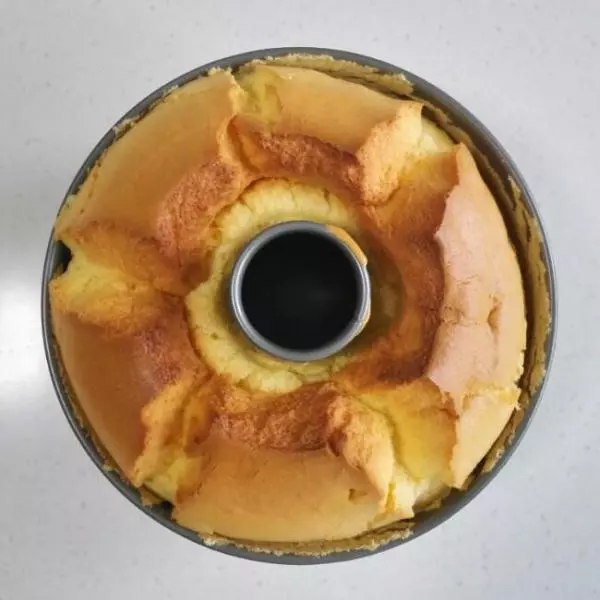
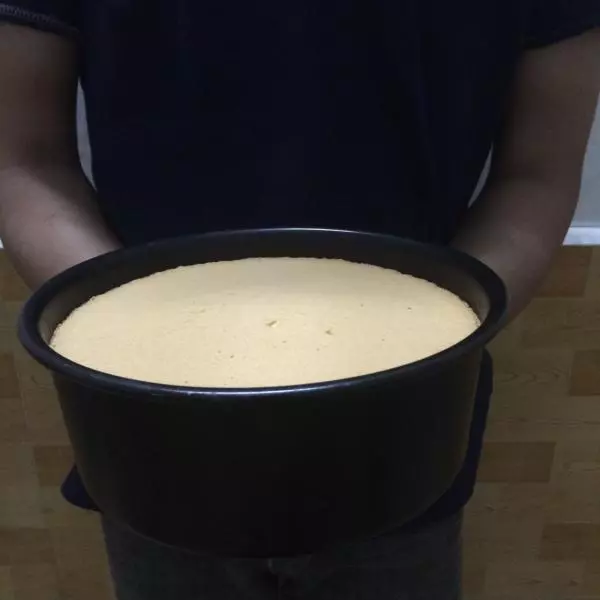
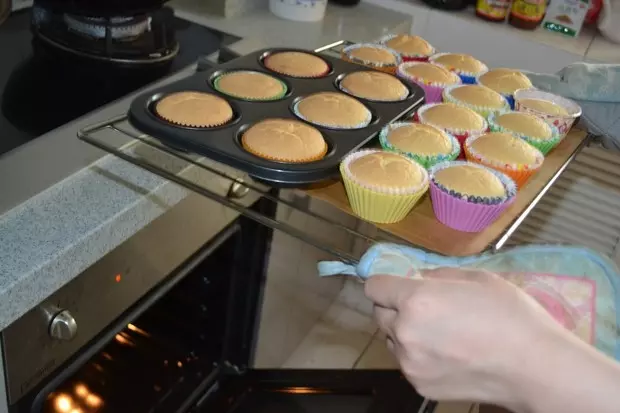
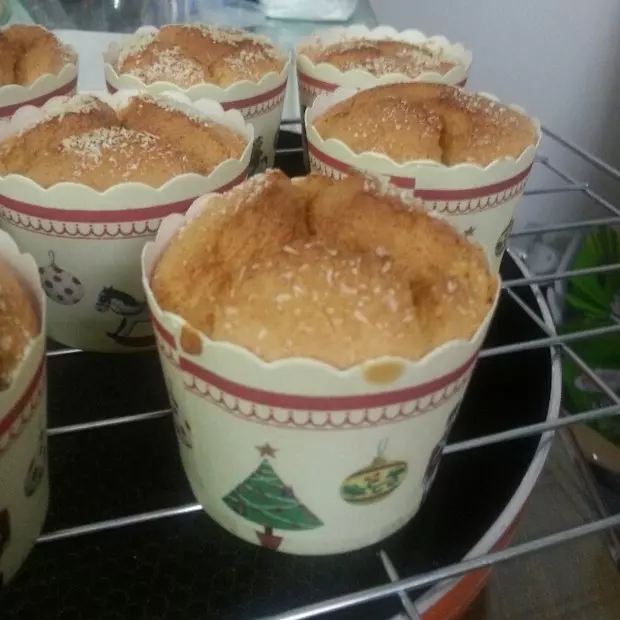
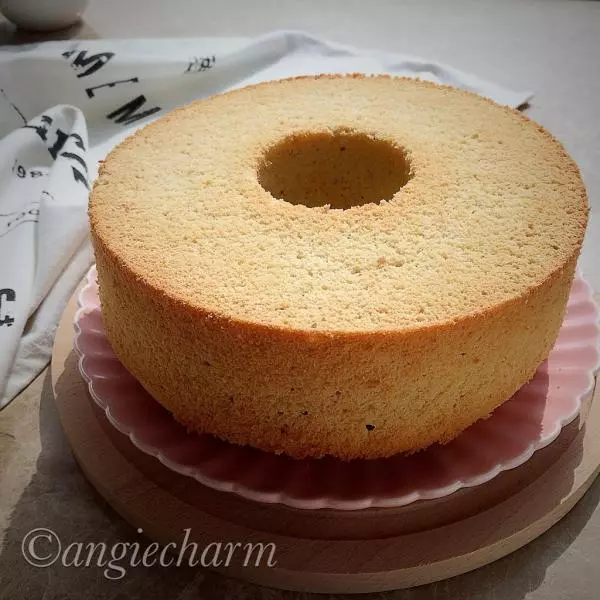
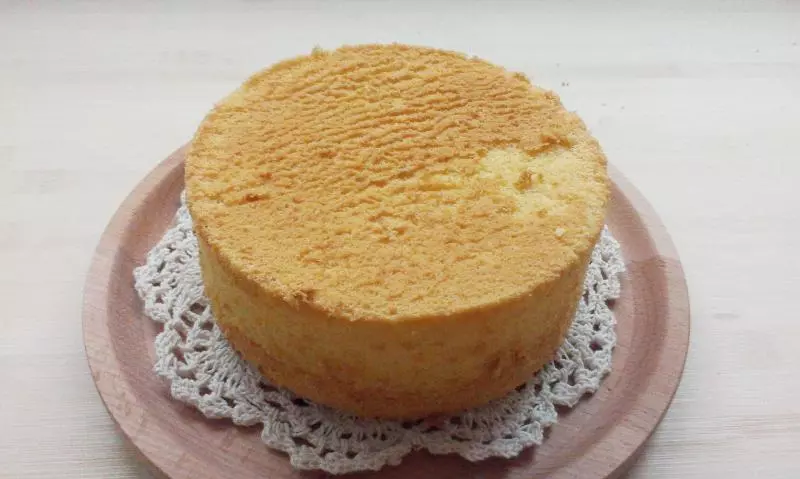
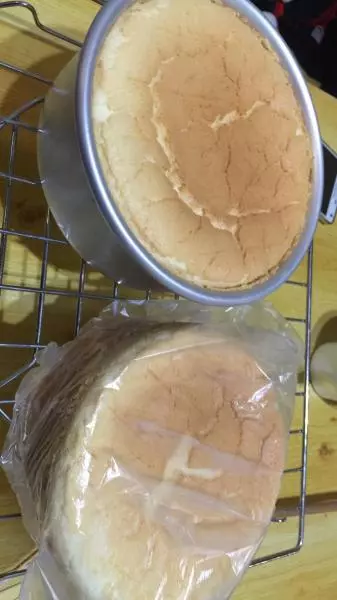
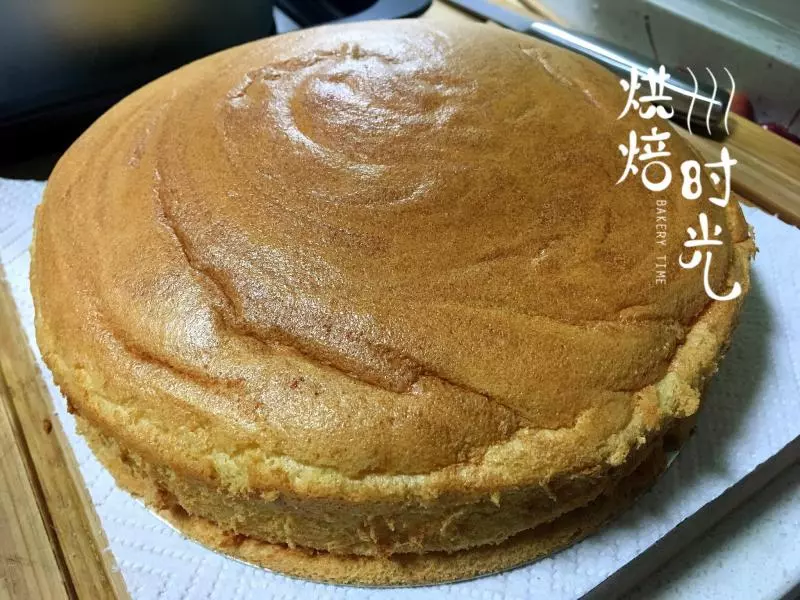
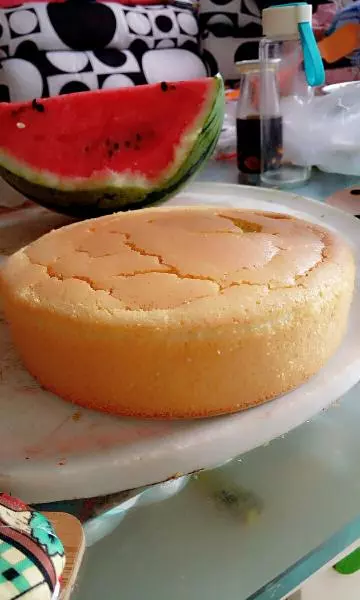
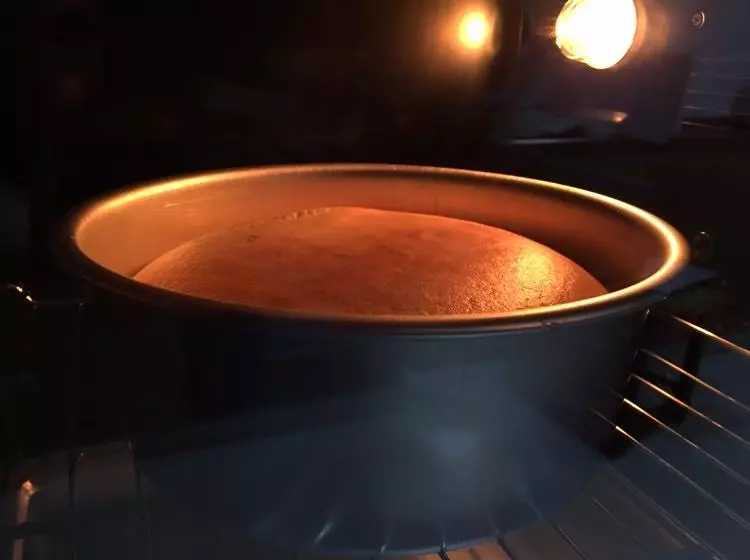
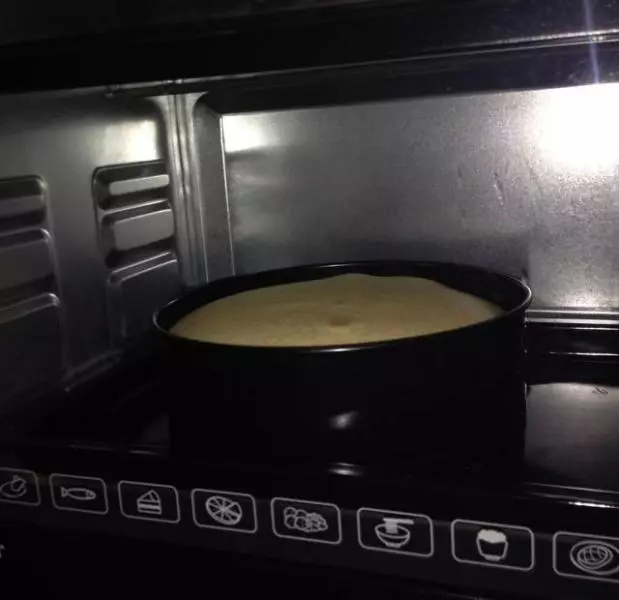
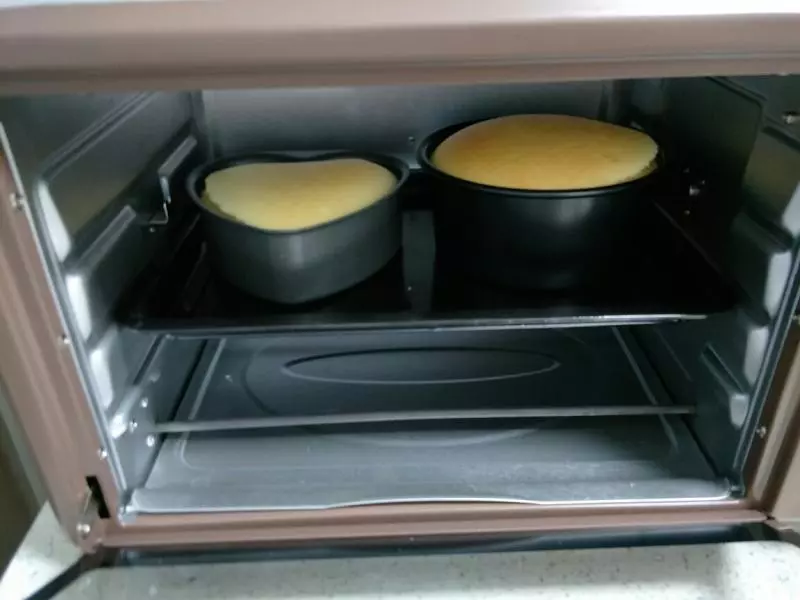
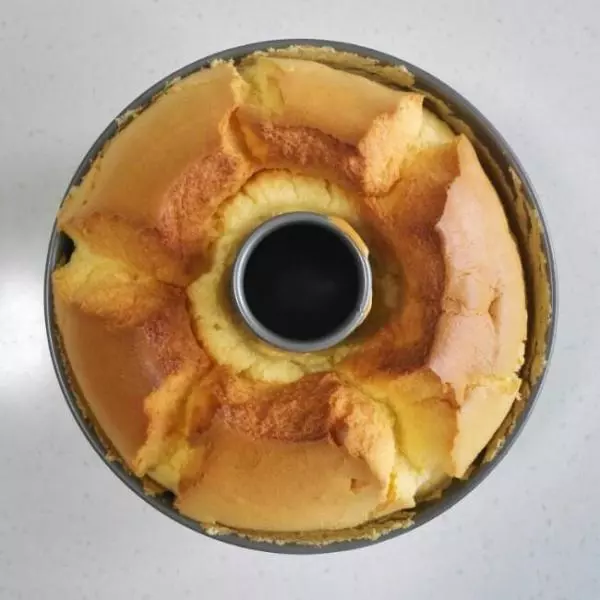
4倒入模具中,轻轻震两下,放入已经预热好的烤箱内,170℃~180℃35分钟。
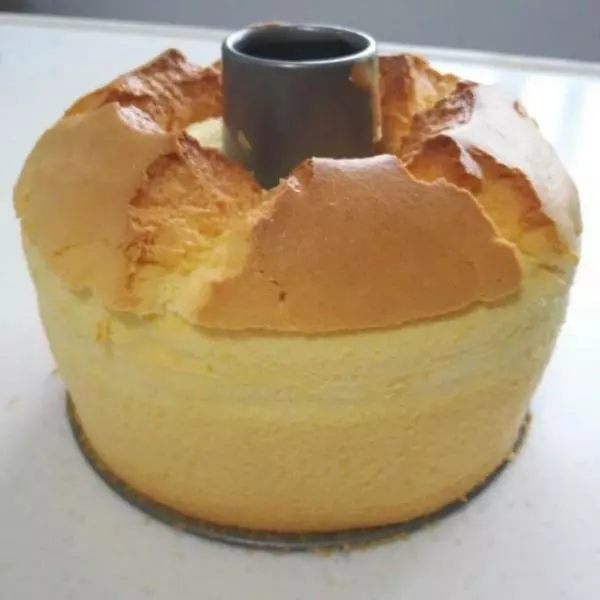
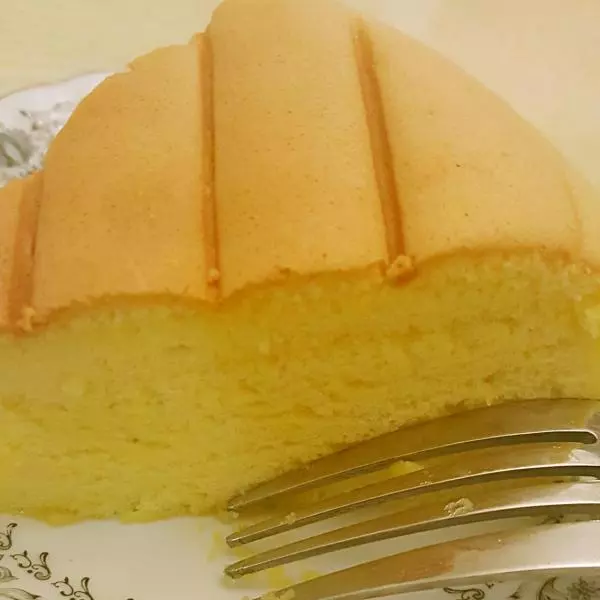
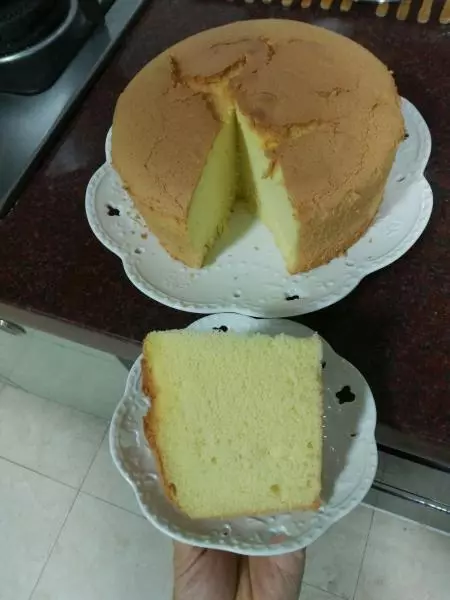
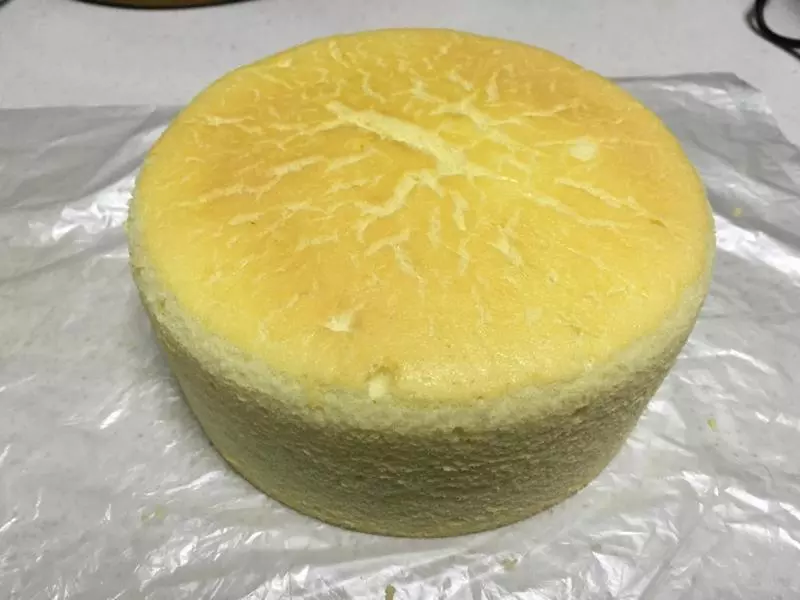
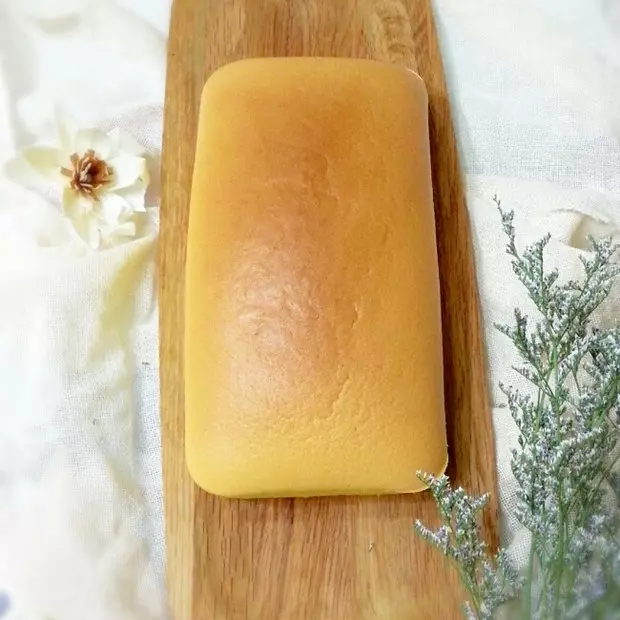
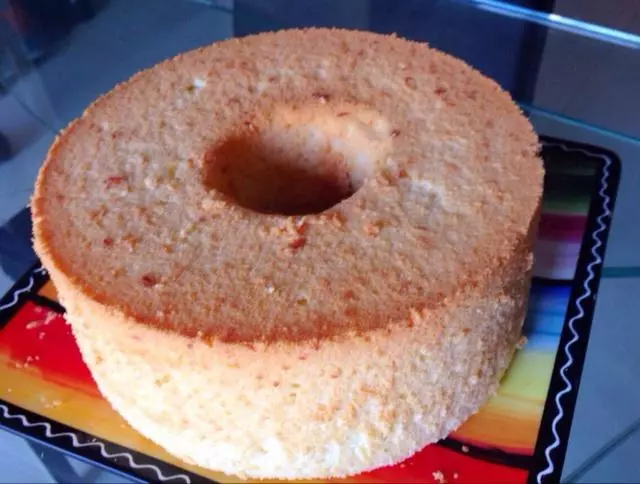
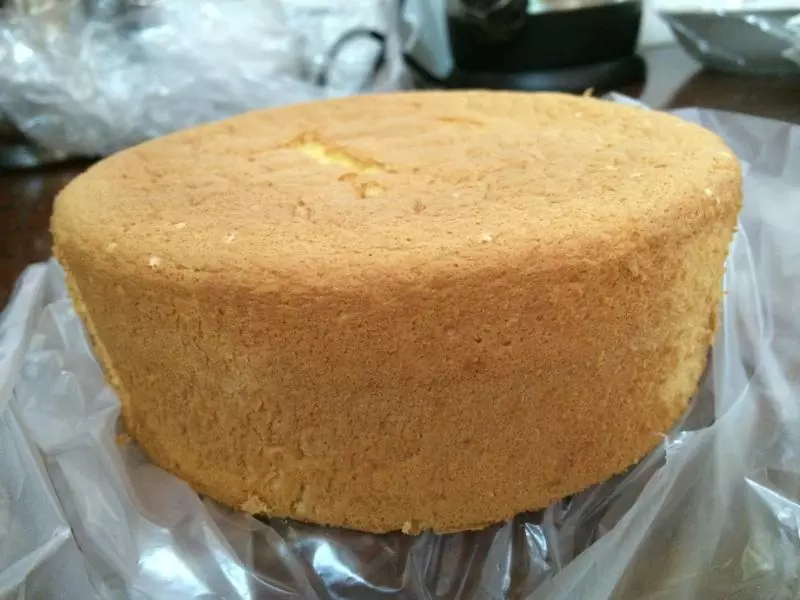
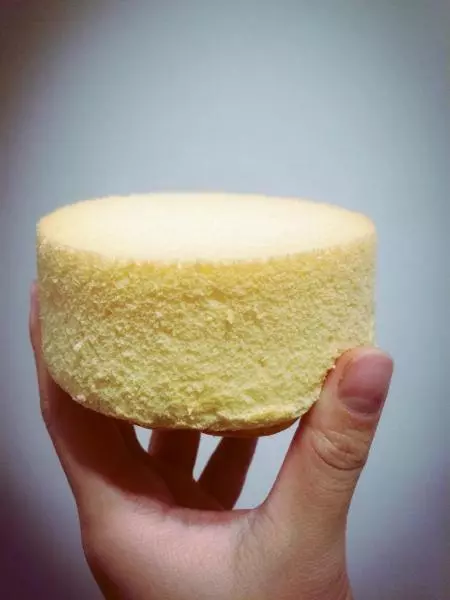
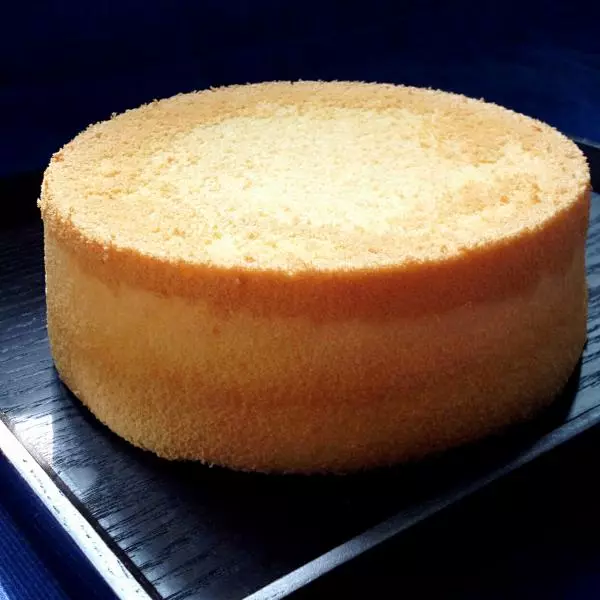
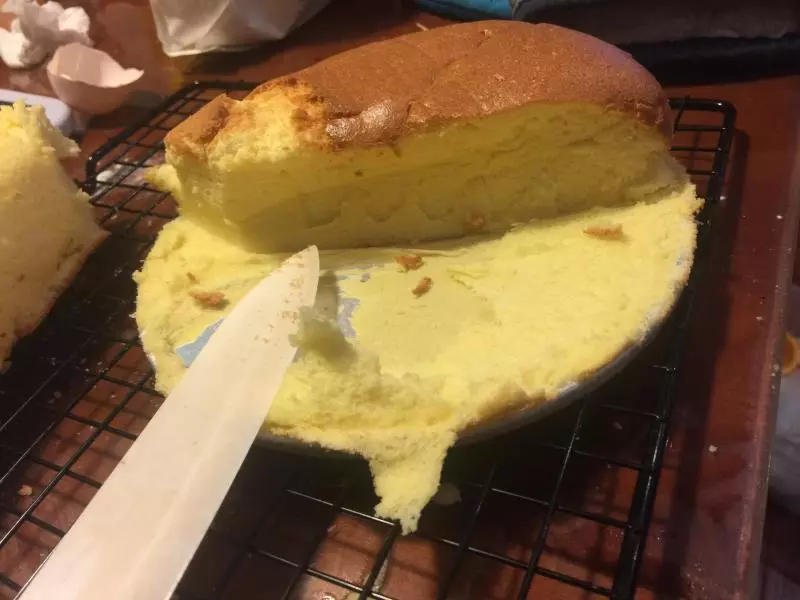
5出炉后快速震一下,去除热气,直接倒扣。待彻底晾凉再脱模,我一般都是晚上做,第二天早上再脱模。脱模时用手直接脱很好脱。