原料
鸡蛋: 一只, 低粉: 50克, 泡打粉: 1.5克, 蜂蜜: 10克, 玉米油: 5克, 纯牛奶: 30克
步骤
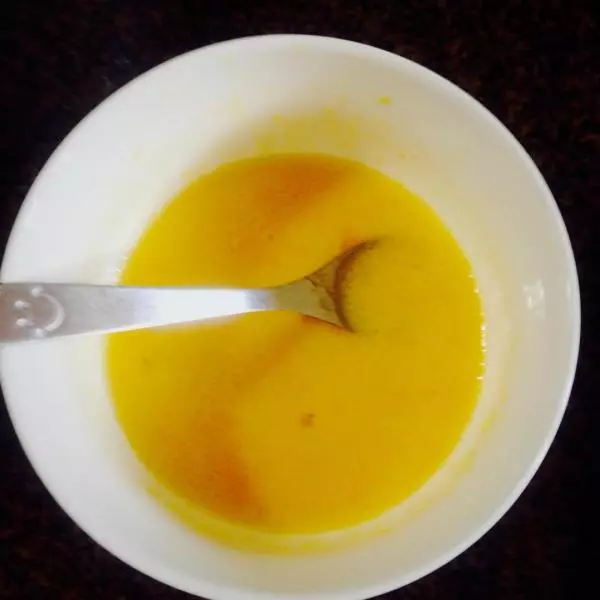
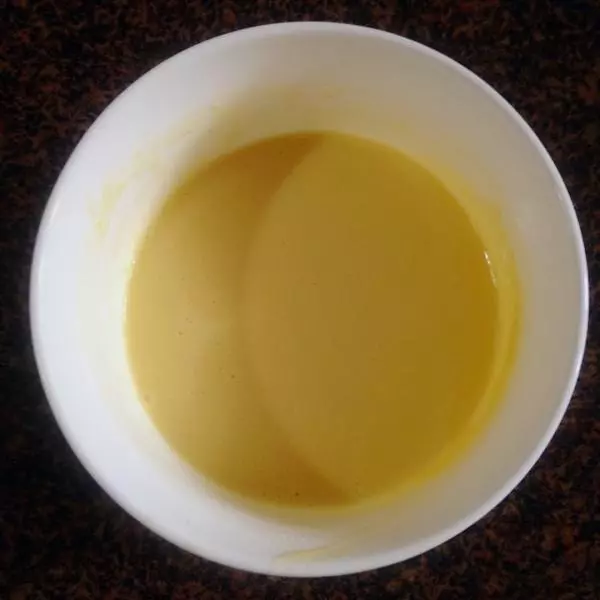
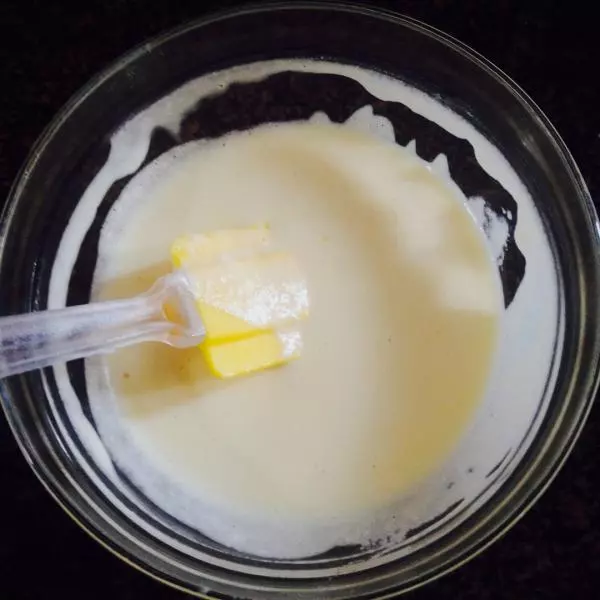
1蛋白敲入无水无油打蛋盆,蛋黄加入蜂蜜,玉米油和牛奶搅拌均匀
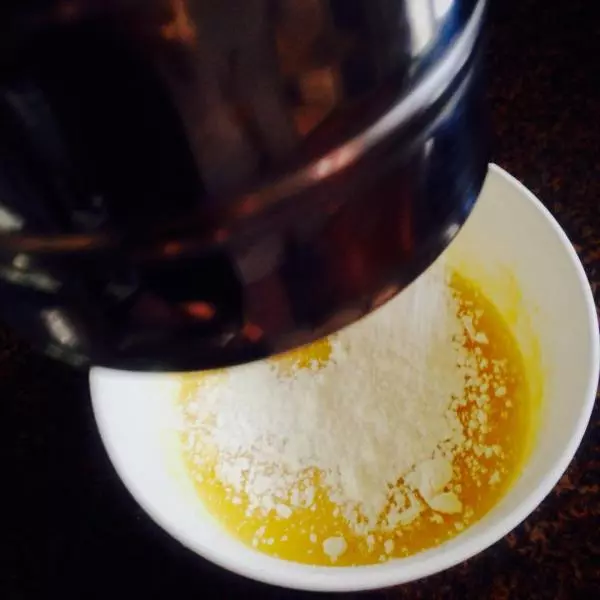
2在搅拌匀的蛋液中筛入低粉和泡打粉
3拌匀后的面糊放一边静置
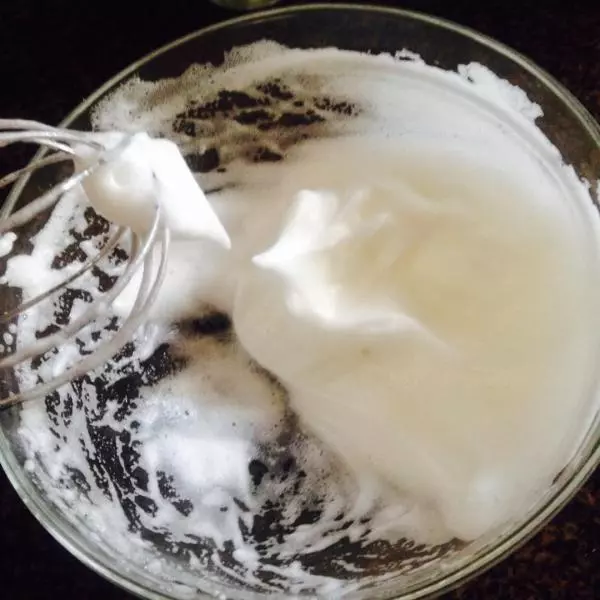
4蛋白用手动打蛋器打至硬性发泡,打蛋器提起的时候有小尖钩
5分次在蛋黄糊中加入蛋白,用戚风的搅拌手法,保持蛋白不要消泡

6完全拌匀的面糊
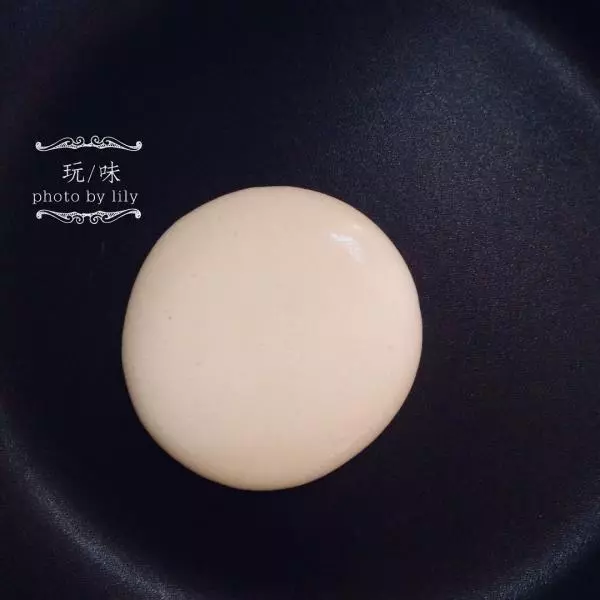
7取不粘平底锅,话说我一直用宜家这款价格漂亮又绝逼好用的7.9元平底锅^_^ 锅烧微热后,取勺子兜一勺放入锅的中心,继续小火加热到面糊表面有密集气泡时,用铲子轻轻翻面
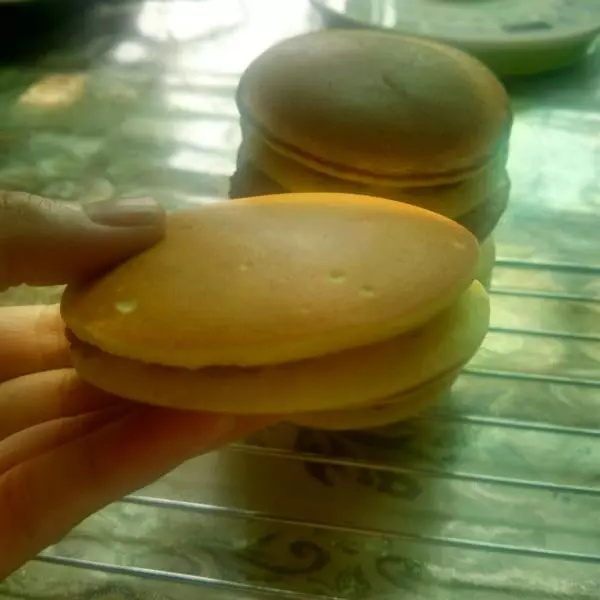
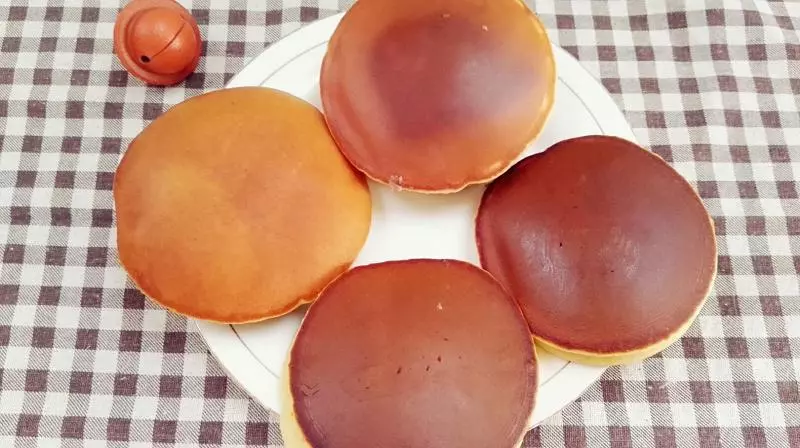
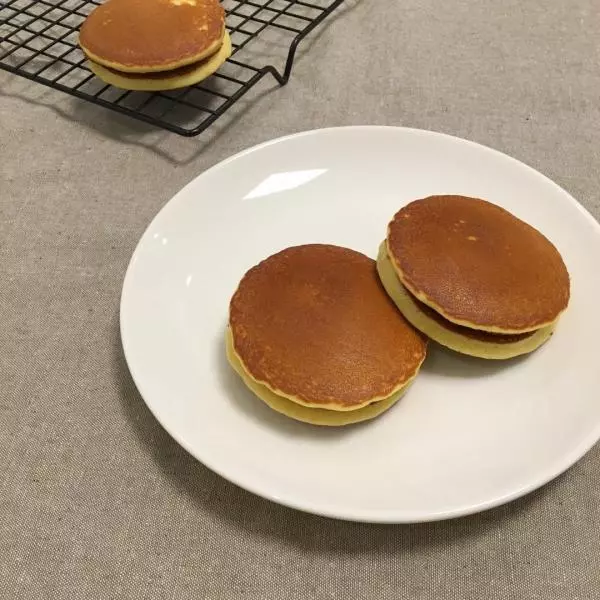
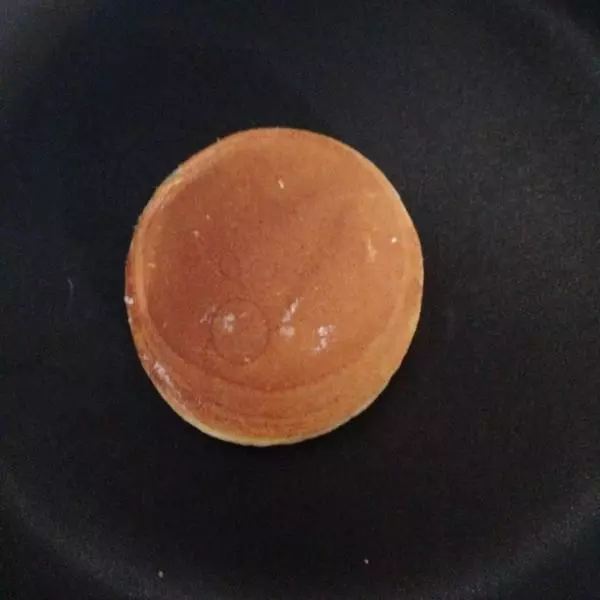
8翻面后,继续煎半分钟左右微微发黄上色,起锅
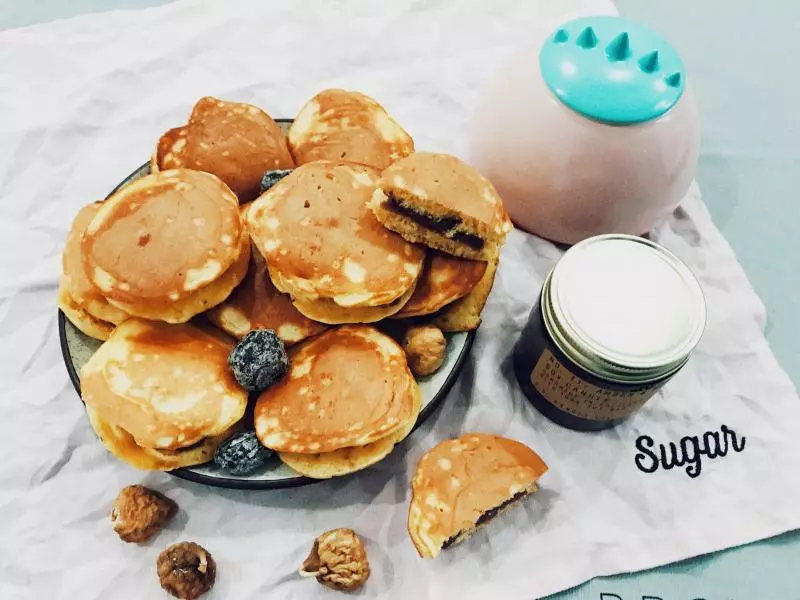
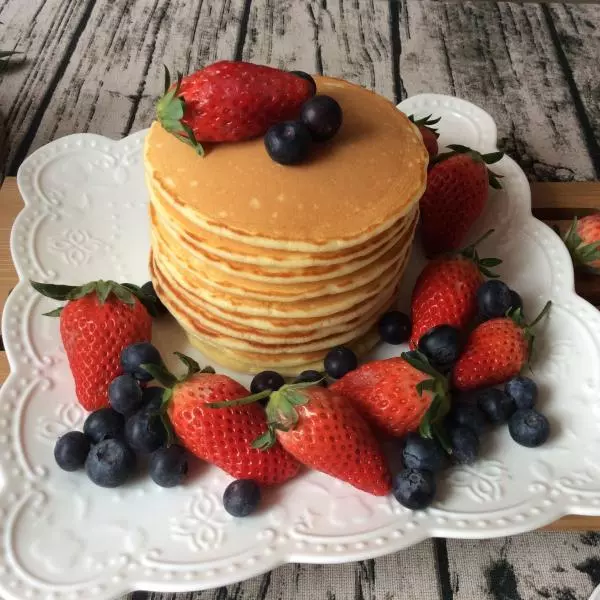
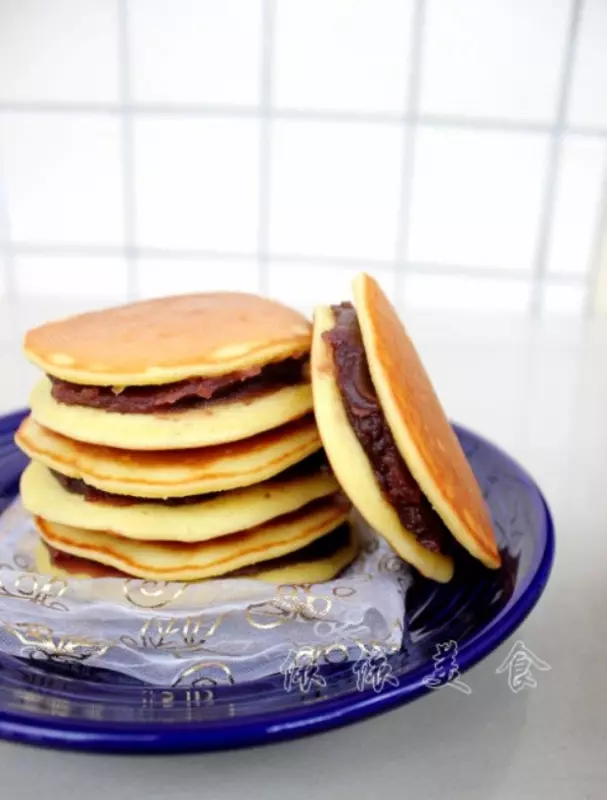
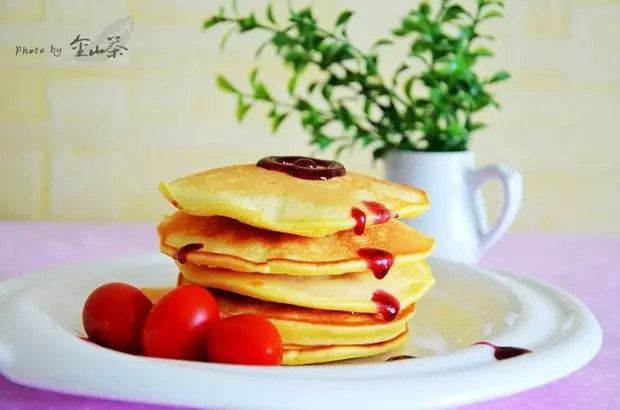
9这个配方量我煎了10片,2个稍微小了一点
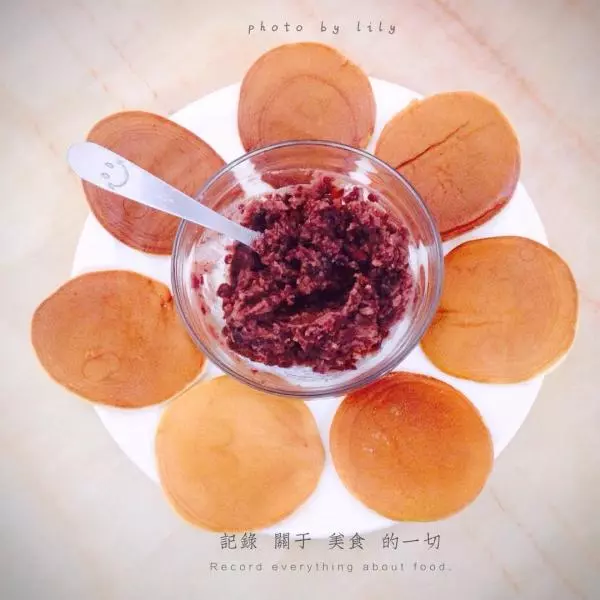
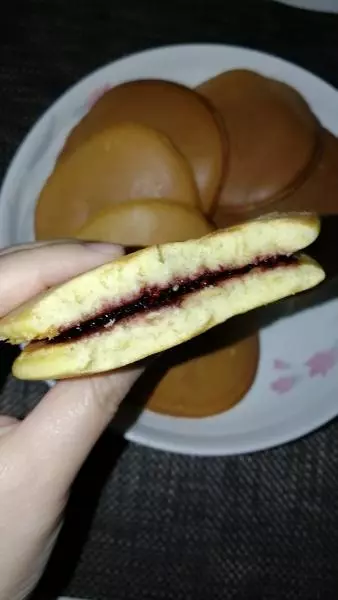
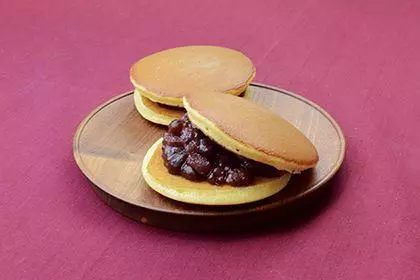
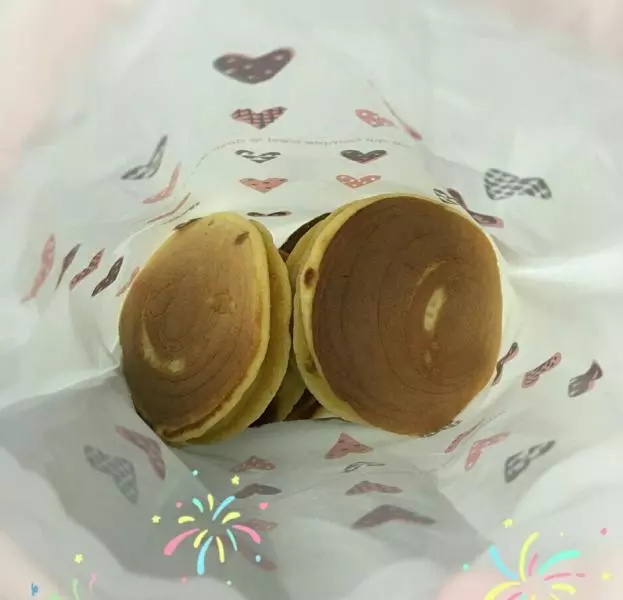
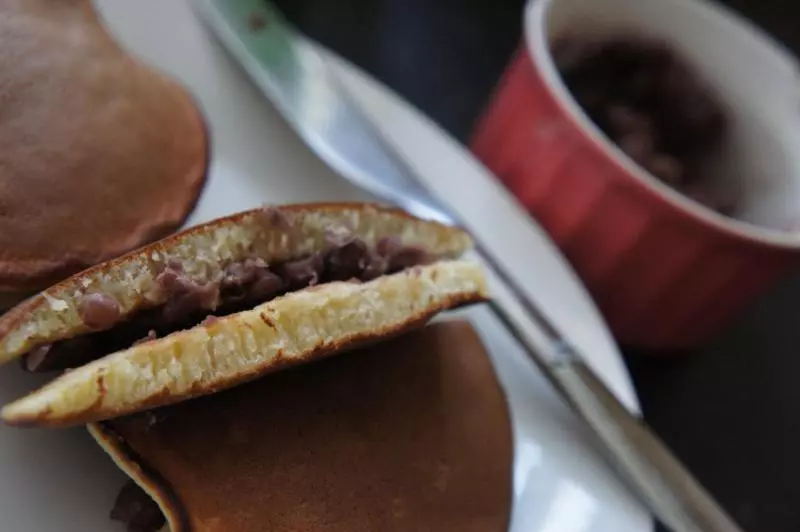
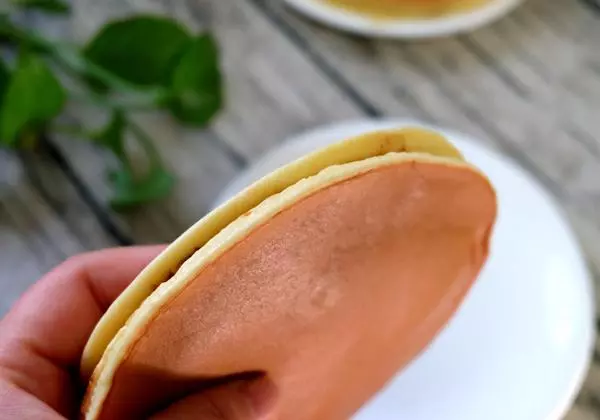
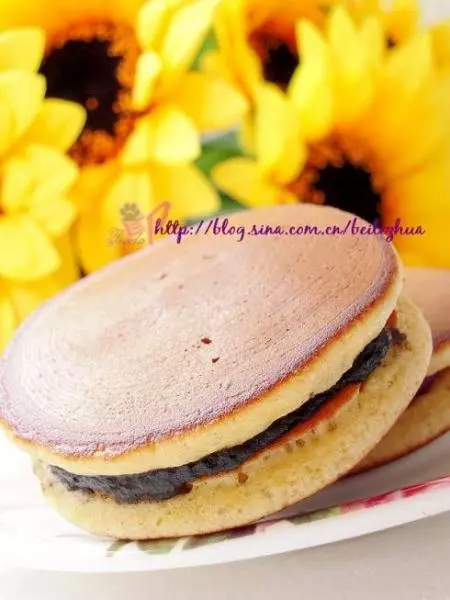
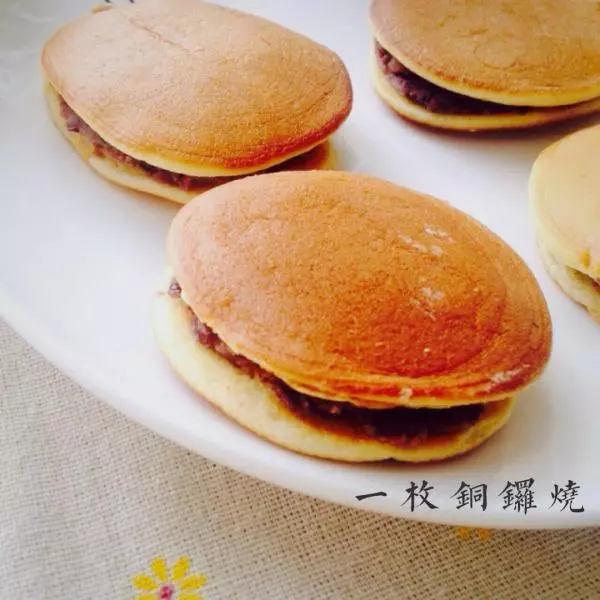
10把红豆沙涂在浅色的一面,我是不会告诉你我喜欢红豆沙带颗粒感的-_-#
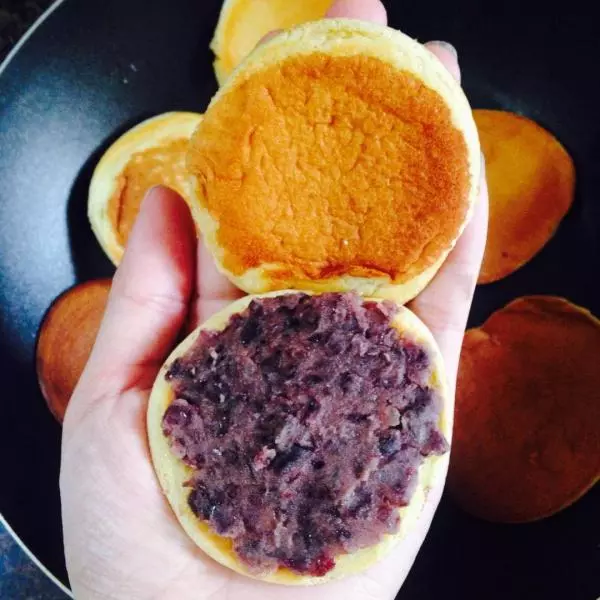
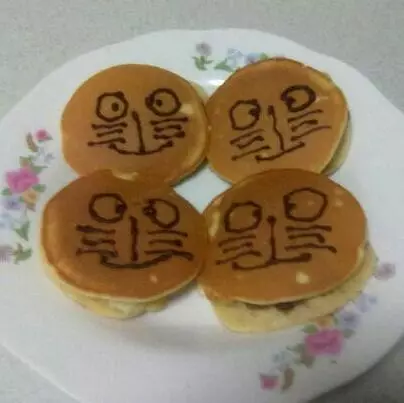
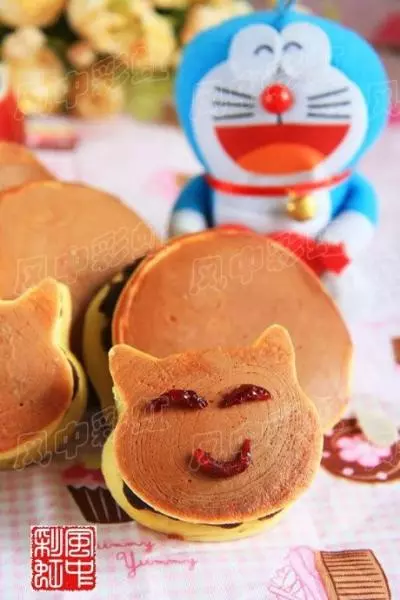
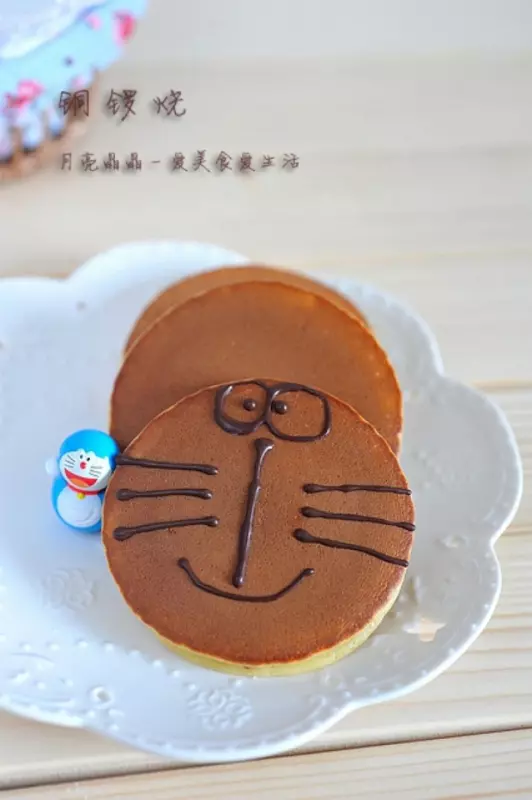
11就这样,一口一口吃出蓝胖子的最爱
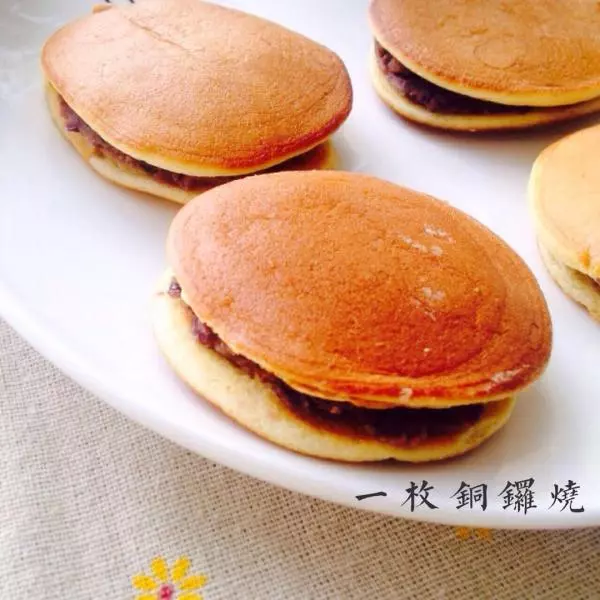
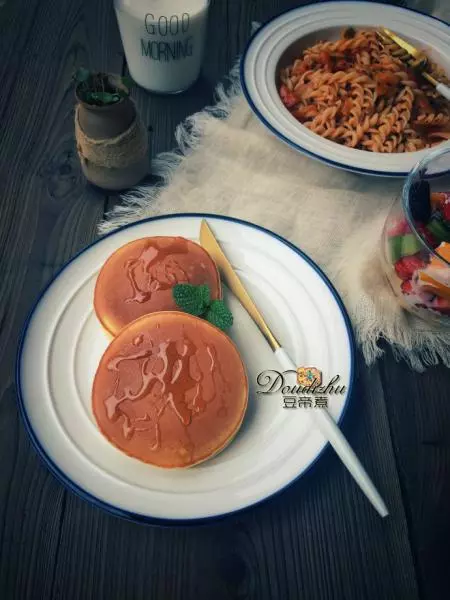
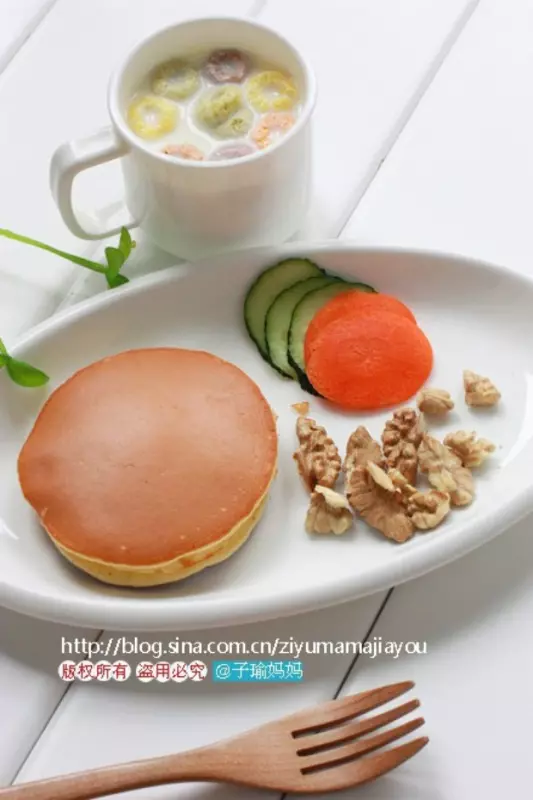
12和谐的早餐画面,哈哈

小技巧
搜了很多方子,最后参考飞雪老师的分蛋法,个人更喜欢这种做法,更加蓬松细腻。