原料
鸡蛋: 3个, 细砂糖(蛋黄): 10g, 细砂糖(蛋白): 45g, 牛奶: 30g, 植物油: 30g, 红色色素: 2—3滴, 酸奶油/奶油奶酪/酸奶: 30g, 椰子粉(可选): 5g, 低筋面粉: 30g—45g
步骤
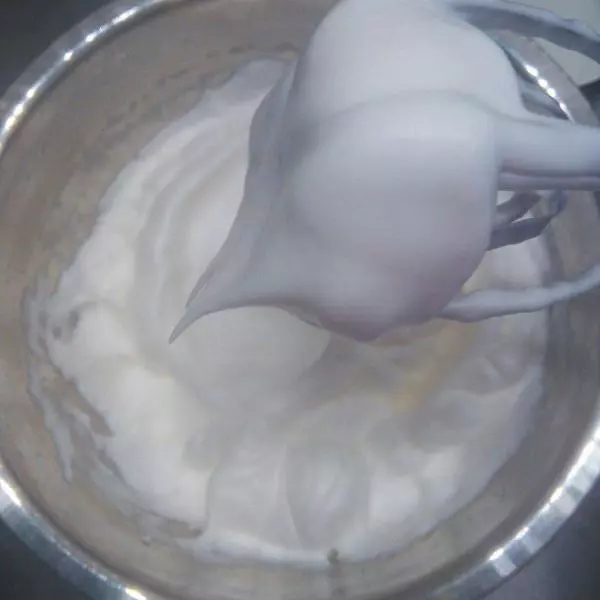
1蛋白和蛋黄分离。打蛋白的盆无水无油。 蛋白加一小撮盐和香草精,分三次加入细砂糖打发到干性发泡,提起打蛋头蛋白呈短小尖角。 图上这个状态还不到干性,还要再打一会儿。
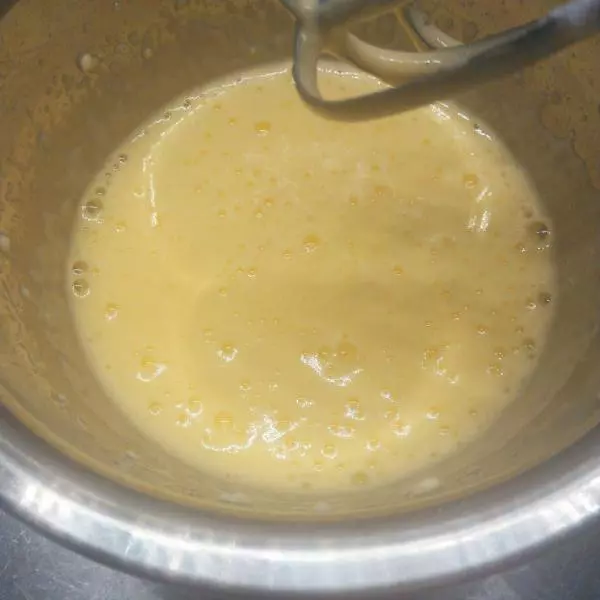
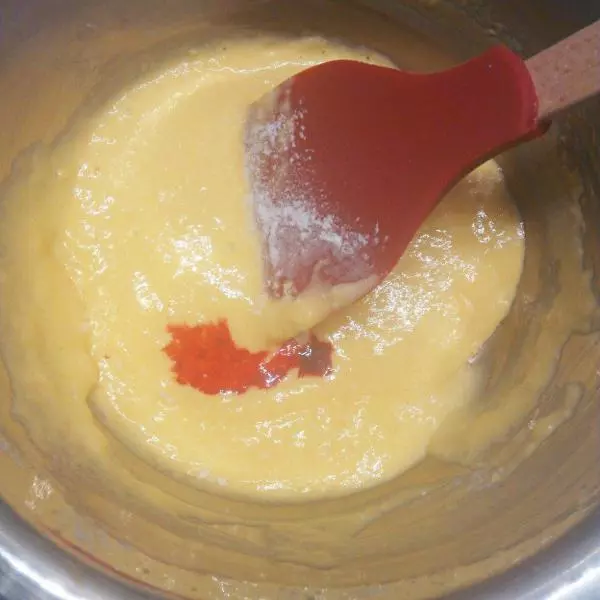
2蛋黄加糖打散,加入牛奶和油高速打发1—2分钟,至水油充分混合。
3加入色素,我加了3滴,加2滴感觉颜色偏黄不够嫩。加多少自行掌握。
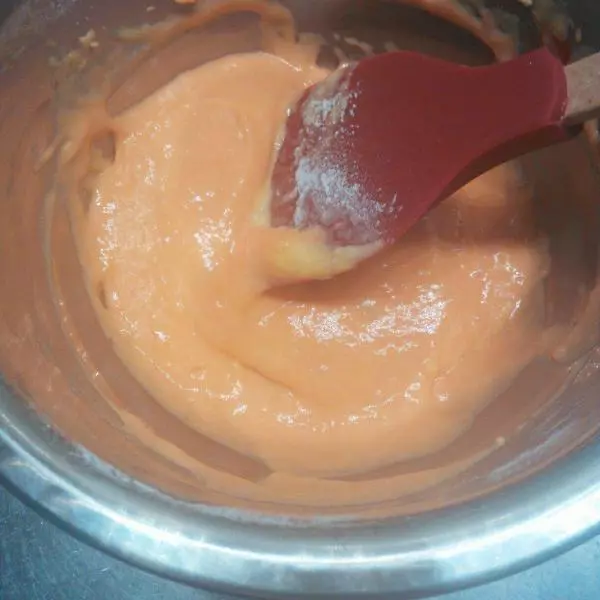
4加入酸奶油(或奶油奶酪)(或酸奶)翻拌均匀。

5筛入面粉,翻拌均匀。 我还加了椰子粉,提升风味。
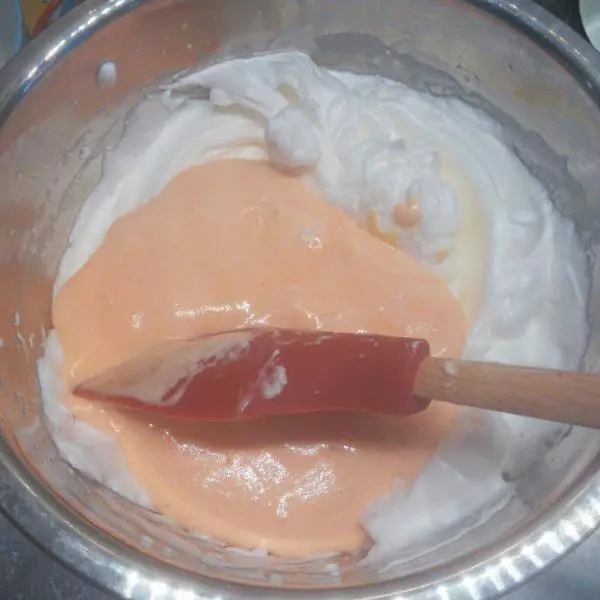
6取1/3蛋白和蛋黄糊拌匀,再倒回去和2/3的蛋白全部拌匀。
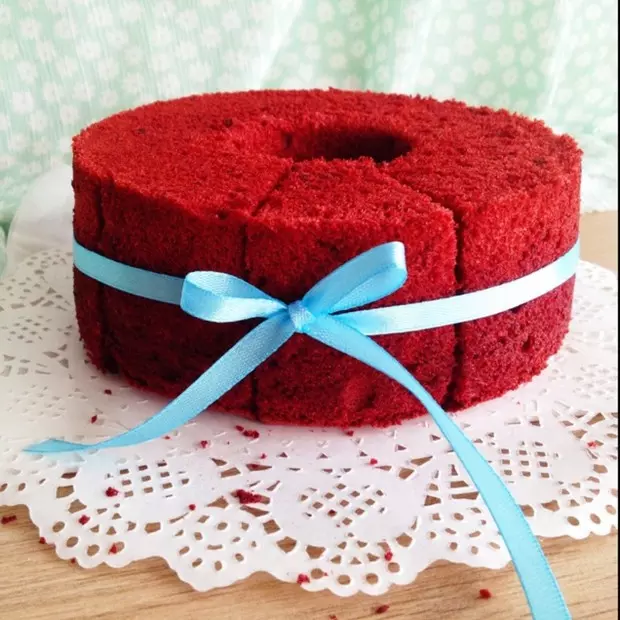
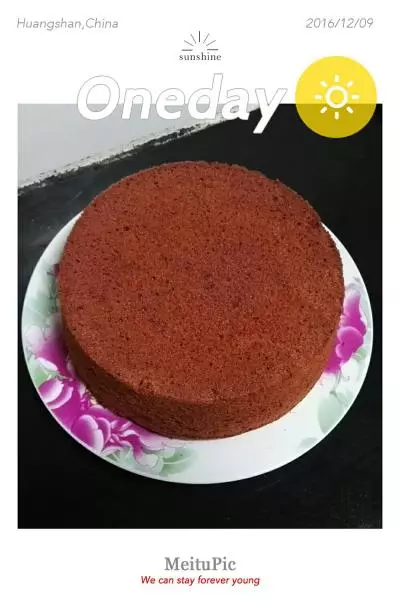
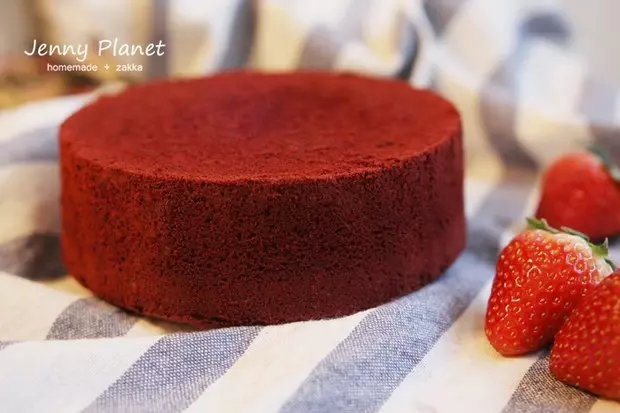
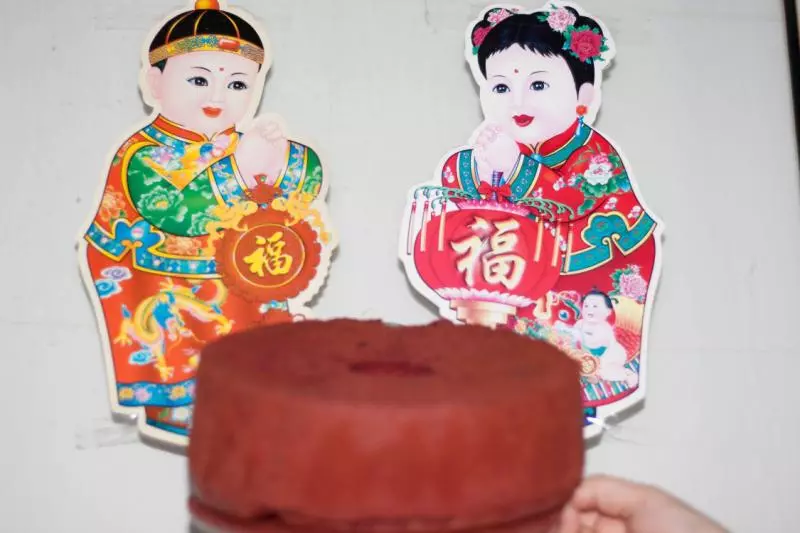
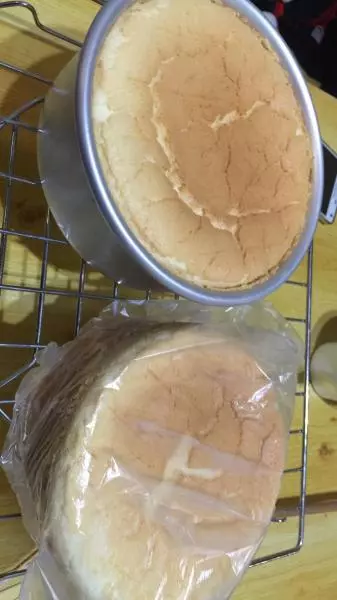
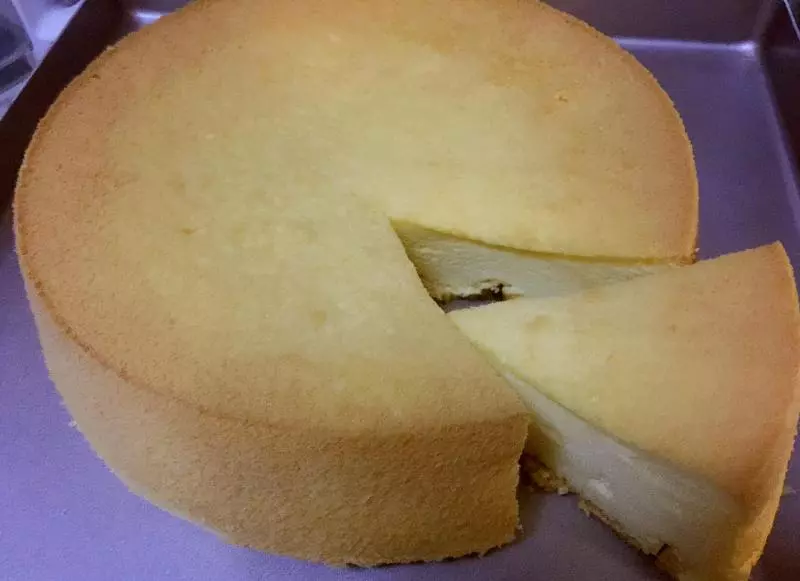
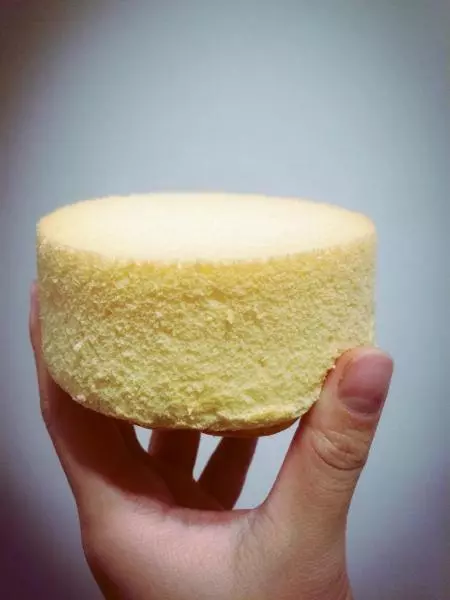
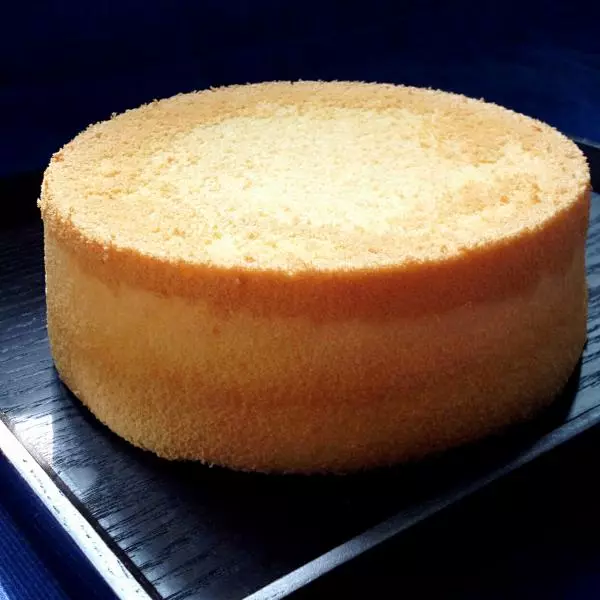
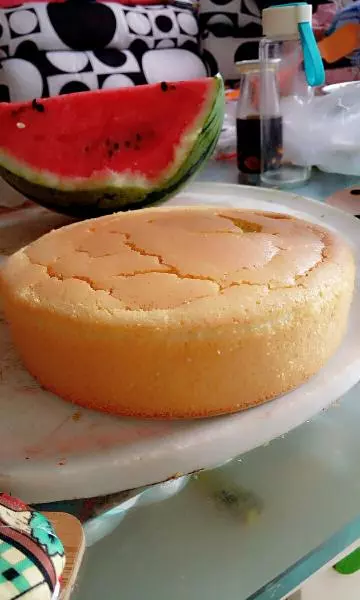
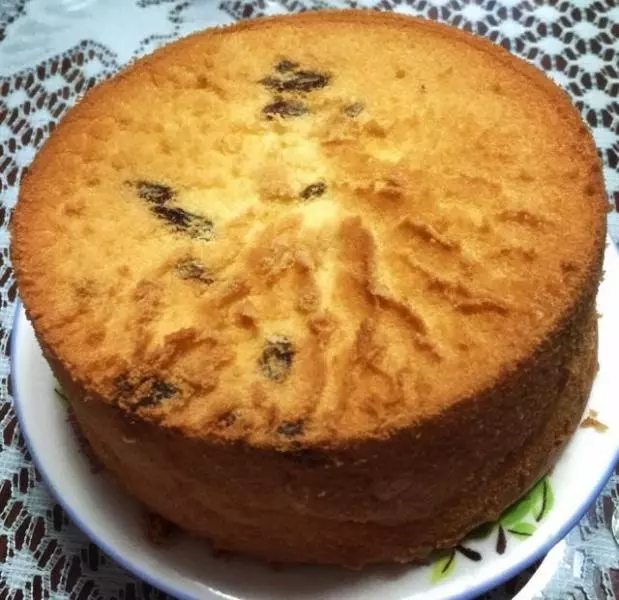
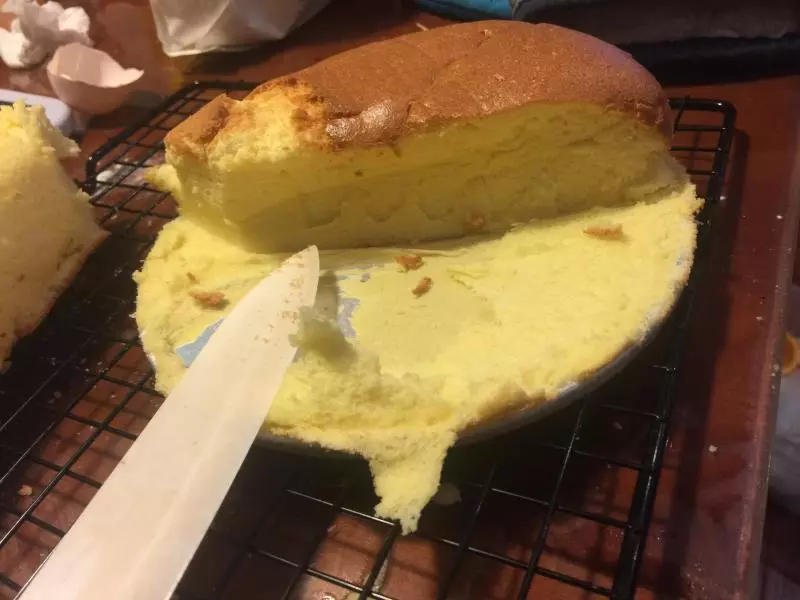
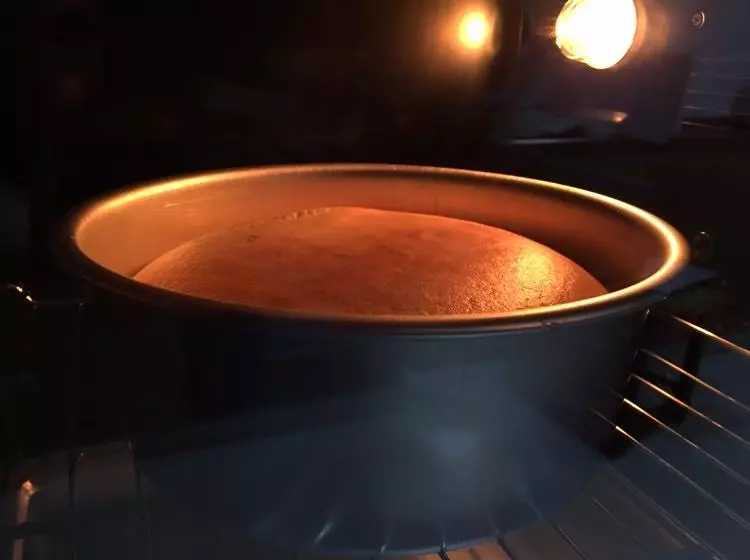
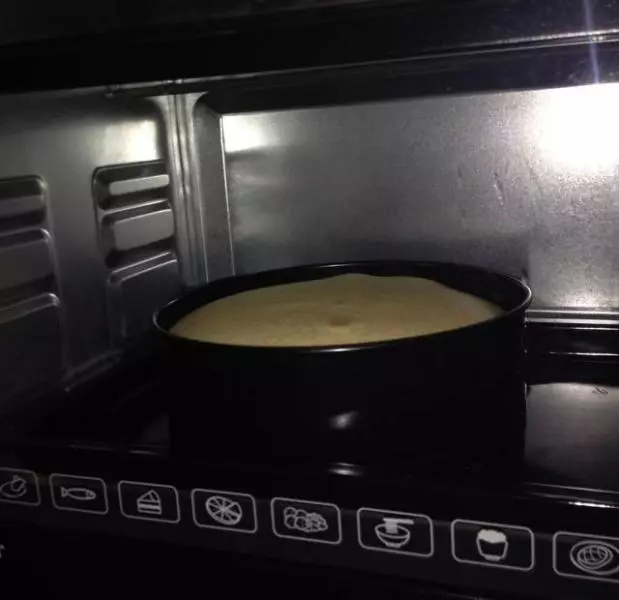
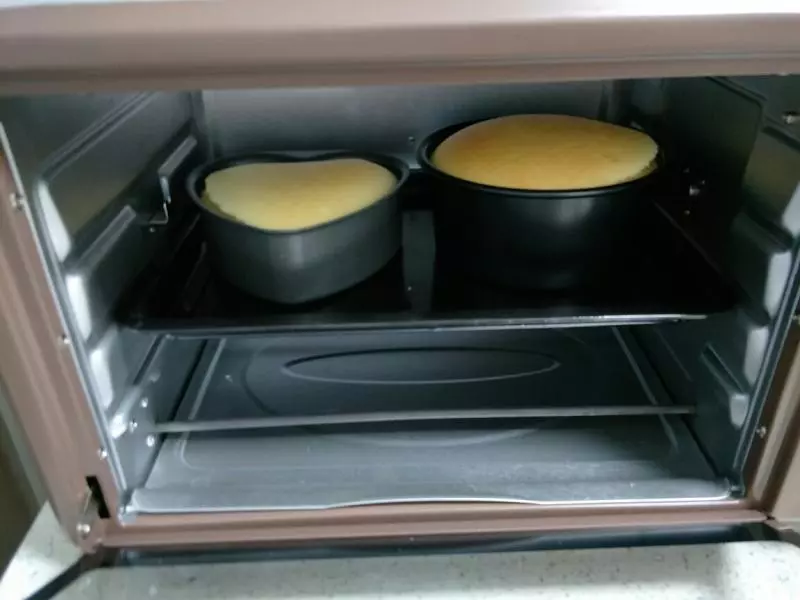
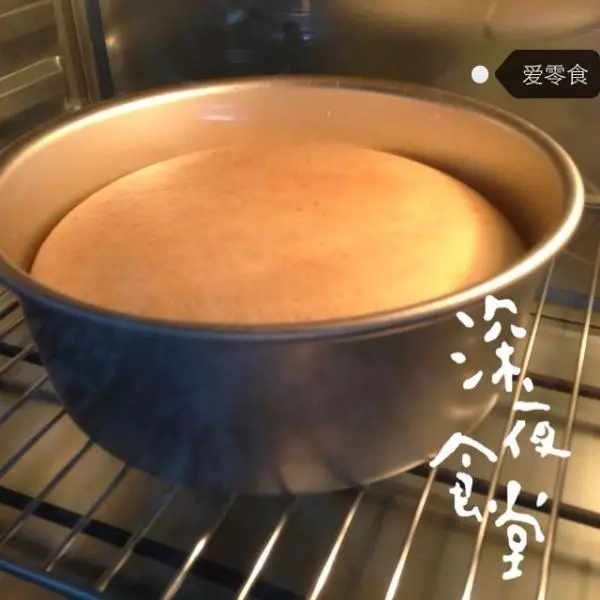
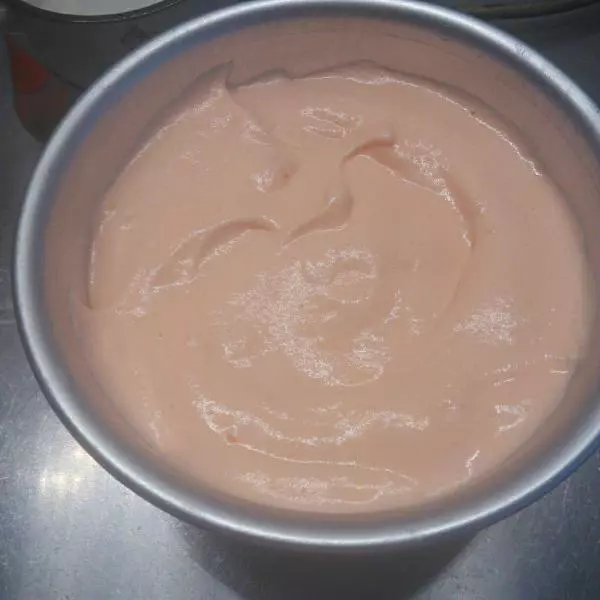
7倒入面糊,震模,165℃中层烤50分钟,最后十分钟盖锡纸。 取出后震模,倒扣晾凉脱模。
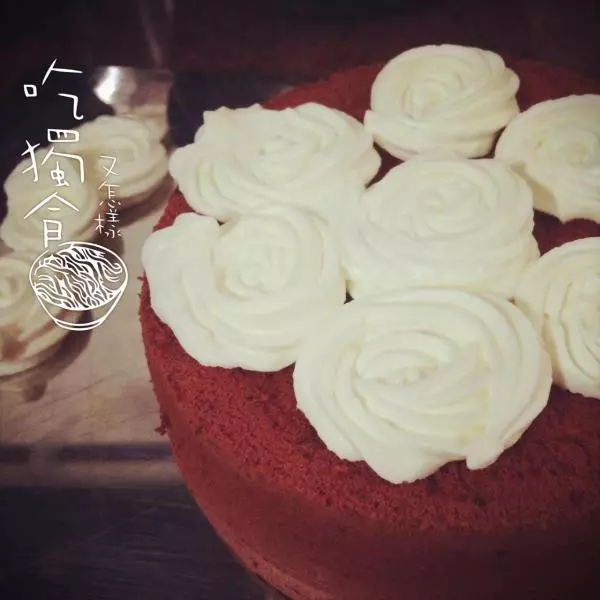
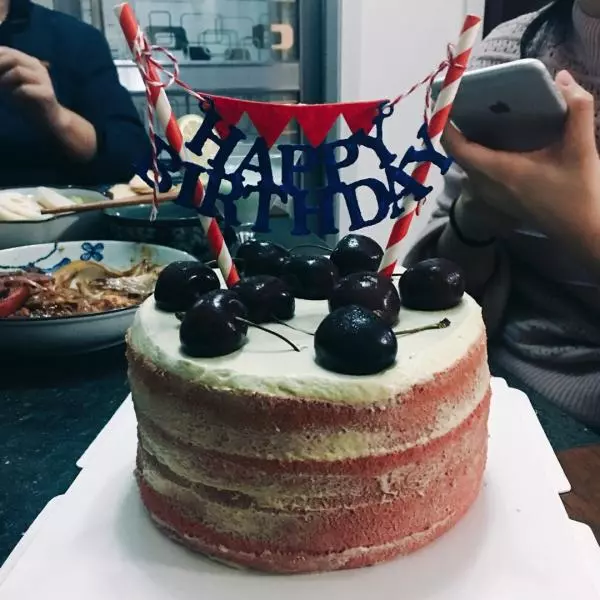
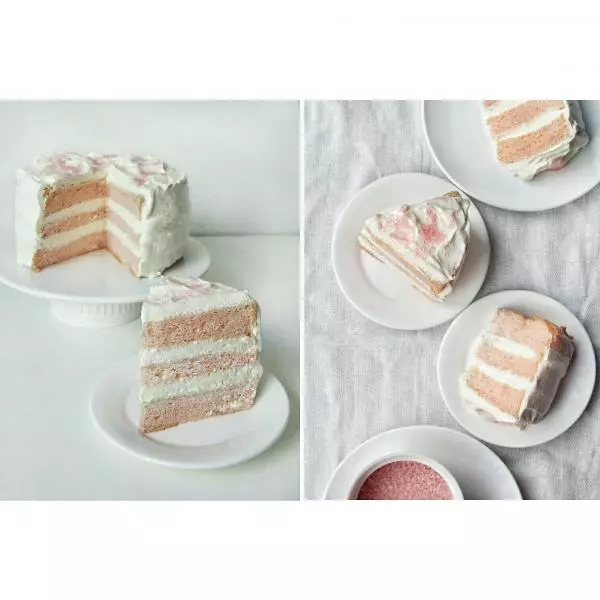
8蛋糕胚,横着切三片或四片,抹上奶油,表面撒上装饰糖。

小技巧
蛋糕糊里加酸奶油、奶油奶酪还是酸奶看个人喜好,因为浓稠度不一样,拌完的蛋黄糊状态会略有不同,低筋面粉的量在30g—45g的区间里灵活增减。蛋黄糊不能太稀。