原料
鸡蛋: 2-3只, 黑米磨粉: 100g, 糯米粉: 20g, 面粉: 10g, 泡打粉: 2g, 白砂糖: 30g, 牛奶: 210g
步骤
1蛋清蛋黄分离开始打蛋清,主要是搞定打发蛋白这步

2分几次加入糖,蛋白霜会越来越稠,过程要15分钟

3最后搞定滴滴答答一坨坨屹立不倒就成功了

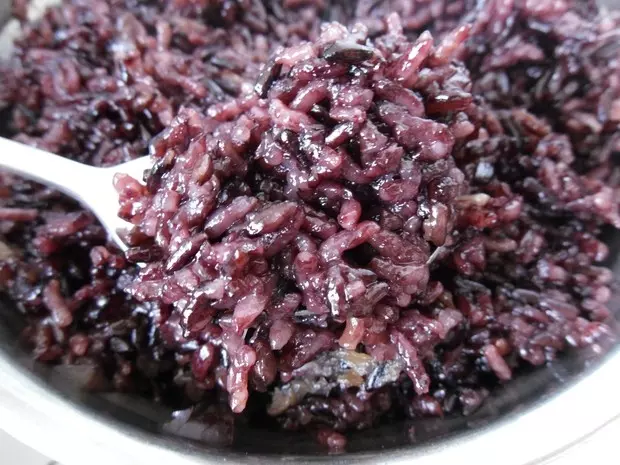
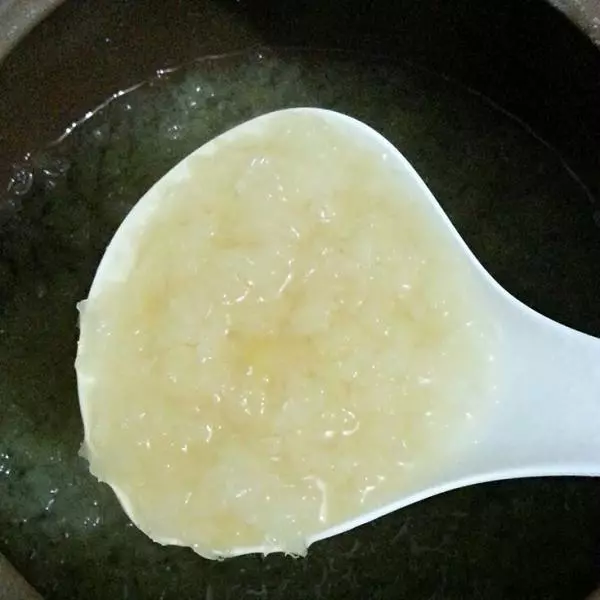
4事先料理机磨好的黑米粉和糯米粉低筋面粉以及泡打粉合在一起过筛,这里黑米是主角所以我多放一点,加牛奶混合搅拌均匀。

5在混合糊糊里面加入打发蛋白霜先三分之一加好翻拌,一点点加一点点拌最终成为一个更大的糊糊,磨具底部垫纸防粘,周围锡纸包一下防止液体漏出,此时倒入磨具里 ,要抖几下震掉小气泡,我感觉气泡还是蛮多的,眼不见为净好吃就可以。封好塑料保鲜膜,蒸25分钟即可。

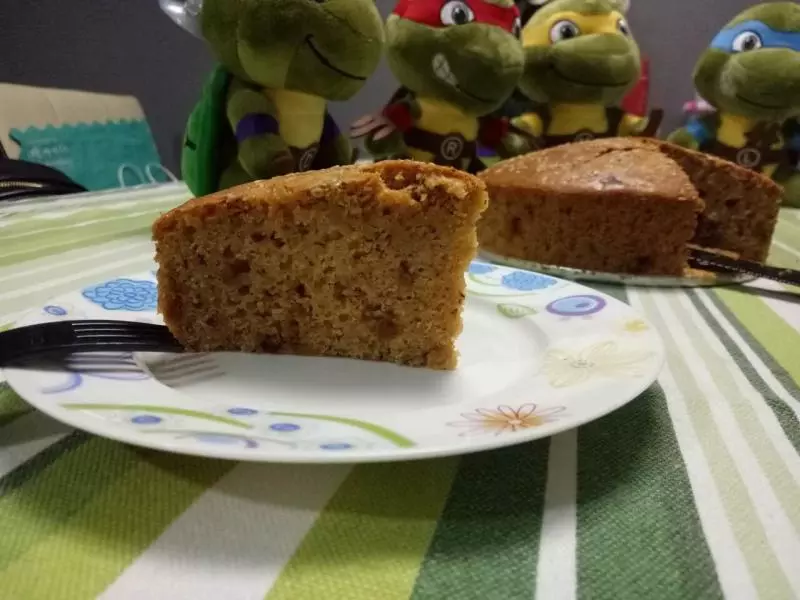
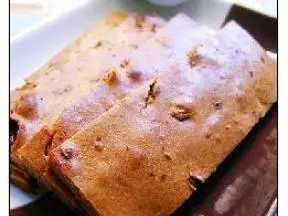
6冷却一下打开磨具趁热吃

7还有个烧法是放在电饭煲里烧也是成功过的,但是没上油拿出来有点小破坏,味道也差不多的。

8第一次放太多料变蛋糕壮抛起来了也是简单粗暴