原料
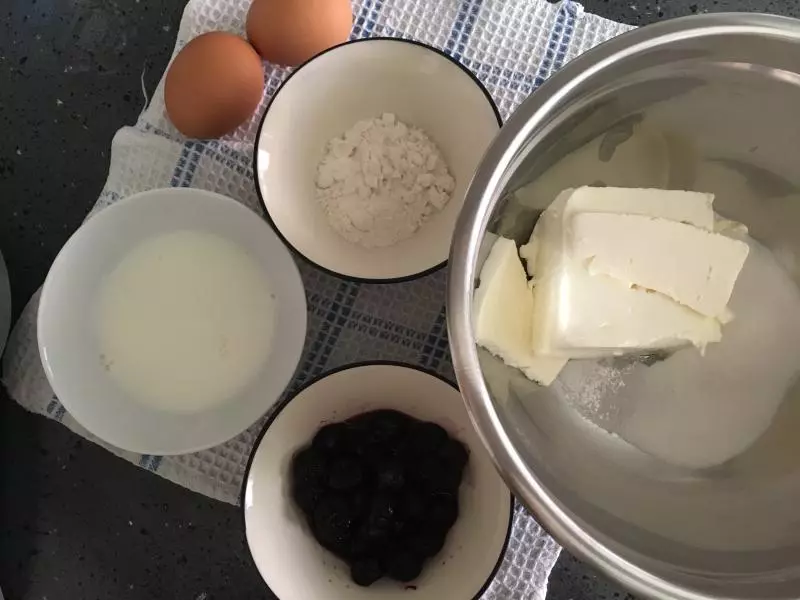
消化饼干: 80克, 黄油: 35克, 咖啡酒: 10克(2tsp), 奶油奶酪: 310克, 糖粉: 50克, 牛奶: 60克, 柠檬汁: 5克, 鸡蛋: 2个, 玉米淀粉: 5克, 面粉: 15克, 蓝莓: 80克
步骤
1#饼干底部分 活底模具外层包裹好锡箔纸;
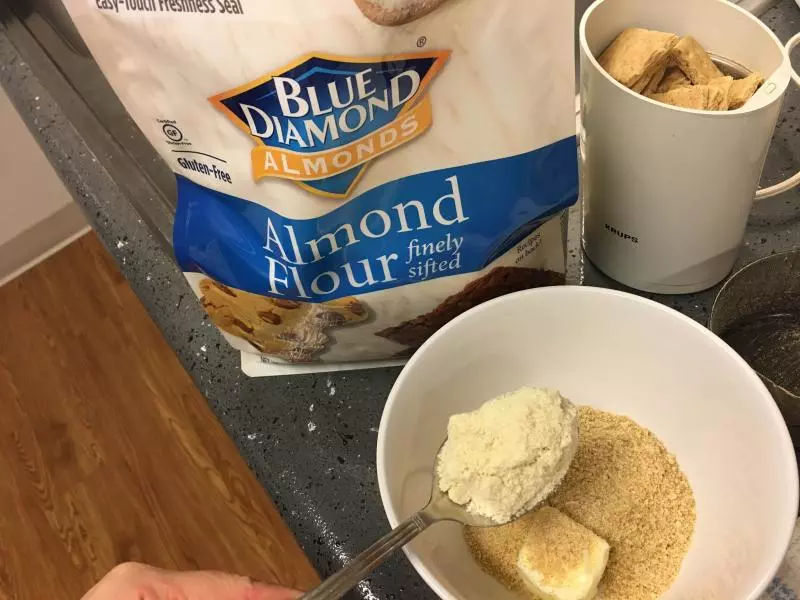
2饼干和杏仁粉打成粉;
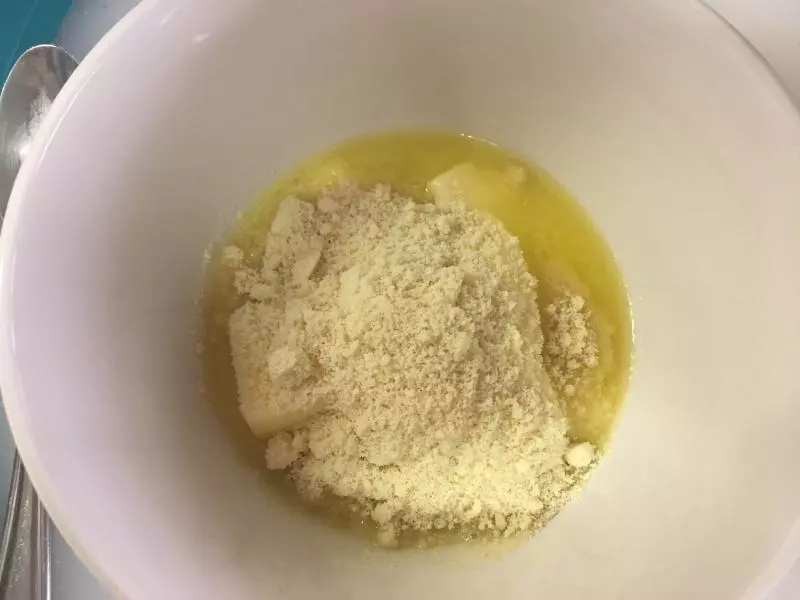
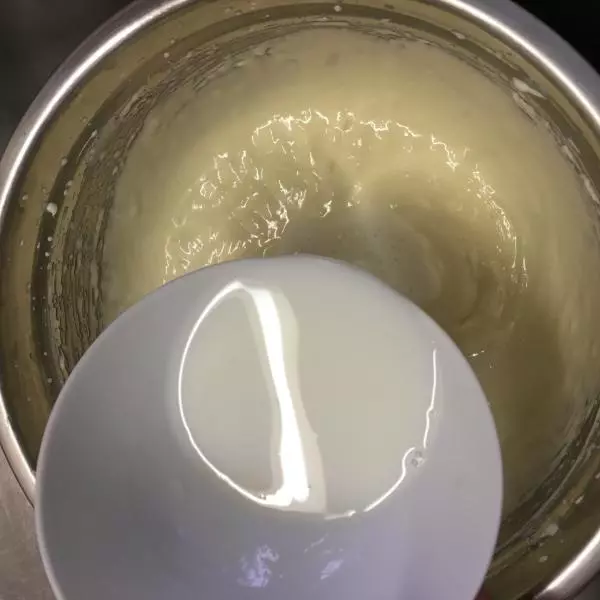
3黄油隔水软化成液体后,先混合咖啡酒;然后再加入饼干粉混合;

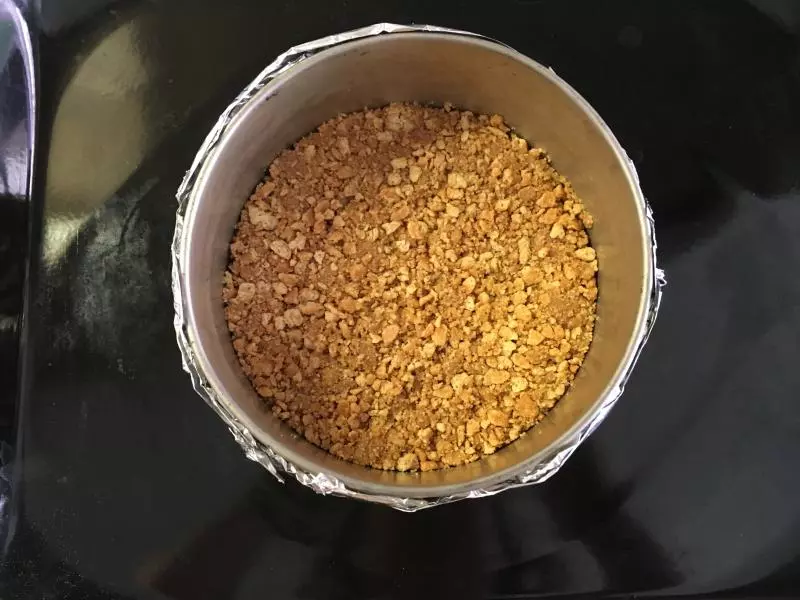
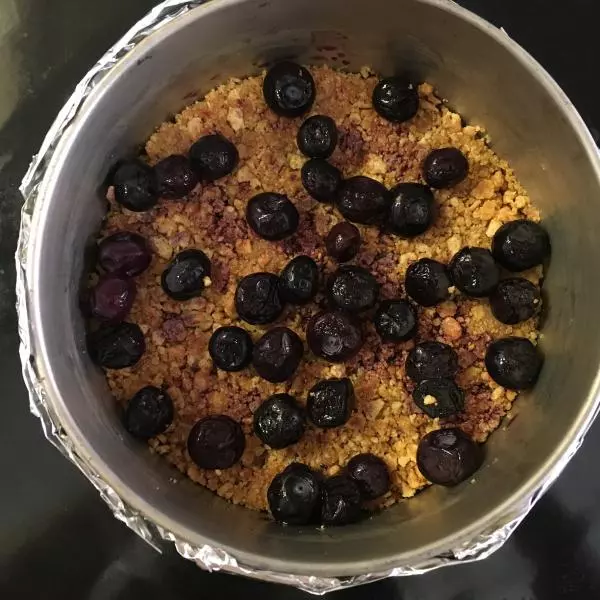
4饼干底平铺在模具底部,铺平压紧实,放入冰箱冷藏30分钟以上。
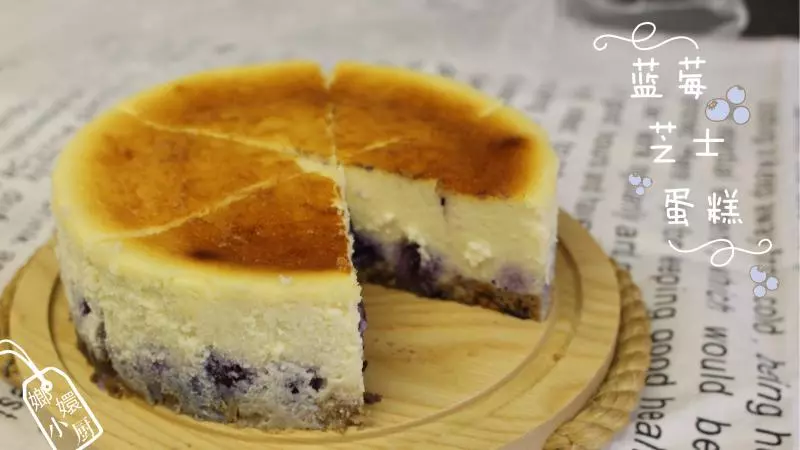
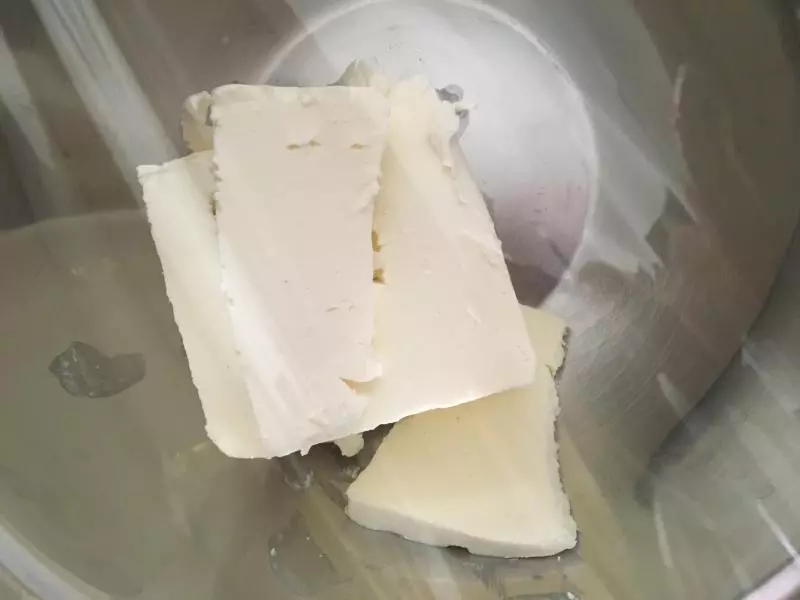
5#蛋糕体部分 奶油奶酪室温软化;
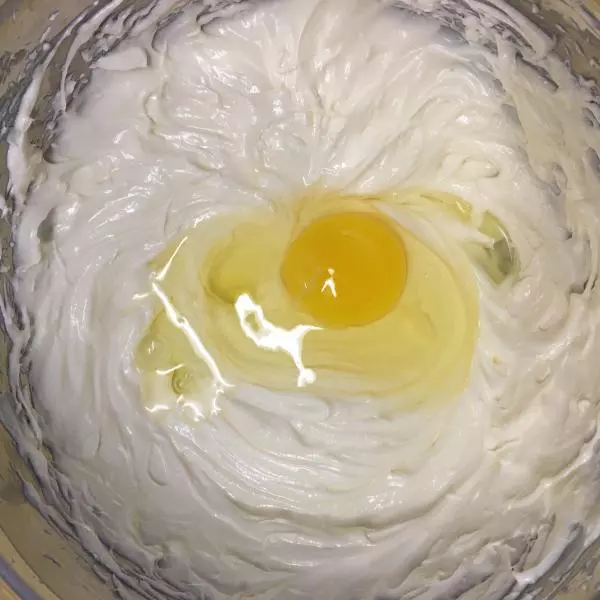
6糖 和 柠檬汁 倒进奶油奶酪中,搅拌至蓬松的羽毛状;
7两枚鸡蛋分2-3次加入奶酪糊中,混合至完全吸收;
8奶酪糊中加入全部的牛奶混合均匀;
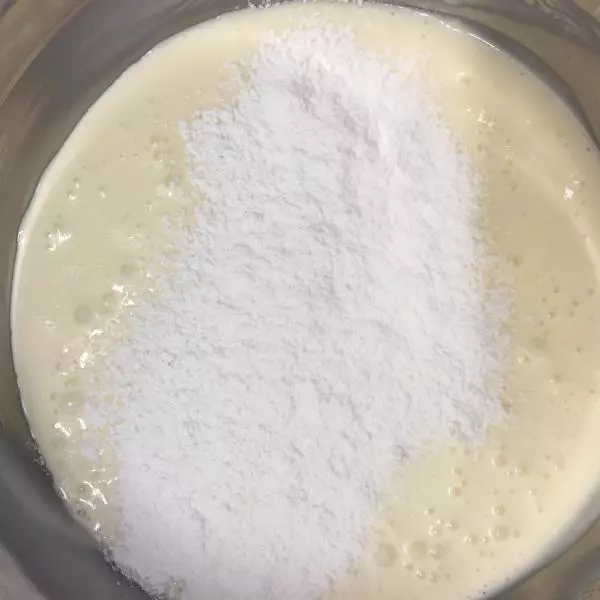
9面粉和玉米淀粉筛入奶酪糊中,用压拌的手法搅拌至无颗粒状;
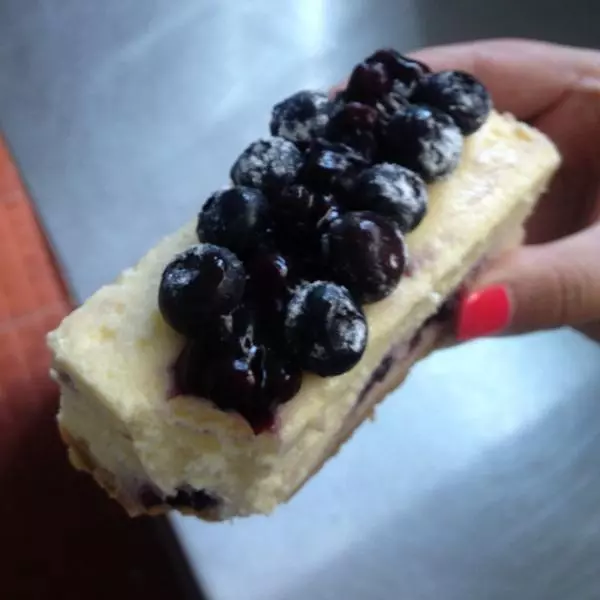
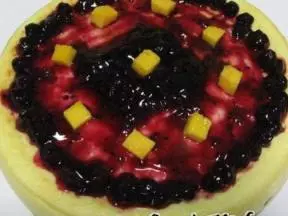
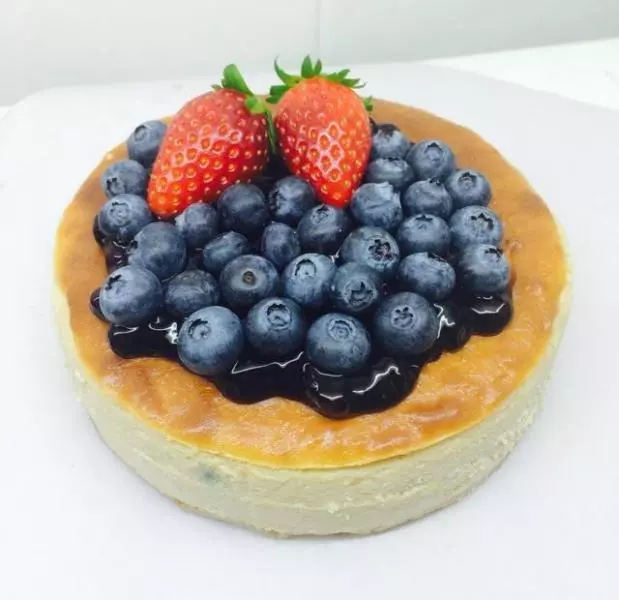
10将蓝莓均匀的铺在饼干底上;
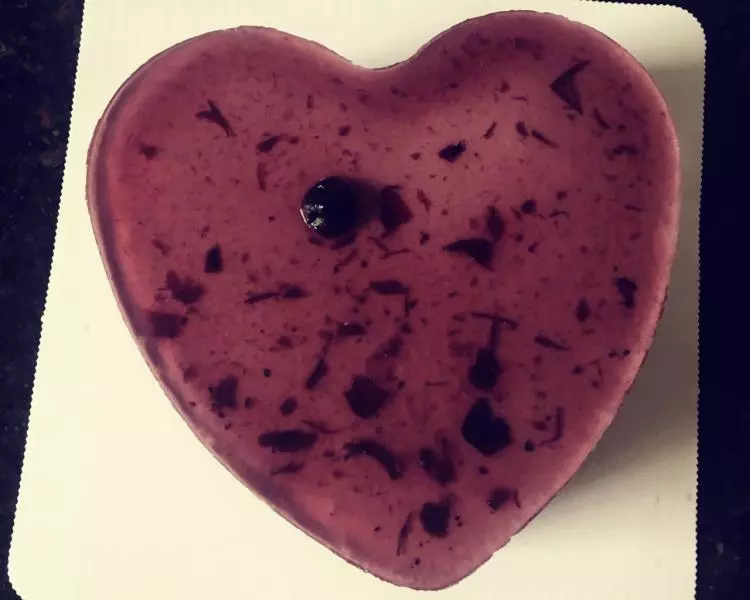
11将奶酪糊倒在蓝莓上,包了锡纸的烤盘,放在注入了温水的另一个大烤盘内;

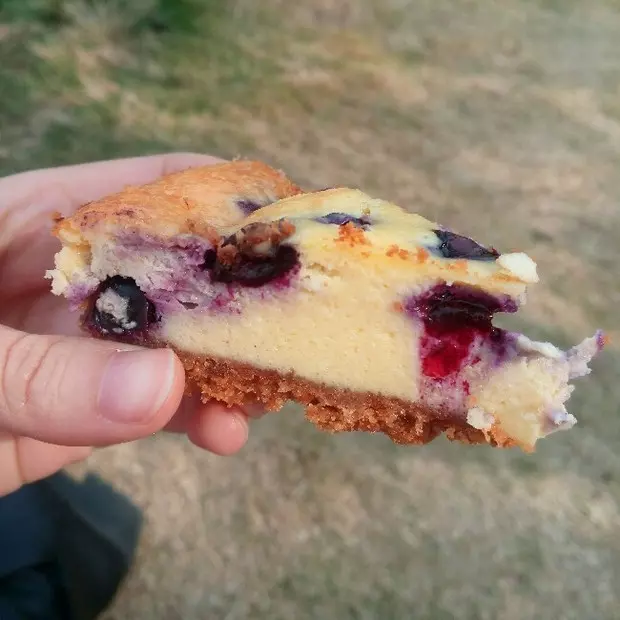
12烤箱330℉,水浴继续烤制90分钟即可。
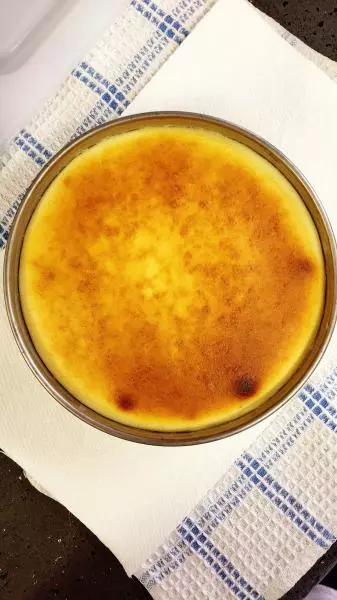
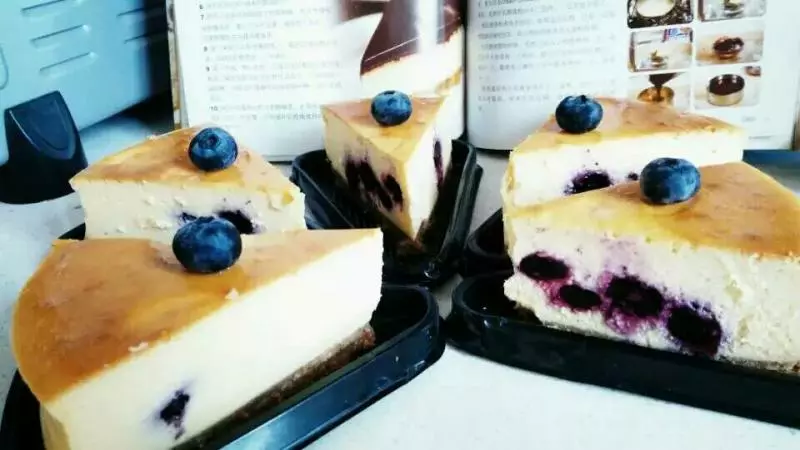
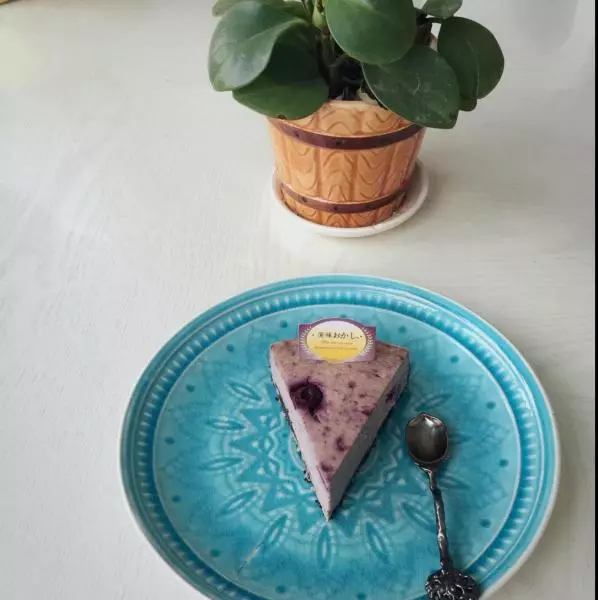
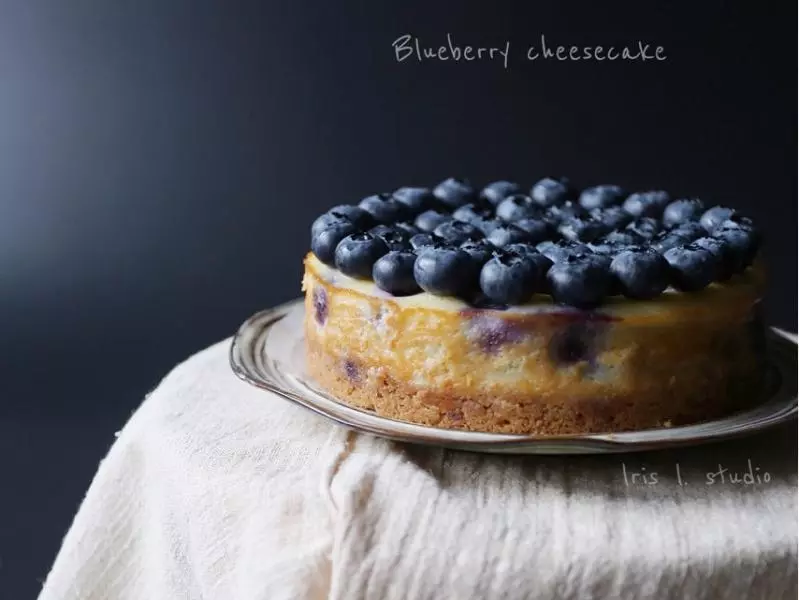
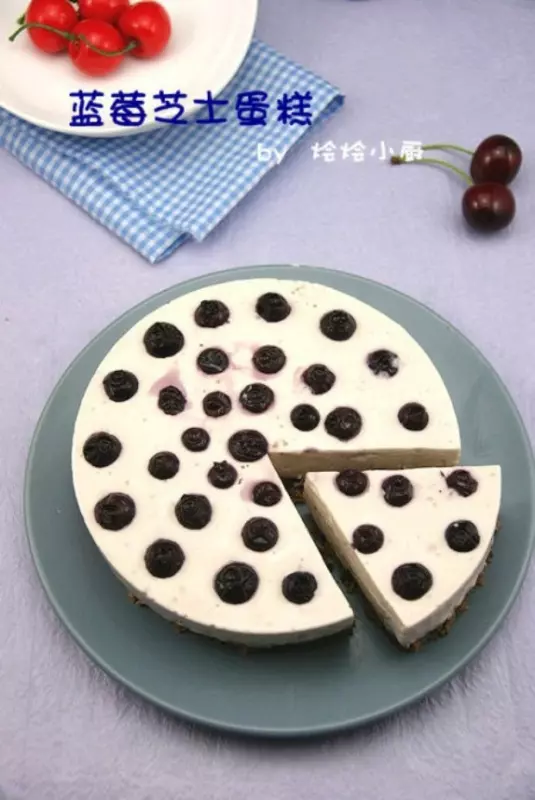
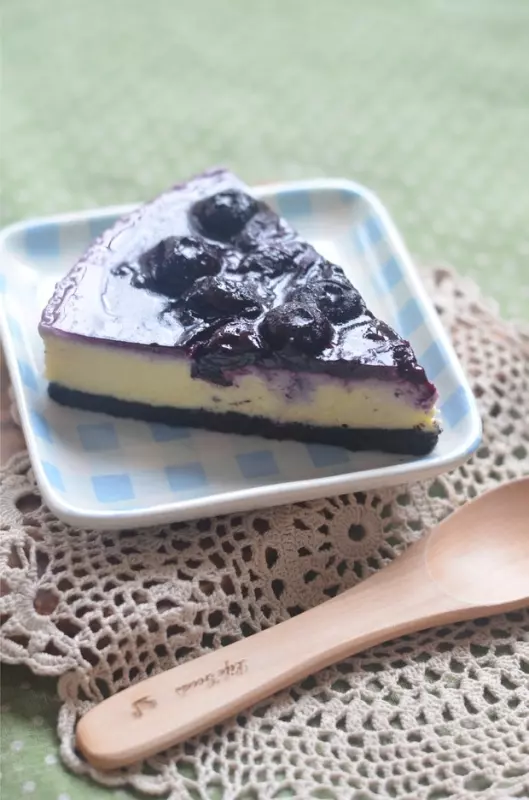
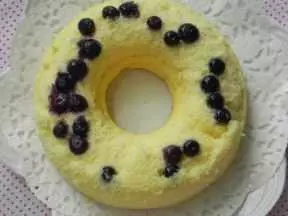
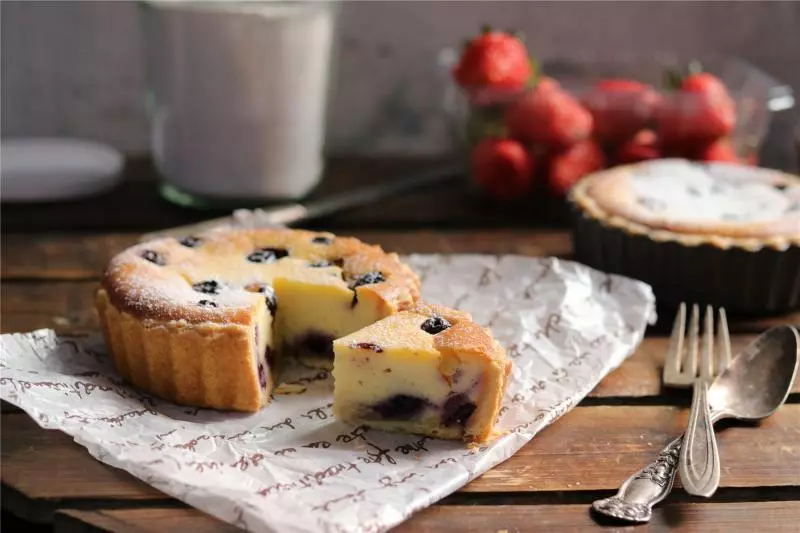
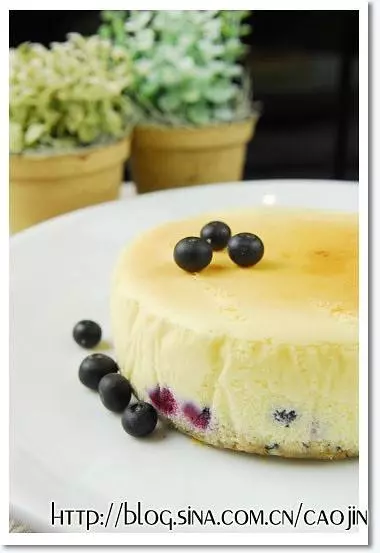
13烤好的芝士蛋糕,放凉后,入冰箱冷藏口感更佳。