原料
牛奶: 50克(和黄油淡奶油混合), 牛奶: 25克(和玉米淀粉混合), 淡奶油: 25克, 玉米淀粉: 13克, 低筋面粉: 38克, 奶油奶酪: 125克, 黄油: 40克, 蛋黄: 3个, 蛋清: 3个, 幼砂糖: 40克, 所需器具:手动打蛋器,电动打蛋器,橡皮刮刀,面粉筛,打蛋盆等:
步骤
1准备好所有材料

2乳酪放到微波炉里微30秒左右,放到容器里用手动打蛋器打发均匀,备用

3将黄油40克,牛奶50克,淡奶油25克全部秤好放入容器隔水加热融化搅拌均匀;

4将搅拌好的黄油牛奶淡奶油混合液体倒入奶酪盆里,搅拌至无颗粒;制成芝士糊

5在制作好的芝士糊里放入三个蛋黄,搅拌均匀备用;器具预热烤箱190度,预热10分钟

6将13克玉米淀粉加入25克的牛奶中,因玉米淀粉容易沉淀,所以要边搅拌边加入,

7搅拌好的牛奶玉米淀粉糊倒入芝士糊中搅拌均匀;

8将38克低筋粉加入上个步骤混合好的芝士糊中用翻拌的手法搅拌至无颗粒;

9将搅拌均匀的面糊过筛,这样的芝士糊更加细腻无颗粒;筛网下不去的用橡皮刮刀碾碎即可

10蛋白中加数滴柠檬汁,进行低速打发,分三次加入幼砂糖;

11打发至出现软软的小尖钩,呈湿性泡沫状就可以了

12先将三分之一加入芝士糊中,用翻拌手法搅拌均匀

13将搅拌好的芝士糊倒入剩余的蛋白糊中,用翻拌手法搅拌均匀;

14在轻乳酪蛋糕模具底部铺上油纸,周围刷上色拉油;

15将混合好的乳酪蛋糕糊倒入模具,

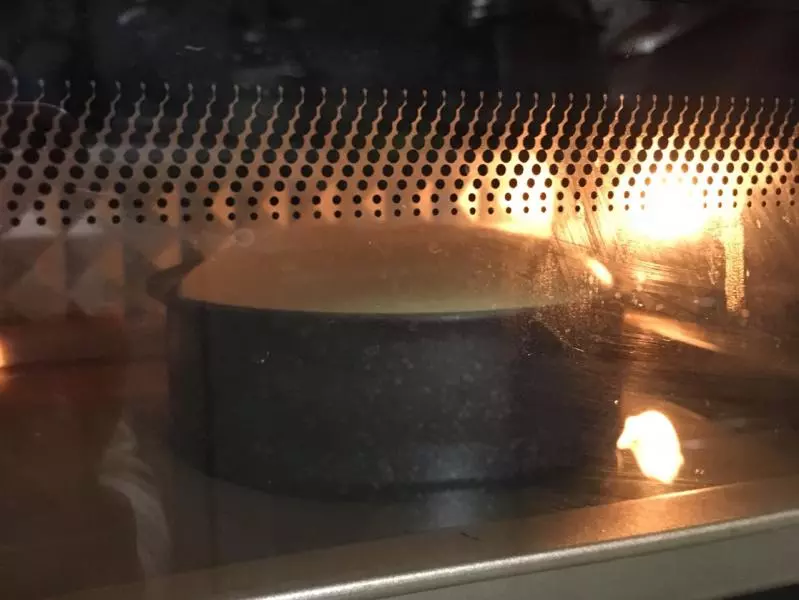
16在烤盘里倒上清水,模具送入烤箱;先用上下火190度烤20分钟左右,中层;上色后将火力调整为140度再烤70分钟左右;

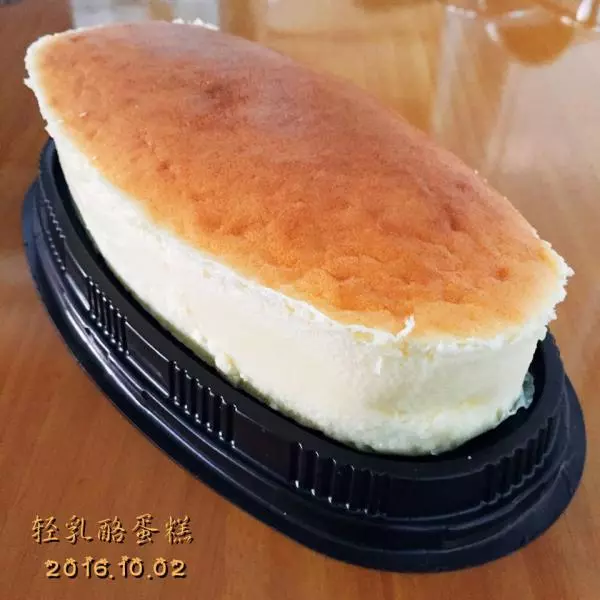
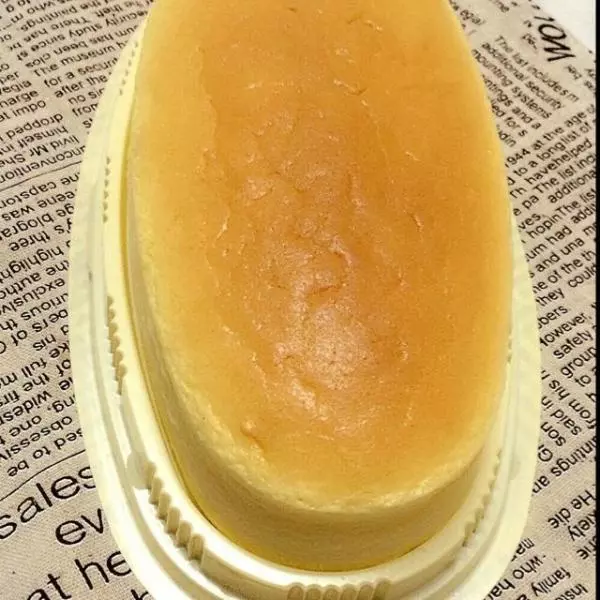
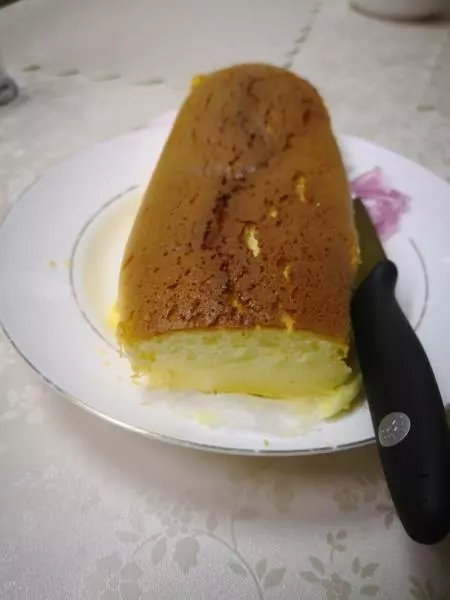
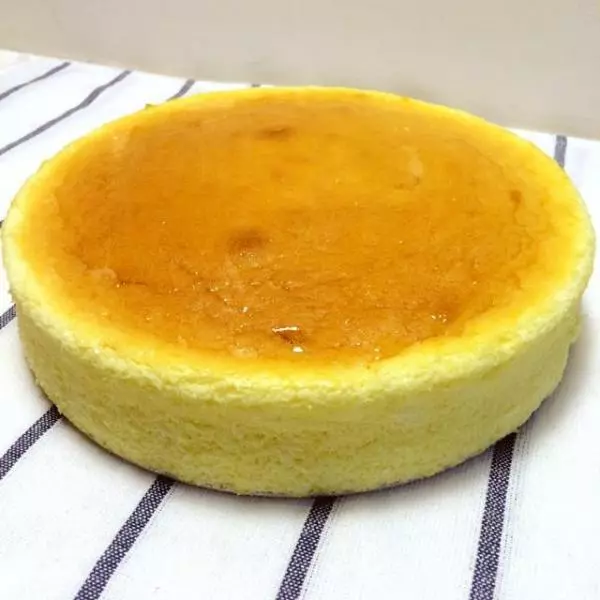
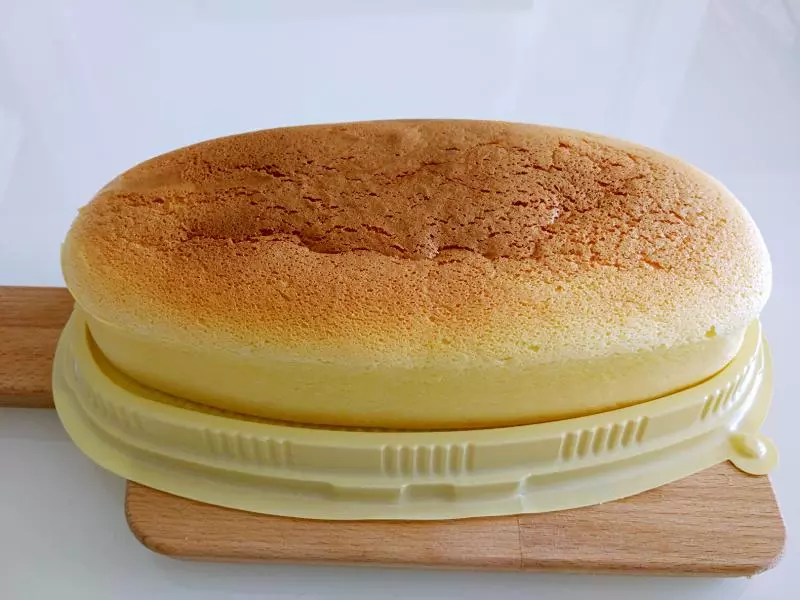
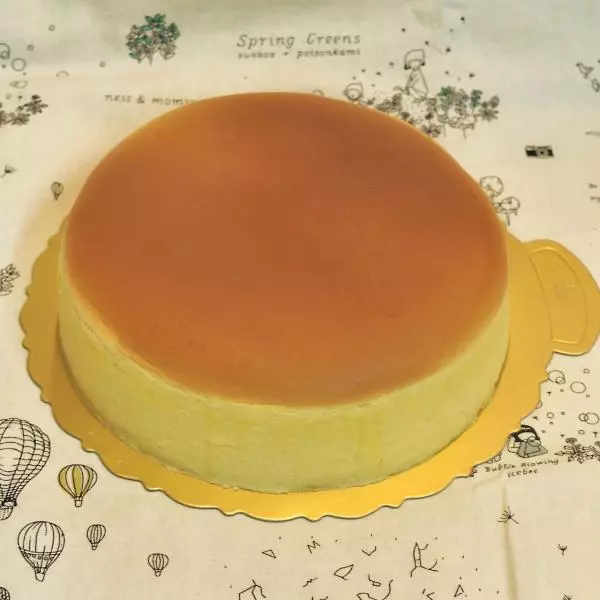
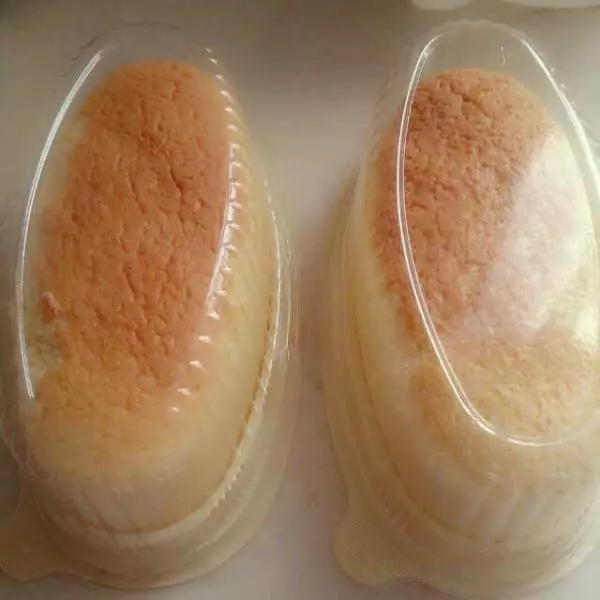
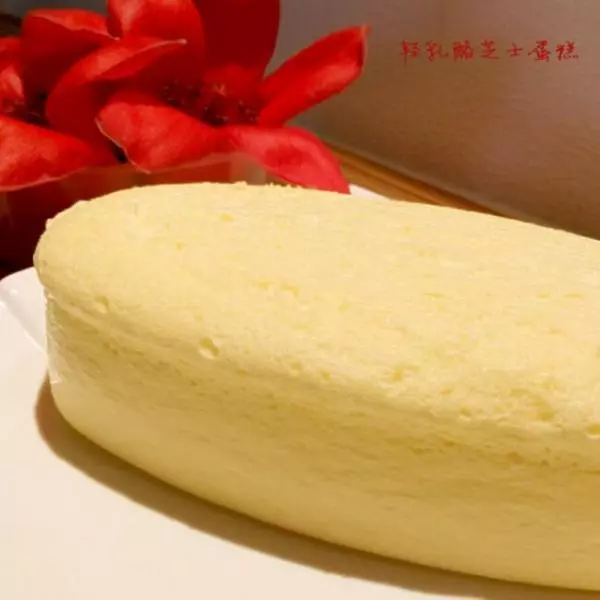
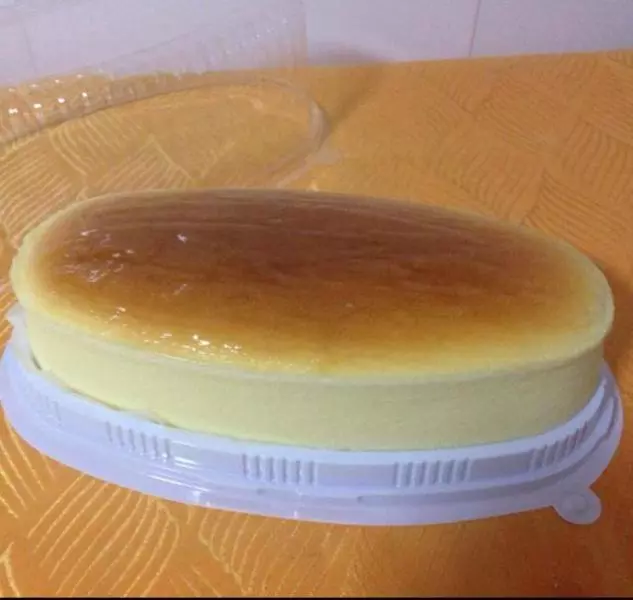
17时间到了别着急往出取,关火在烤箱里静至20分钟左右再取出进行脱模;

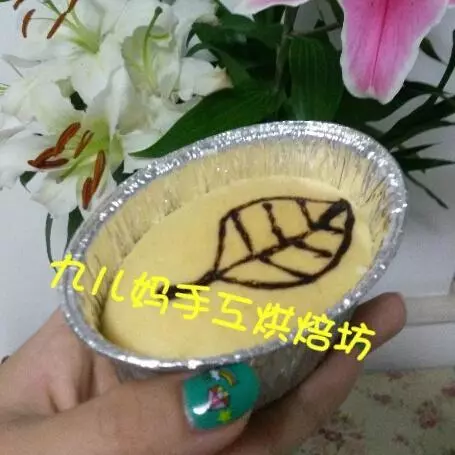
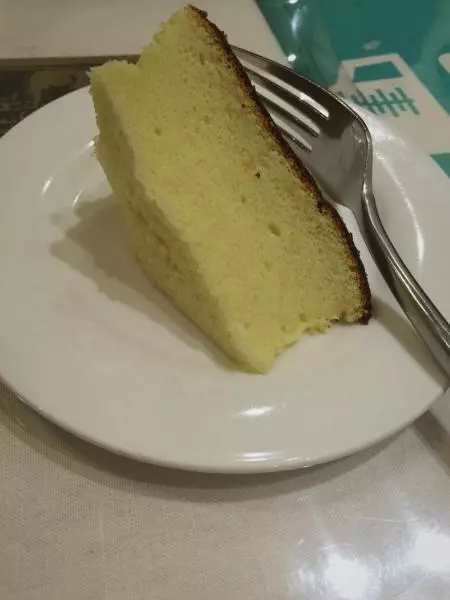
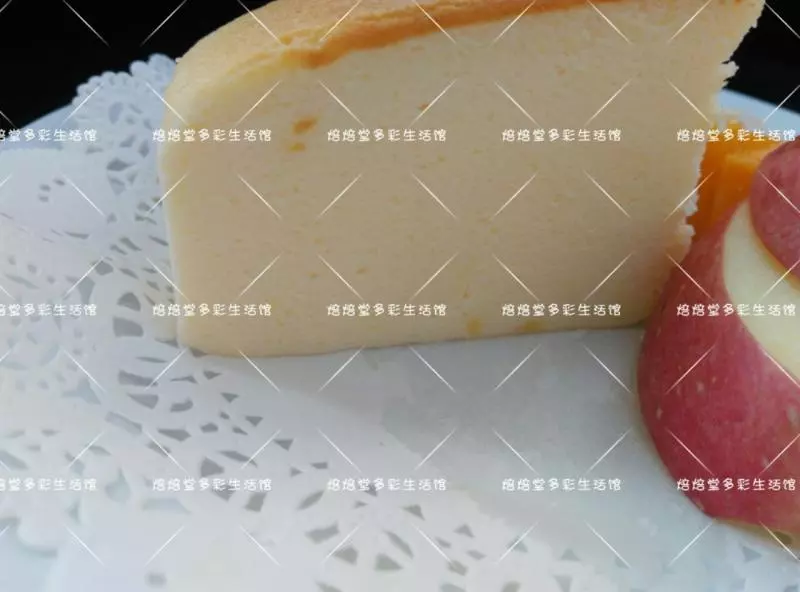
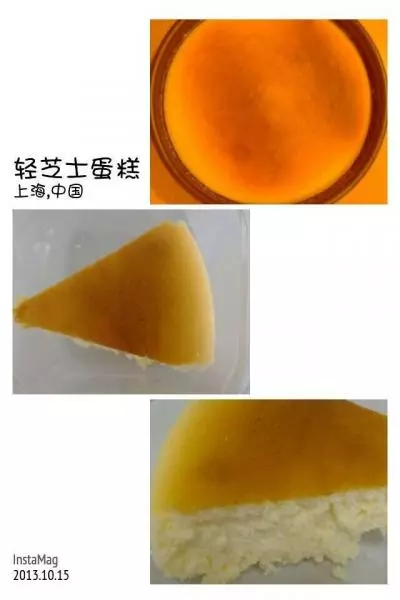
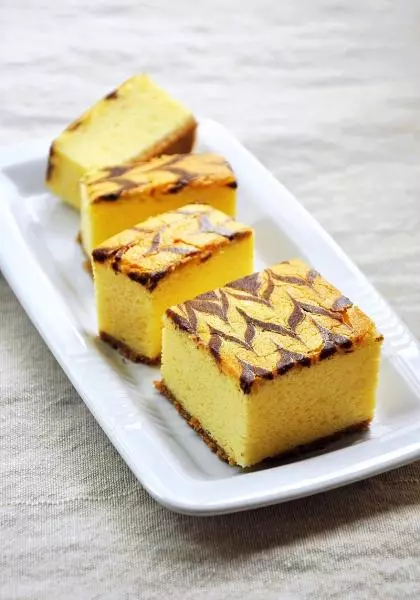
18这款蛋糕味道超赞!虽然烘烤时间长一些但无需冷藏,是制作轻乳酪蛋糕的好方子