原料
蛋白: 5个, 蛋黄: 5个, 纯牛奶: 50克, 玉米油: 50克, 白砂糖: 50克, 低粉: 60克
步骤
1蛋黄,纯牛奶,玉米油搅拌均匀

2筛入低粉,搅拌均匀

3蛋白打发大气泡加入20g白砂糖继续打,大气泡消失后在加入15g白砂糖

4出现纹路加入最后15g白砂糖,高速打发,出现纹路低速打发两分钟,这样蛋白比较细腻

5可以竖起小尖,但是还是软软的,不是很硬,在低速打发均匀蛋白就可以啦(现在我们要预热烤箱了哦,上下150度)

6加入三分之一蛋白到蛋黄糊里面搅拌均匀(注意不要搅拌过久哦)

7剩余的蛋白和蛋黄糊搅拌均匀就可以啦

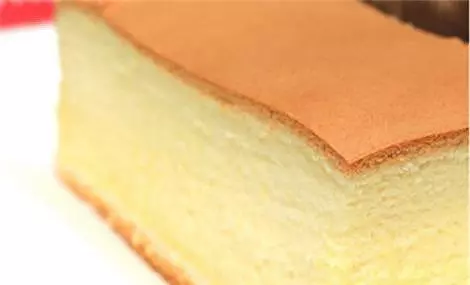
8烤箱中成上下火150度,我烤了30分钟左右,这个时间不一定的哈,因为烤箱大小不一温度肯定有差,可以用手轻轻的压表面不会破就差不多好了

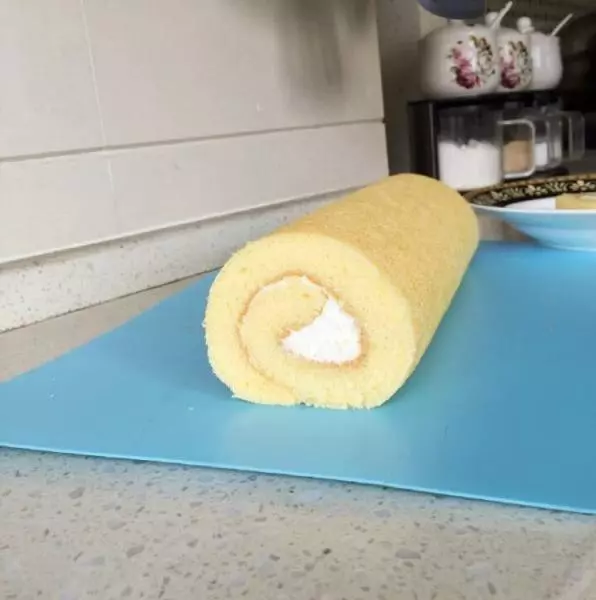
9这一步忘记拍照了,烤好连同油纸一起拉出烤盘放入烤架,等温热时重新拿张油纸盖上,在拿两张油纸翻过来,切除上下两边,借助擀面杖开头压一压,这样不会空心
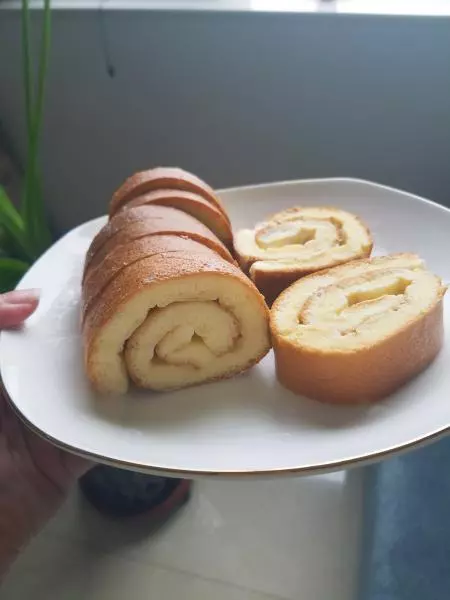
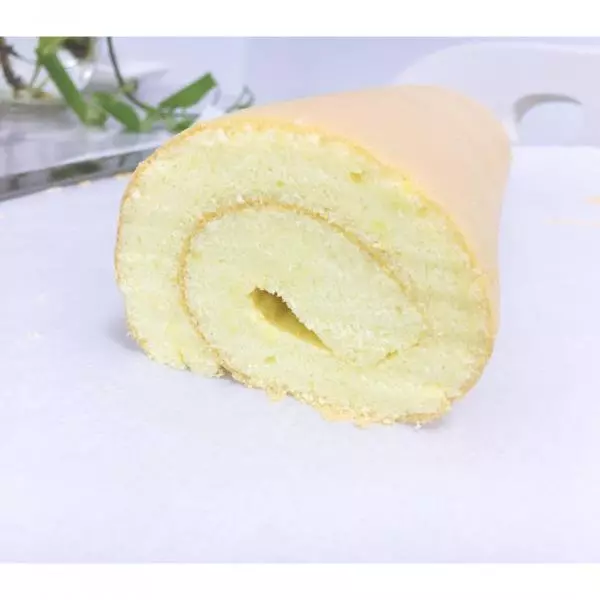
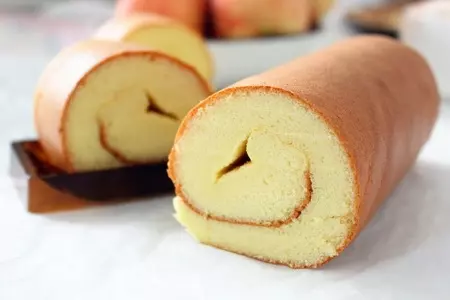
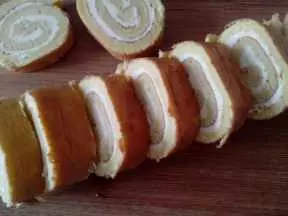
10放心的卷吧,蛋糕有弹性不会破的,卷好定型10分钟左右,我这个是卷好我小孩直接弄了下所以不平

11切开就可以吃啦,是不是挺简单的呢