原料
鸡蛋: 4个, 玉米油: 45g, 牛奶: 25g, 茉莉花茶: 40g, 糖: 70g, 低筋面粉: 75g, 茉莉香精: 3-4g
步骤
1茉莉花适量,用开水泡十分钟

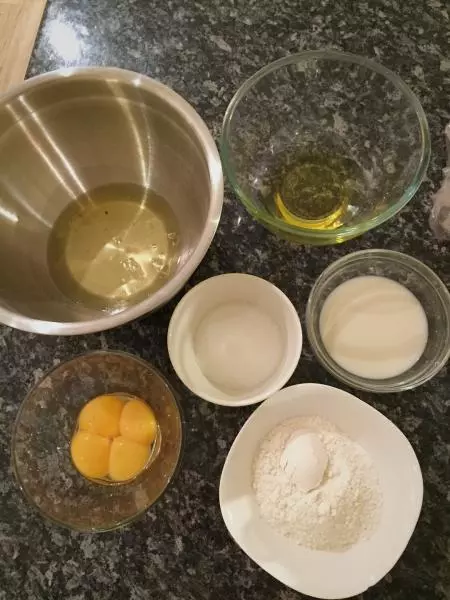
2材料全家福,茉莉花茶已经和牛奶混合在一起
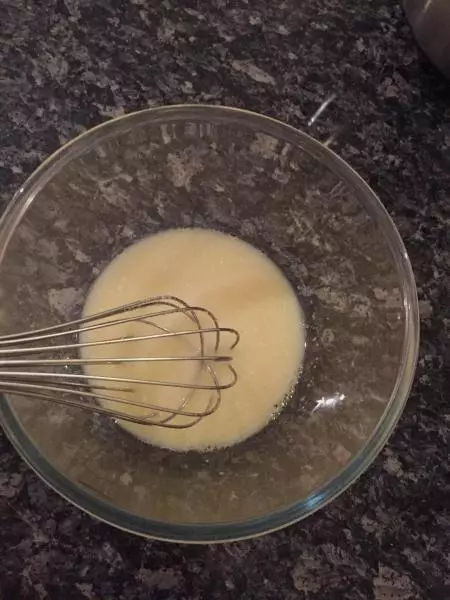
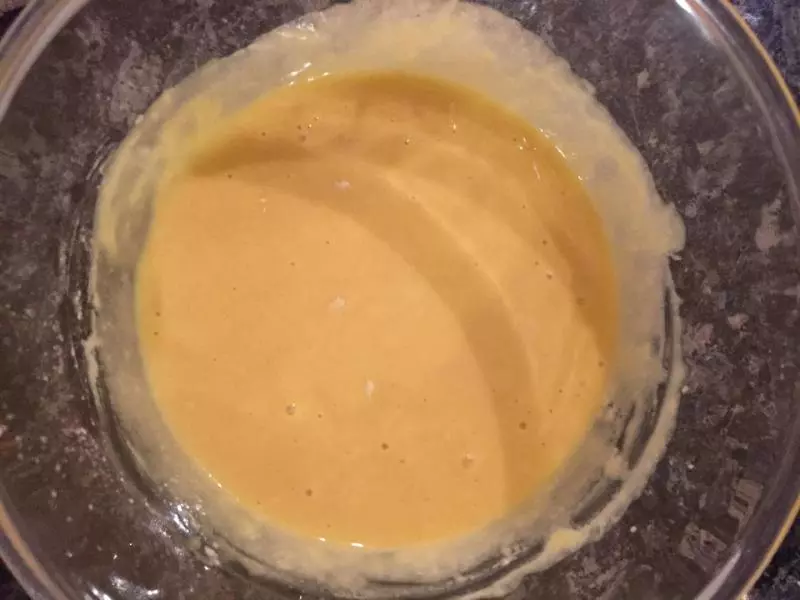
3所有液态材料混合,加入适量的糖,用手动打蛋器混合均匀
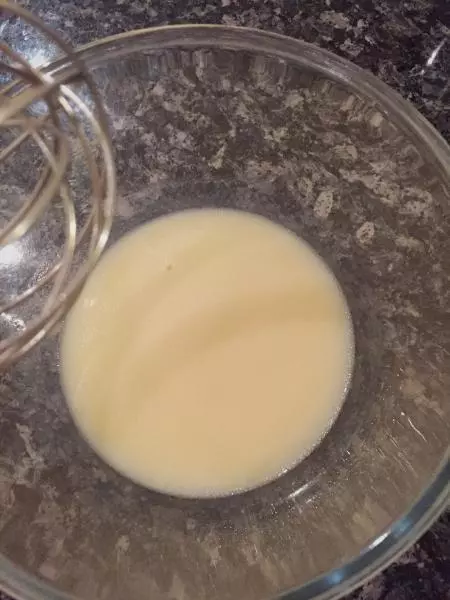
4混合均匀后的样子
5面粉分两次过筛到混合均匀的液态材料中
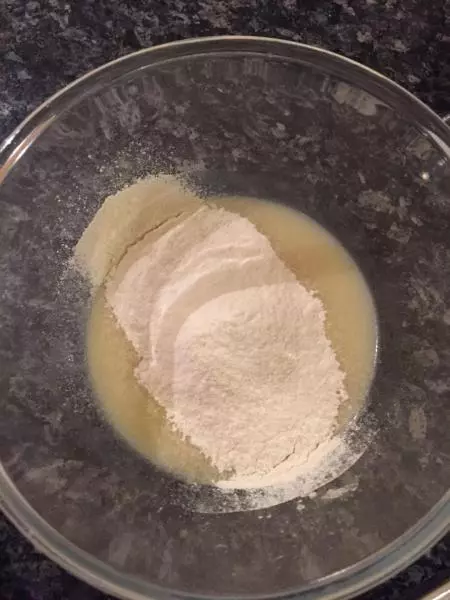
6混合均匀后的样子,看上去有点干,不过没关系,加了蛋黄后就好了
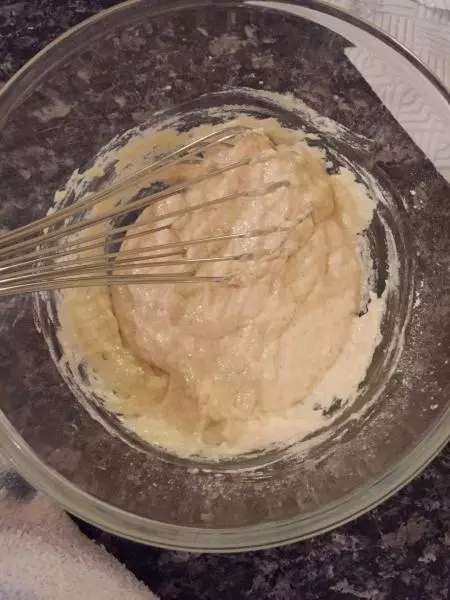
7把所有蛋黄一次性加到面糊中,不要搅拌过度,会起筋,搅拌均匀即可

8搅拌均匀后的样子
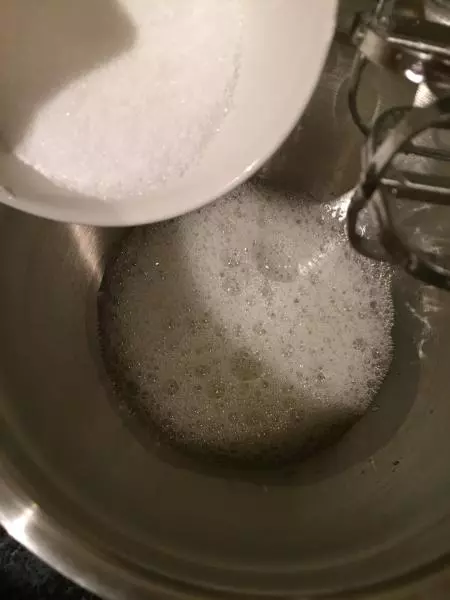
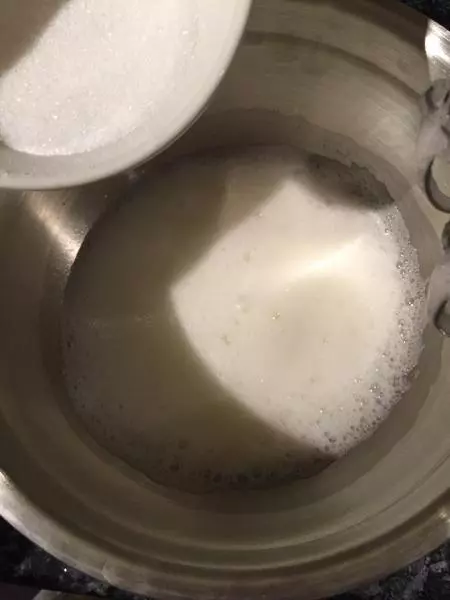
9接下来打发蛋白,同时烤箱预热(160°),电动打蛋器中档以上,蛋白起大泡泡时加入三分之一的糖
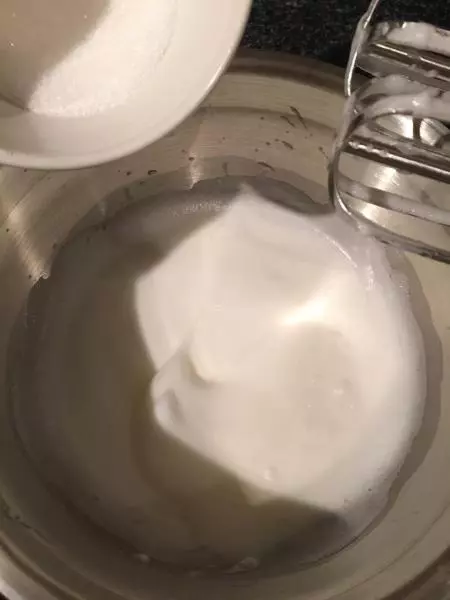
10继续打发蛋白,蛋白呈现较细腻泡沫时加入三分之一的糖
11蛋白打发到有点文路时加入剩下三分之一的糖
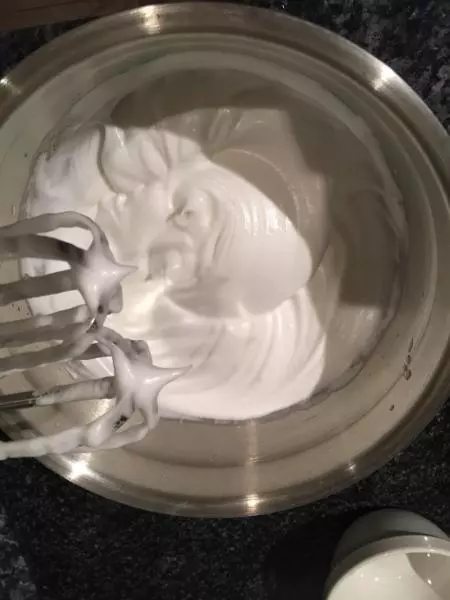
12打发好后的蛋白
13取部分蛋白和蛋黄糊搅拌均匀(切拌法)

14然后将搅拌好的蛋白和蛋黄糊倒回蛋白盆,继续搅拌均匀
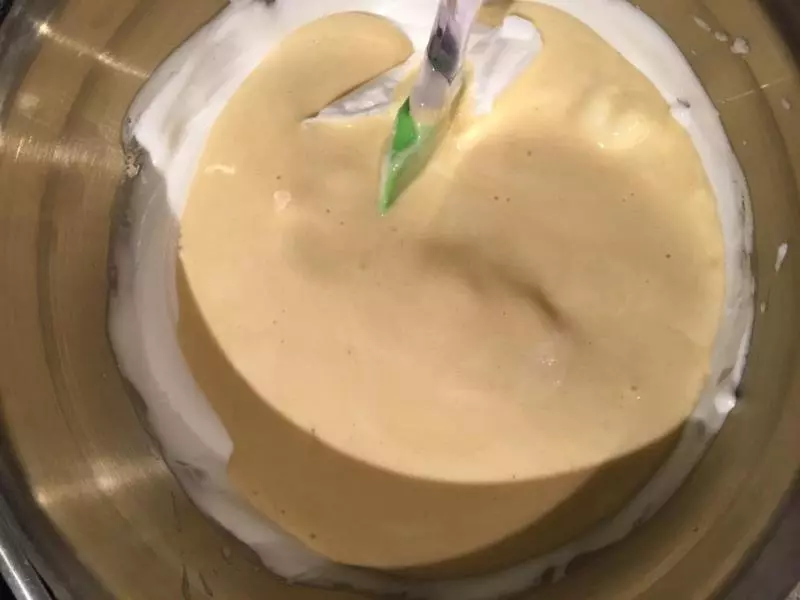
15搅拌好的样子

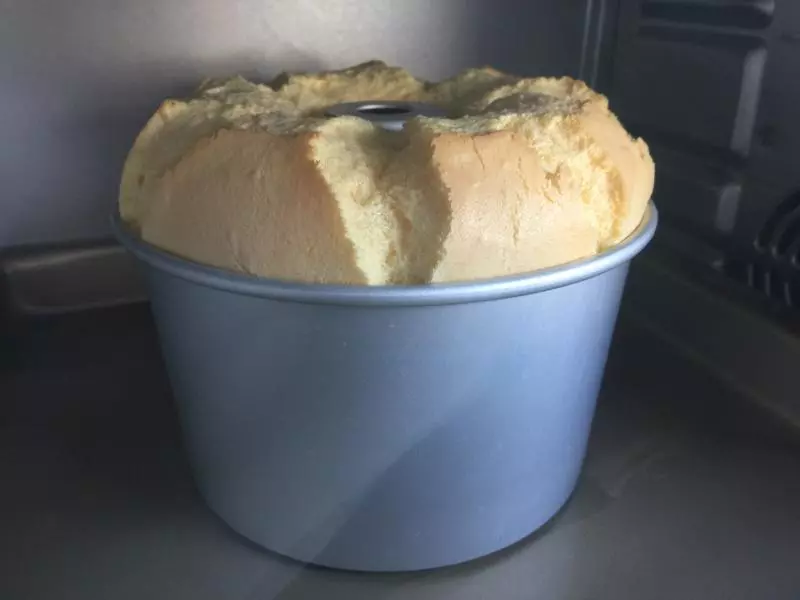
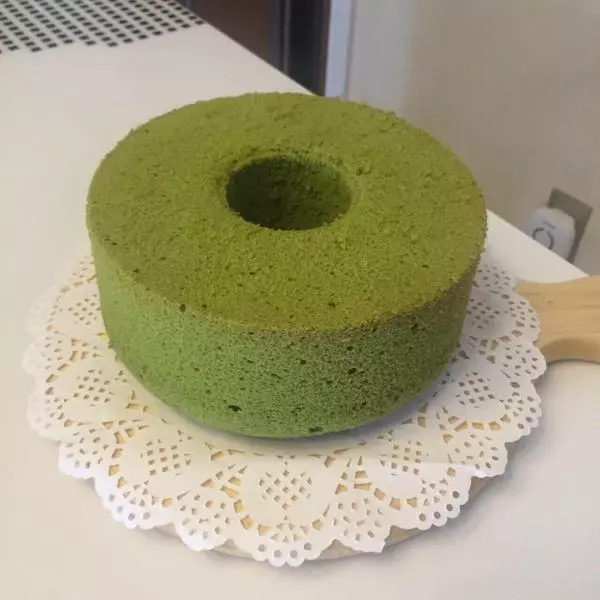
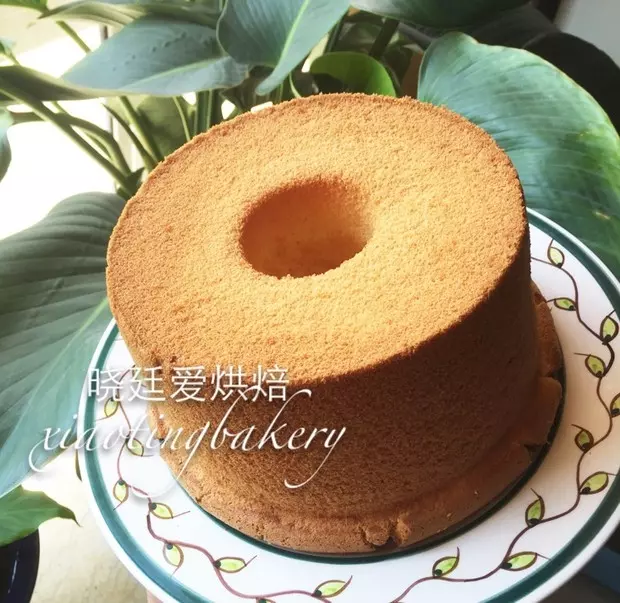
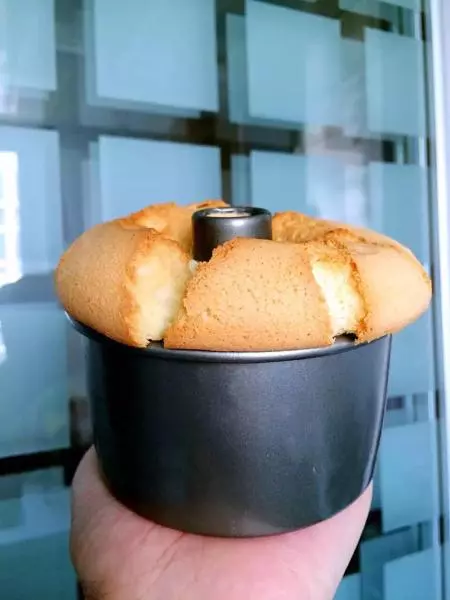
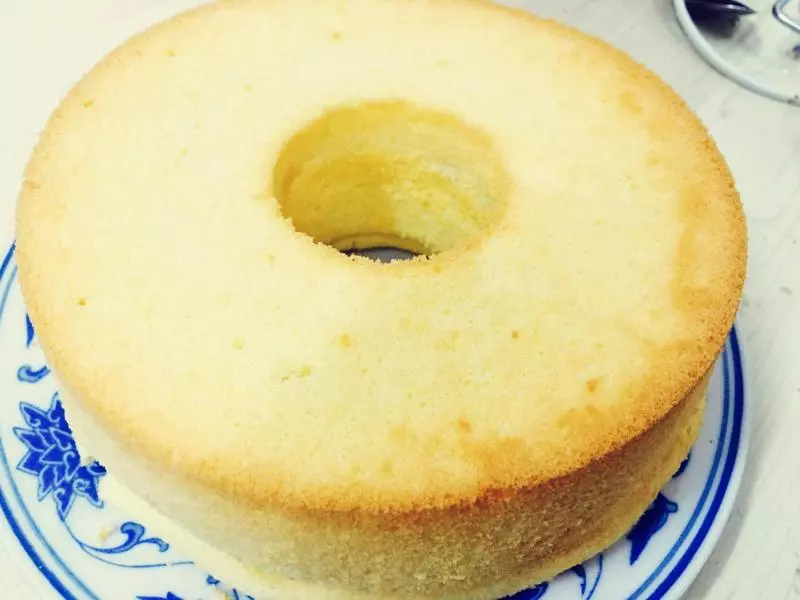
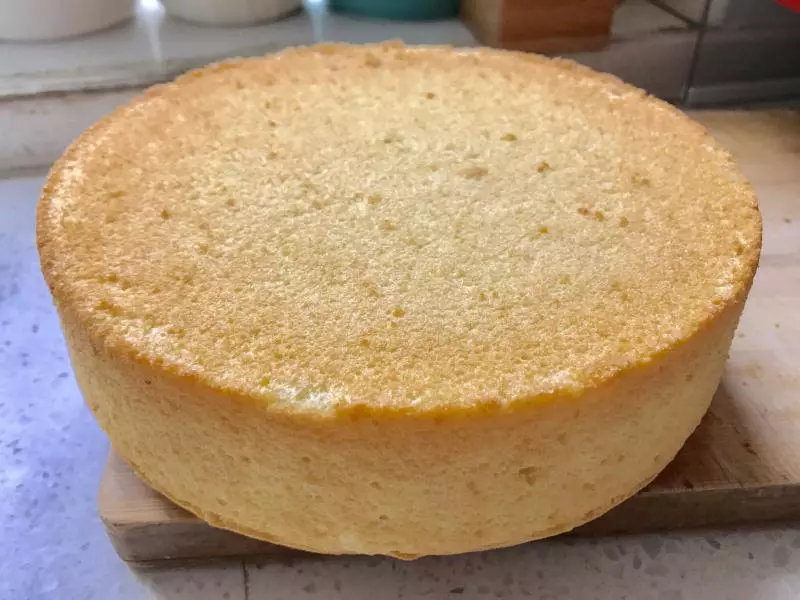
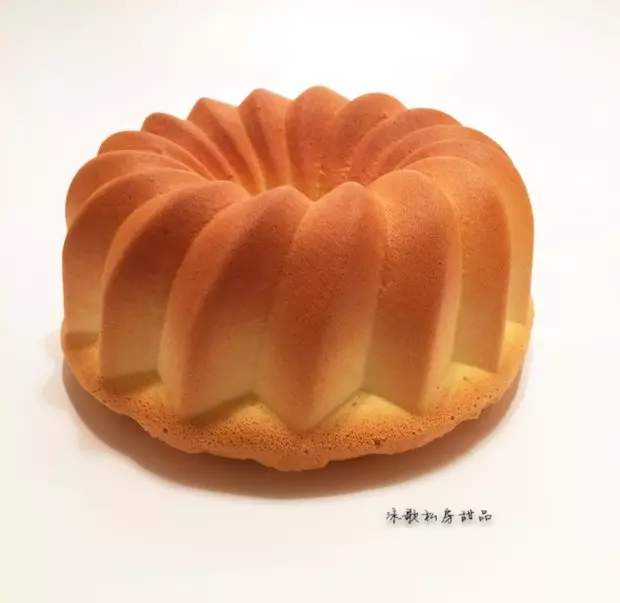
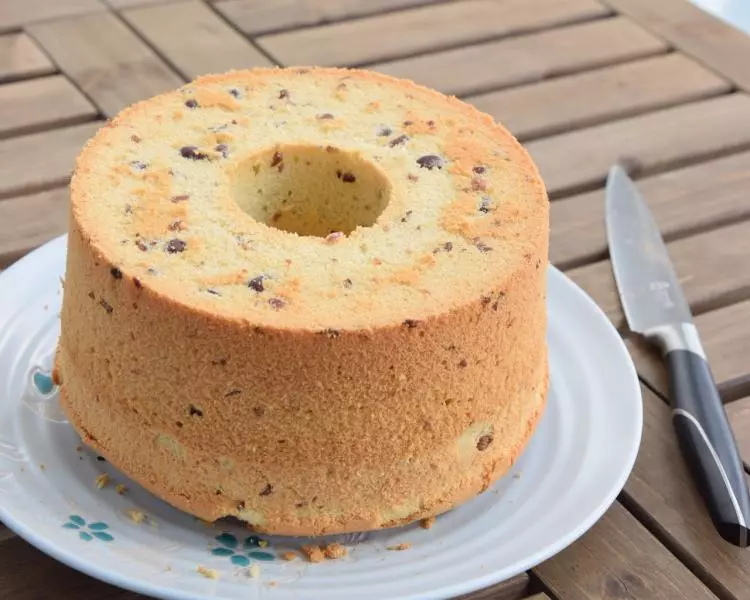
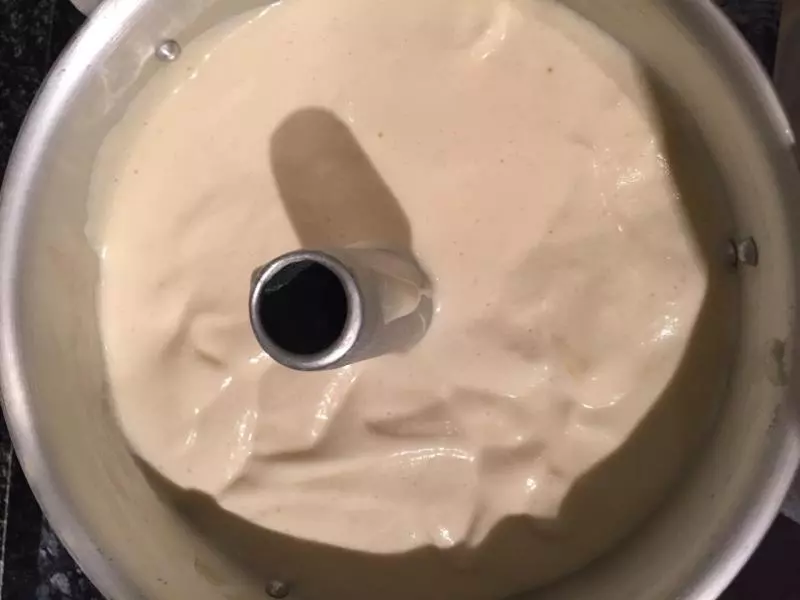
16倒入模具中,7-8分满的样子
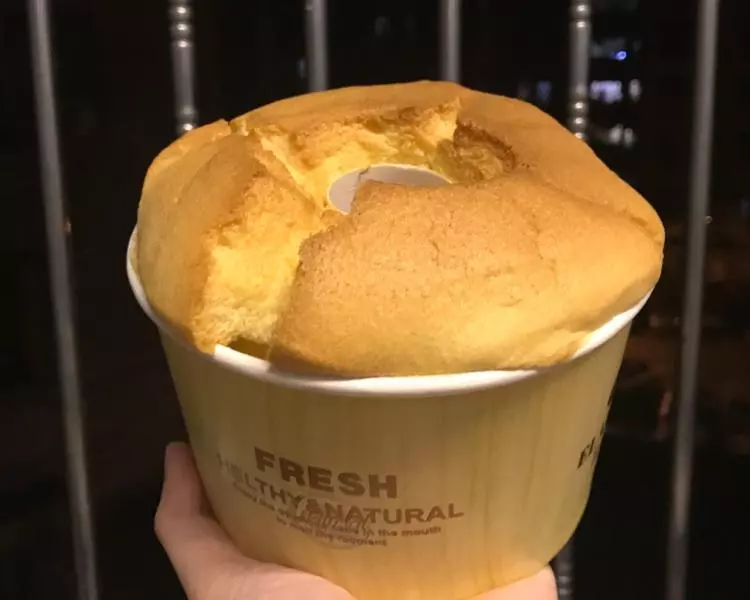
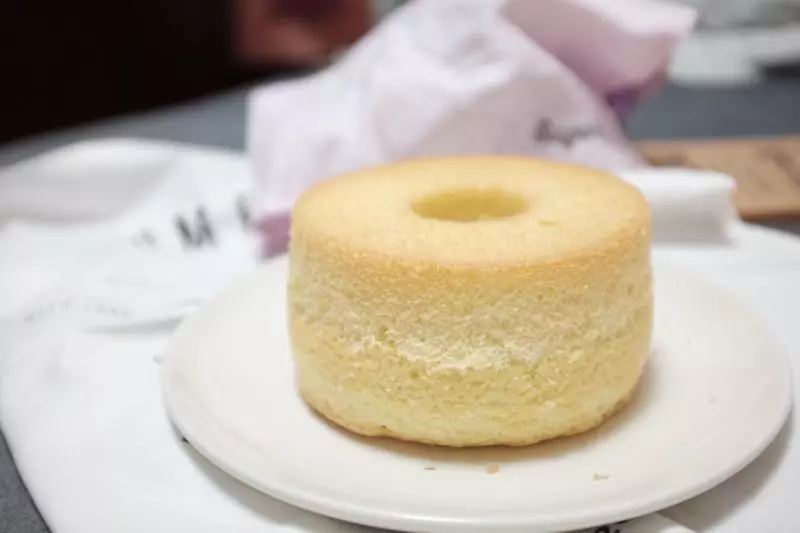
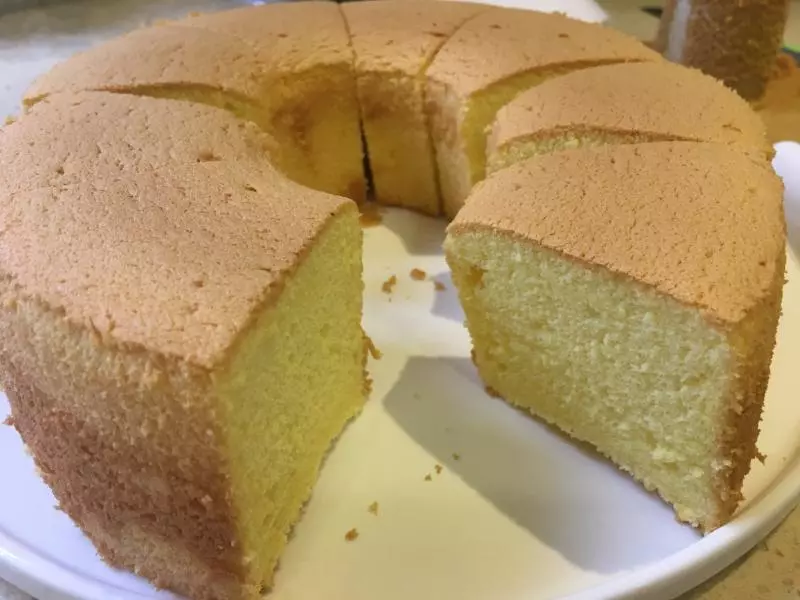
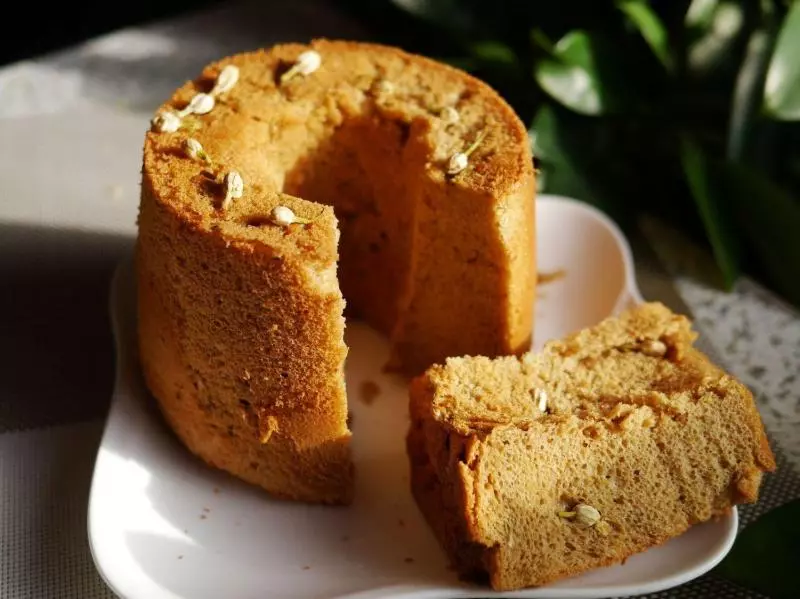
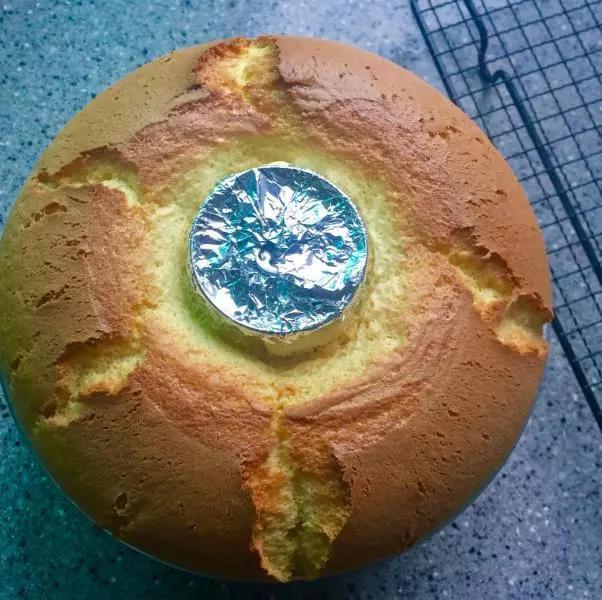
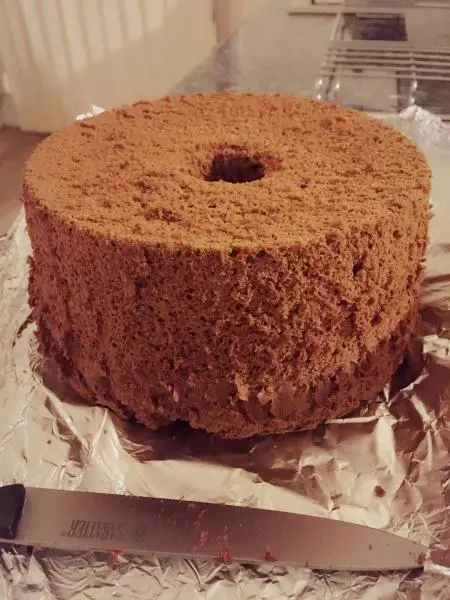
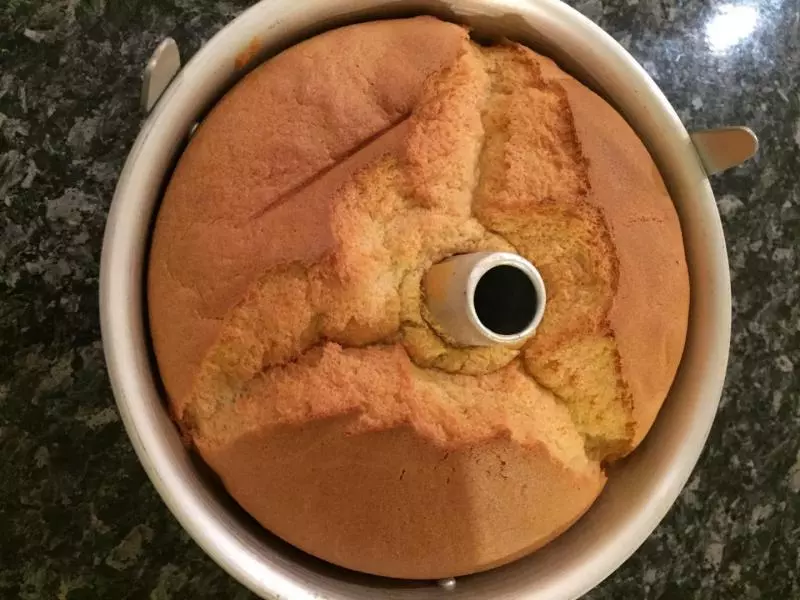
17160°-170°烤45分钟,温度根据自家烤箱适量调整
小技巧
判断蛋白霜打发到硬性发泡的方法: 手动打蛋器边搅拌时有一定阻力,打蛋器提起来时有尖尖的角且不会往下滴,比较坚挺