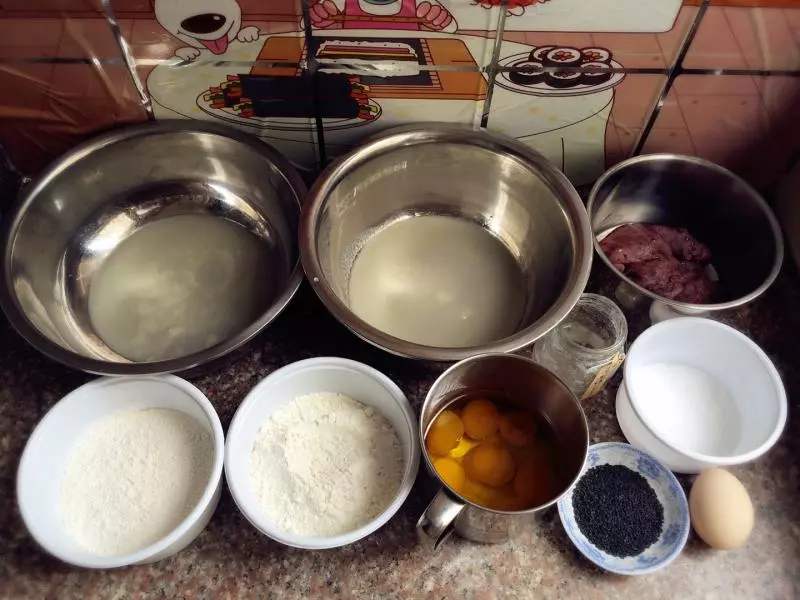
原料
油皮材料:: , 中筋麵粉: 150克, 豬油: 55克, 糖粉: 30克, 水: 55克, 油酥材料:: , 低筋麵粉: 120克, 豬油: 60克, 餡料:: , 紅豆餡: 500克, 鹹蛋黃: 16個, 芝麻: 若干, 蛋黃液: 2個
步驟
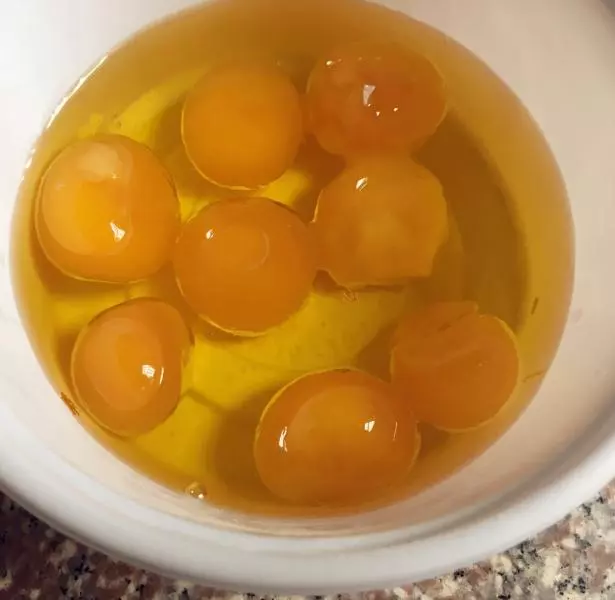
1新鮮鹹鴨蛋洗凈,取出蛋黃
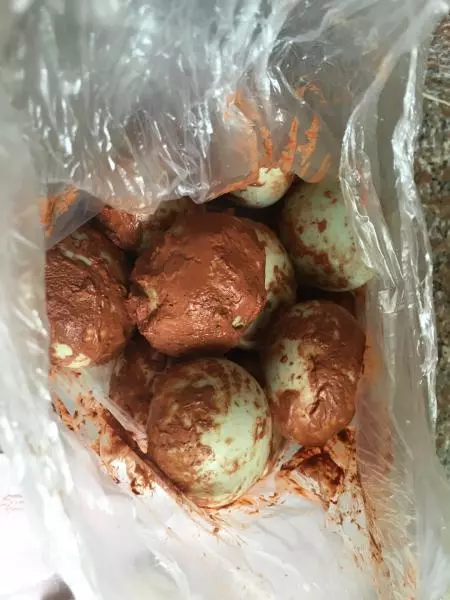
2蛋黃用花生油泡最少一個小時,我泡了一晚,前晚上家裡只有8個蛋了,剩餘8個隔天才買的
3稱好所有材料
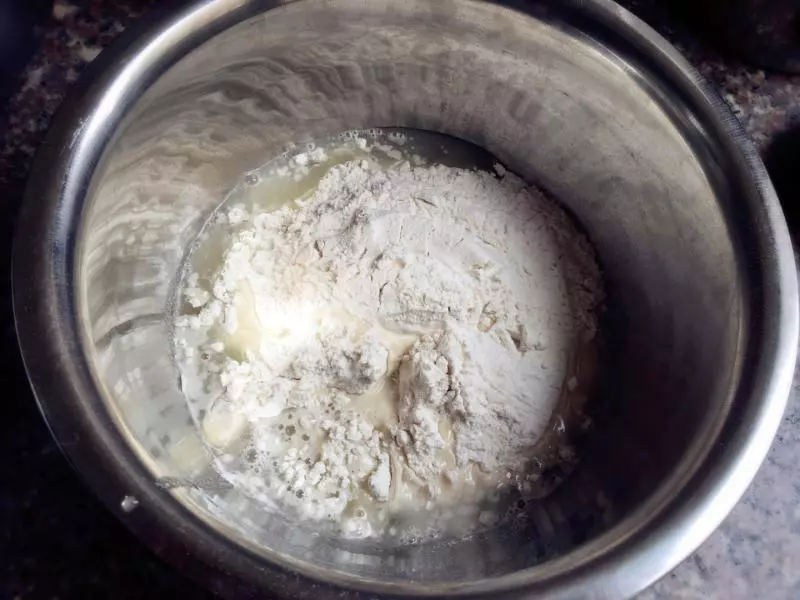
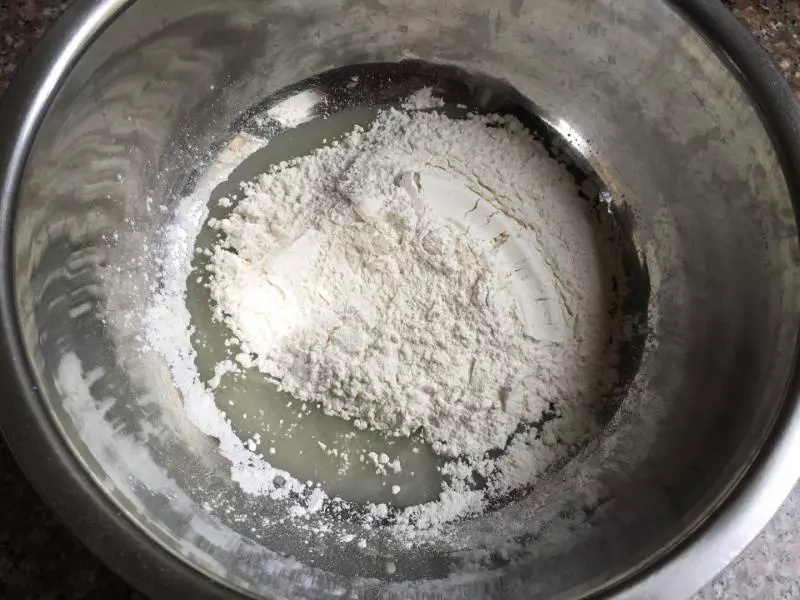
4把油皮所有材料倒在盆里混合
5用筷子攪拌成絮狀,然後揉至麵糰出手膜為止,有麵包機的可以直接用機器攪拌,可憐我手揉了半個小時左右,過程都是浮雲
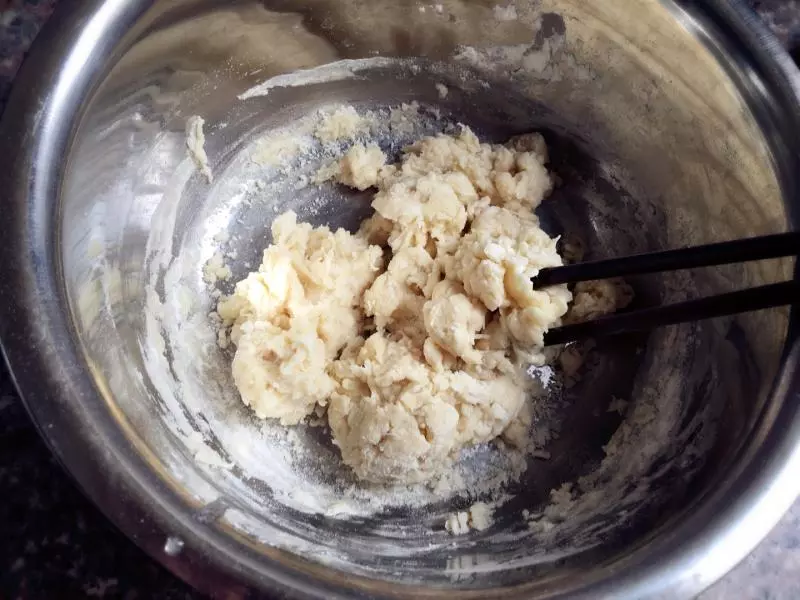
6成這樣就可以了,然後揉至麵糰光滑
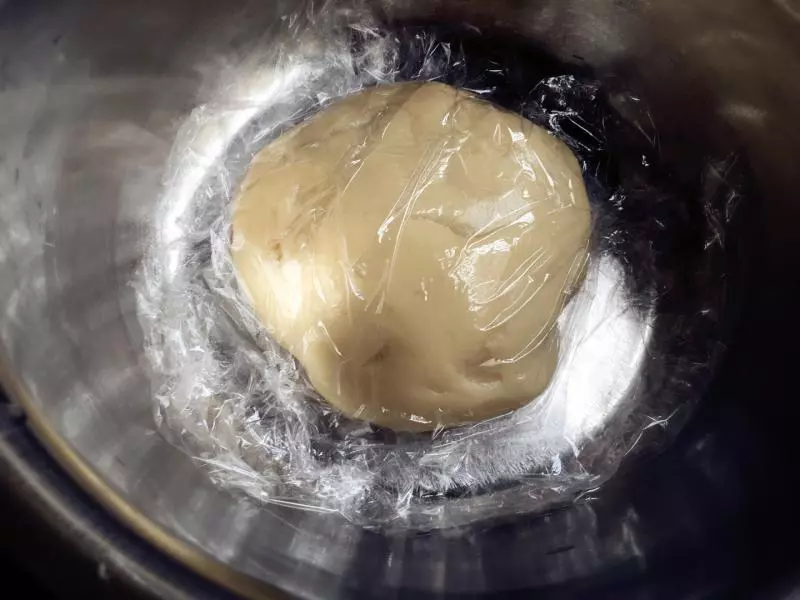
7揉好的油皮麵糰用保鮮膜封好松馳30分鐘
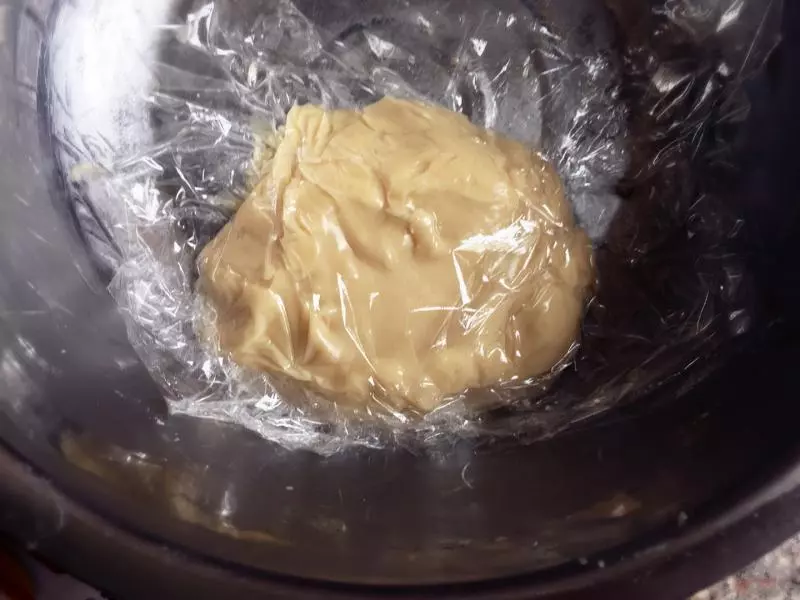
8下一步做油酥麵糰,把油酥材料倒進盆里,攪拌揉合麵糰
9揉好的油酥麵糰也用保鮮膜封好,鬆弛30分鐘
10等待的時候可以烤熟蛋黃,蛋黃碼盤,上下火180度烤7分鐘
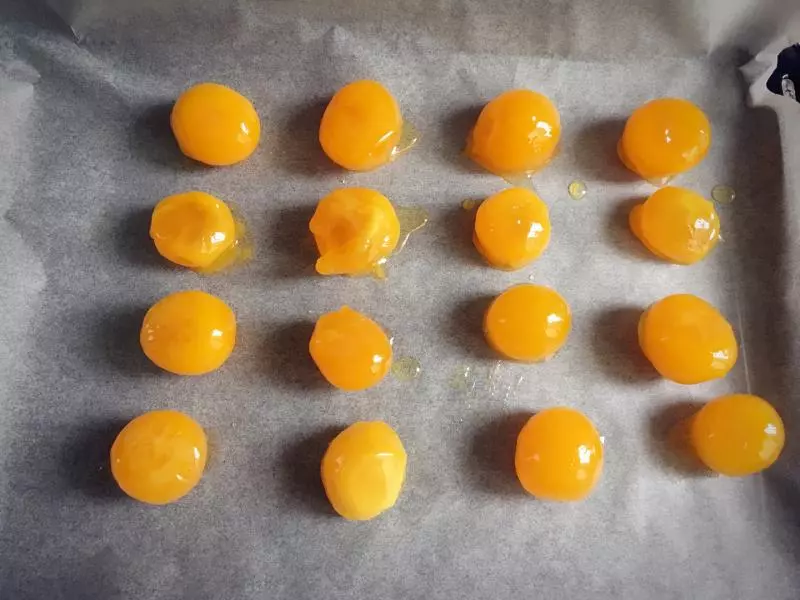
11出爐

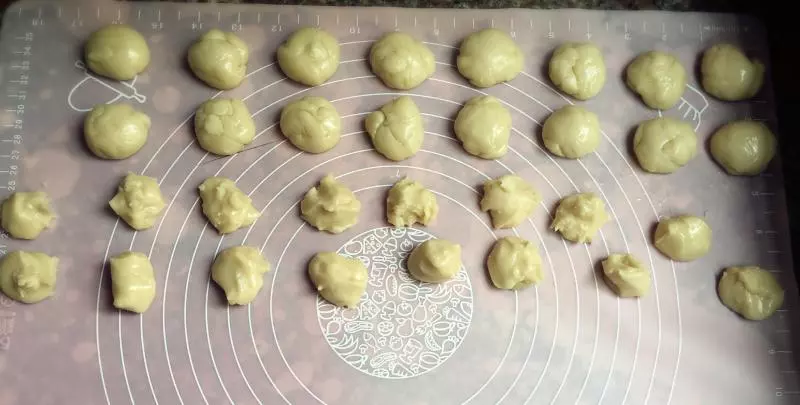
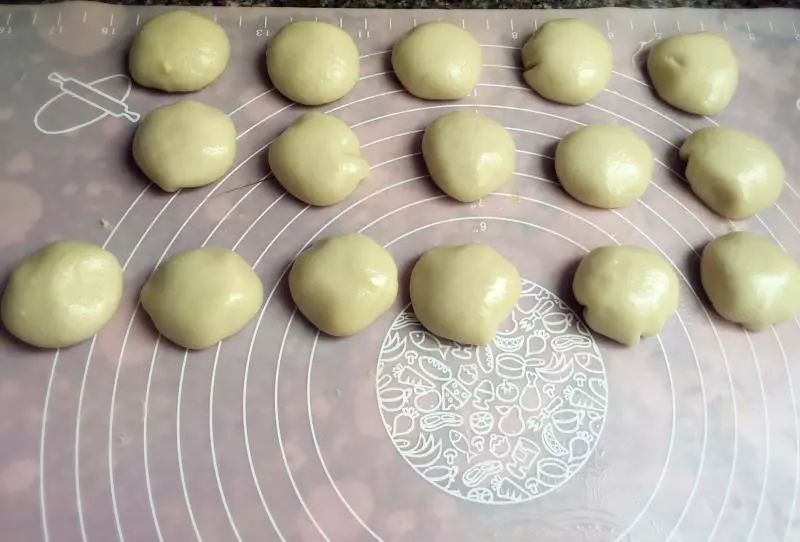
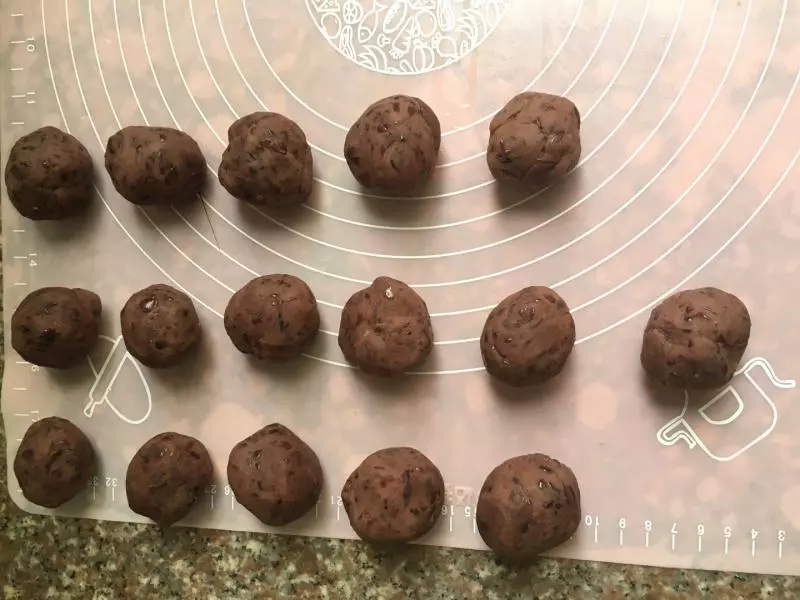
1230分鐘後把油酥跟油皮麵糰平均分成16份
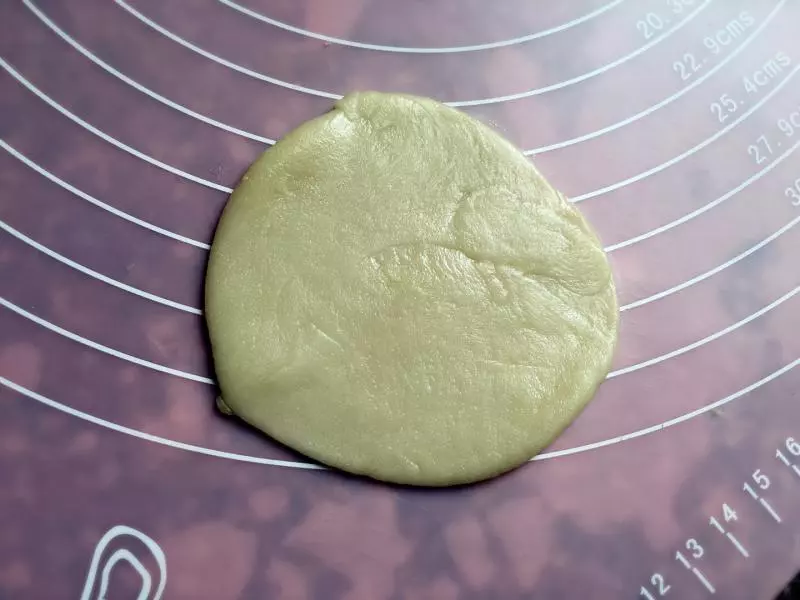
13取一份油皮麵糰擀圓
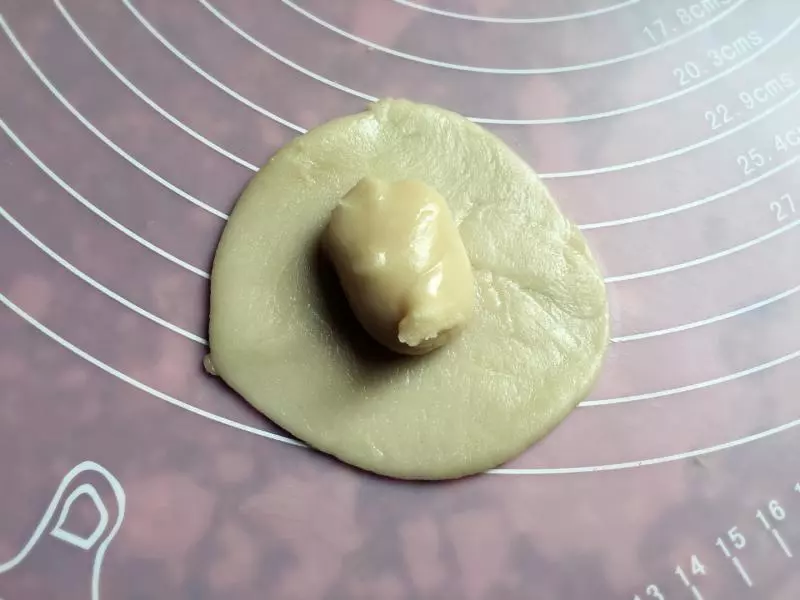
14包入油酥麵糰
15包住封口
16都包好
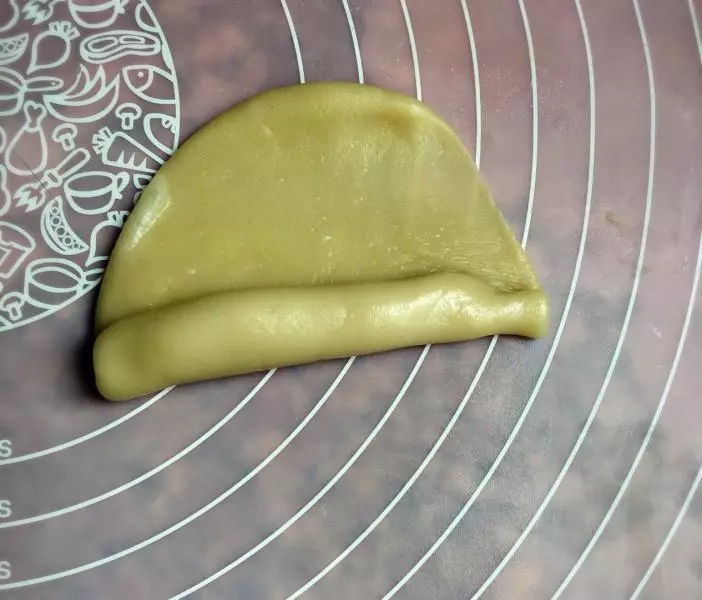
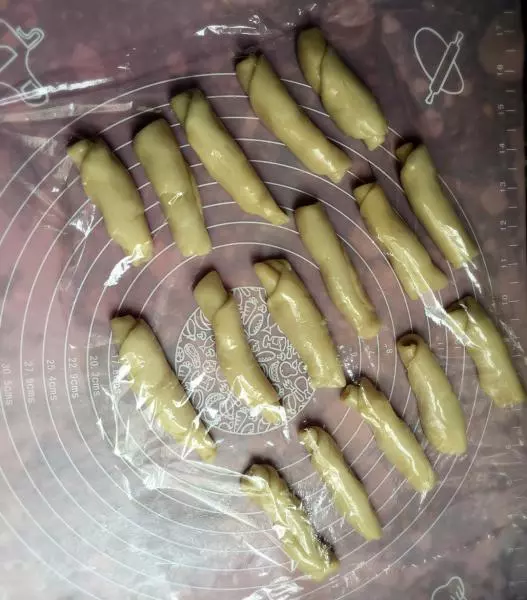
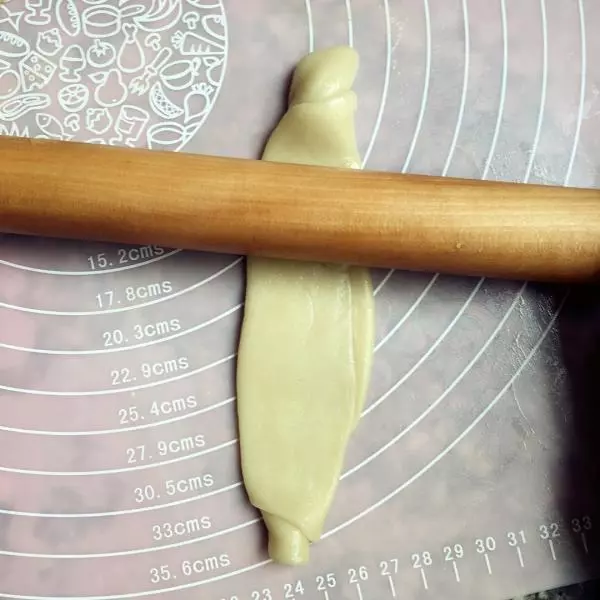
17把包好的麵糰擀成鴨舌狀
18從下往上卷
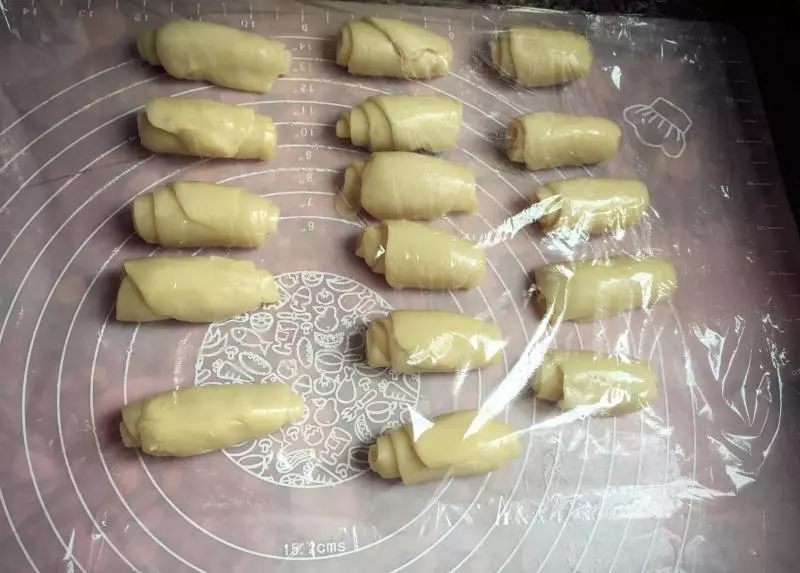
19全部卷好,用保鮮膜封好鬆弛20分鐘
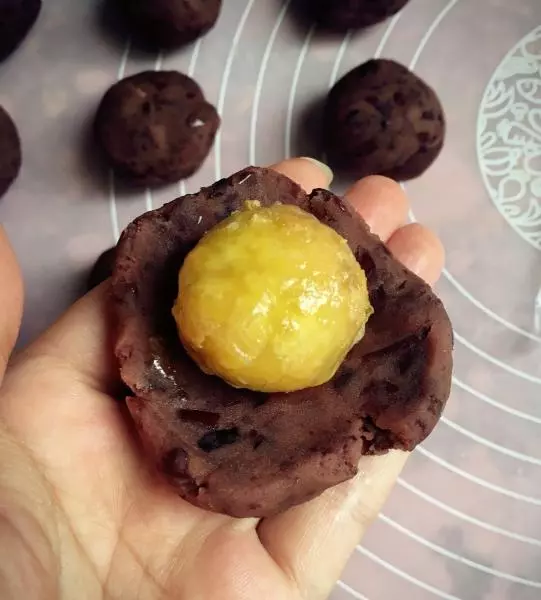
20等待的時候把紅豆餡分成16份
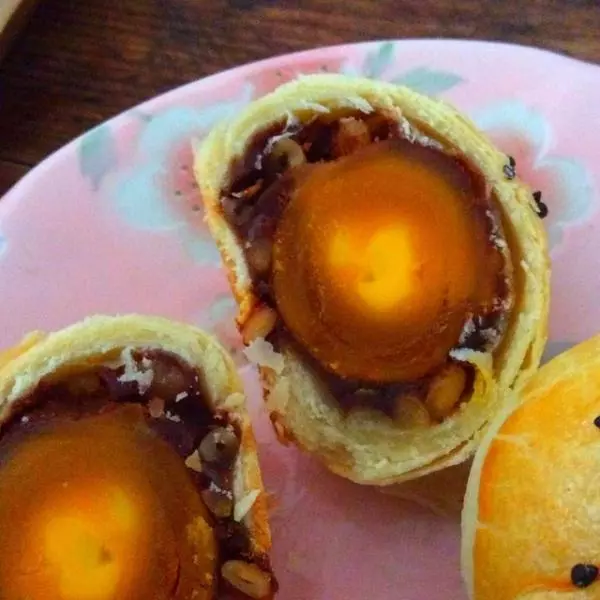
21每份都包入蛋黃
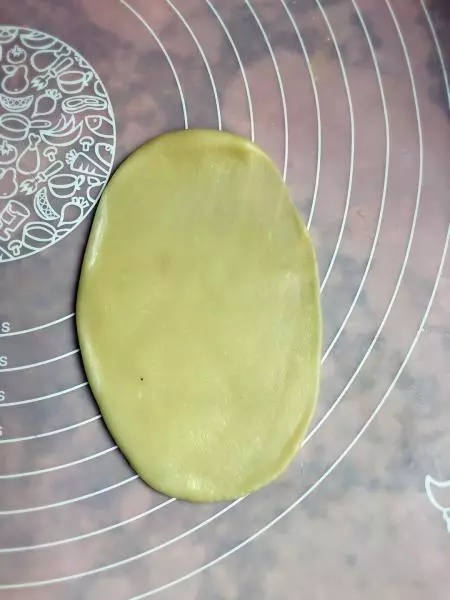
22都包好
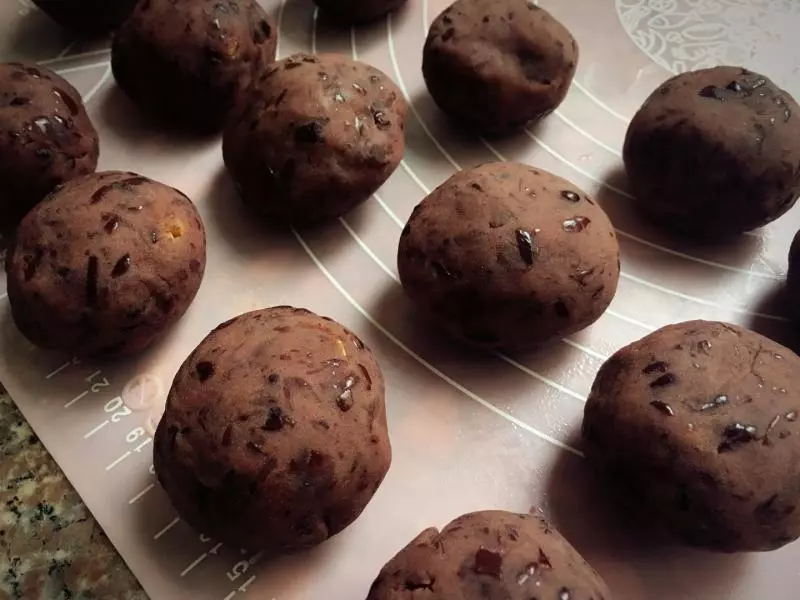
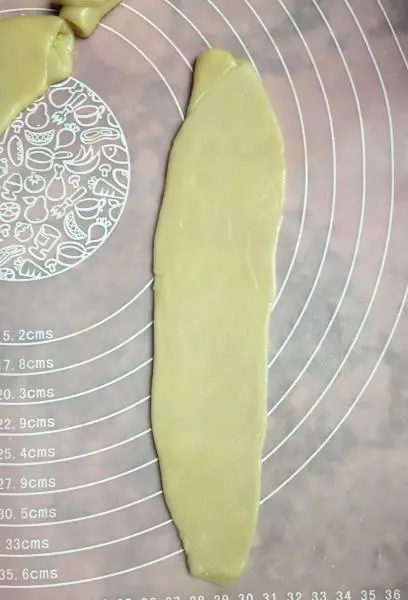
2320分鐘後麵糰鬆弛後了 取麵糰豎狀

24擀麵棒擀直
25擀好成這樣
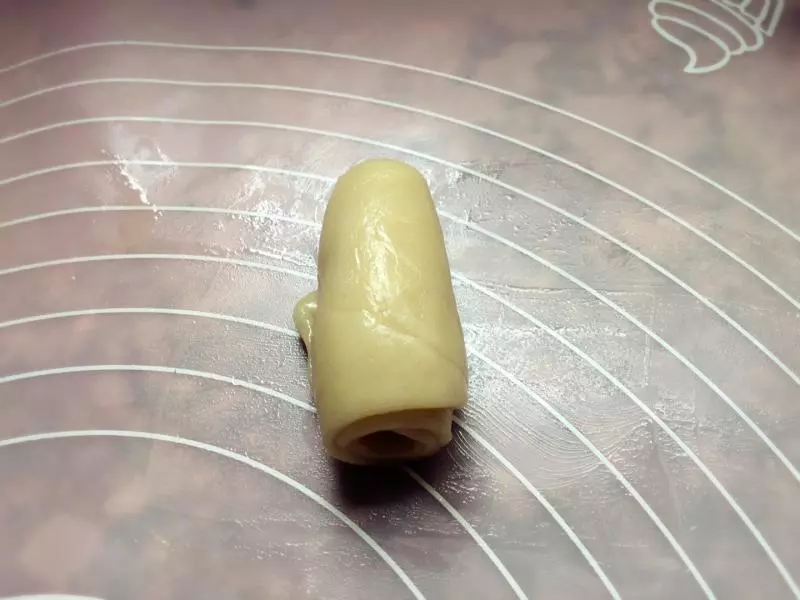
26由下往上卷

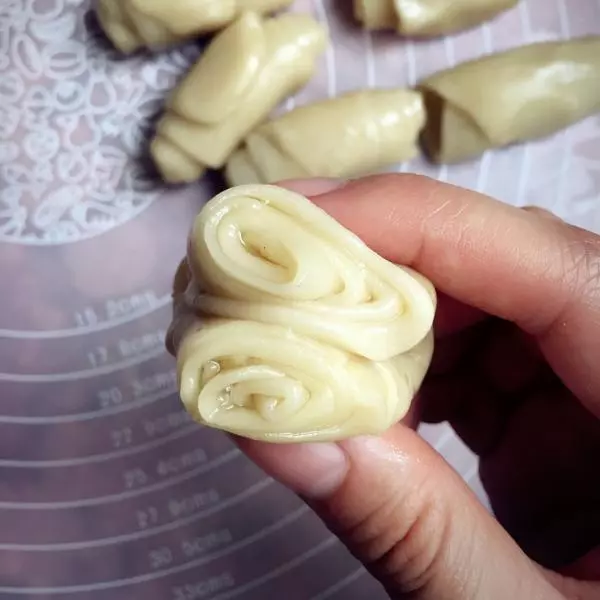
27卷好
28用保鮮膜封好,再鬆弛20分鐘
2920分鐘後,取麵糰對摺
30壓扁

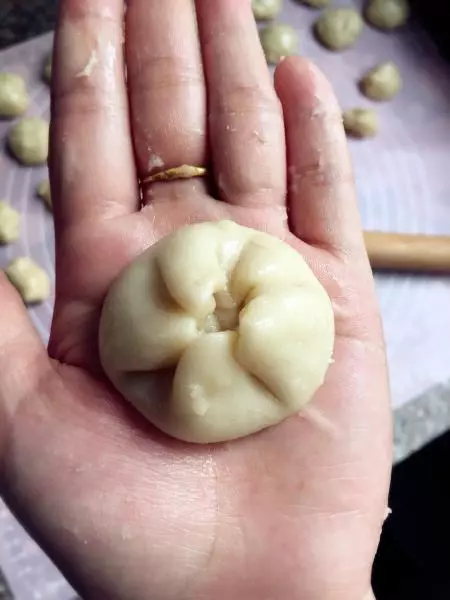
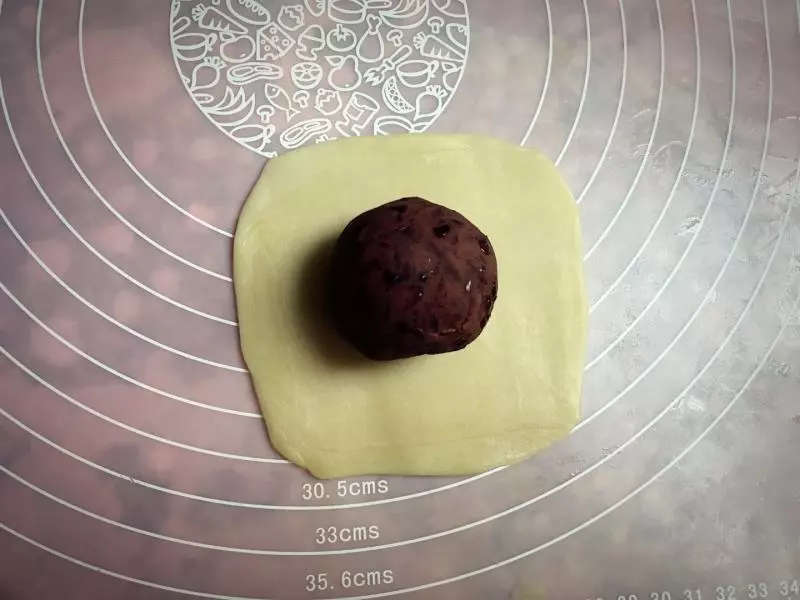
31擀成中間厚四周薄

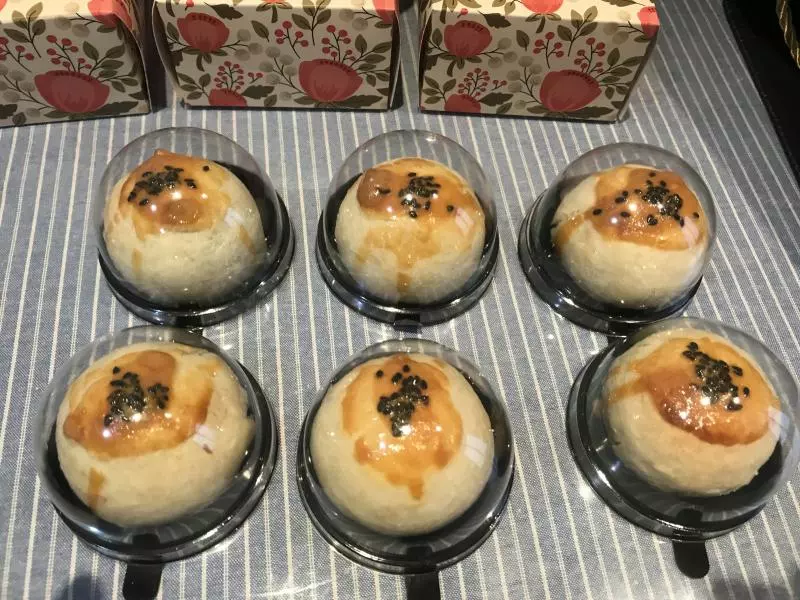
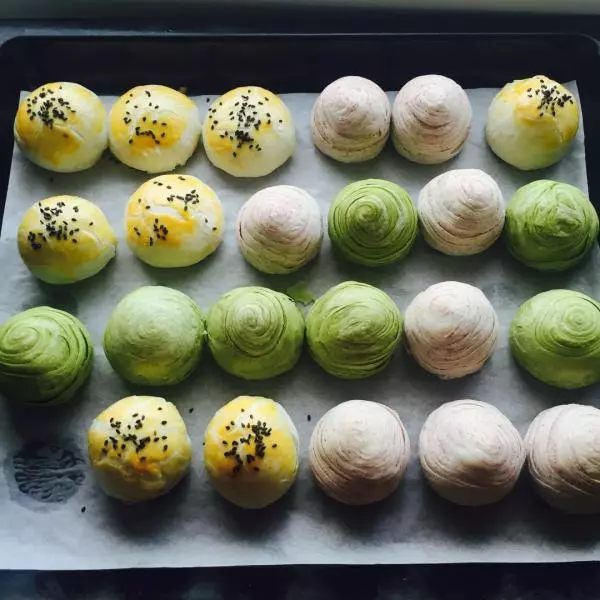
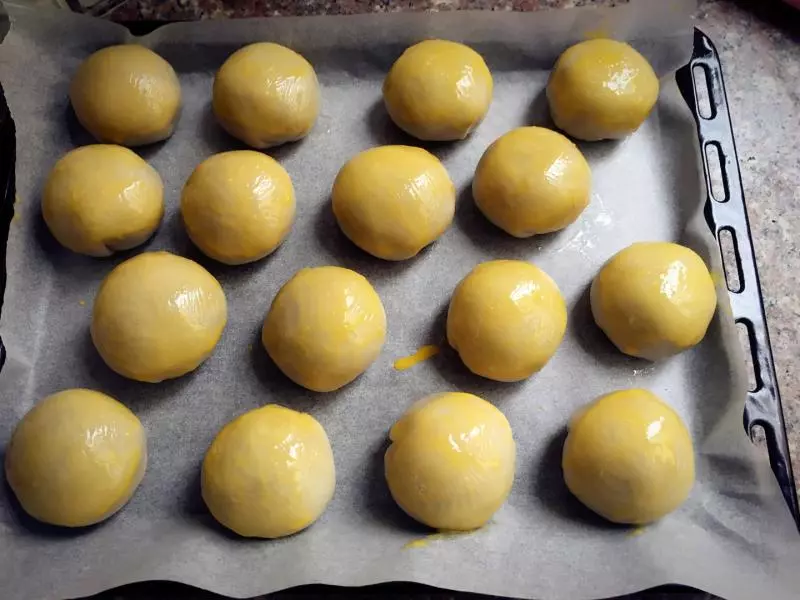
32包住餡料
33虎口往上推,包圓
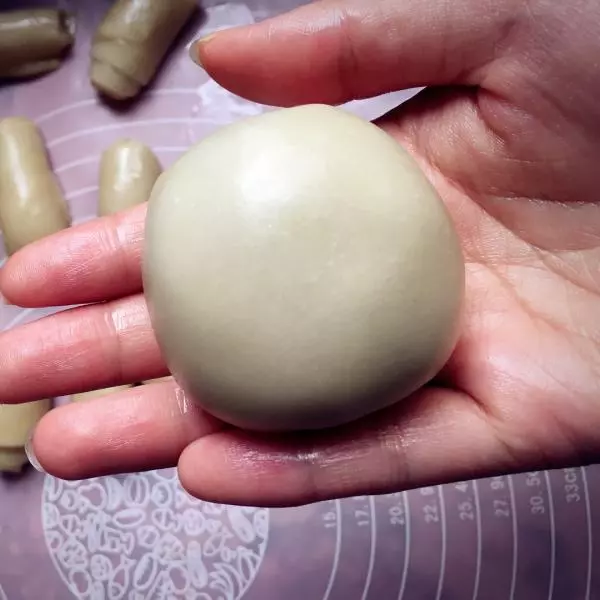
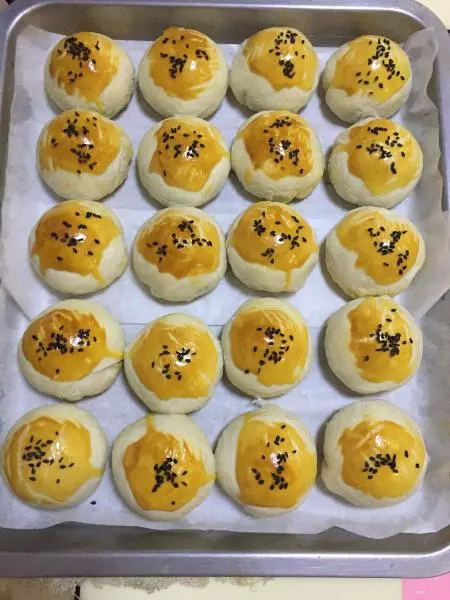
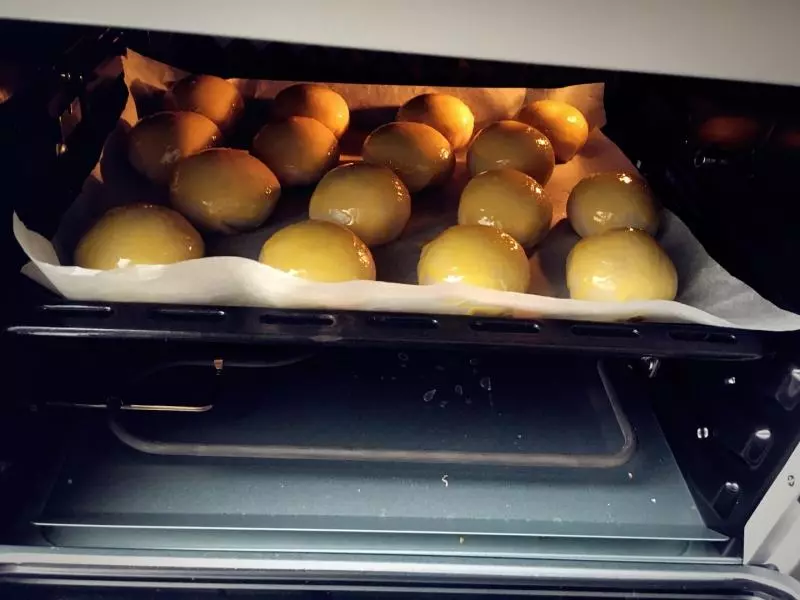
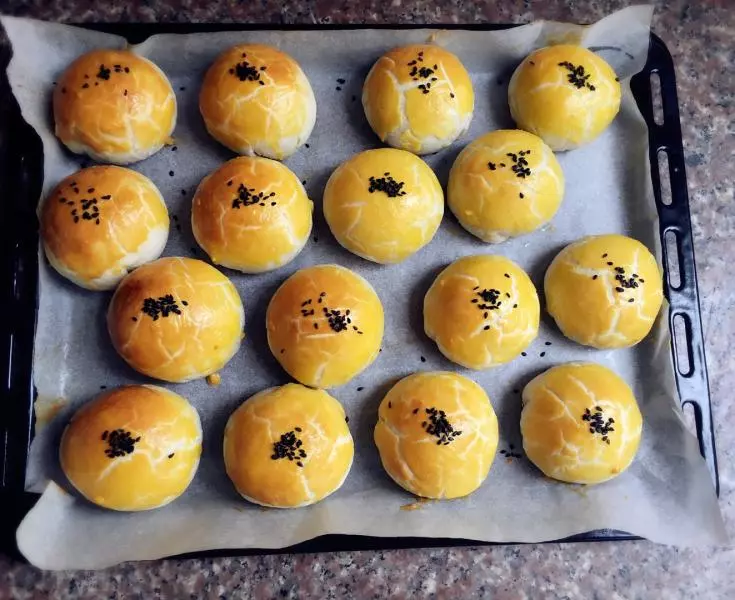
34全部包好碼盤
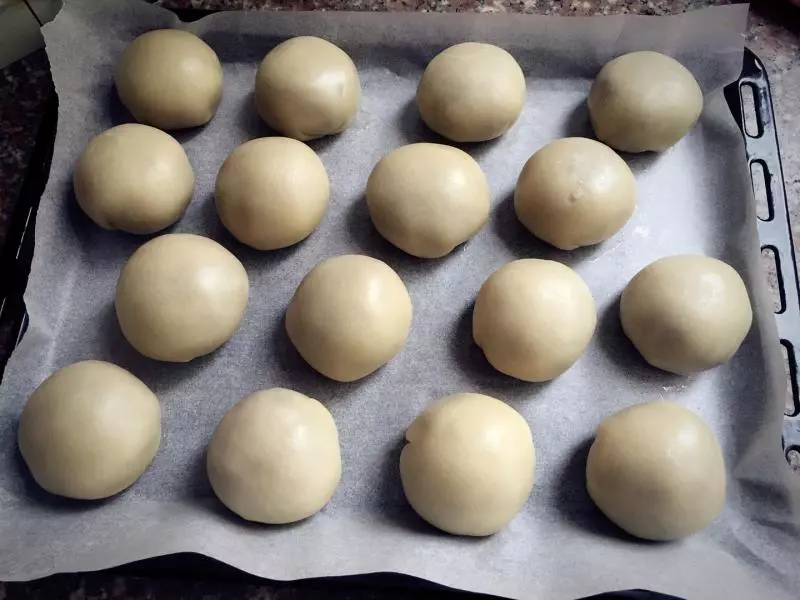
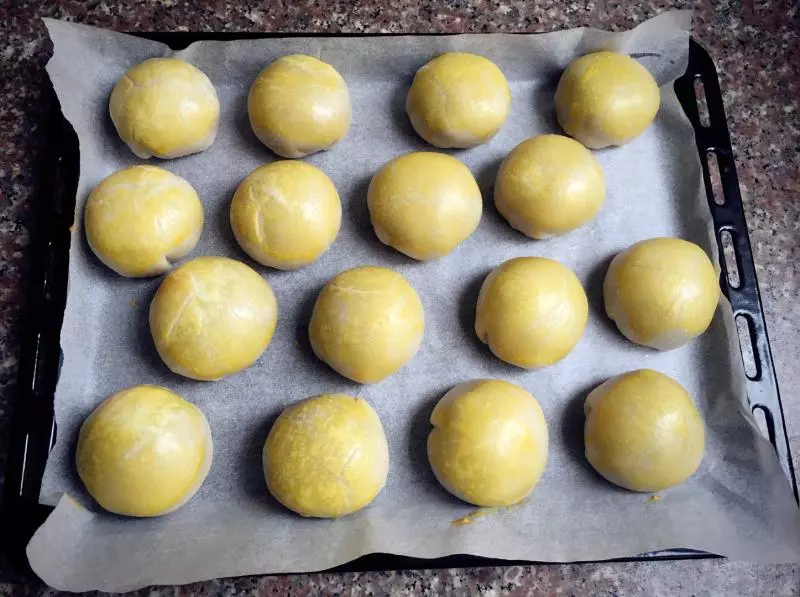
35刷一層蛋黃液
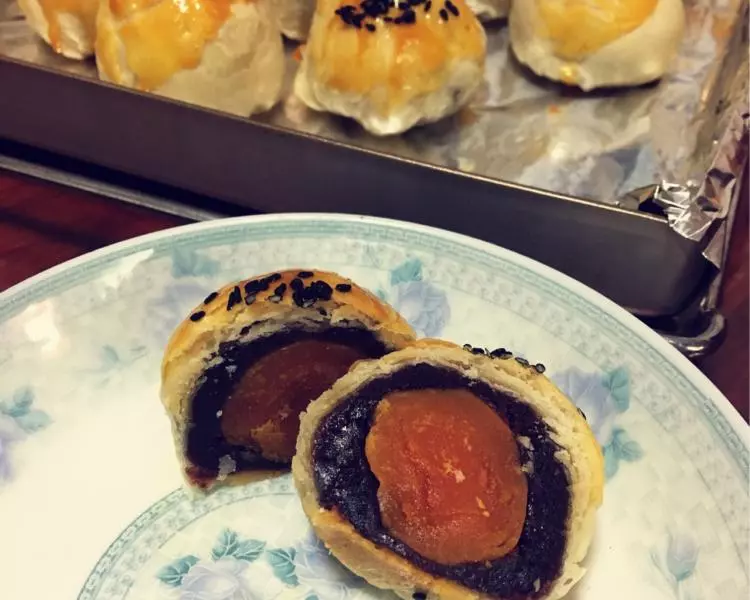
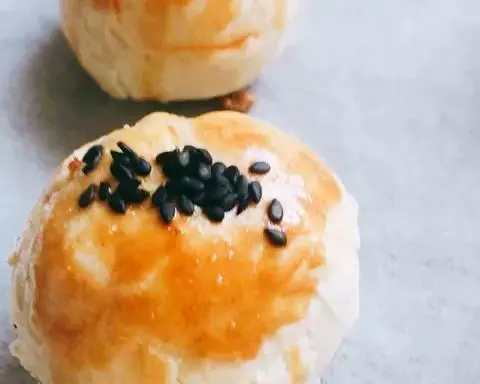
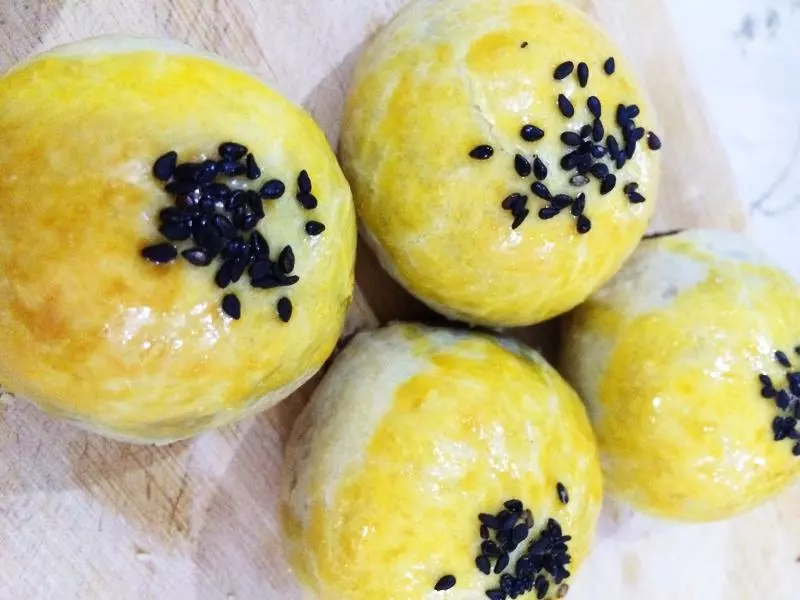
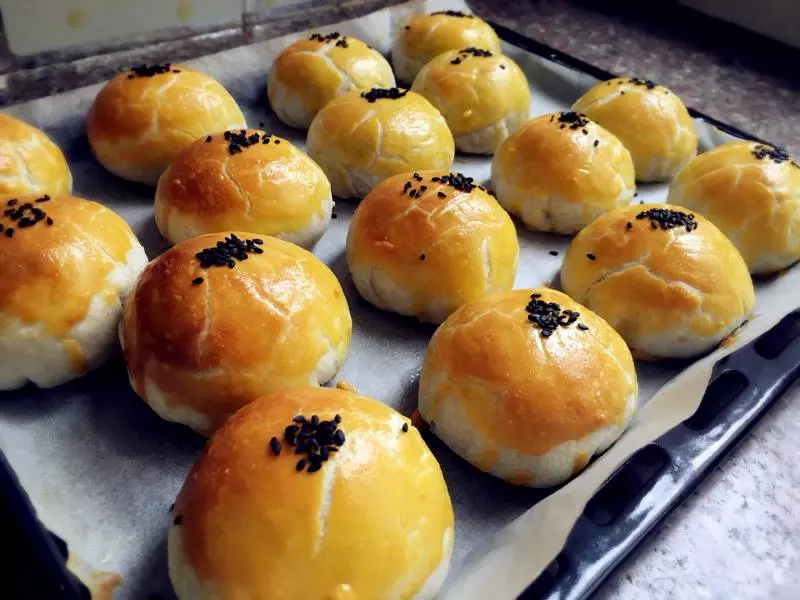
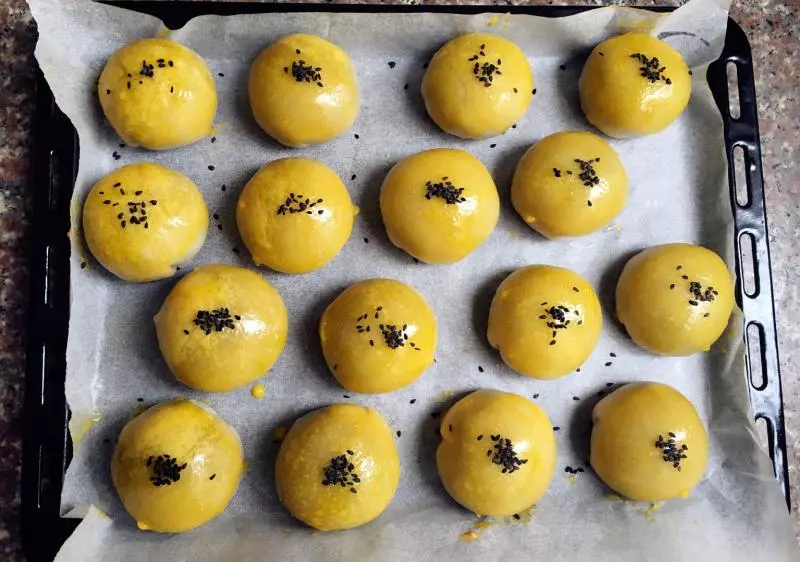
36上下火180度烤10分鐘後拿出
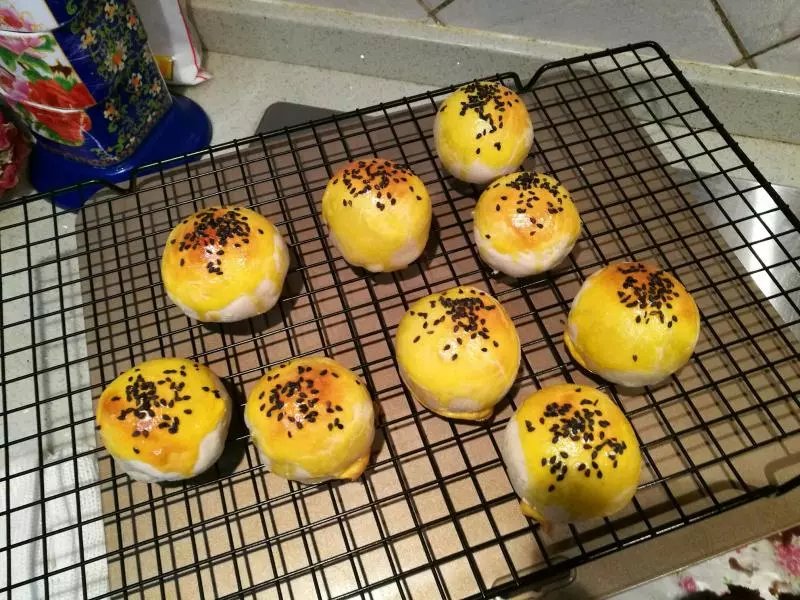
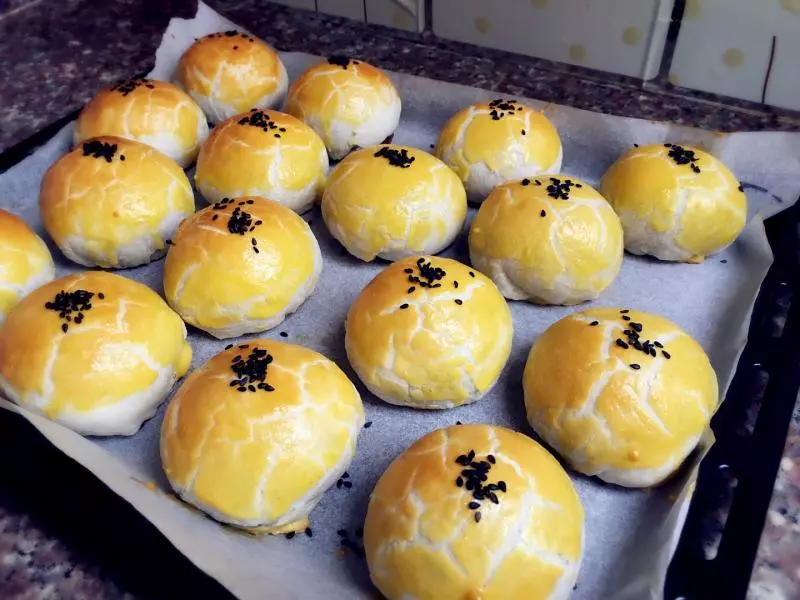
3710分鐘後拿出這樣,再刷一層蛋黃液,嫌麻煩的直接刷2層,這樣上色感覺好看些
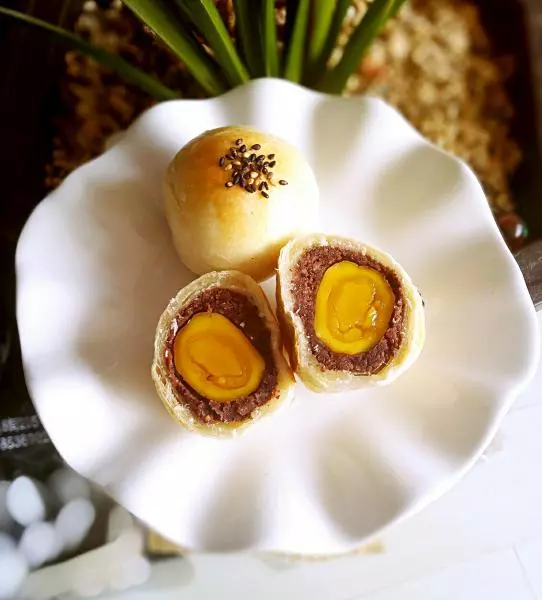
38刷第二層蛋黃液,然後撒上適量芝麻
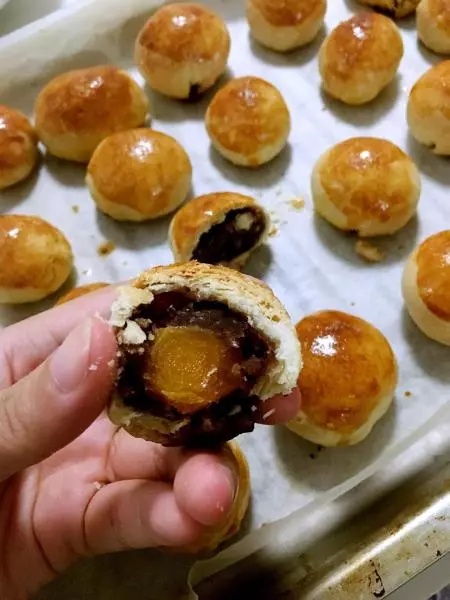
39再次放進烤箱上下火175度20分鐘出爐

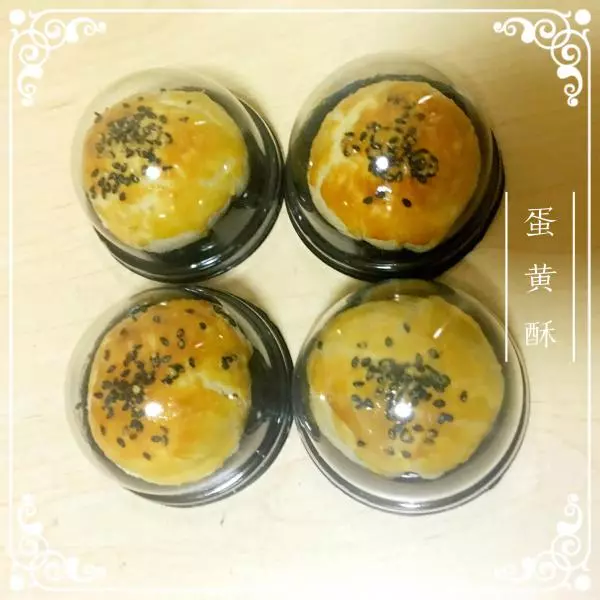
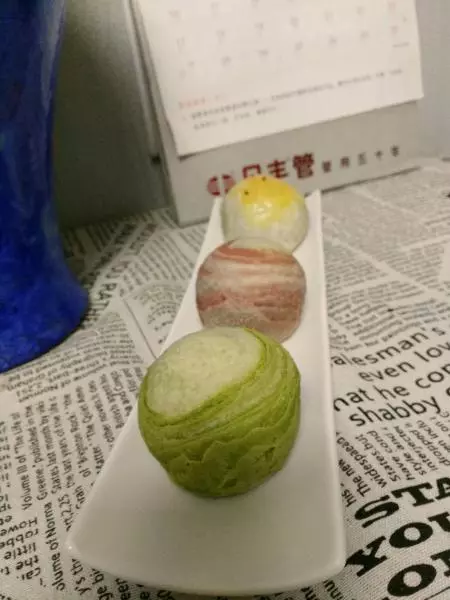
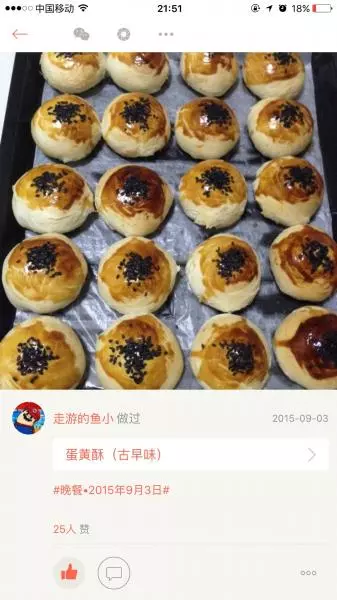
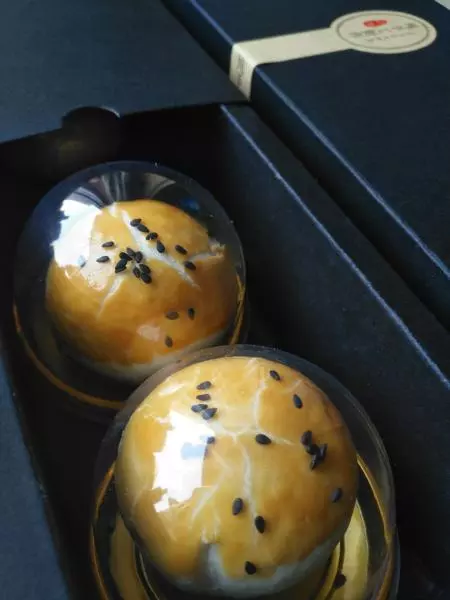
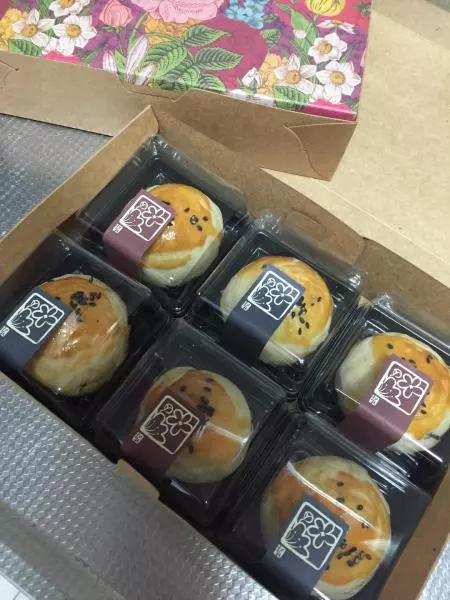
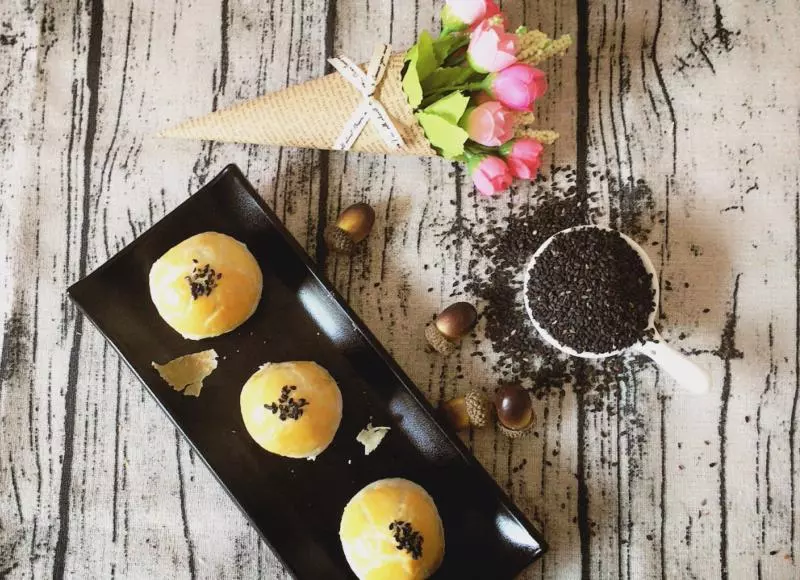
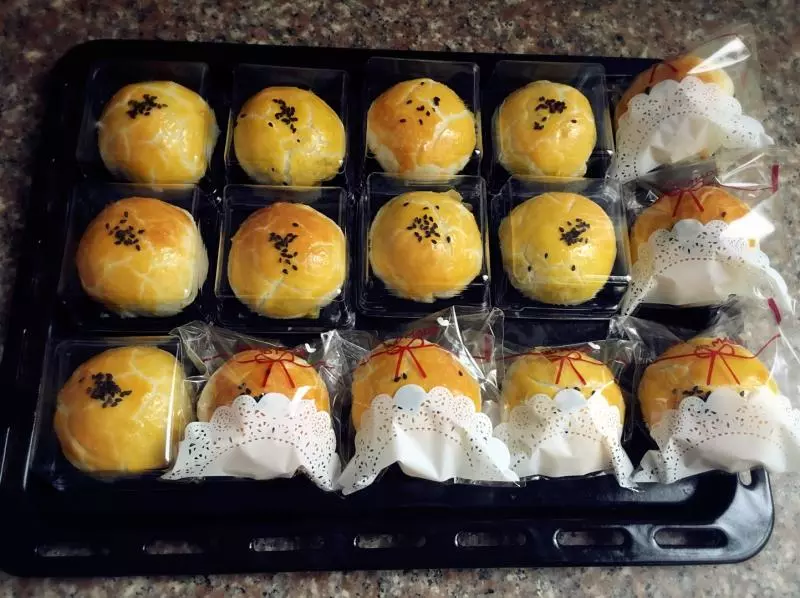
4020分鐘後出爐,香噴噴的
41下午茶有著落
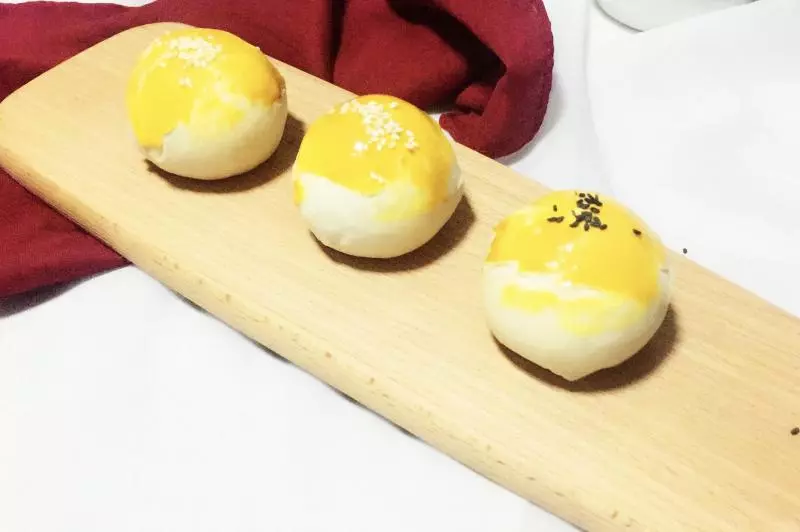
42涼了穿上外裝,是不是高大上了
小技巧
過程比較繁瑣,第一次發教程,儘可能全面展示,不要嫌棄太多圖片哈,鴨蛋也可以買包裝好的,有麵包機的話也不會這麼麻煩,但是為了愛的人跟帶著一顆熱愛美食的心來做,相信是0失敗的