原料
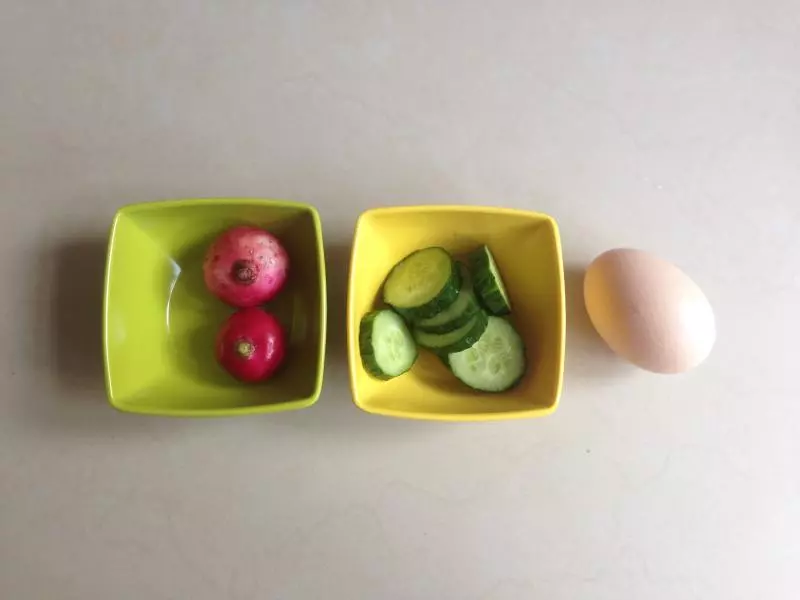
雞蛋: 1個, 黃瓜: 35克, 沙拉醬: 30克, 吐司: 4塊, 櫻桃蘿蔔: 2個, 黑胡椒粉: 適量
步驟
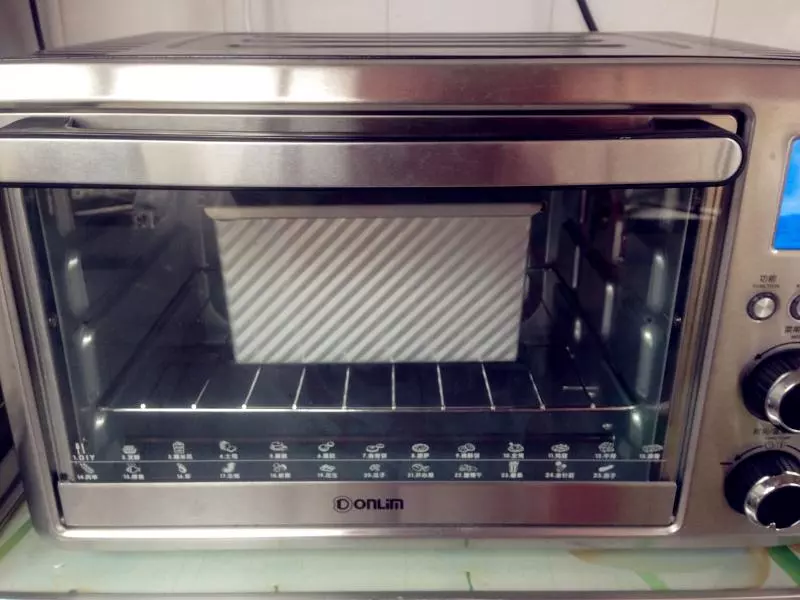
1用東菱烤箱做一個牛奶吐司。
2準備做蛋沙拉的食材,櫻桃蘿蔔洗乾淨瀝干水分。
3用多士爐配有的量杯底部的鋼針,在雞蛋大的一頭戳一個小孔,防止雞蛋在蒸的過程中炸開。

4發熱盤裝上適量的水,將雞蛋放在煮蛋盤上,蓋上透明蓋。按下「煎蛋」鍵,蒸蛋器開始工作。

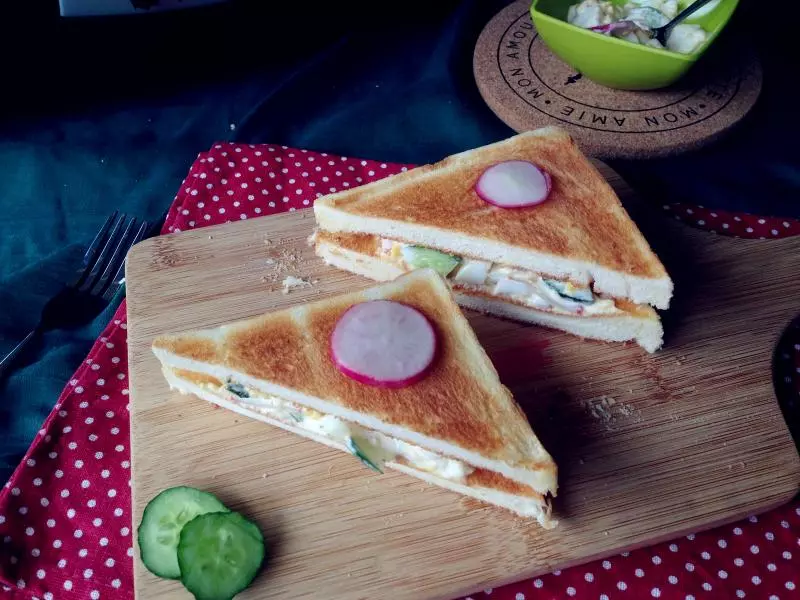
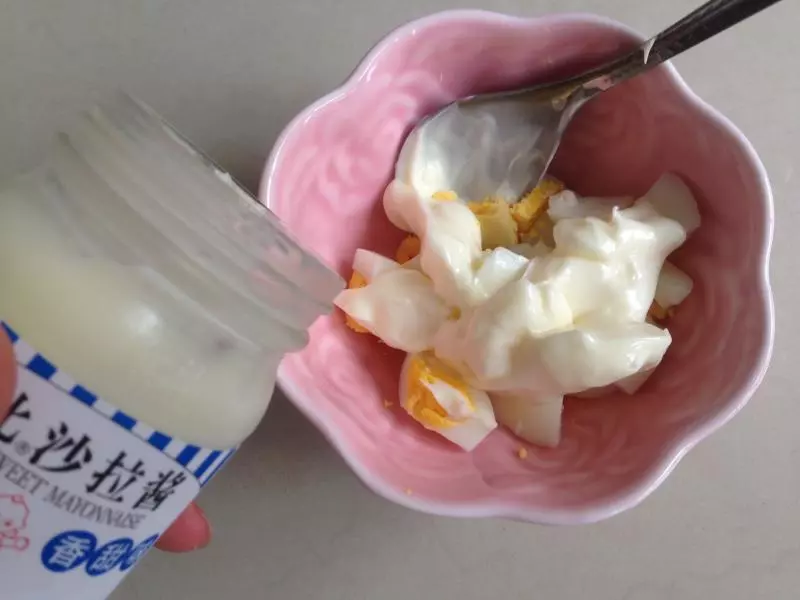
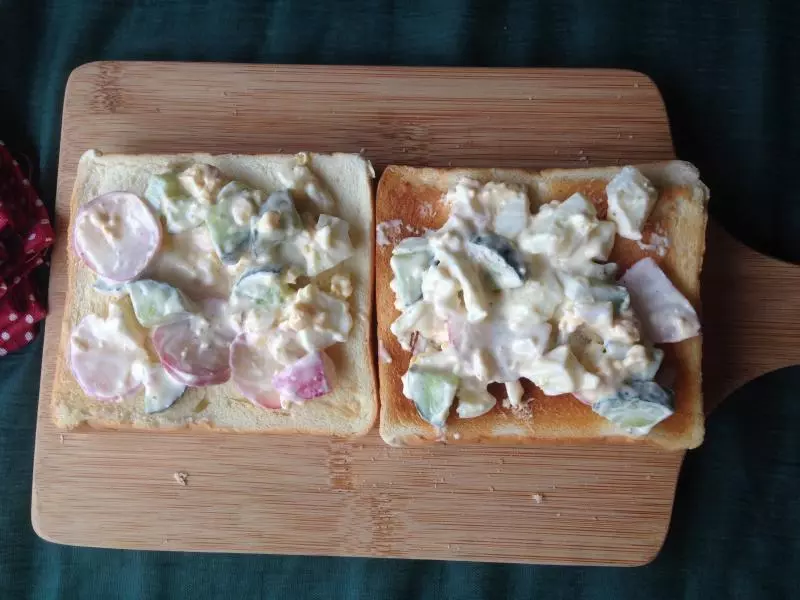
5煮好的雞蛋剝殼,切小塊,加上沙拉醬拌均勻。
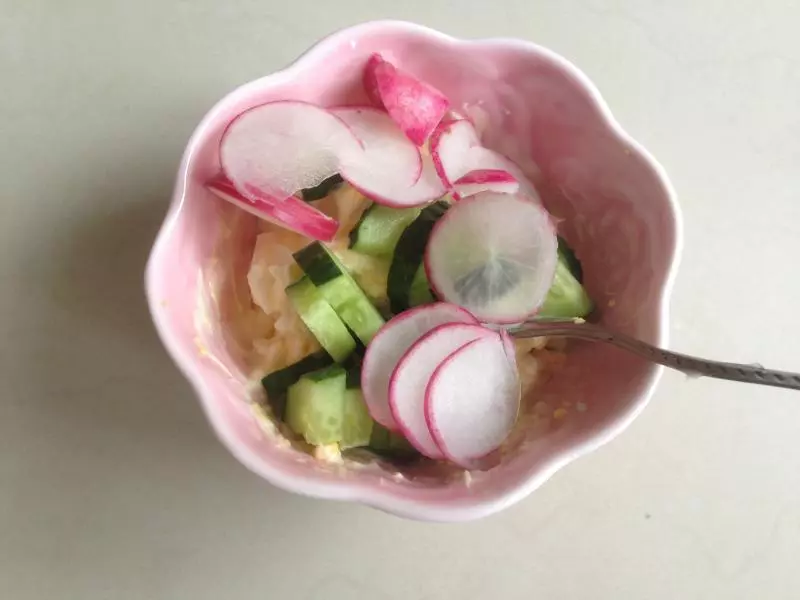
6加入切簿片的櫻桃蘿蔔和切成小粒狀的黃瓜。
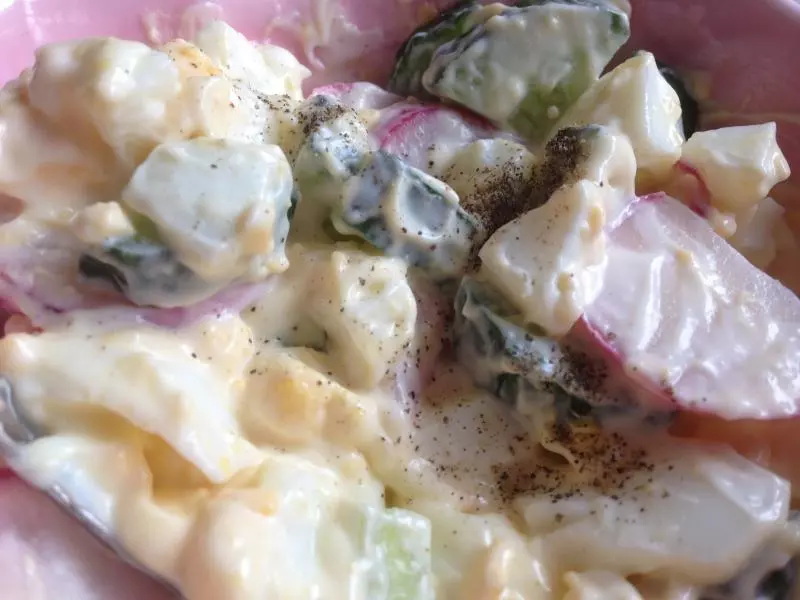
7加入黑胡椒粉拌均勻,即成蛋沙拉。
8將吐司片插入吐司槽中,拔動調色滑鍵選擇所需的燒色,按「烤麵包」按鍵,輕輕向下按推動條直到下端。
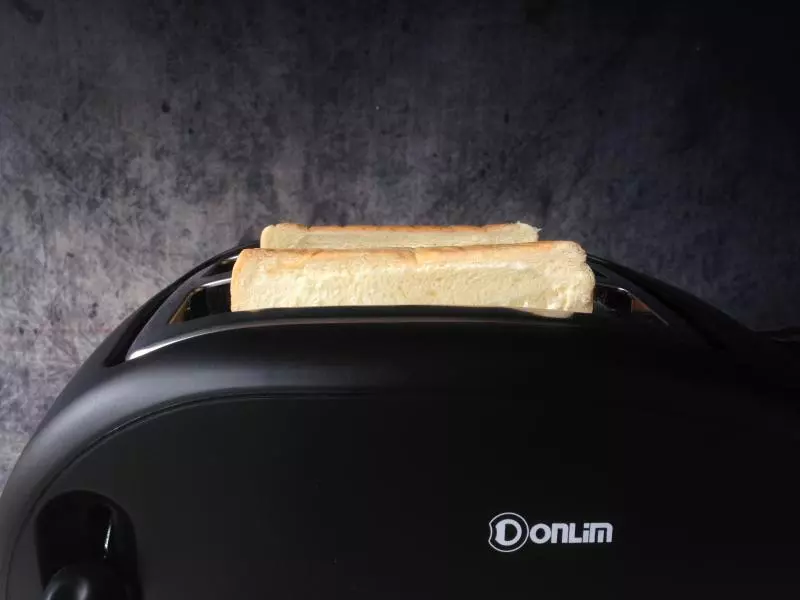
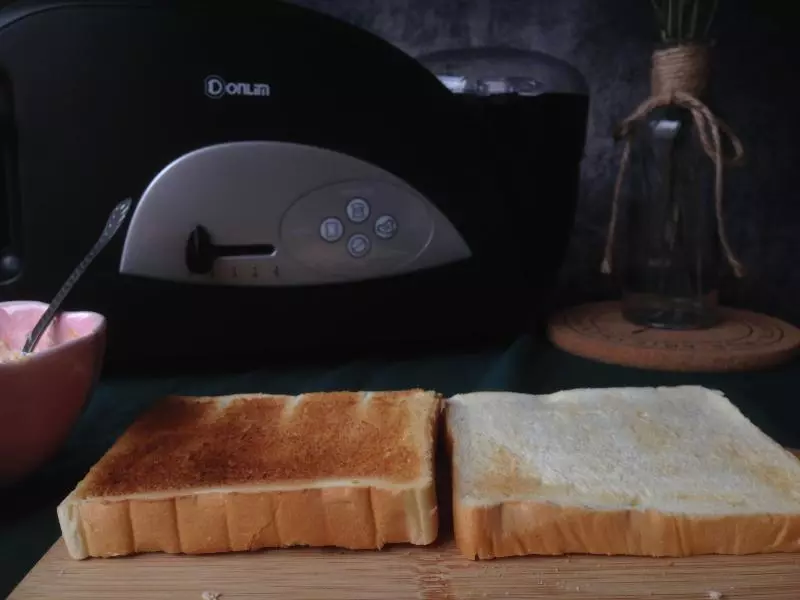
9時間到,麵包片自動彈起,烘烤結束。這個麵包片是2檔,大概烤1分多鐘。
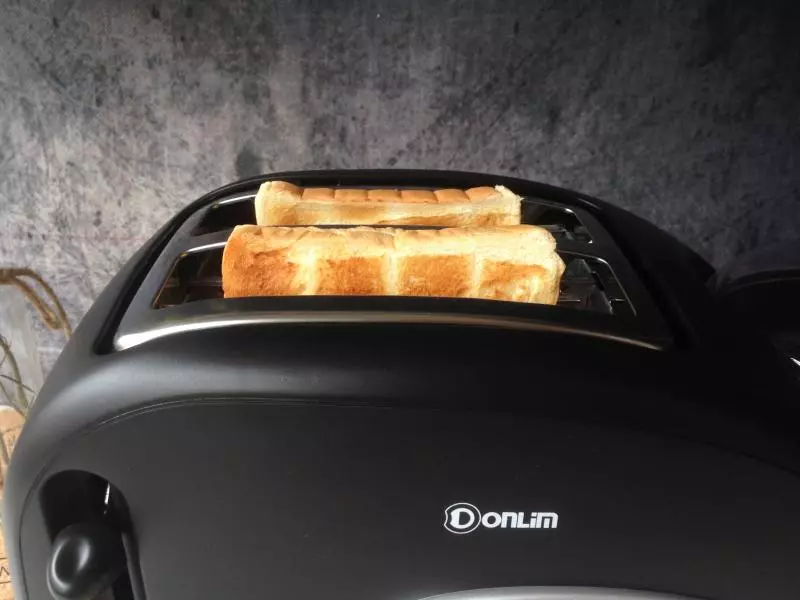
10我喜歡淺色的1檔,烤約1分鐘。
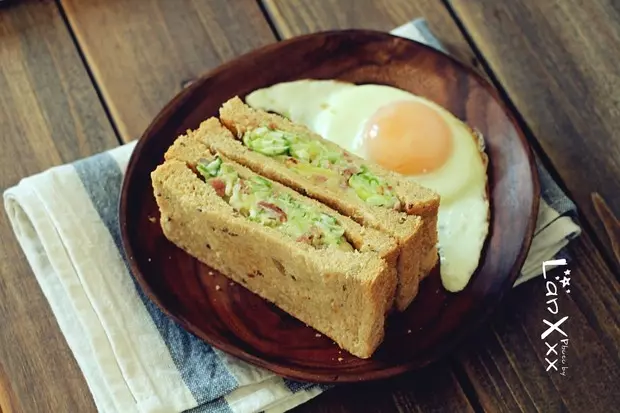
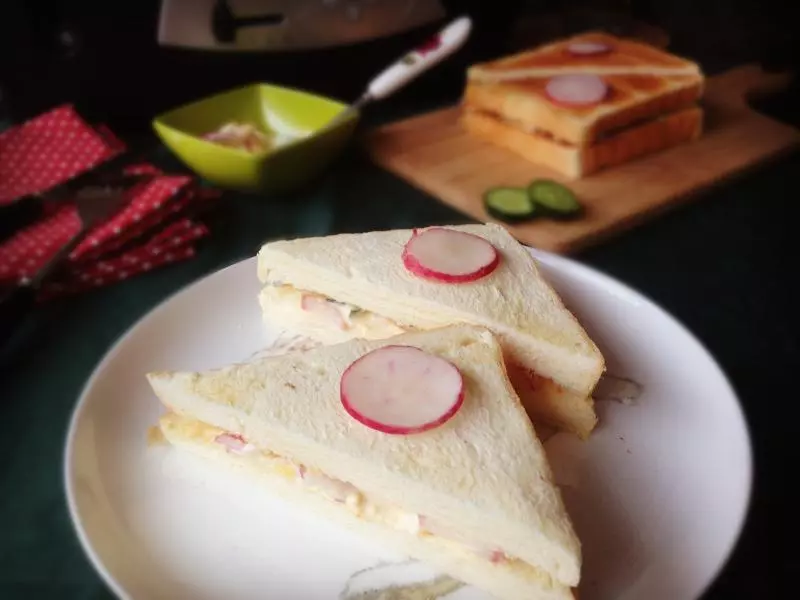
11在麵包片上面抹上蛋沙拉。
12用另一片烤好的麵包片蓋上。
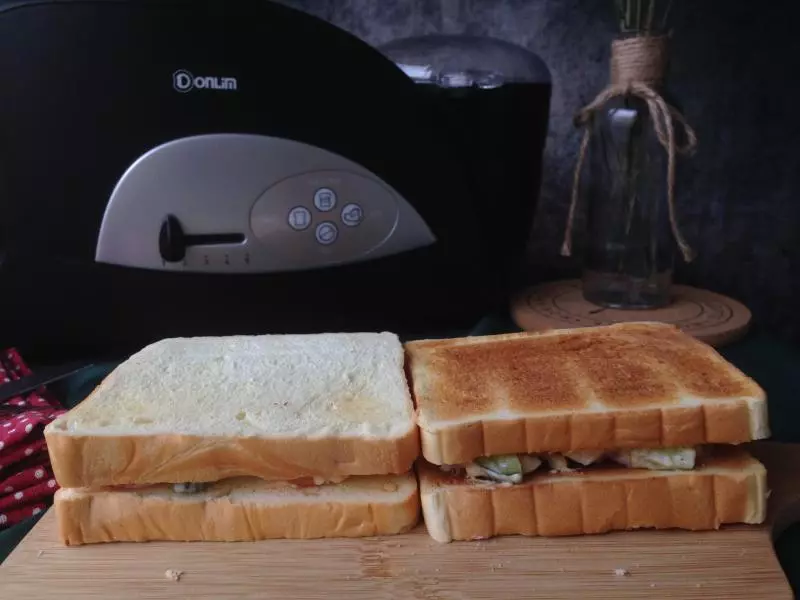
13對角線切開即可。