原料
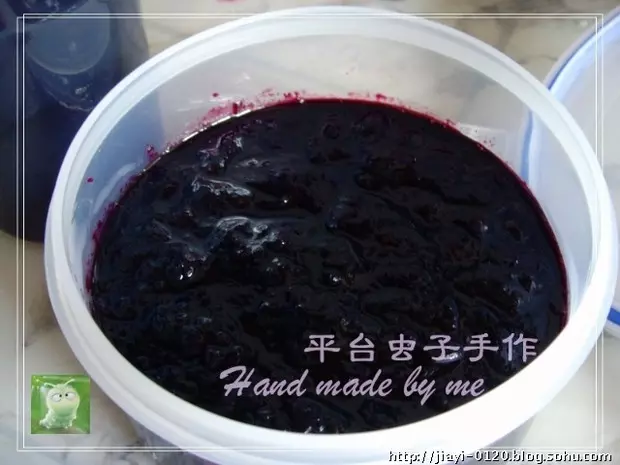
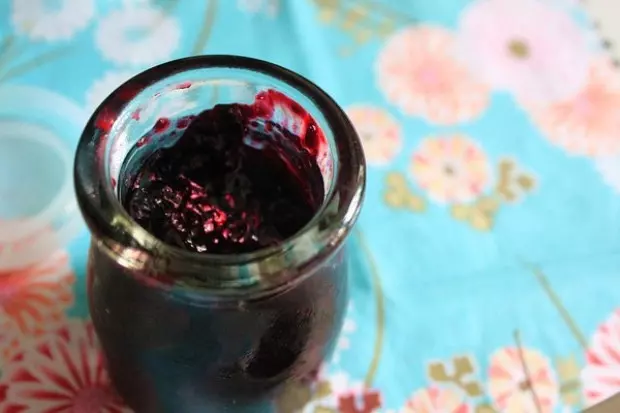
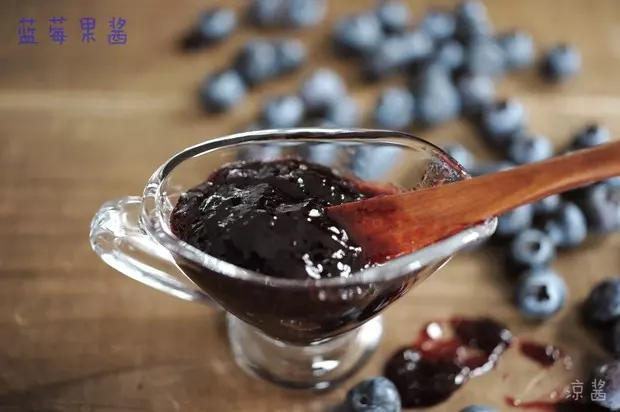
A:蛋黃: 4個, A:低筋麵粉: 80克, A:色拉油: 45克, A:鮮牛奶: 45克, A:細砂糖: 20克, B:蛋白: 4個, B:細砂糖: 60克, C:可可粉或者抹茶粉: 1大勺, D:藍莓果醬: 適量
步驟
1先將材料A中的材料混合均勻,麵粉最後放,不可以攪拌,防止起筋

2在麵糊中取出2大勺麵糊加入可可粉攪拌均勻待用

3打發蛋白,打發前加入5-8滴檸檬汁,細砂糖分三次加入蛋液裡面打發至8層發。

4打發完成後取出蛋白的1/3加入到蛋糊裡面用切拌和翻拌的方式將麵糊和打發的蛋白攪拌均勻,然後加入剩下蛋白的一半翻拌,(另外一半蛋白加入到可可粉麵糊裡面,同樣用翻拌的方式混合均勻)。攪拌好以後,將麵糊倒入墊油紙的烤盤裡面。

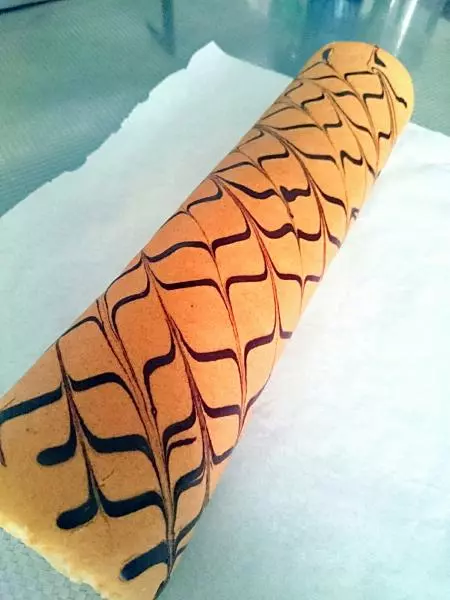
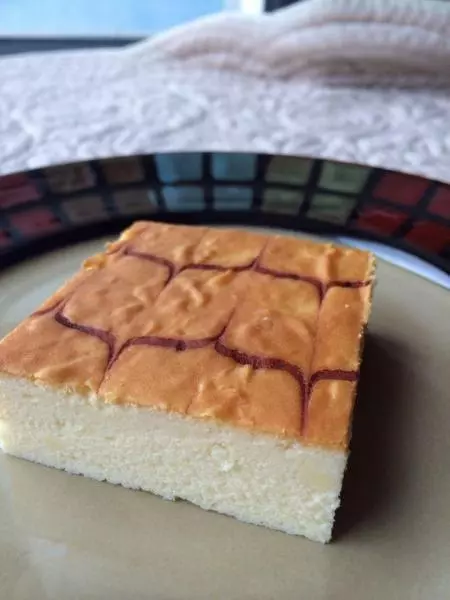
5加入剩下的蛋白攪拌均勻以後,裝入裱花袋中,然後擠在麵糊表面,畫橫線,距離3CM間距左右。

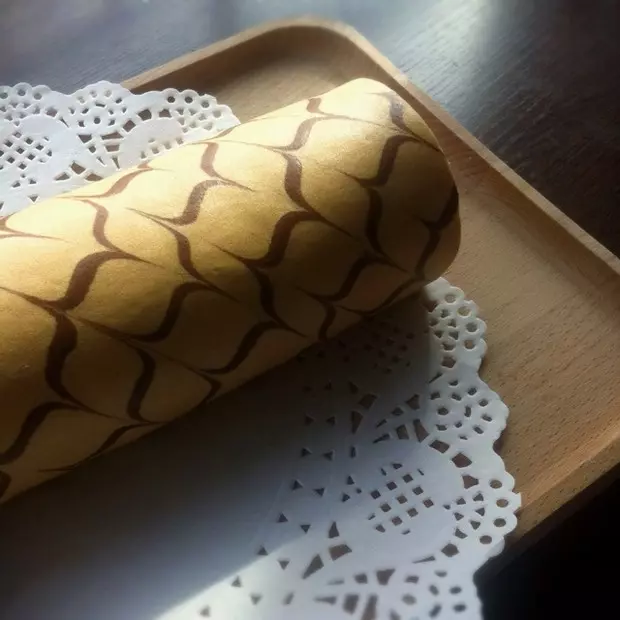
6然後用一條牙籤按照等距在麵糊表面划過,可以畫的時候可以從相反的方向畫,這樣比較好看。

7烤箱用170度預熱,以上下火160度烘烤,放中間烤25分鐘即可。

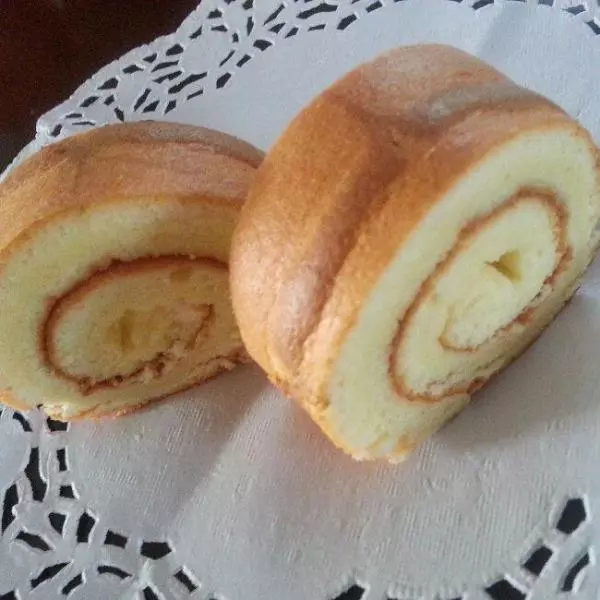
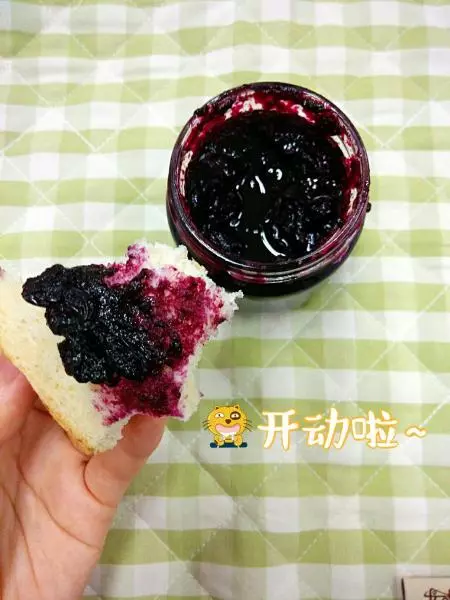
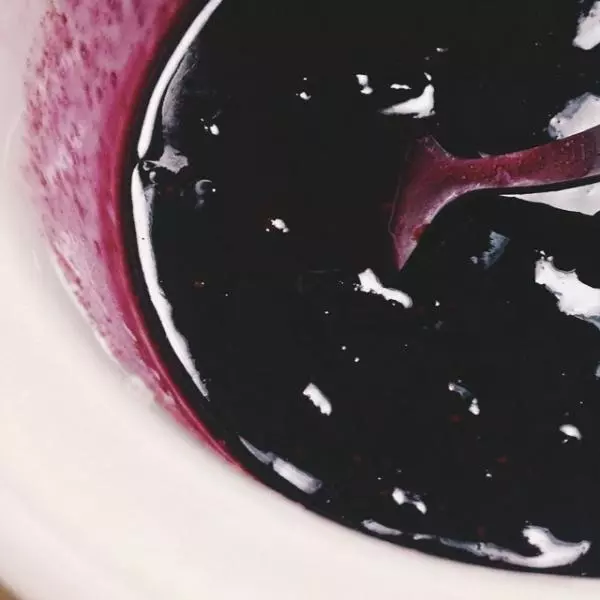
8取出烤好的蛋糕,然後撕去表面油紙,蛋糕面墊一張油紙,等微涼以後,蛋糕的底部面塗抹上藍莓果醬

9然後將油紙的一端兩個角提起來,把蛋糕捲起來,往前拉動自己會捲起來,或者借用擀麵杖幫忙。

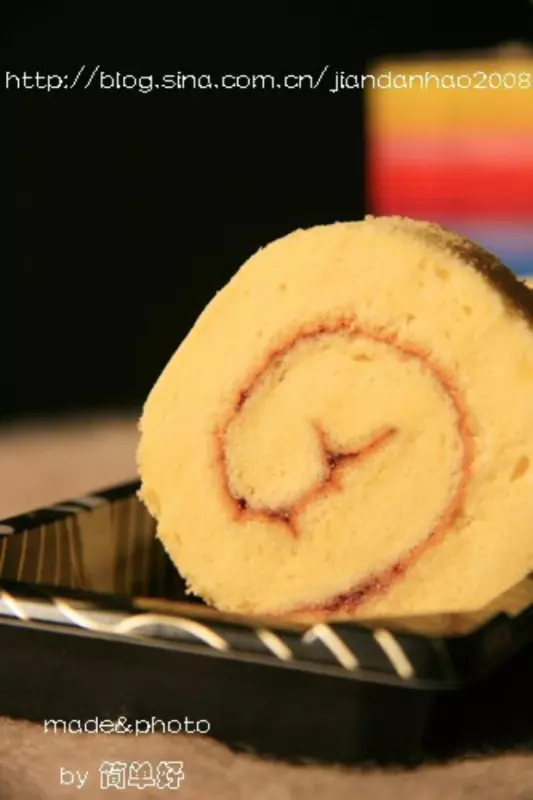
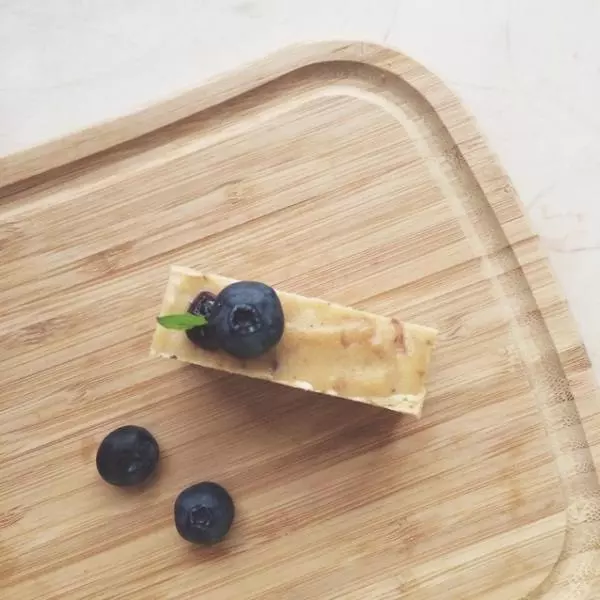
10等放涼以後就可以切片了。

11圖片展示。

小技巧
歡迎大家來到海哥烘焙坊和我一起來學習烘焙,可以加微信hongbeiban 下載更多食譜,加QQ: 217599083 和我一起來交流烘焙。