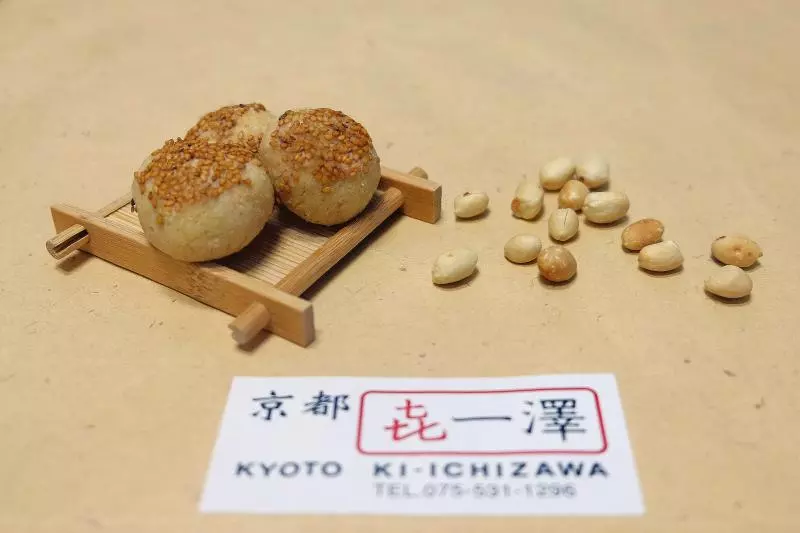
原料
水油皮: , 中筋麵粉: 180克, 豬油: 64克(不需融化), 白砂糖: 25克, 水: 70克, 油酥: , 低筋粉: 120克, 豬油: 60克(不需融化), 餡料: , 低筋麵粉: 110克(炒熟備用), 豬油: 80克(不需融化), 糖粉: 60克, 椒鹽: 4克, 核桃仁: 30克-40克(擀碎), 黑芝麻: 80克(炒熟打粉備用), 鹽: 1克(可加可不加), 果脯: 40克(我用的葡萄乾,根據自己喜好,可加可不加)
步驟
1水油皮料

2放在一起(除水)

3慢慢往裡兌水

4手工揉油皮(像洗衣服一樣搓)

520分鐘後出手膜(沒出膜是手法不對),把麵糰揉光滑蓋住保鮮膜醒30分鐘

6油酥料放入容器

7揉成麵糰,蓋住保鮮膜備用

8餡料混合

9攪拌均勻(椒鹽必須攪拌均勻)

10分成16份(夏天熱最好放入冰箱冷藏備用)

11把水油皮和油酥各自分成16份

12水油皮包住油酥

13擀成長條形狀

14劑口在里,由下向上捲起,蓋住保鮮膜鬆弛15分鐘

15醒好後二次擀皮

16由下往上捲起,保鮮膜蓋住鬆弛15分鐘

17對摺,按成圓劑子

18擀皮包餡嘍!

19媽媽給包滴,棒棒滴

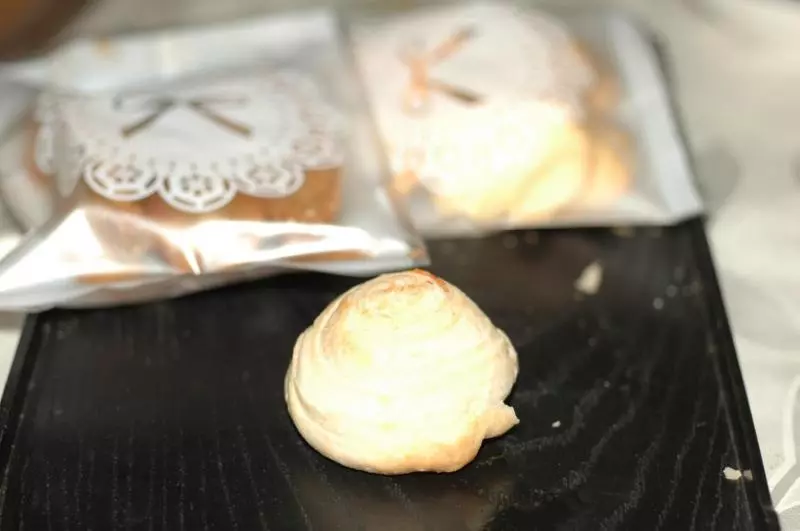
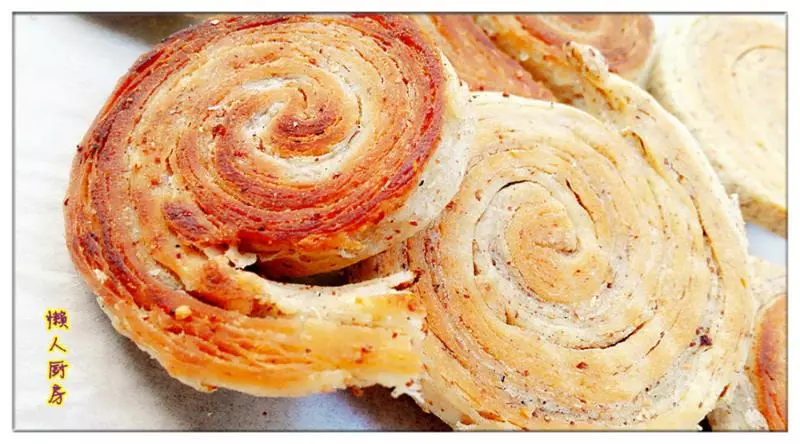
20包好了(烤箱190度預熱)

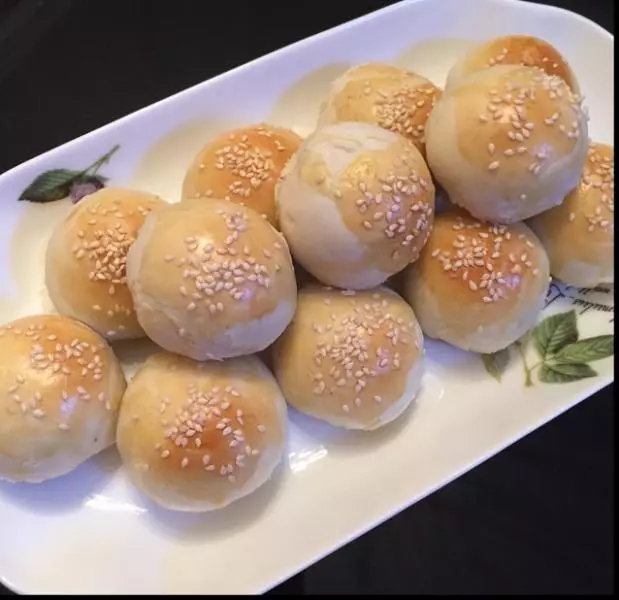
21刷上蛋黃液入烤盤

22上下190度,烤35就出爐了(根據自己烤箱脾氣,只做參考)

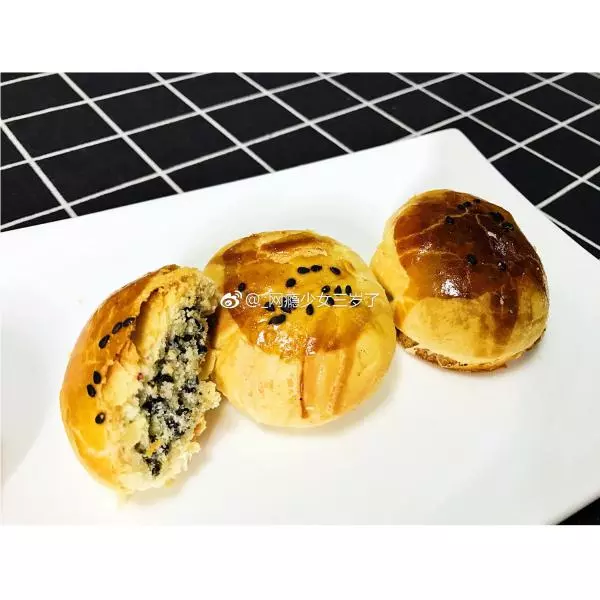
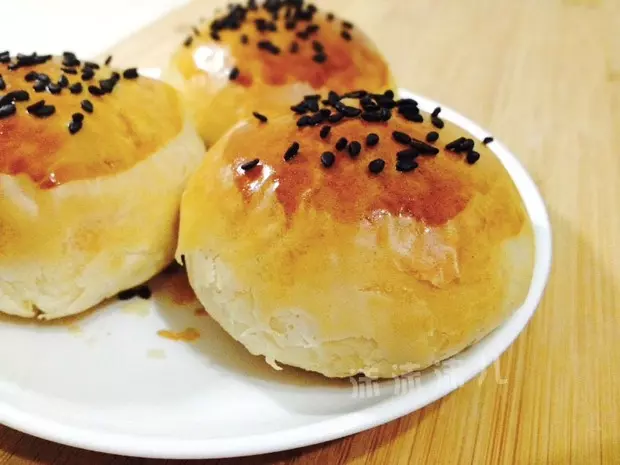
23是不是很不錯!酥酥的皮香香的餡!