原料
步驟
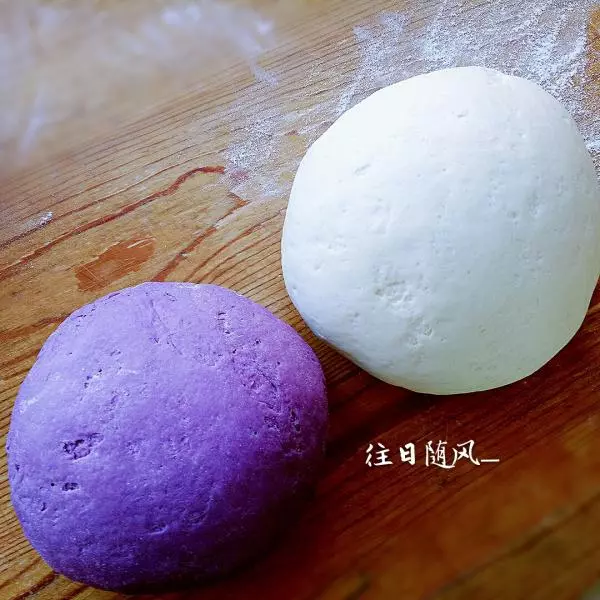
1兩種發酵好的麵糰,最好比平時蒸饅頭的面稍微硬點
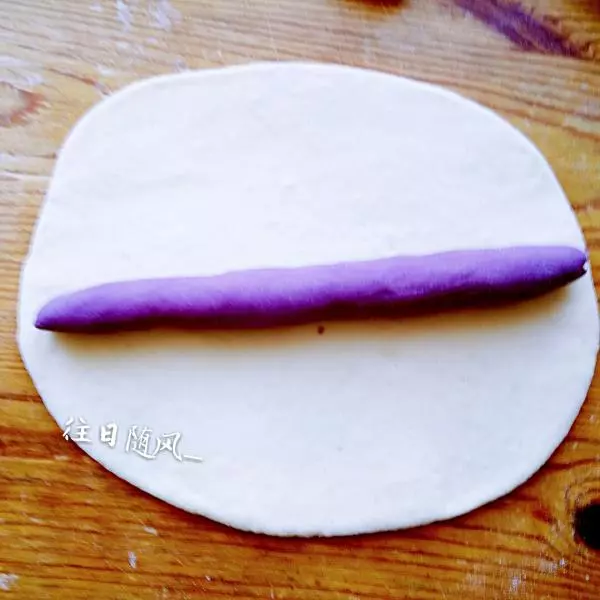
2把一塊白面擀成橢圓形麵餅,約3-4毫米厚,彩色麵糰搓成圓柱,約大手指那麼粗。把彩色面柱放麵餅中間。
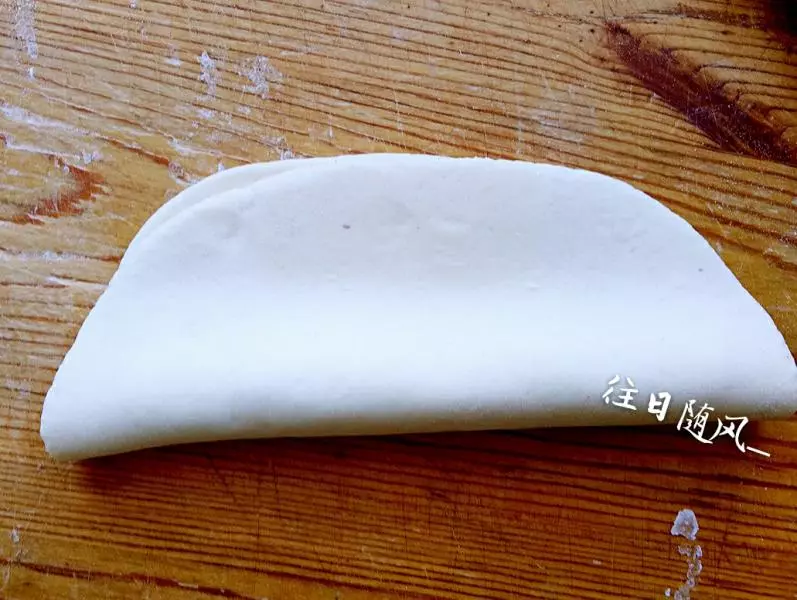
3對摺
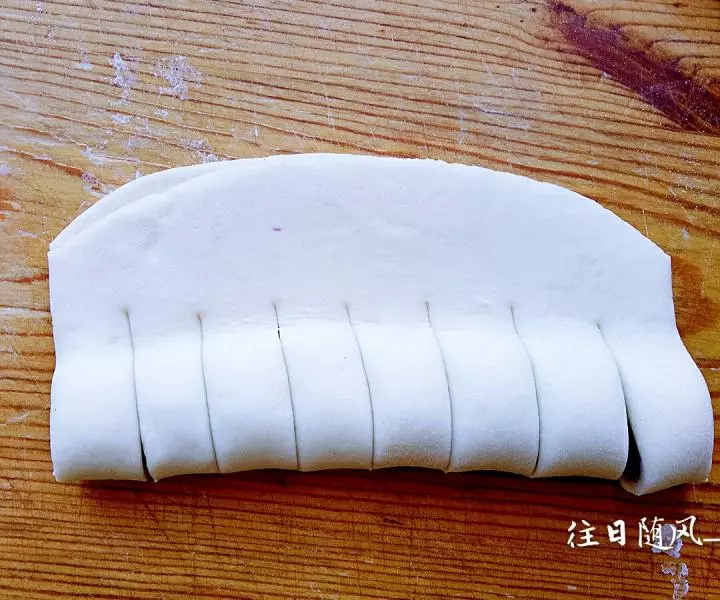
4用刀把面柱所在的部分切成7-9分
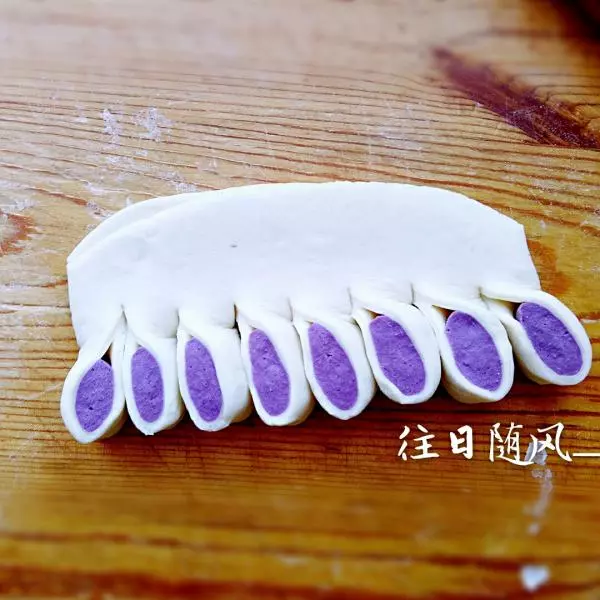
5然後象做菊花饅頭一樣逐個扭過來,最左邊一個方向相反。
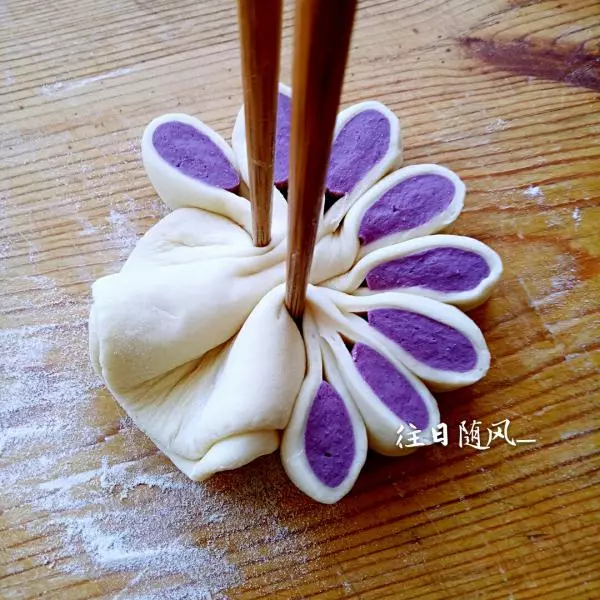
6用筷子從兩邊夾在一起
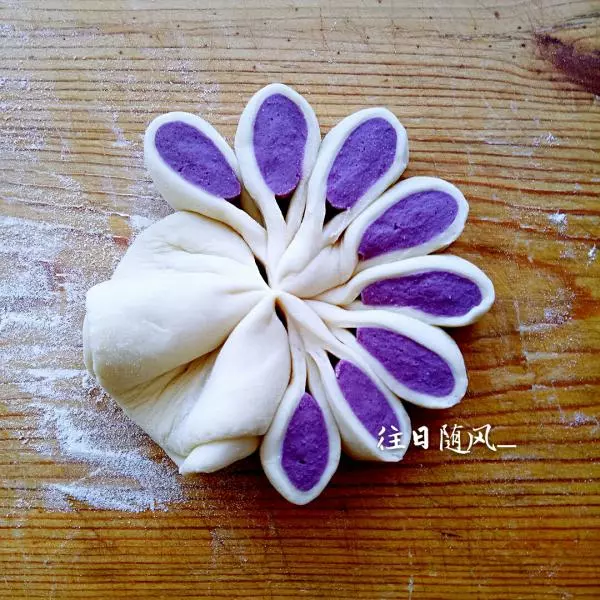
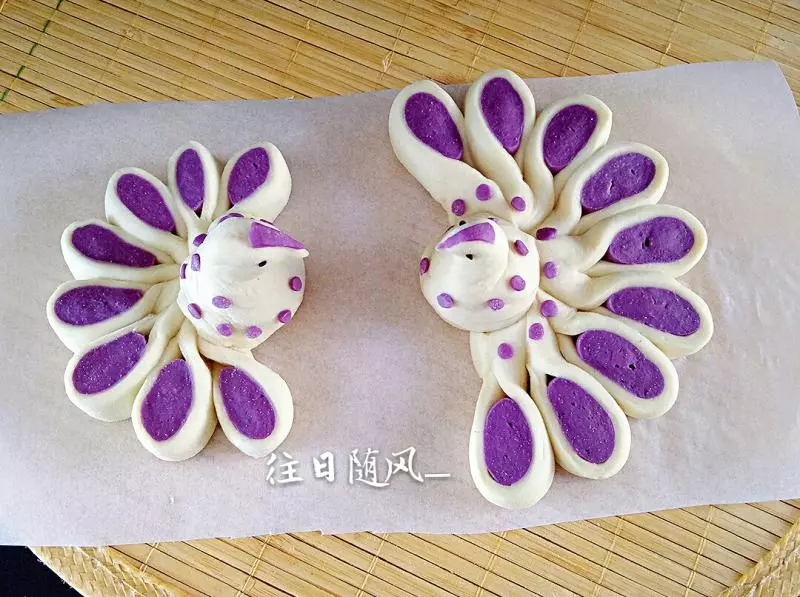
7夾好後是這樣
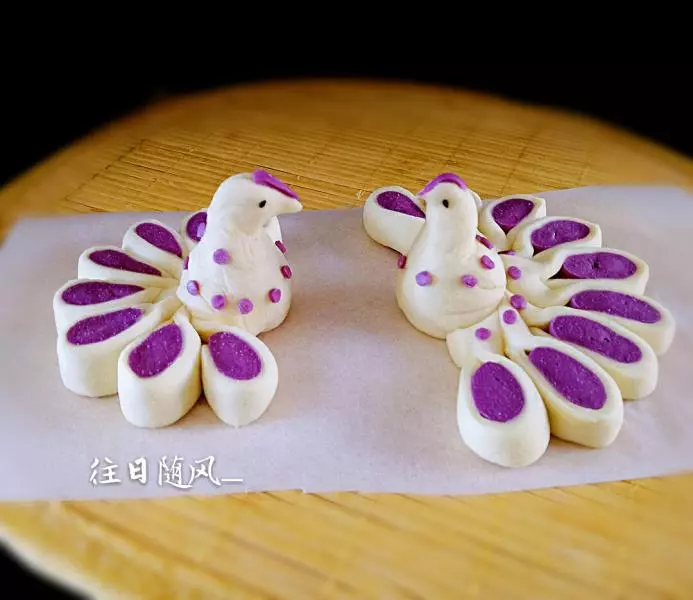
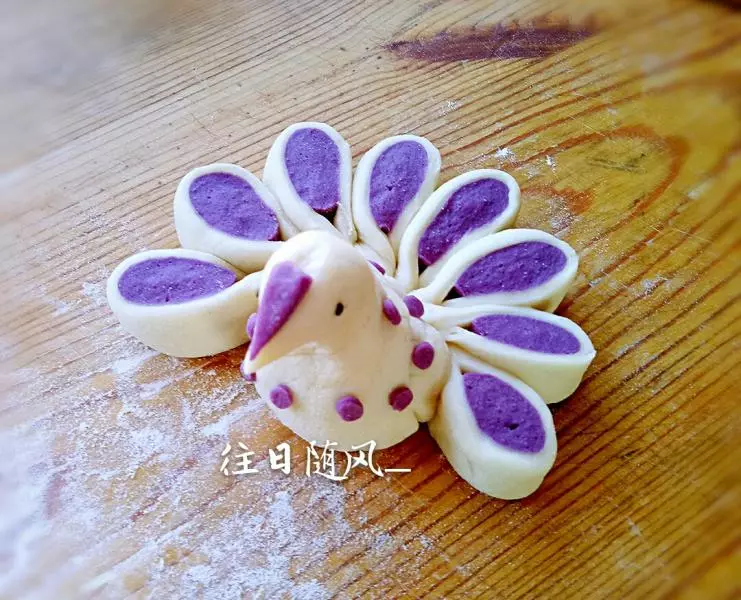
8前面多餘的白面弄成孔雀身體,脖子下面要弄穩了,要不立不住,然後用彩色面裝飾身體,我用吸管壓的小圓面片沾點水貼上的,頭上切一個三角沾水貼上,用黑芝麻做眼睛。
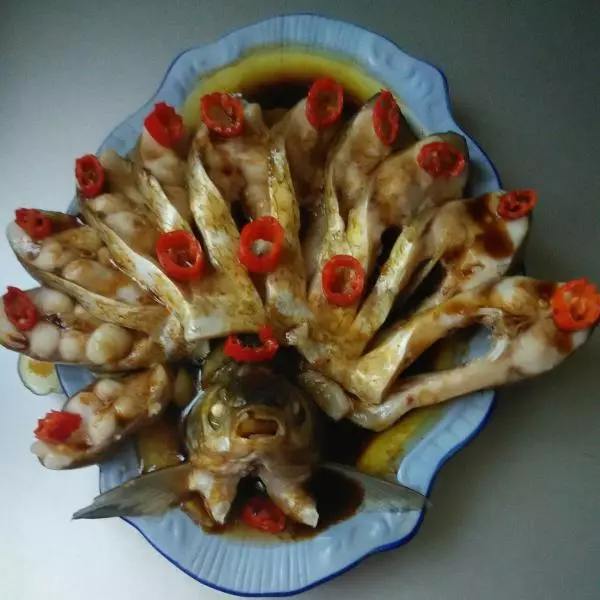
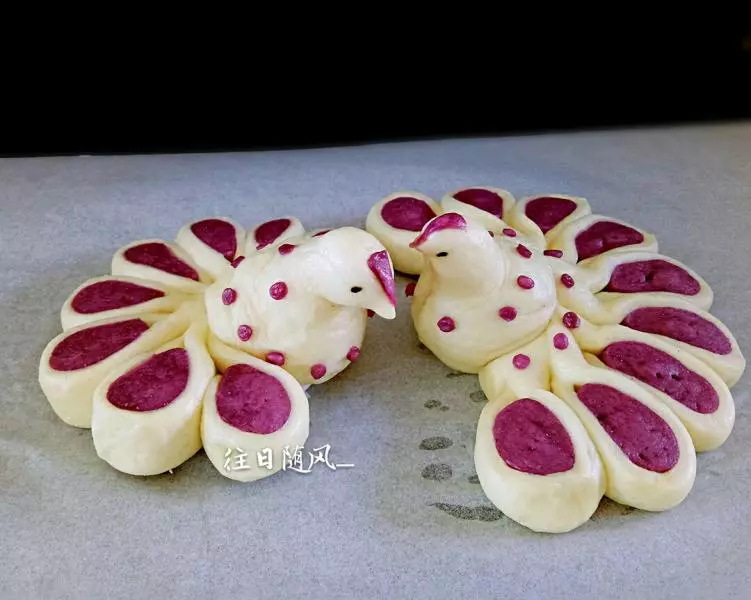
9完成,餳十幾分鐘後,冷水上鍋蒸.水開計時18分鐘關火,悶3分鐘開鍋蓋。

10蒸好了
11換個角度
小技巧
面要比平時蒸饅頭的面硬點,做孔雀身體時儘量底座弄穩了再做上面,不要做胖了,因為蒸好後還會胖。