原料
低粉: 60g, 細砂糖: 60g, 牛奶: 50g, 色拉油: 35g, 蛋白: 100g(約3個), 蛋黃: 55g(約三個), 玉米澱粉: 15g, 檸檬汁: 5滴, 淡奶油: 300g, 細砂糖: 30g, 色素: 少許
步驟
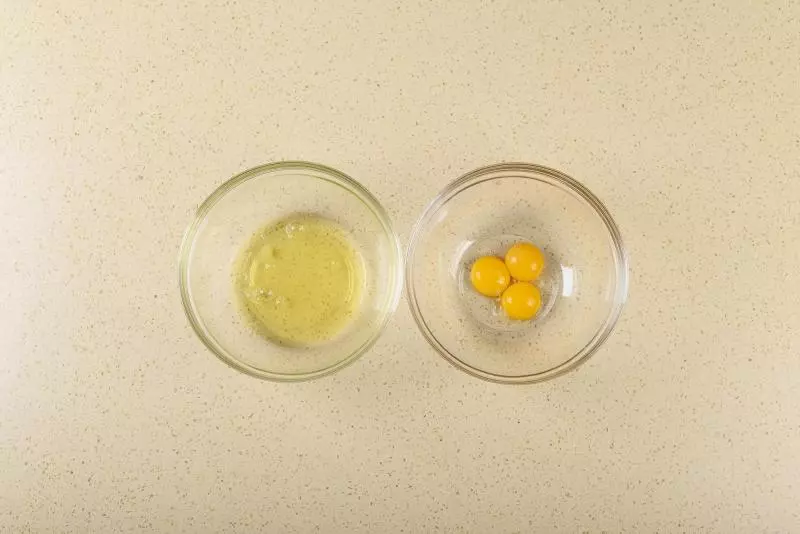
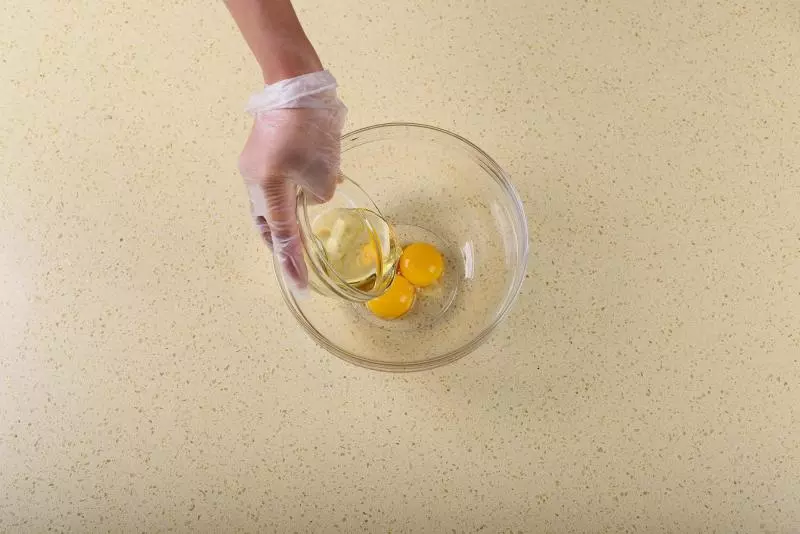
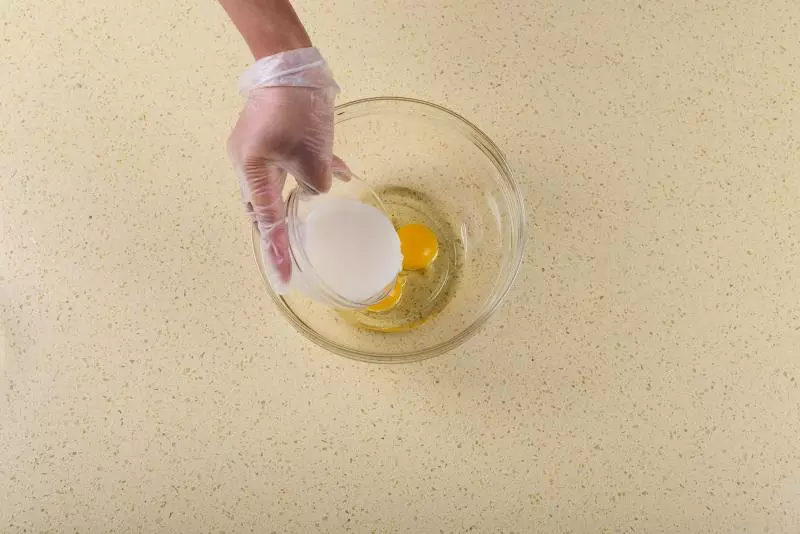
11、分離蛋白蛋黃

2分好的蛋白和蛋黃分別裝不同的打蛋盆中
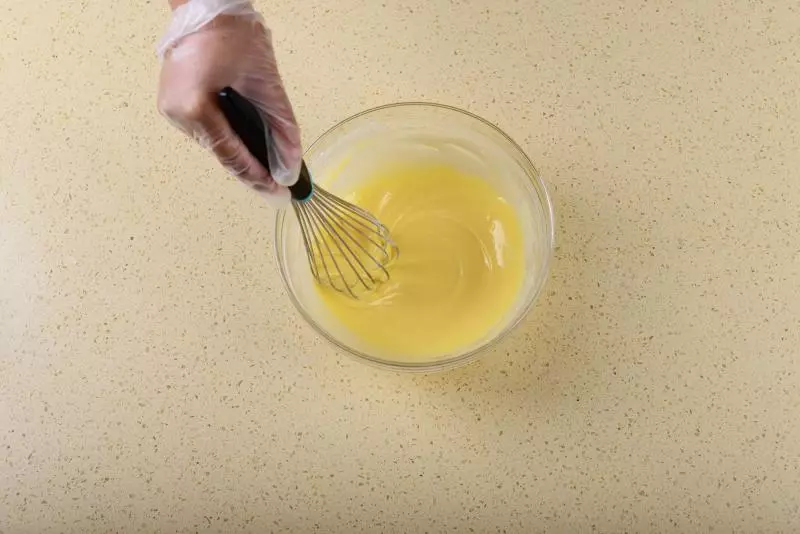
3加入色拉油
4加入牛奶
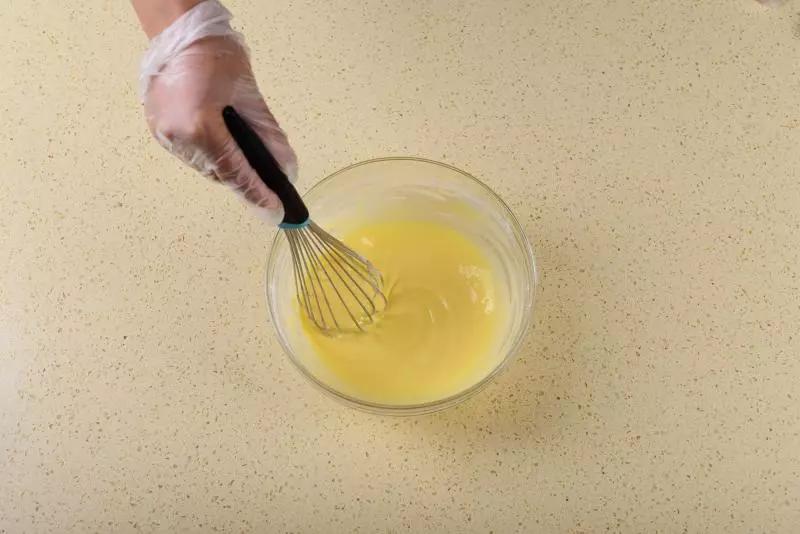
5繼續攪拌成油水混合
6篩入低筋麵粉
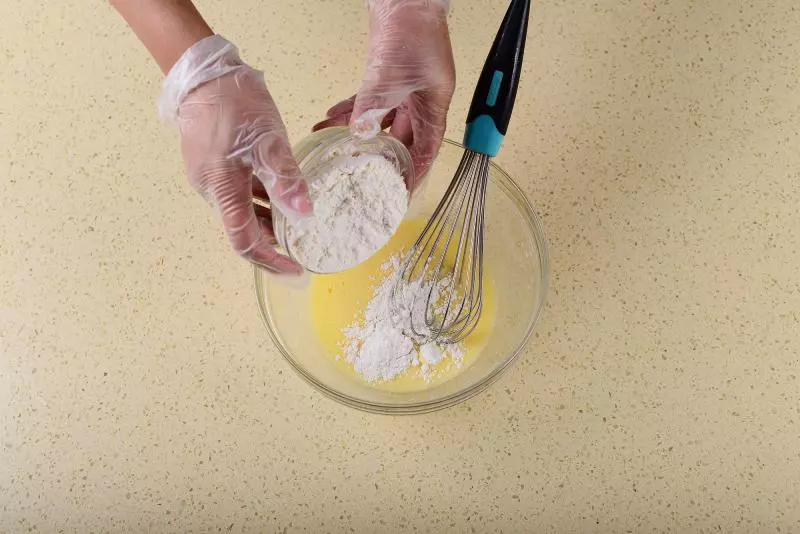
7拌勻成蛋黃糊待用
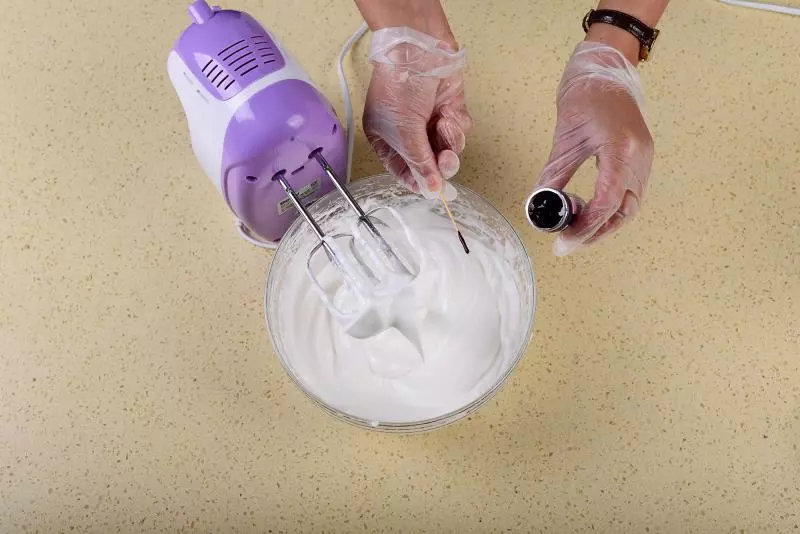
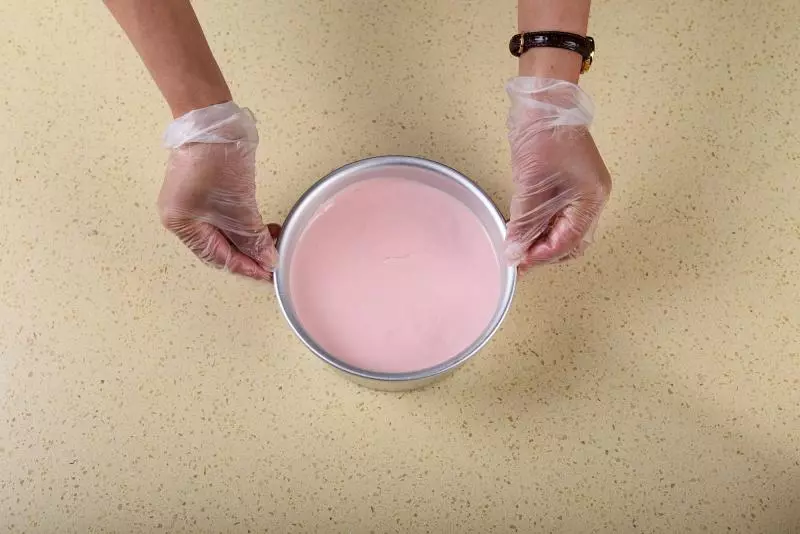
8蛋白打散後加幾滴檸檬汁,分3次加入60克白砂糖,(可邊打邊加)用電動打蛋器打至濕性發泡的時候加入玉米澱粉,在打發蛋白的時候加入一牙籤的色素。低速轉動打蛋器直至提起打蛋器如圖有堅挺的角為止。按同樣的方法做其它顏色蛋糕
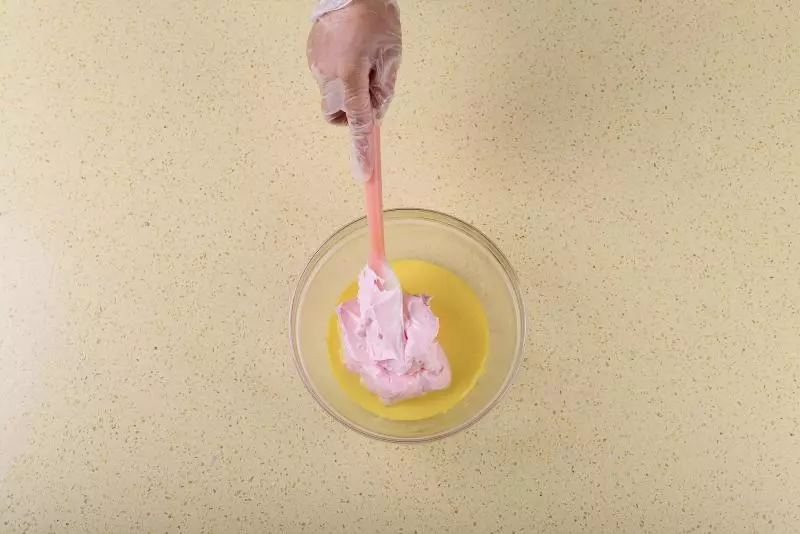
9打好的蛋白霜用刮刀挖1/3到蛋黃糊盆中,從底部向上翻拌均勻

10翻拌好的蛋黃糊全部倒入到蛋白霜中
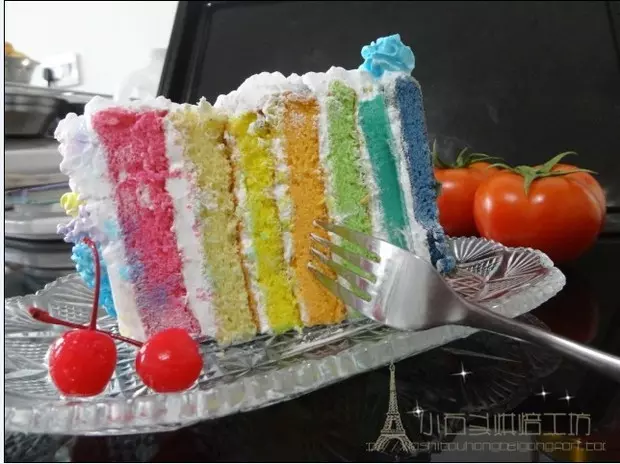
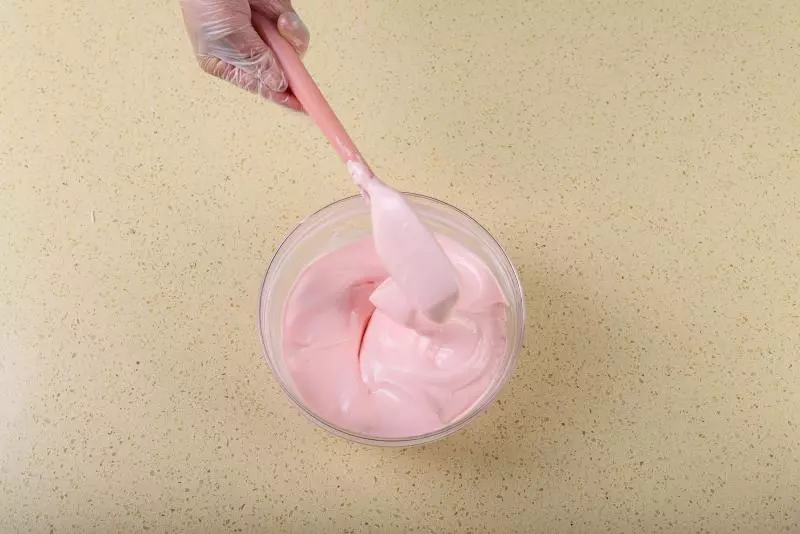
11繼續翻拌均勻,蛋糕糊就做好了
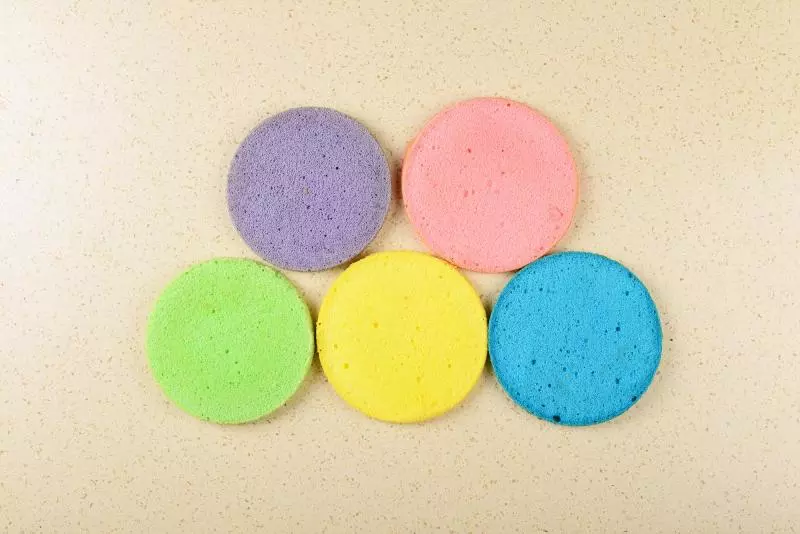
12把蛋糕糊倒入準備好的蛋糕模具中
13放入烤盤入烤箱,中層,160度,烤40分鐘。烤好後的蛋糕倒扣在烤網上散熱
14300克動物奶油加30克白砂糖
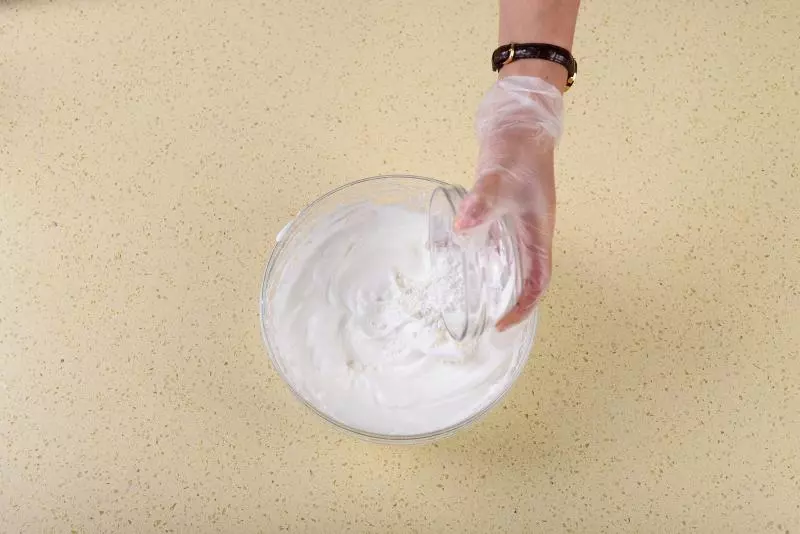
15用電動打蛋器打硬成奶油呈明顯紋路

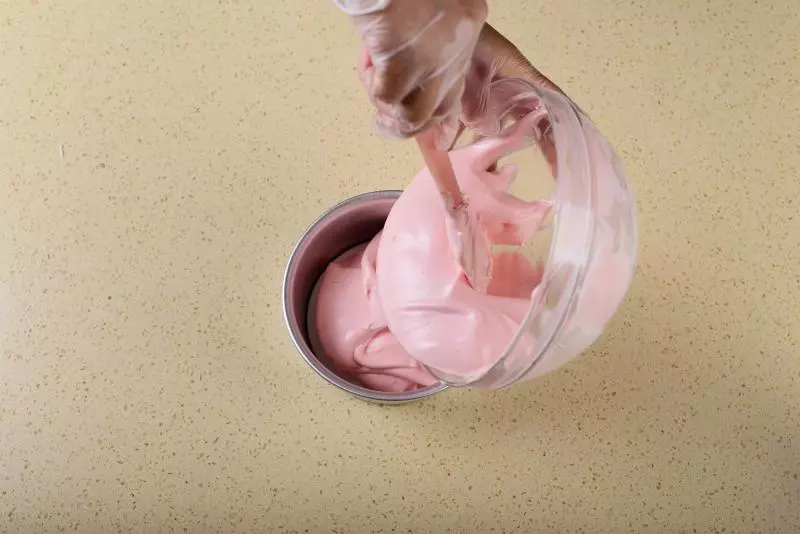
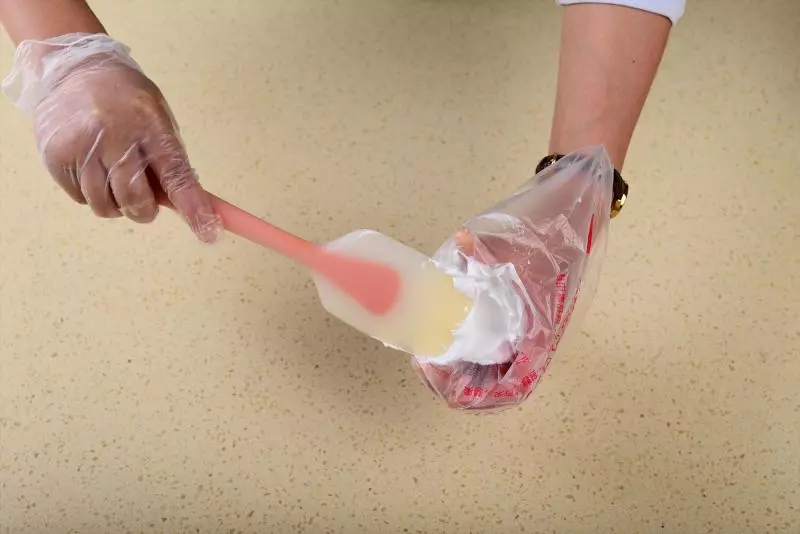
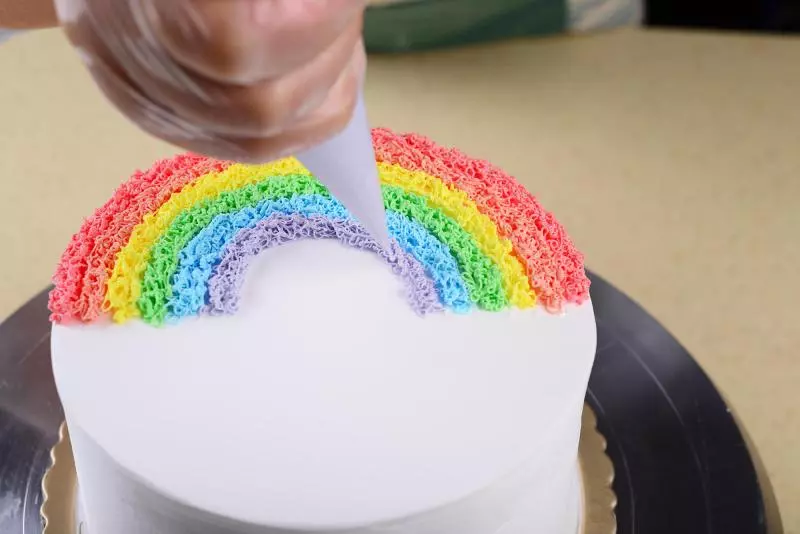
16打好的奶油各挖出一點裝入裱花袋中加入一牙籤的色素,然後揉搓裱花袋使顏色攪拌均勻
17以同樣的方法發所需要的三色調製好放入冰箱冷藏待用
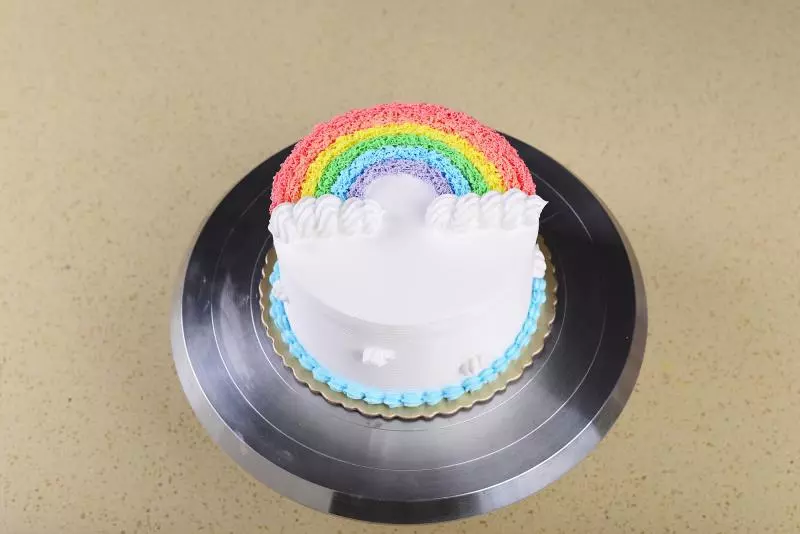
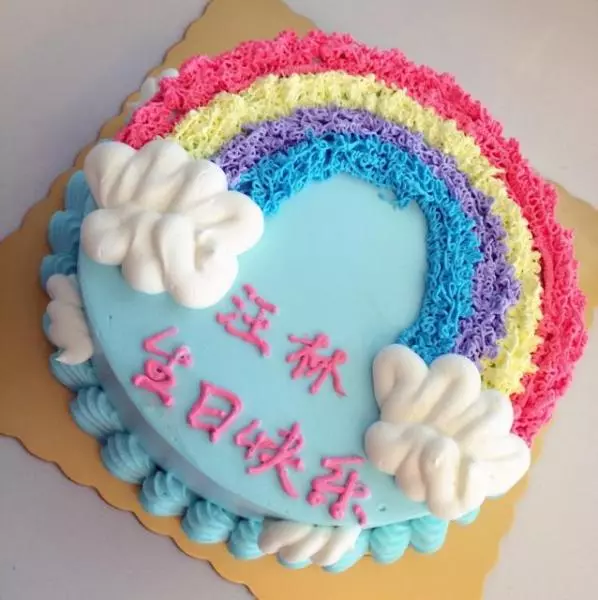
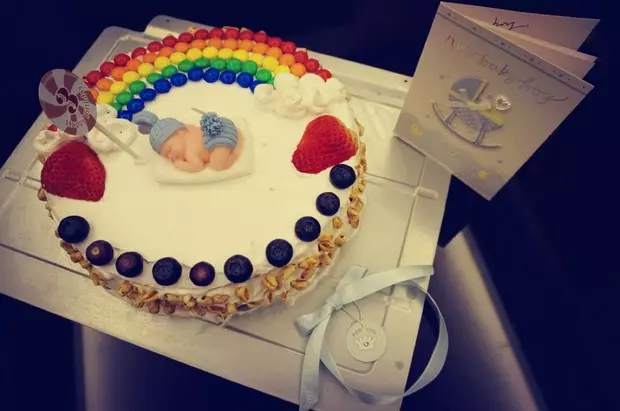
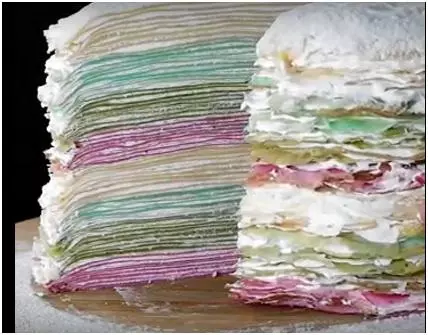
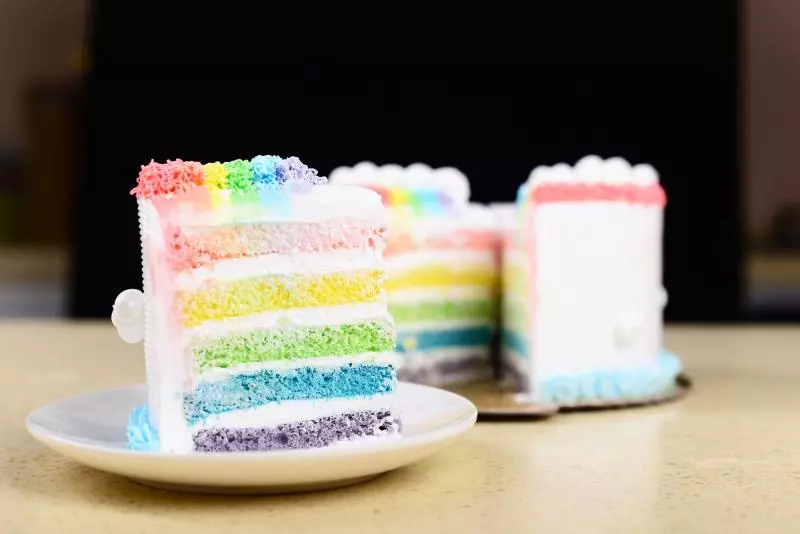
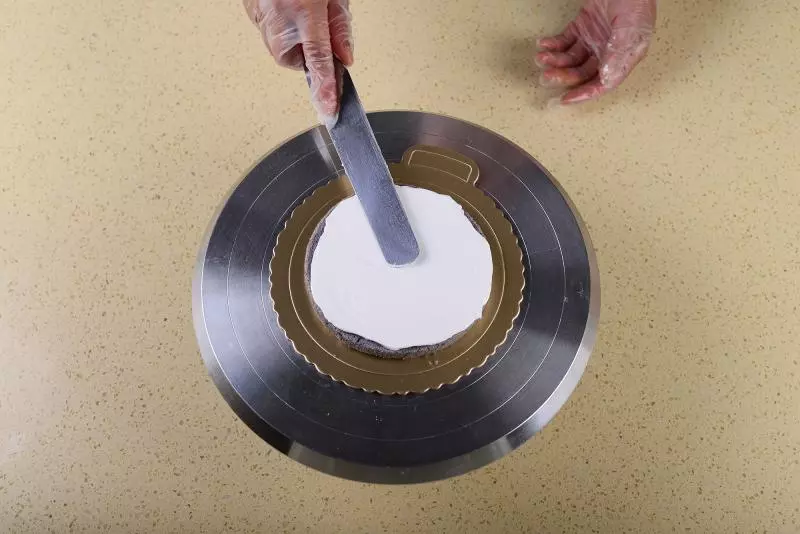
18中間奶油抹好,然後就是蛋糕抹面了,和平時其它的奶油蛋糕一樣抹,抹好在頂部做彩虹
19裱花袋剪掉細細的小孔孔(不會把握的可以先剪一點擠出來看大小不夠再剪)然後按顏色擠在上面就成了漂亮的彩虹了
20然後再擠上一朵朵白雲,一款彩虹蛋糕就做好了