原料
低粉100: 克, 水100: 克, 奶油80: 克, 酵母3: 克, 澱粉15: 克, 白蝦: 若干(根據大小), 紫菜末或柴魚鬆: 若干, 番茄醬,沙拉醬: 若干, 鹽: 少許, 黑胡椒: 少許
步驟
1因為用酵母替換了原方的泡打粉(媽媽說泡打粉最好不用,不明白具體原因,但聽媽媽的,絕對沒錯)所以,早先將酵母,水和奶油混合融化,後加入低粉(過篩),澱粉等粉類,用手動打蛋器充分攪拌之後放置待用,準備小勺子。

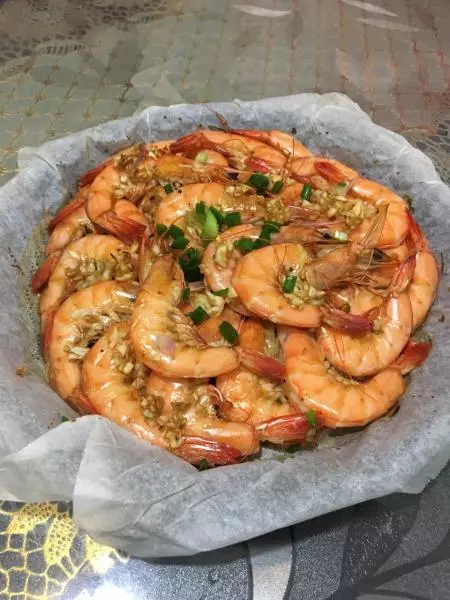
2白蝦洗凈去皮,挑蝦線,注意,尾巴留著,主要是好看,因為我的蝦子很大,所以一隻從蝦腰處切成2段,用鹽,黑胡椒腌制待用。

3鵪鶉蛋準備好。

4烤盤底部塗抹黃油。

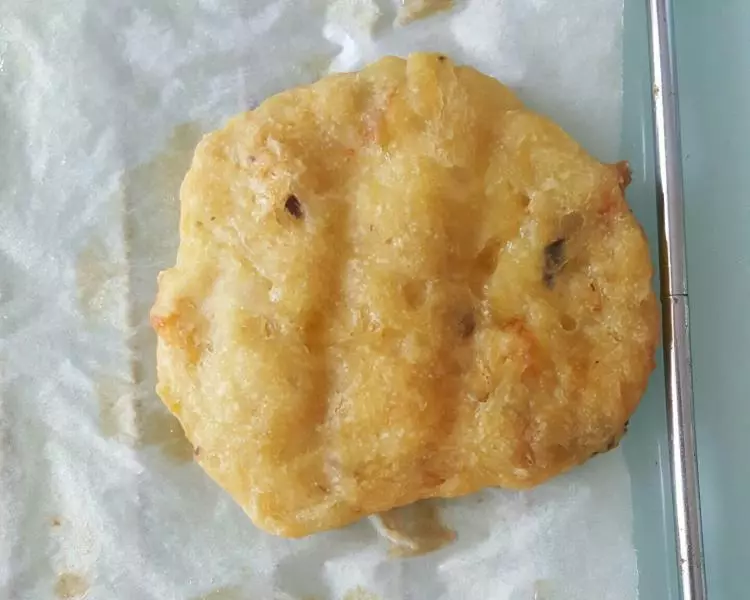
5用小勺子放麵糊,一少半即可,太多容易溢出,也不容易烤熟。不必糾結不小心蹭到旁邊了,烤好後都一樣哦!

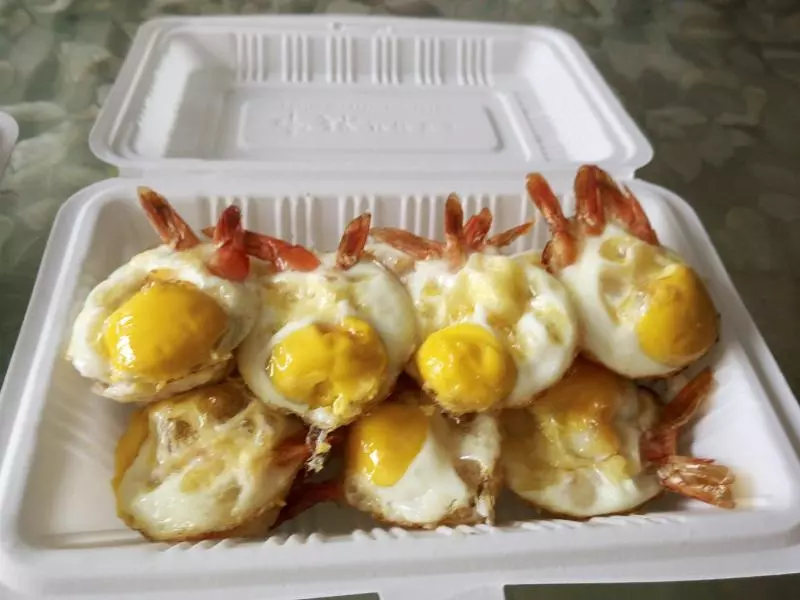
6放蝦

7放蛋,鵪鶉蛋皮很容易掉進去,一定小心哦!

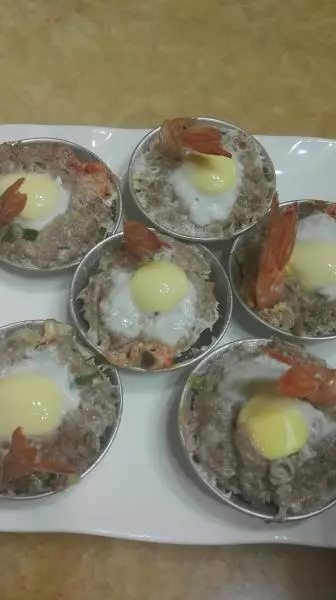
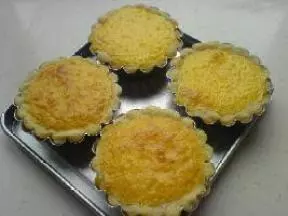
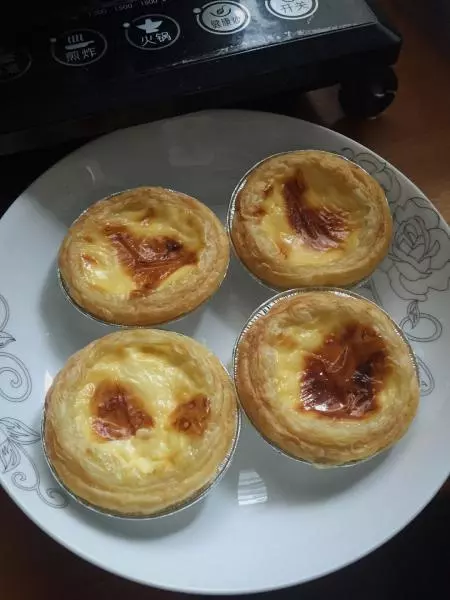
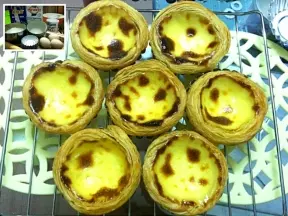
8烤箱預熱5分後,上下層190度,15分鐘左右即可(根據自家烤箱脾氣自行觀察)烤好後,涼後脫模!

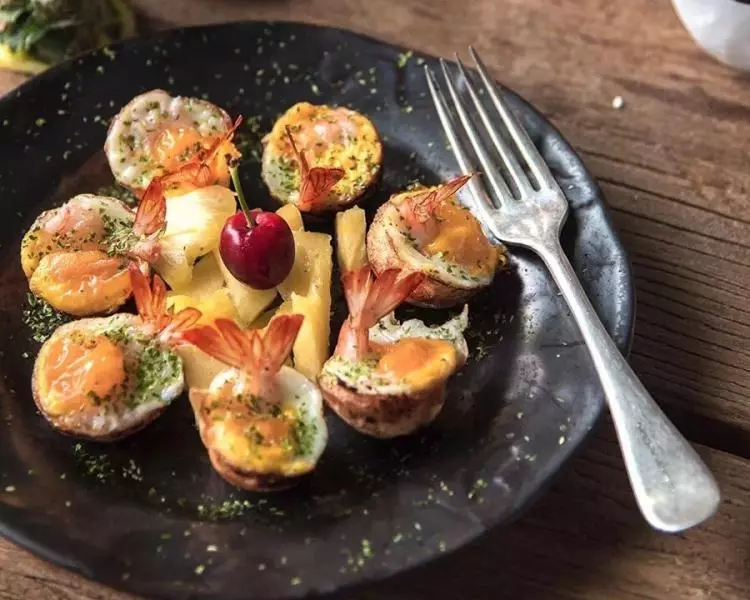
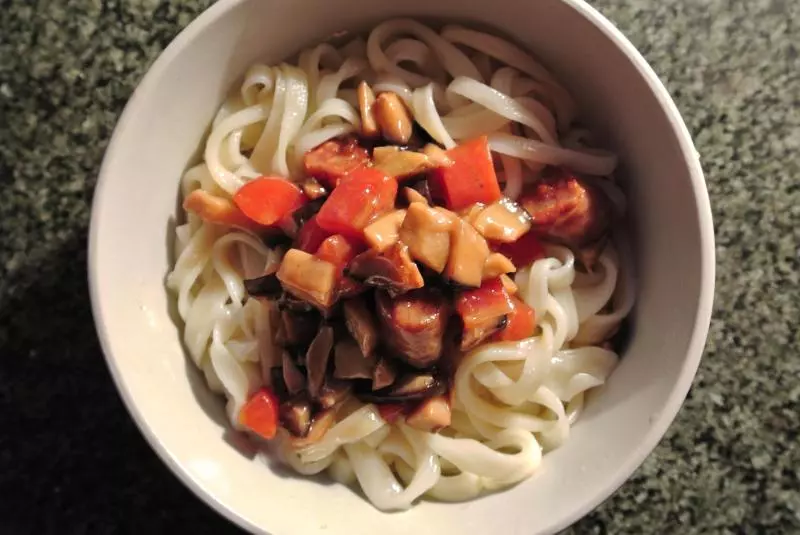
9配料準備好,番茄醬這種無添加,小貴,沙拉醬自製的,可以參照君之的配方,十分簡單健康,外面賣的大多是轉基因,最好不用哦

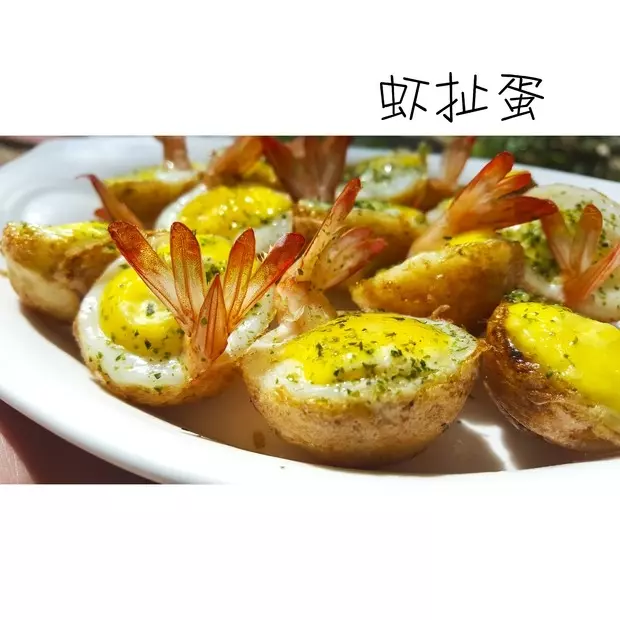
10先塗上沙拉醬或番茄醬,再撒上紫菜,完成,吃吧!

小技巧
趁熱吃,好吃!