簡介
在家輕鬆製作,不用烤箱,好吃不上火,簡單易學
原料
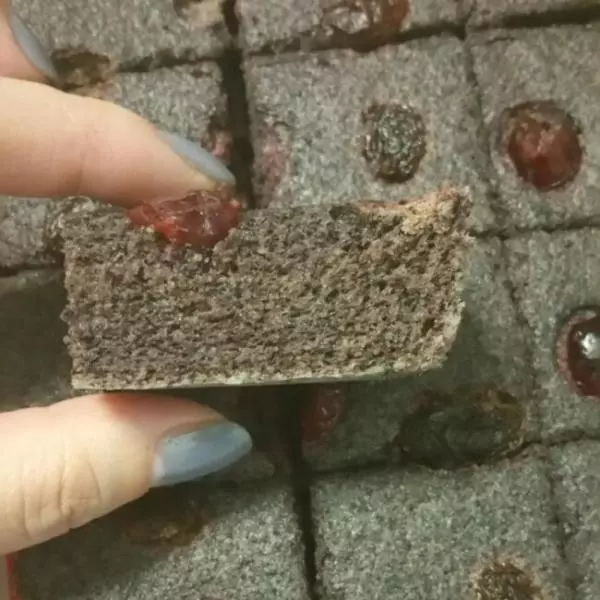
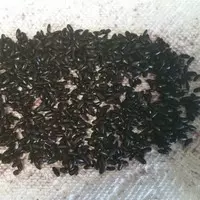
黑米(紫米或黑米粉) 120g, 雞蛋 4個, 白糖 70g, 植物油 60g, 蔓越梅乾和葡萄干 少許
步驟
11.黑米提前浸泡一晚,然後晾乾(一點要晾乾哦)
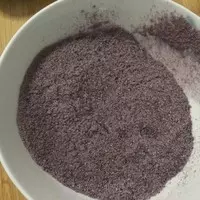
2這時候就需要攪拌機了,把晾乾了的黑米倒入攪拌機中,開始攪拌吧!多攪拌幾次,過篩,把大的顆粒再攪拌過篩,成品的好壞就看你這步有沒有偷懶了!
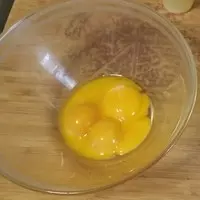
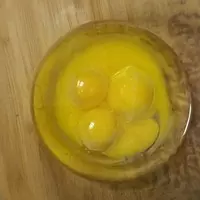
3取2個碗,蛋清和蛋黃決定要分手了(我圖片中的其中一個蛋黃哭暈了~所以你看不到)
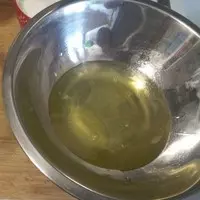
4蛋清要裝在一個比蛋黃稍大一點的碗里,還得無水無油(蛋清就是矯情)
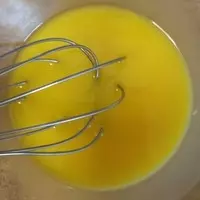
5在蛋黃里倒入60g的油,搖晃一下使蛋黃上面也充分包裹著油,放在一旁
6現在處理這矯情的蛋清吧!打蛋器準備好,先一檔打至出現大泡泡,轉3檔(我家的打蛋器共有6檔)打至出現小泡泡時倒入1/3的白糖

7看到有點紋路了嗎?那就把剩下的白糖倒一半進去繼續打發吧!
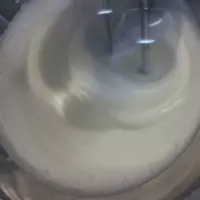
8紋路也更加明顯了,蛋白霜也開始變得厚重,這時候把剩下的白糖都到進去吧!3檔繼續打2~3分鐘後轉1檔打30秒(這個還是看自家的打蛋器的動力和蛋清霜的程度)
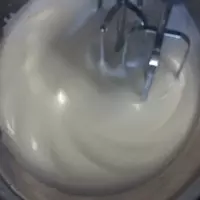
9看下效果圖吧!提起打蛋器會出現小尖角就OK啦!

10用手動打蛋器把蛋黃和油攪拌均勻
11黑米粉分3次篩入蛋黃糊中,一定要攪拌均勻後再篩入黑米粉哦!
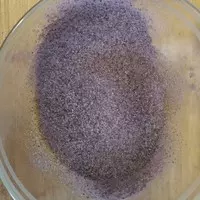
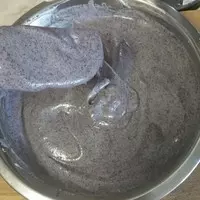
12這時候的黑米糊還是比較粘稠的
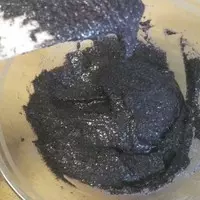
13倒入1/3的蛋白霜,用切拌手法使2者融為一體(和做戚風蛋糕原理)
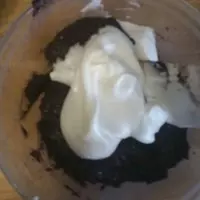
14加了蛋白霜的黑米糊顏色也開始變漂亮了

15把黑米糊倒入蛋白霜里,繼續使用切拌手法,我攪拌了30次,攪拌太多容易消泡
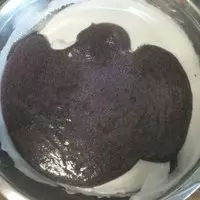
16瞧,這顏色,多正點
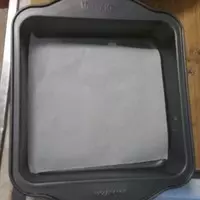
17我用的是7*7寸的烤盤,因為它和我家的鍋剛好相配,(親們也可以隨意用什麼型號的碗,盤...)但是要在底部放上一張烘培紙,是為了好出模,如果抹油的話我個人覺得成品會很油膩
18把黑米糊倒入烤盤中
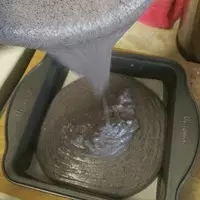
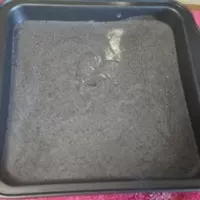
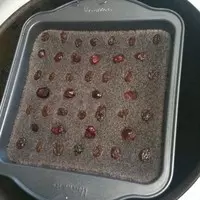
19然後震幾下,把裡面的氣泡震出來
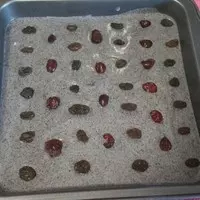
20擺上蔓越梅乾和葡萄乾(依個人喜歡,喜歡桂花的朋友,散點桂花也是很不錯的)
21放入鍋里
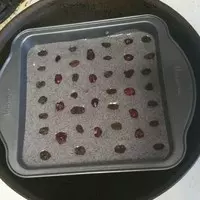
22這步很重要,一定要蓋個盤子在烤盤上面,這是為了防止鍋蓋上面的水蒸氣滴到黑米糊上面
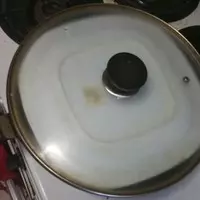
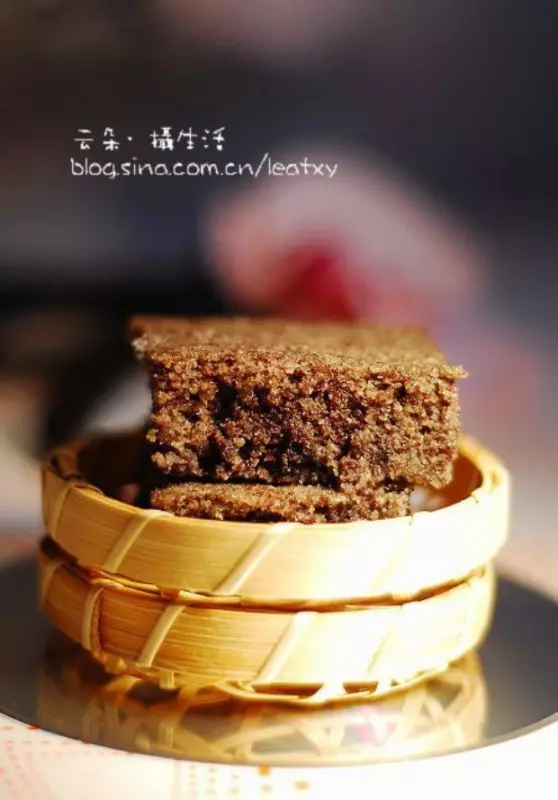
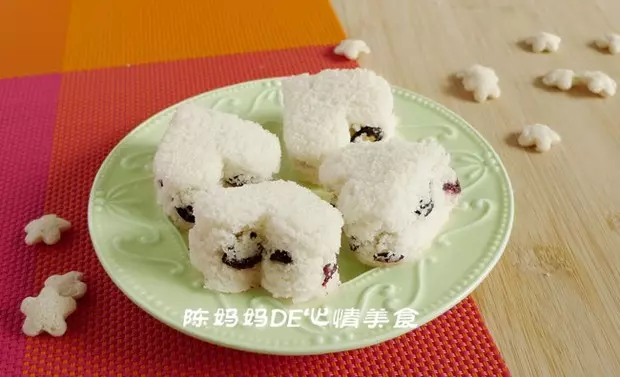
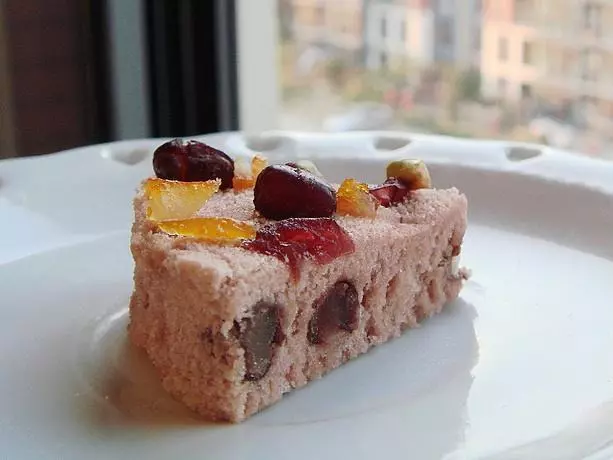
23中大火蒸30分鐘,開蓋,成品圖
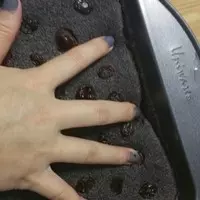
24稍涼後用手輕壓四邊,然後倒扣在盤子上,取掉烘培紙,再倒扣
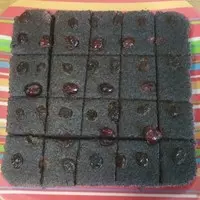
25切成自己喜歡的大小,開吃啦~
小技巧
1.黑米磨成粉的這步千萬不要偷懶哦,多攪拌幾次,粉約細口感越好