原料
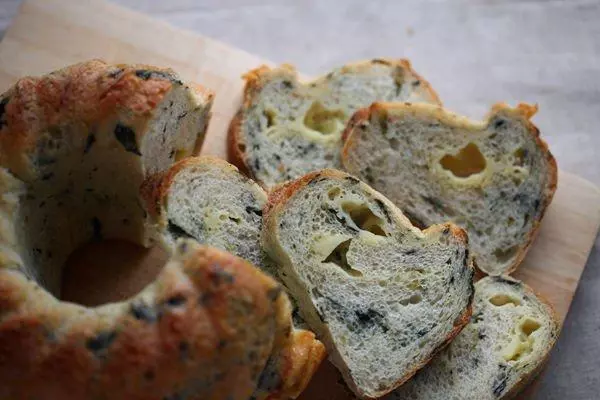
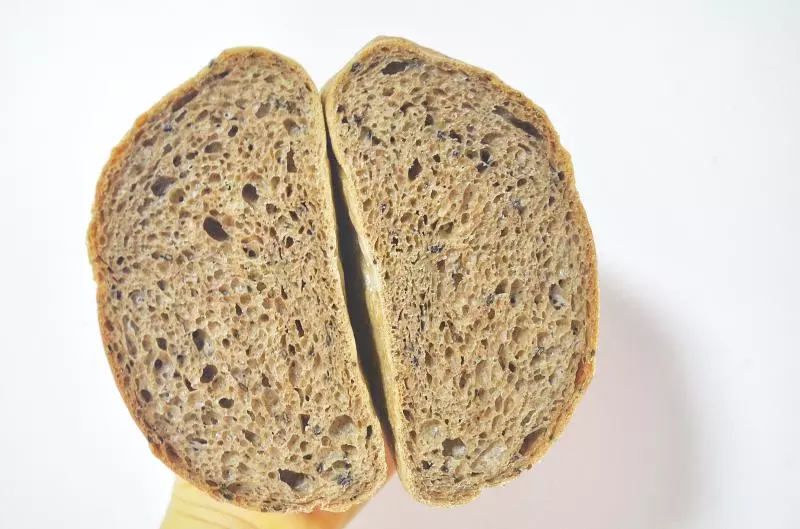
T65: 280, 低糖酵母: 0.8克, 海鹽: 5.5克, 冰水: 200-210克, 芒果干: 45克
步驟
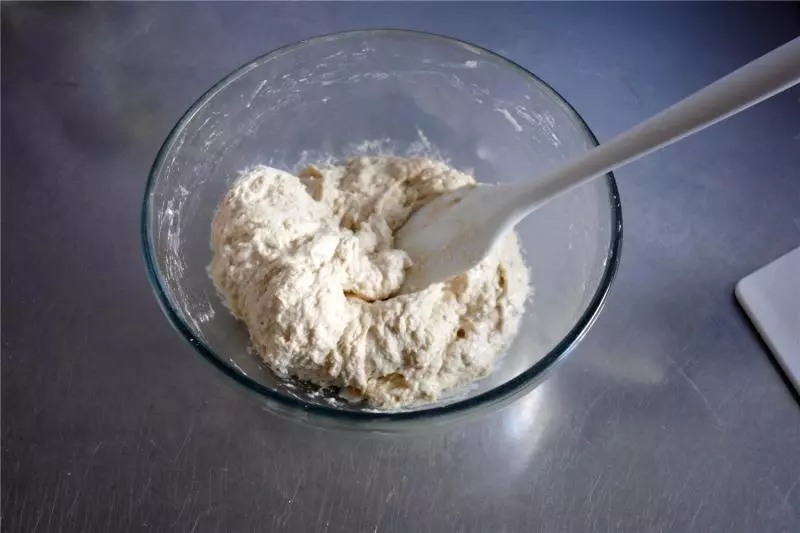
1麵粉和冰水稱重倒入容器
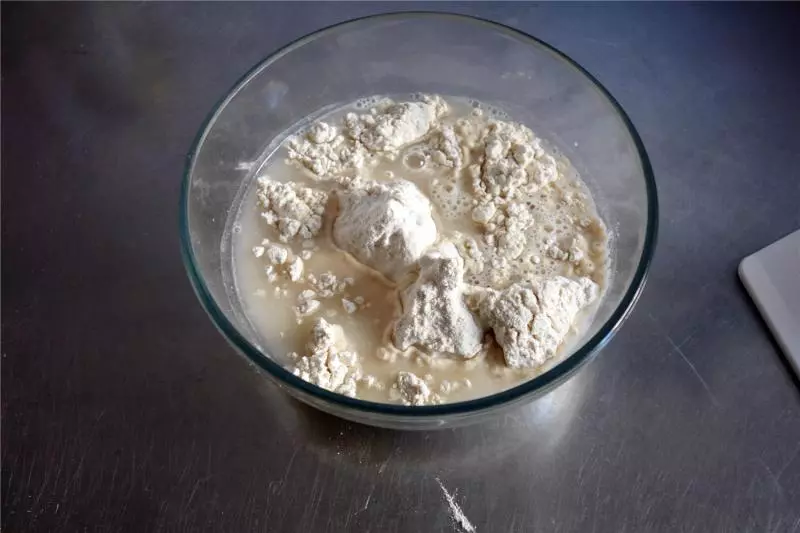
2快速混合至無乾粉的均勻狀態,蓋保鮮膜放入冰箱靜置浸泡30分鐘
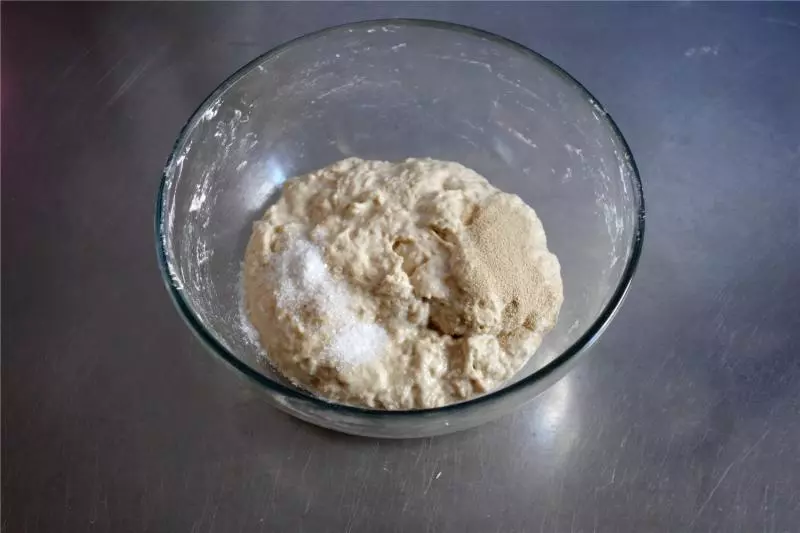
330分鐘後取出,加入海鹽和酵母
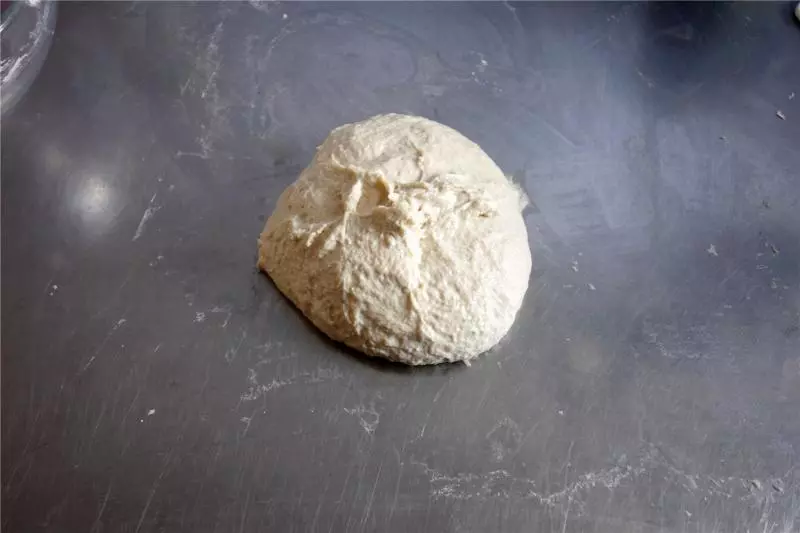
4揉均勻後蓋保鮮膜靜置15分鐘
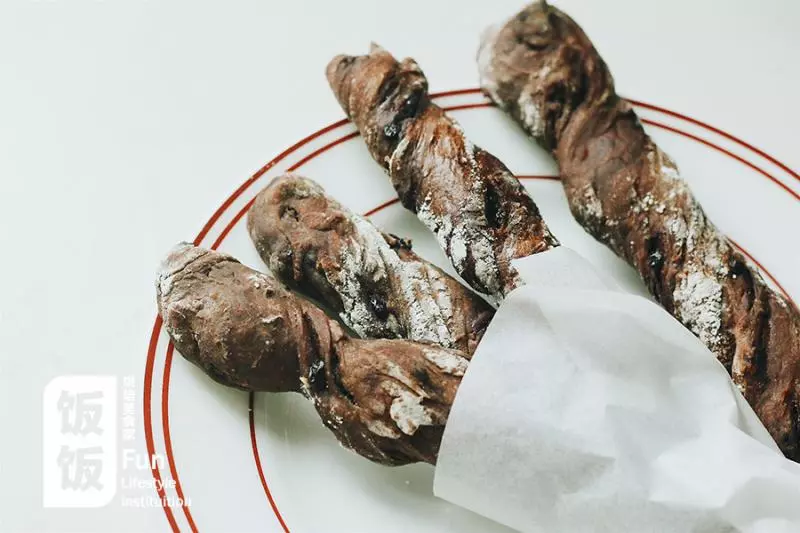
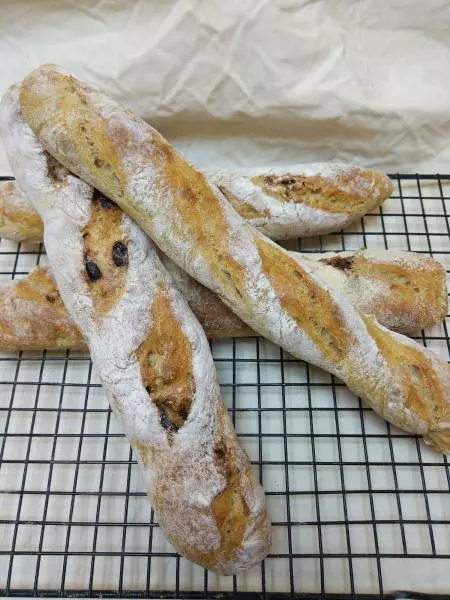
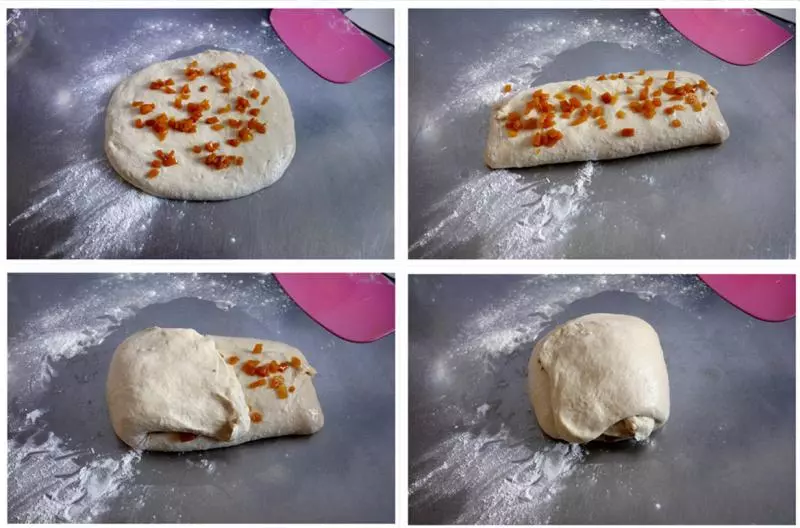
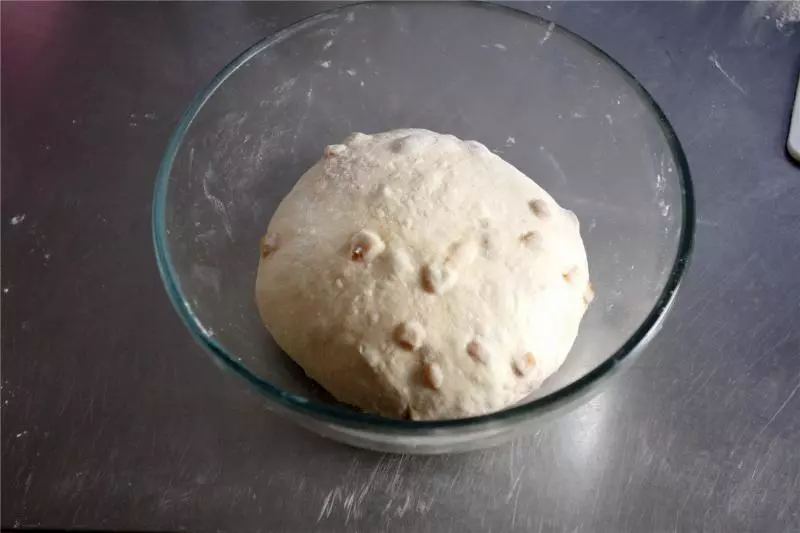
515分鐘後操作台撒少許乾粉,如圖摺疊, 折好後放入抹了橄欖油的容器,蓋好保鮮膜。 每半個小時摺疊一次,一共進行4次摺疊。 每次摺疊的時候加入浸泡後瀝乾的芒果乾
6反覆摺疊可以強化麵筋,可以很明顯的發現,通過摺疊,麵糰逐漸光滑麵筋逐漸強韌,圖為完成4次摺疊的麵糰
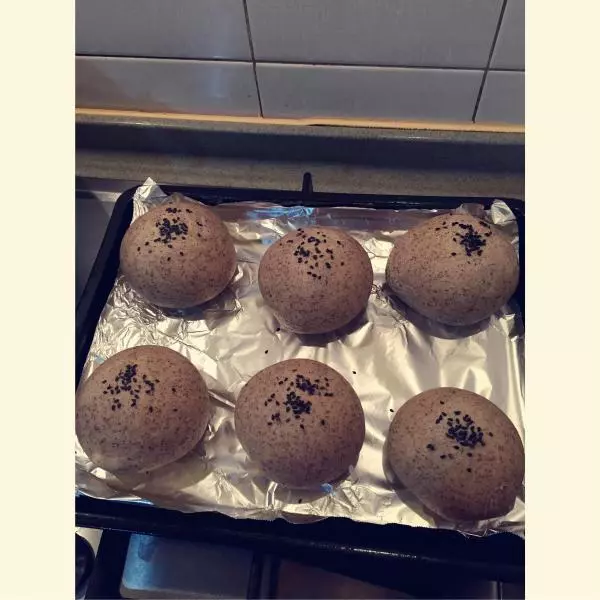
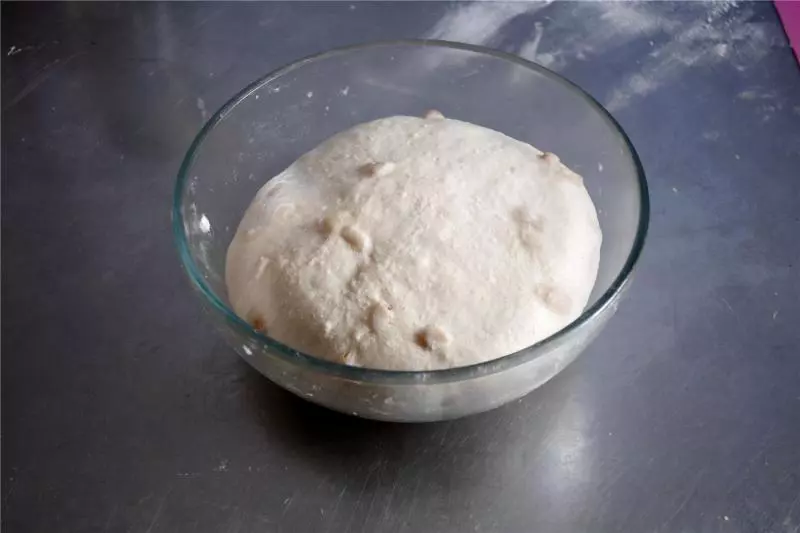
7室溫下進行基礎發酵,至兩倍大
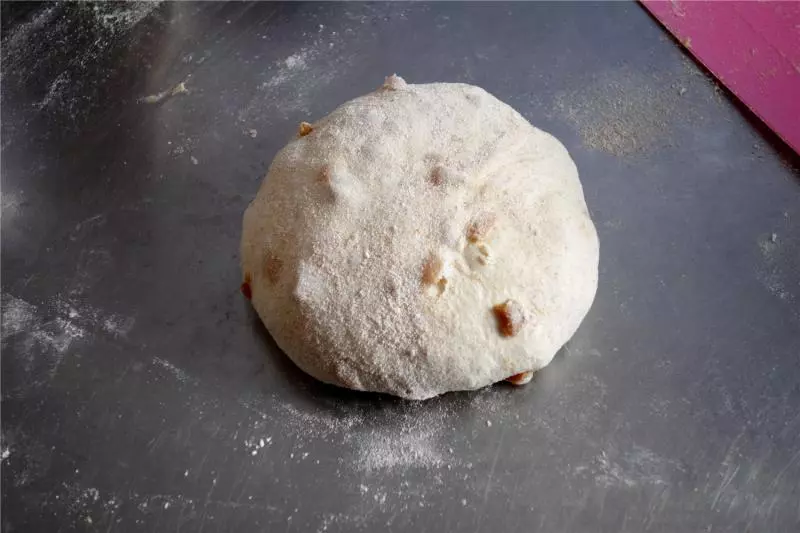
8將其取出,輕輕推開麵糰成圓形
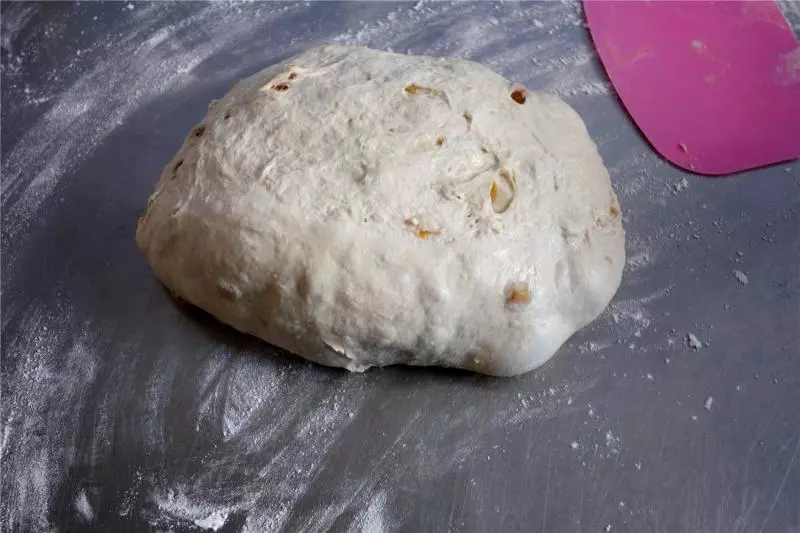
9再次整形(過程同上述摺疊過程)
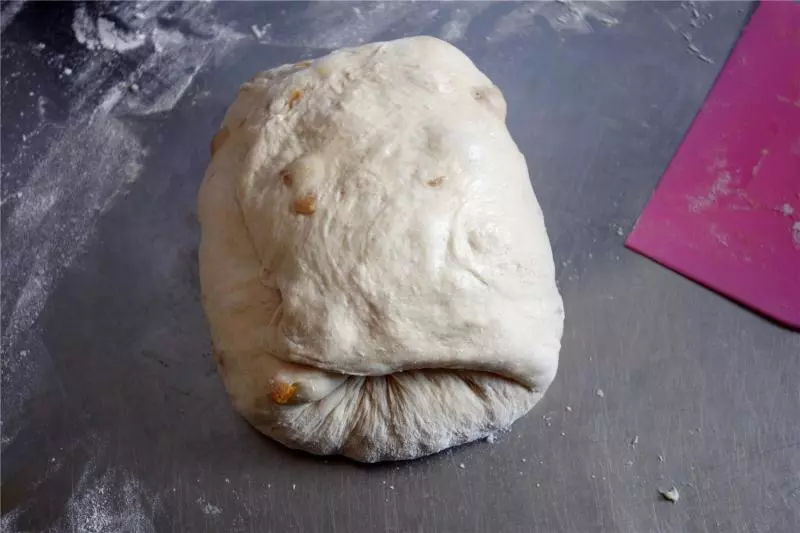
10收圓
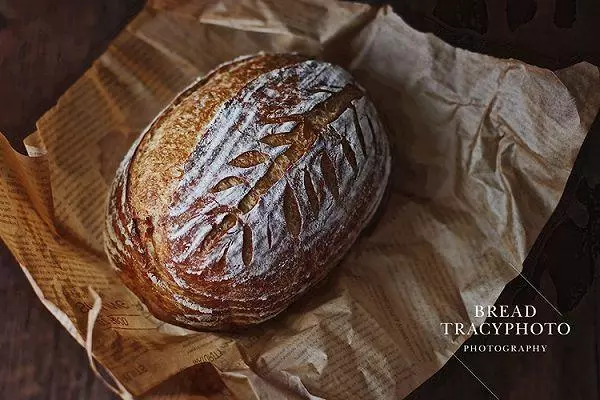
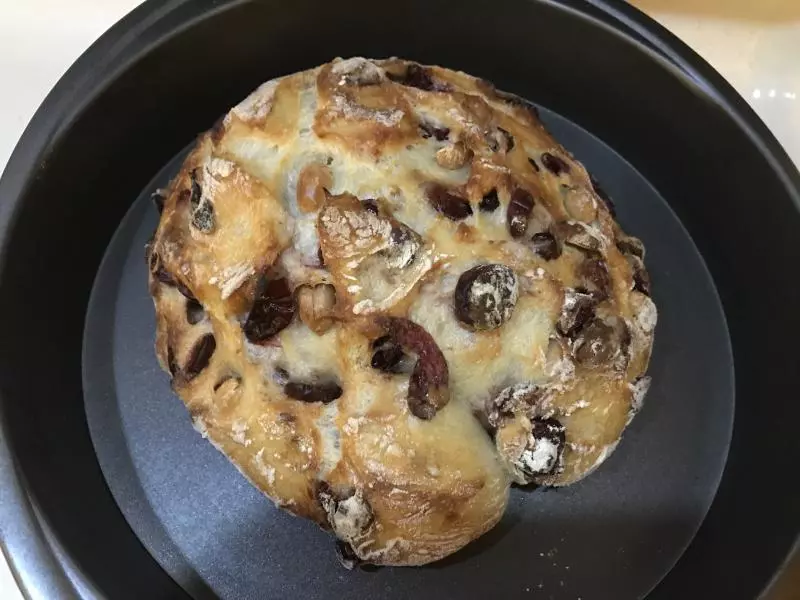
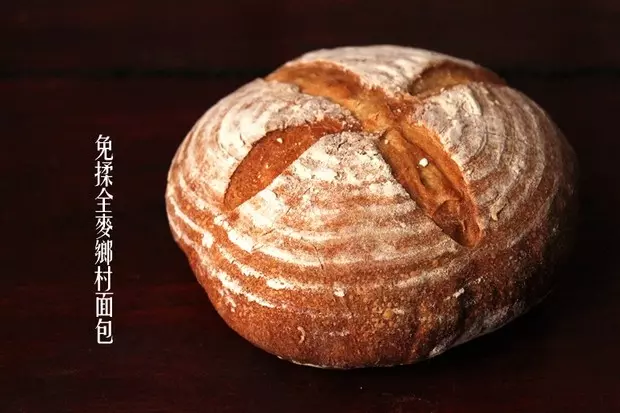
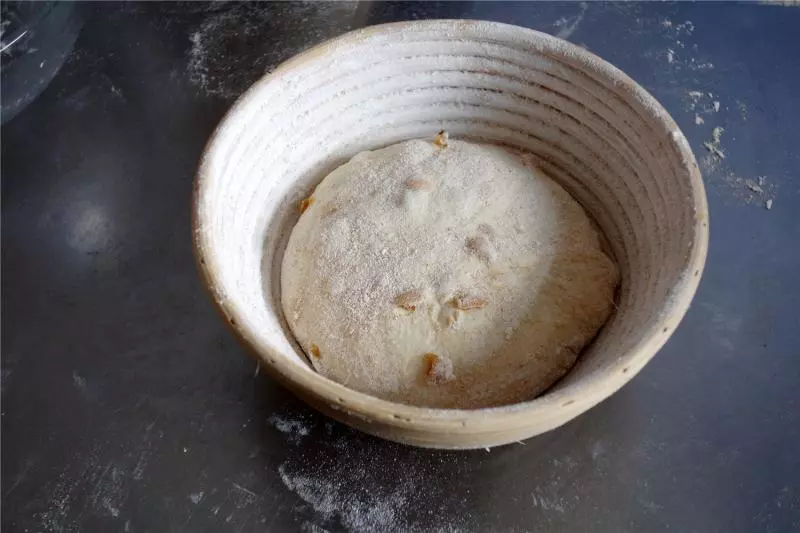
11藤籃撒黑麥粉或者全麥粉 將麵糰放入藤籃,打算割包就光面朝下。不割包就光面朝上
12將藤籃裝保鮮袋放入冰箱4度發酵一夜,近兩倍大 也可以室溫發酵,看狀態即可
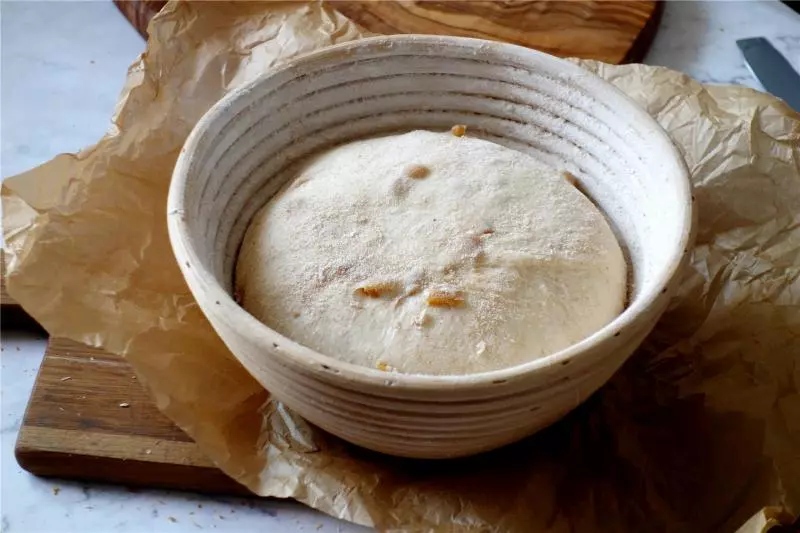
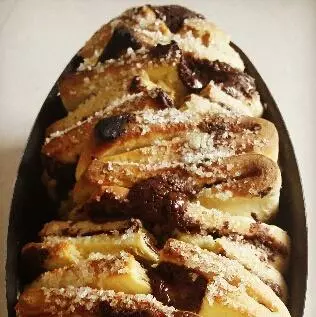
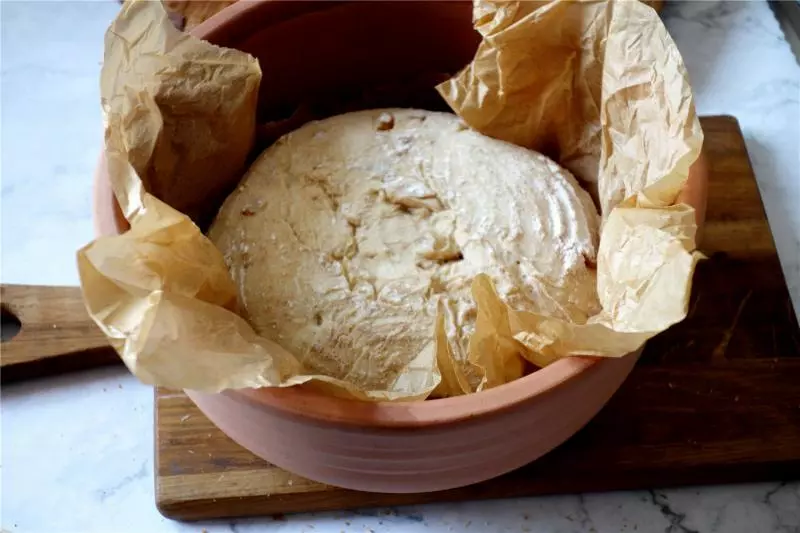
13Römertopf陶制帶蓋烤鍋水中浸泡十分鐘,提前至少40分鐘放入烤箱用烤箱最高溫度烤至高溫 將發酵好的麵糰自藤籃中倒在鋪了油紙的平盤上
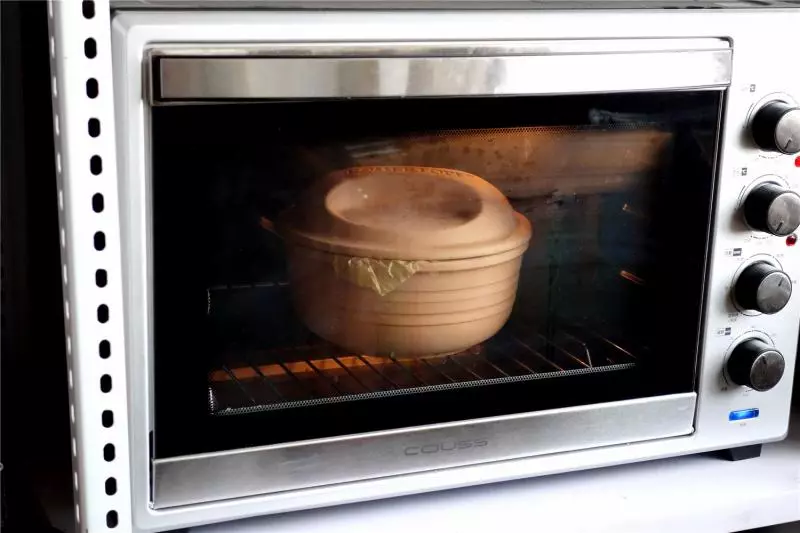
14帶隔熱手套將烤鍋取出,拿開蓋子 提起油紙將麵糰放入烤鍋,蓋上蓋子
15放入烤箱帶蓋子烘烤25分鐘
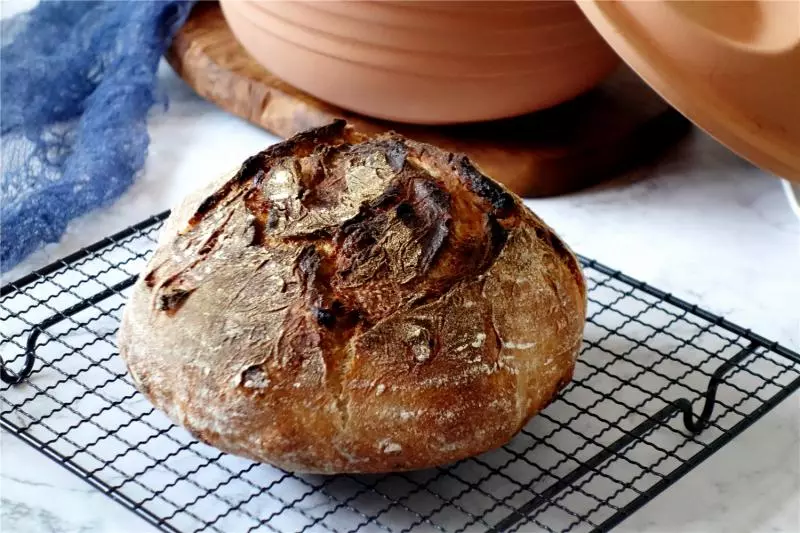
16拿掉蓋子繼續烘烤5-10分鐘至麵包上色即可

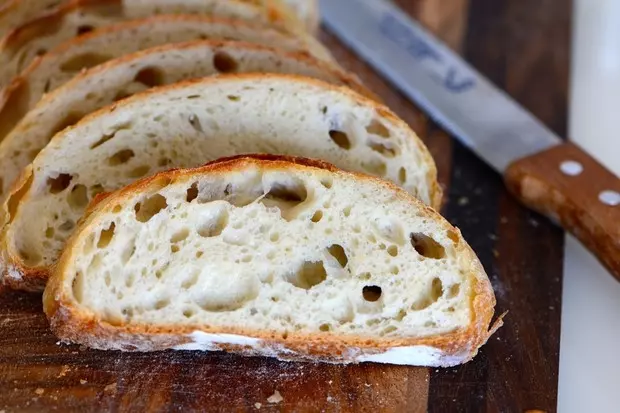
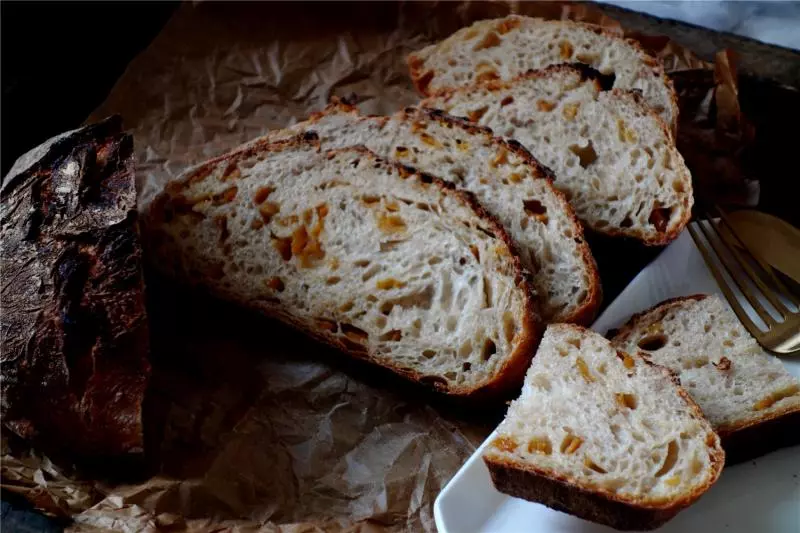
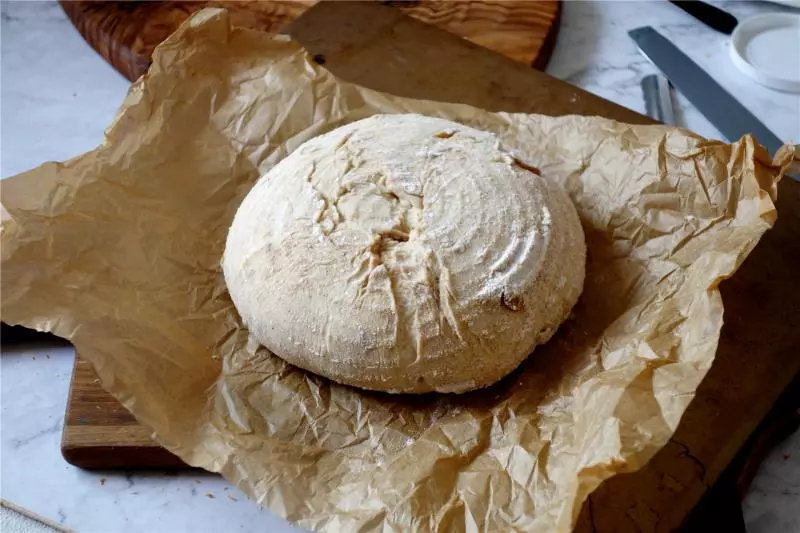
17出爐冷卻
小技巧
液體量給出的區間請根據麵粉吸水性調整 吃不完的切片分裝冷凍,吃的時候解凍復烤即可 附上烤鍋連結: