原料
黃油: 80G, 糖粉: 30G, 全蛋: 20G, 低粉: 90G, 桔子粉15G(可換為奶粉): , 酒泡蔓越莓: 適量, 黃油: 80G, 糖粉: 30G, 全蛋: 20G, 椰蓉: 15G, 低粉: 80G, 桔子粉: 15G, 表面裝飾椰蓉: 適量
步驟
1黃油放置室溫充分軟化成膏狀

2篩入糖粉用蛋抽打至膨鬆

3油糖混合後非常細膩

4分次加入蛋液打至融合

5篩入低粉、桔子粉

6用刮刀混合均勻

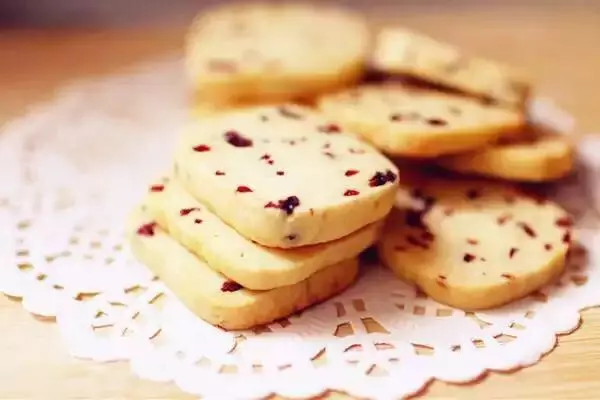
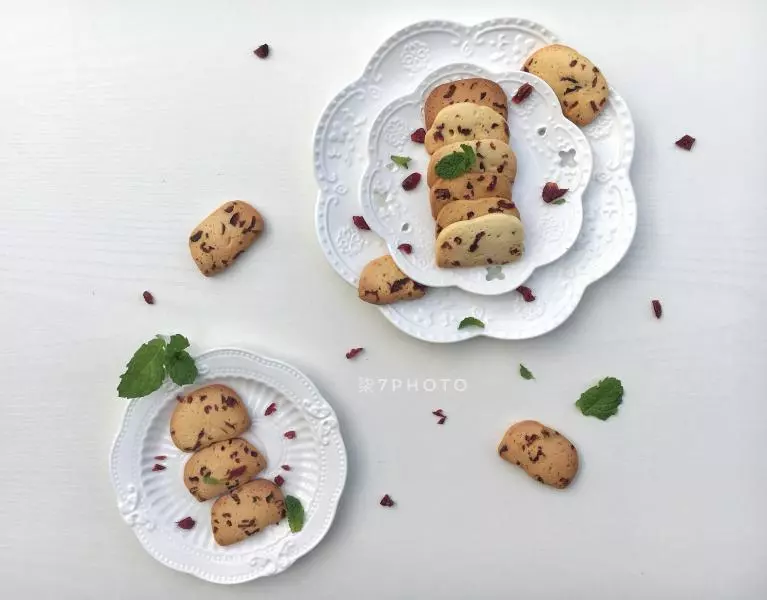
7加入用酒浸泡一夜後蔓越梅干

8將混合手的麵糰放至在保鮮膜上,麵糰很粘手所以全過程用刮刀操作即可

9放入模具整形,入冰箱冷凍

10將凍好的麵糰從模具中取出,回溫3-5分鐘

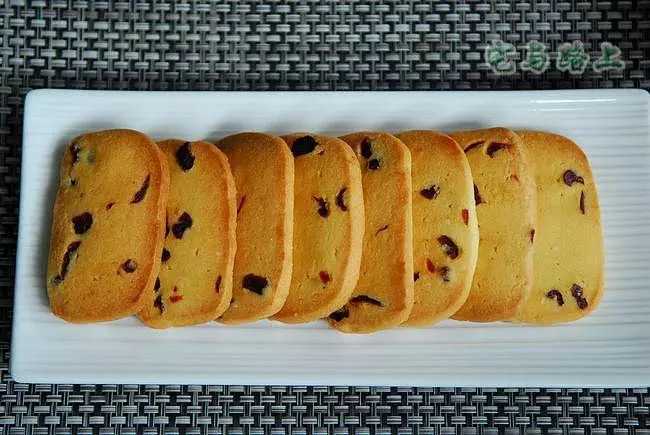
11切片

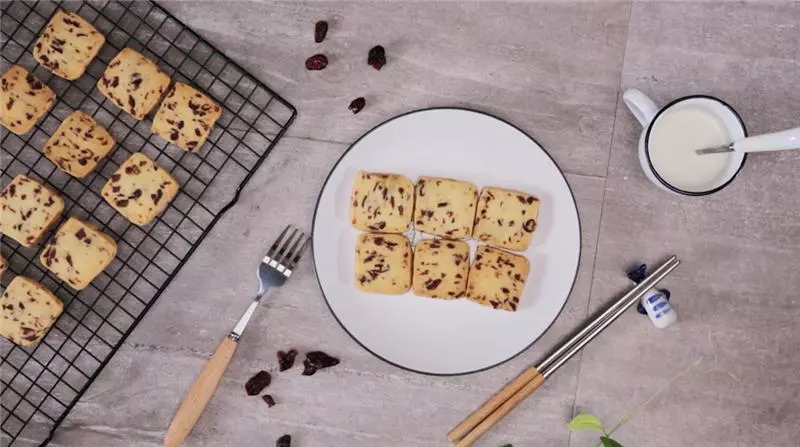
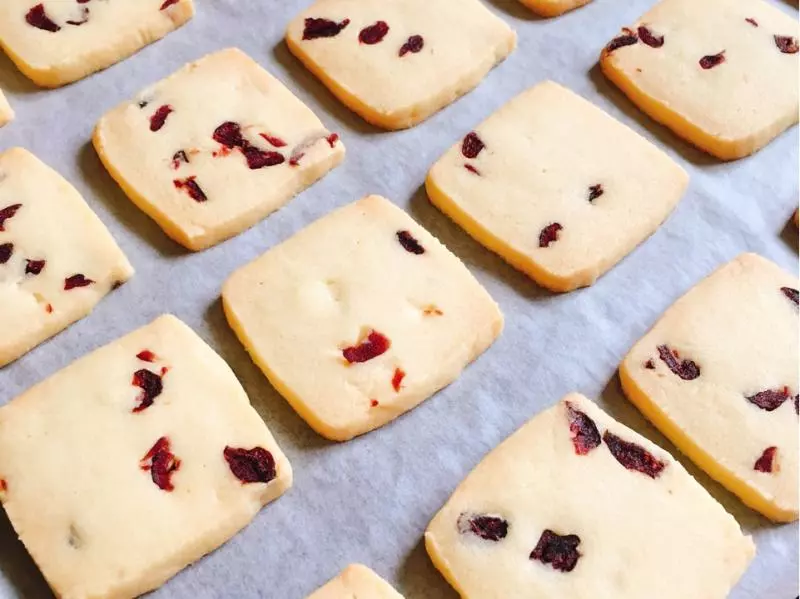
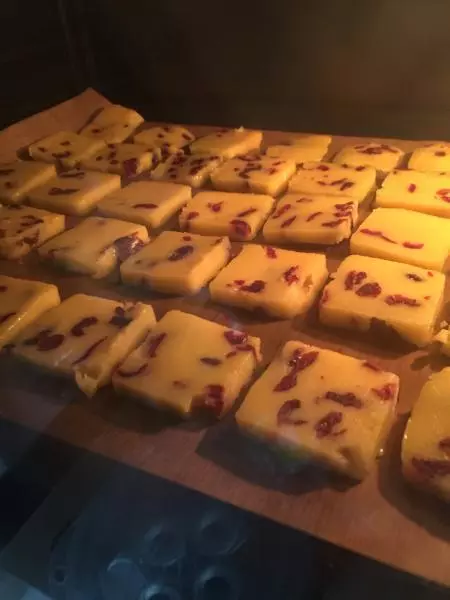
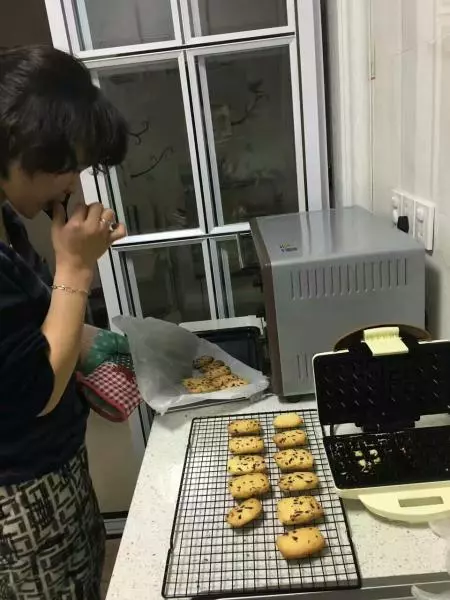
12切好的餅乾坯排在烤盤上,注意留有一定間距,入預熱烤箱180度15-20分鐘

小技巧
1、黃油一定要軟化到位,黃油打至膨鬆即可,不可過度打發,否則烤時會過度膨漲,影響口感。 2、蔓越莓干用紅酒或朗姆酒(也可以用溫水)浸泡後瀝干水分使用,否則經過烘烤會很乾硬 3、出爐後晾涼密封,可以保存較長時間。 4、各家烤箱溫度都會有偏差,請根據情況適時調整烘烤時間。