原料
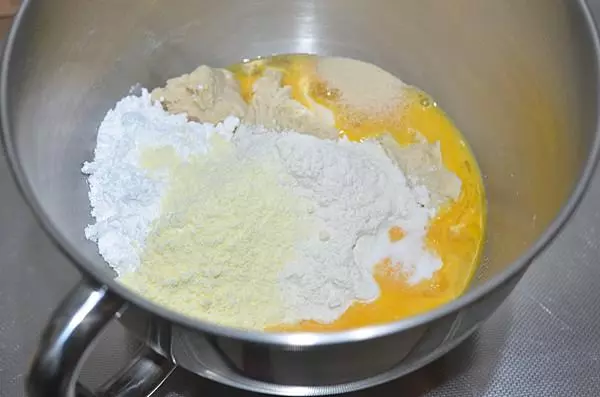
中種材料:高筋麵粉180g,細砂糖6g,即發乾酵母4g,水107g。: , 主面材料:高筋麵粉135g,細砂糖61g,奶粉18g,鹽5g,全蛋72g,無鹽黃油36g。: , 椰蓉餡料:無鹽黃油50g,全蛋66g,椰蓉76g,糖粉40。: , 表面材料:稀蛋液(雞蛋與水1:1),黑芝麻少許:
步驟
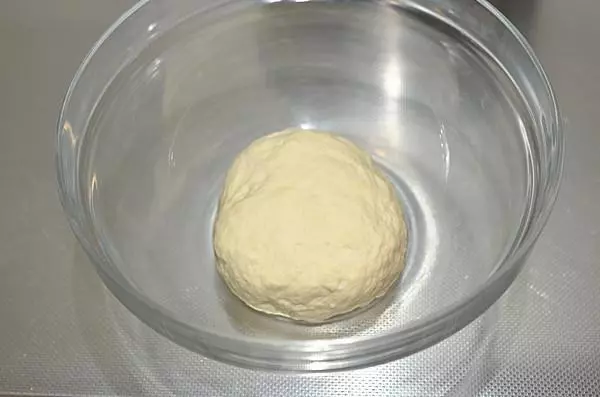
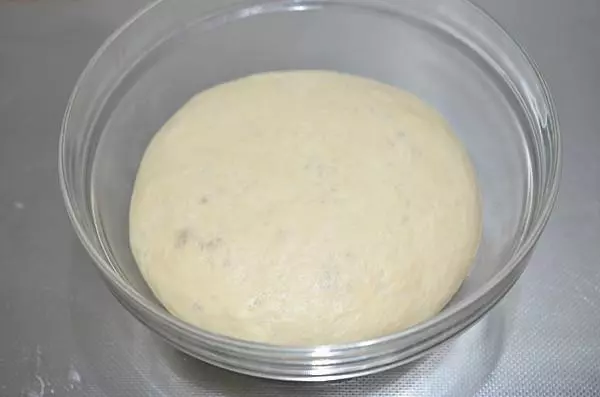
1中種材料混合後揉成團,蓋保鮮膜放溫暖處發酵。
2發酵至原體積的3倍大即可。
3將發好的中種撕成小塊與主麵糰中除黃油外的其它材料一起放廚師機的攪拌桶中。
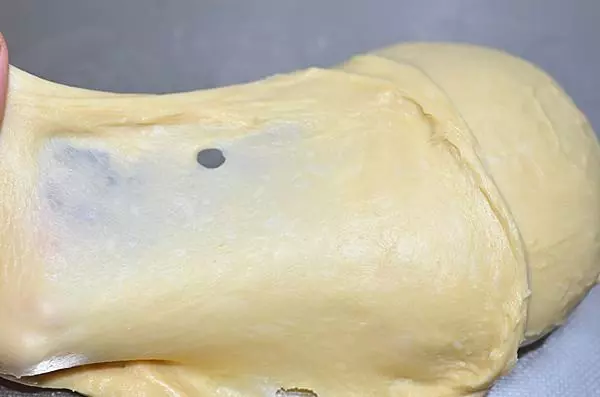
4後油法揉至能拉出大片薄膜的狀態。
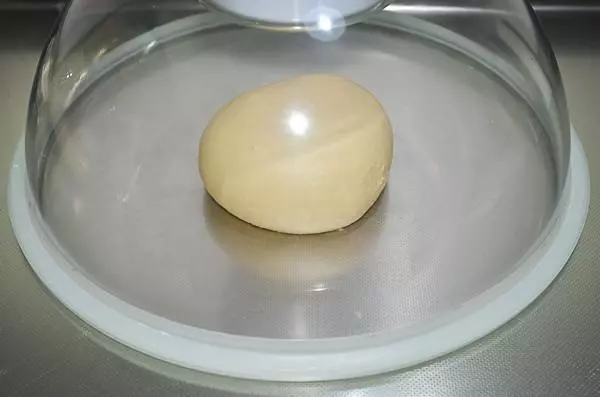
5滾圓後密封在室溫下醒發30分鐘。
6麵糰醒發的時間製作椰蓉餡,軟化好的黃油放入糖粉攪拌均勻。
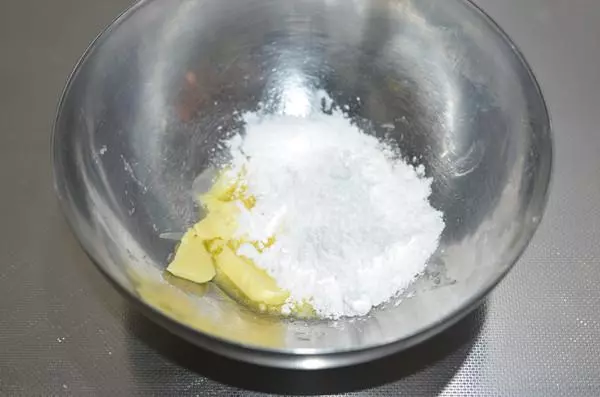
7分次加入全蛋液,每次都攪拌均勻再加下一次,直至全部加完。 5分鐘左右即可。

8加入椰蓉。
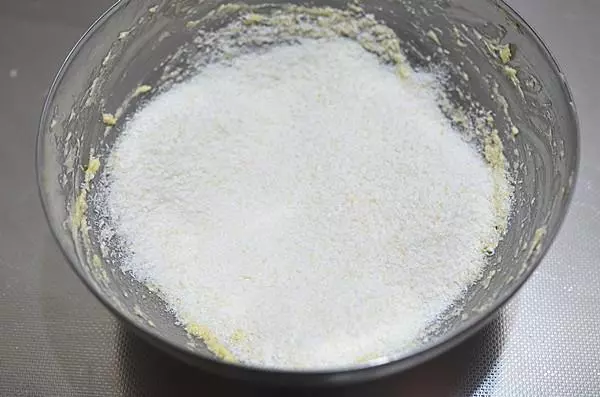
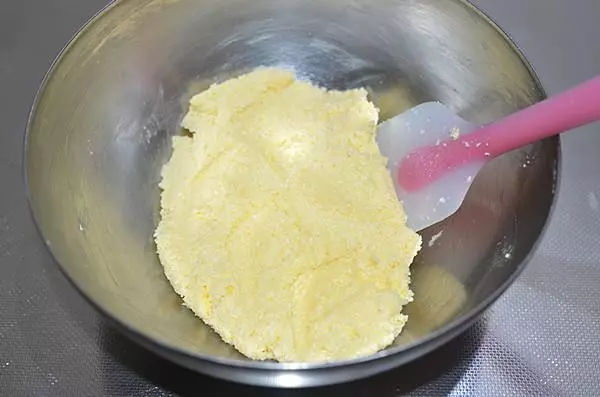
9翻拌均勻後放冰箱冷藏備用。 烤1
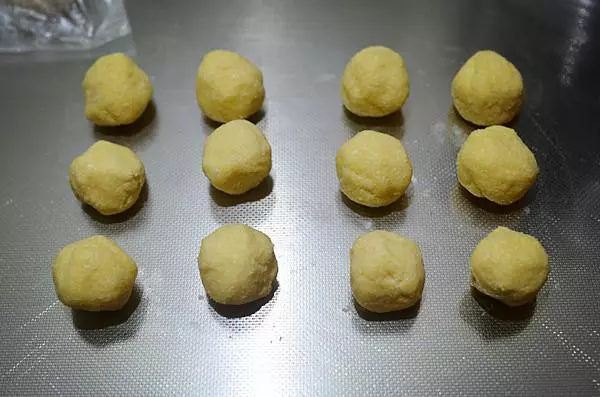
10發好的麵糰平均分成12份,蓋保鮮膜松馳15分鐘。
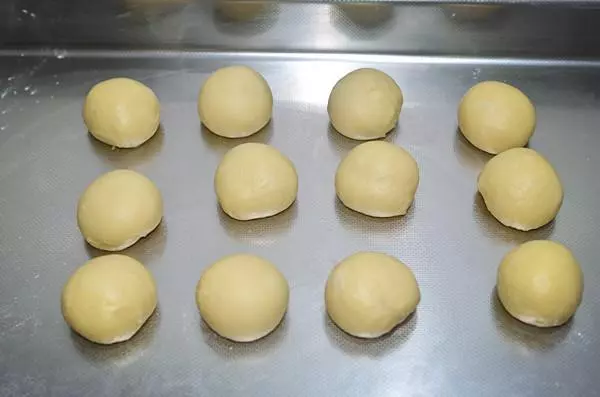
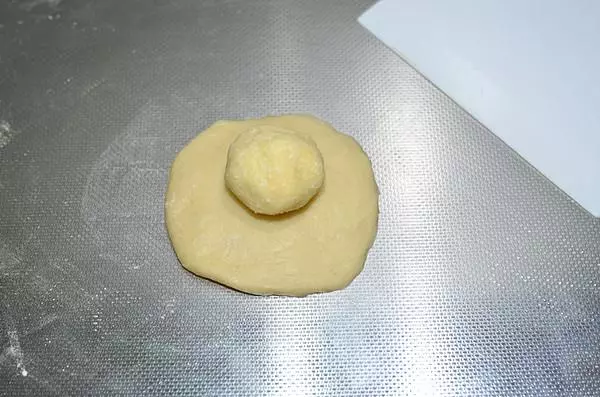
11椰蓉餡也平均分成12份。 ,
12取一個麵糰擀開後翻麵包入椰蓉餡,收口捏緊放在下面。
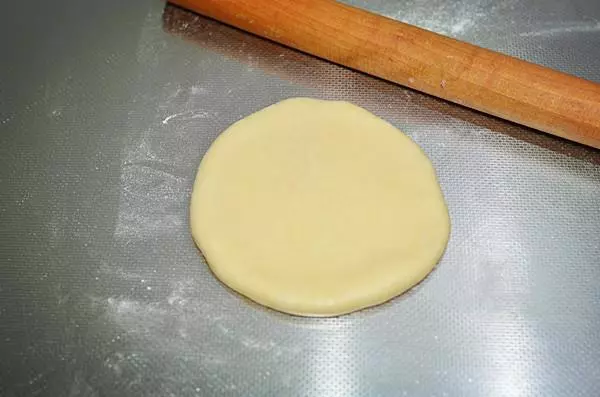
13稍微壓扁後擀開成圓片。
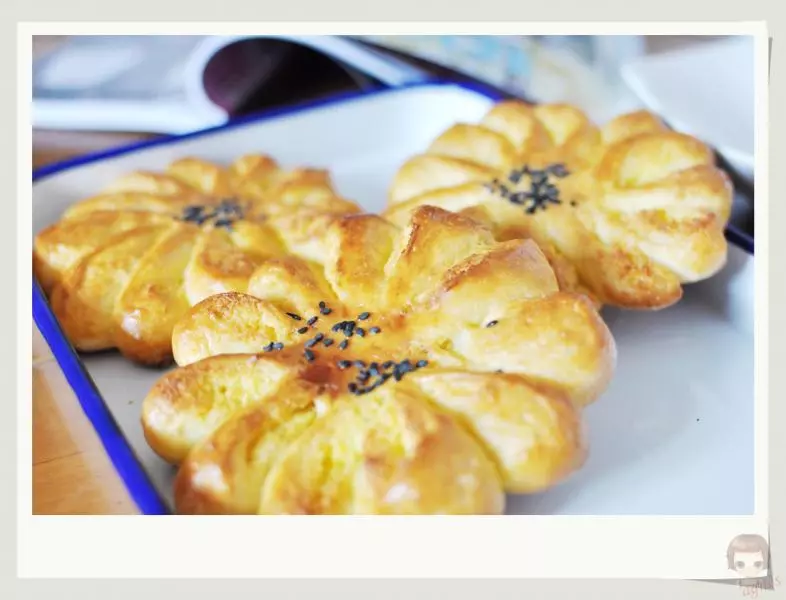
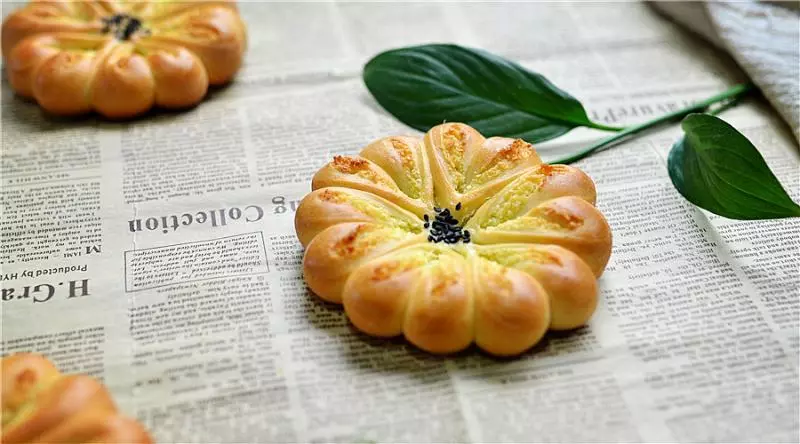
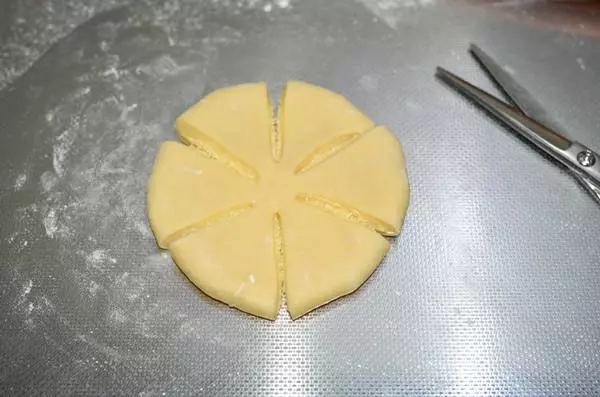
14用剪刀剪成六等份,中間不要剪斷。
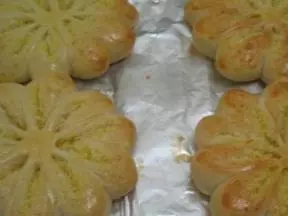
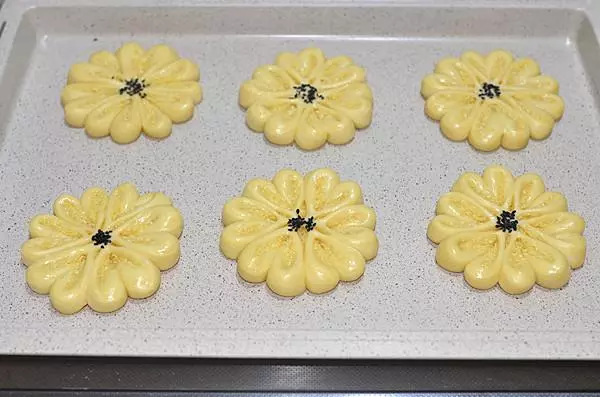
15移入烤盤中,每片的中間再剪一刀。
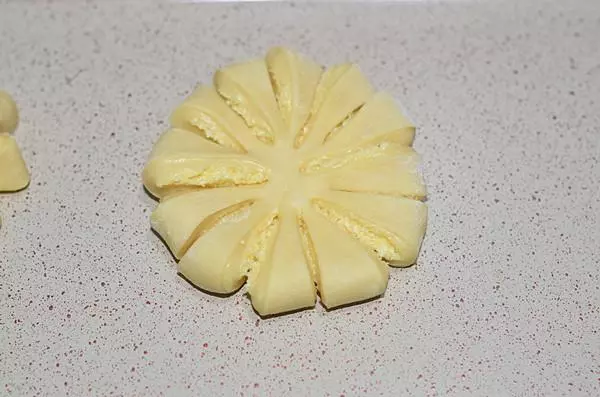
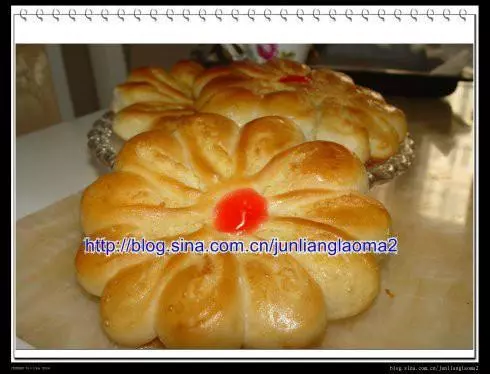
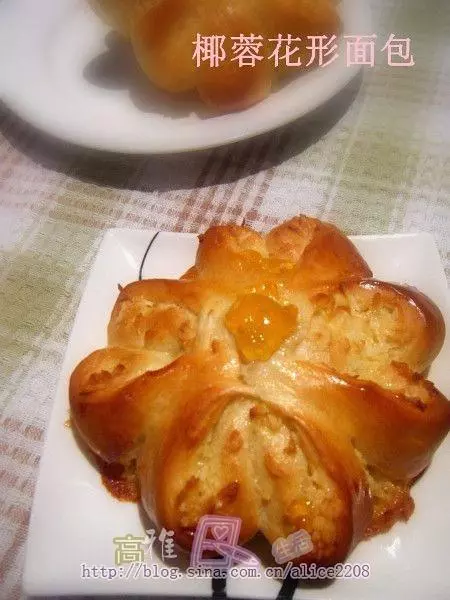
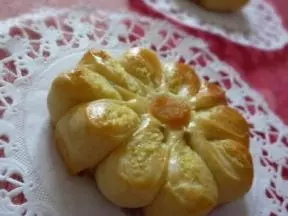
16每兩個為一組,左邊的向左上扭轉,右邊的向右上扭轉,切口朝上露出椰蓉餡。
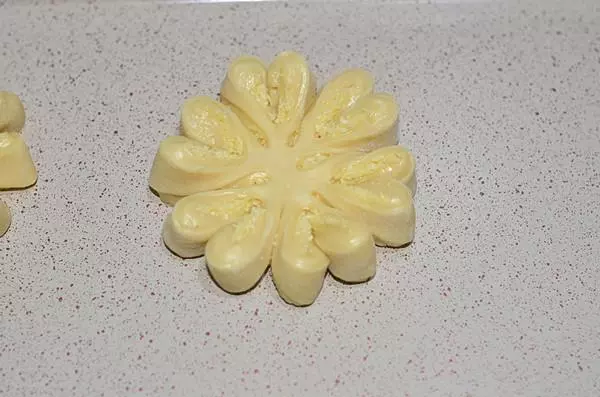
17用手輕輕按壓整形,依次做完全部。
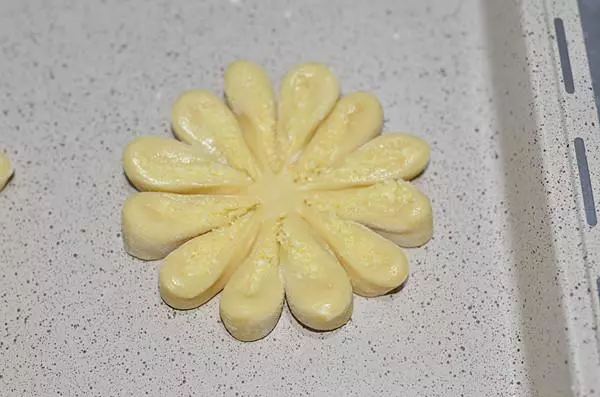
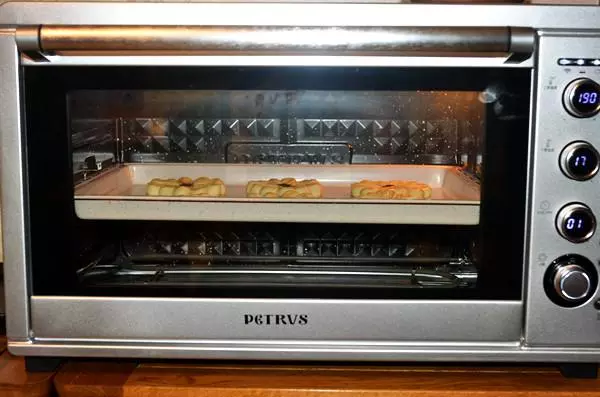
18烤箱中放一杯熱水開啟發酵功能,將做好的麵包胚放烤箱中發酵。
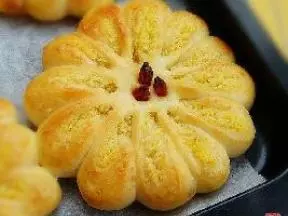
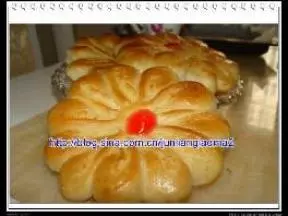
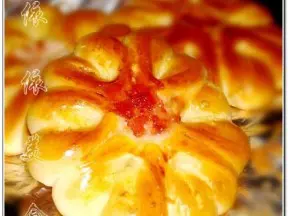
19發至1.5倍大時取出表面刷一層稀蛋液,中間撒一點黑芝麻。
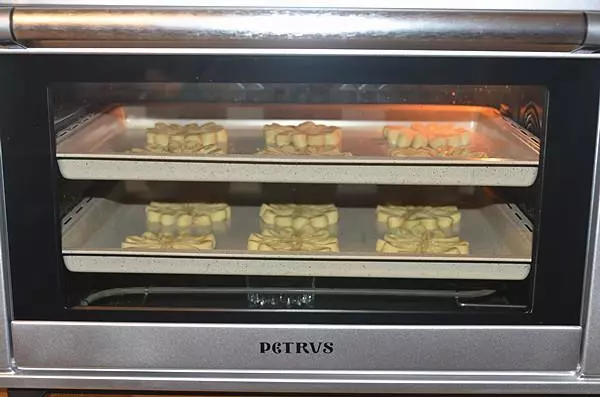
20放入預熱好上火190度下火170的烤箱中層
小技巧
- 麵粉的吸水率不同,方子裡的液體量請依實際情況調整。 2. 烘烤上色後即加蓋錫紙直至烘烤結束。 3. 每台烤箱都會有溫差,烘烤溫度及時間以自家烤箱為準。