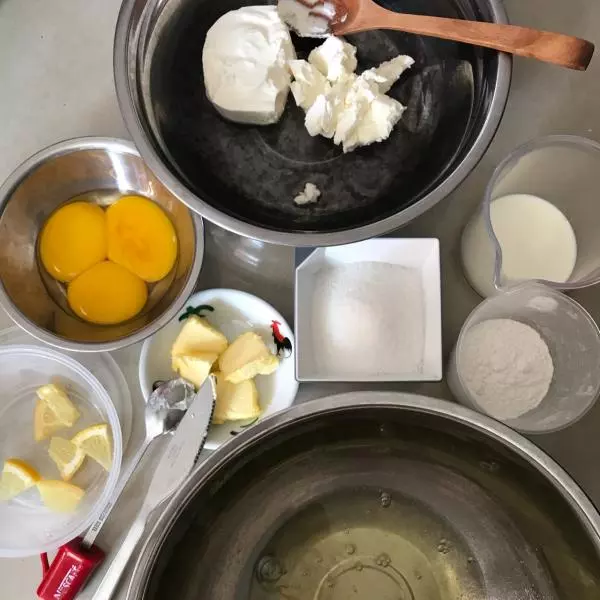
原料
奶油奶酪: 150克, 牛奶: 40克, 黃油: 30克, 蛋黃: 3個, 低筋麵粉: 15克, 玉米澱粉: 10克, 蛋白: 3個, 檸檬汁: 2-3滴, 細砂糖: 35克
步驟
1先準備好以上的材料
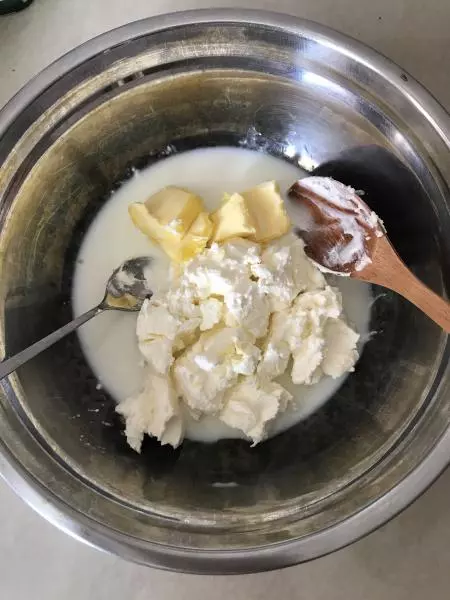
2奶油奶酪和牛奶放入盆中,隔熱水用打蛋器攪拌至細膩無顆粒狀態,然後加入奶油攪拌至完全融化
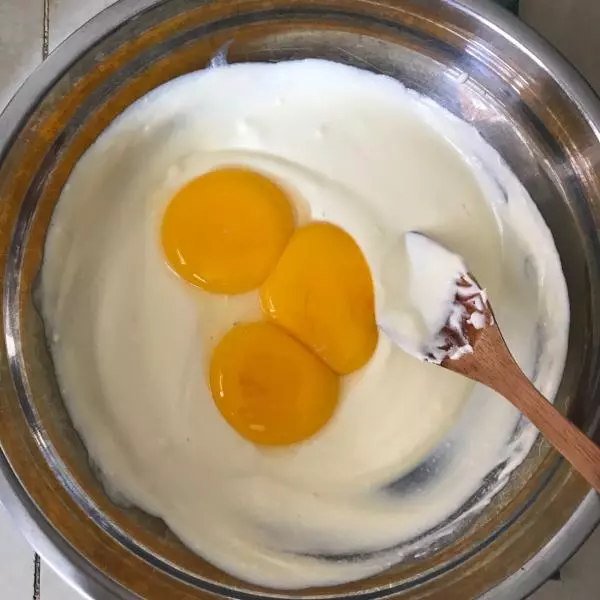
3離火後加入蛋黃,迅速攪拌均勻
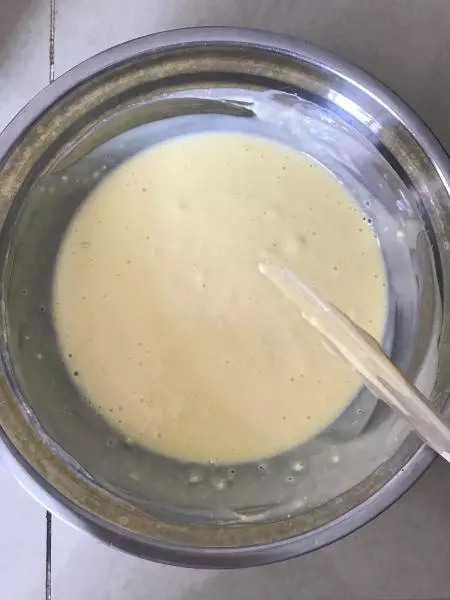
4篩入低筋麵粉和玉米澱粉
5用刮刀翻拌均勻,切記不可轉圈攪拌,免得麵糊起筋,翻拌好的奶酪糊蓋上保鮮膜冷藏備用
6蛋白分3次加入砂糖,出現粗泡狀態時就先加入1/3砂糖
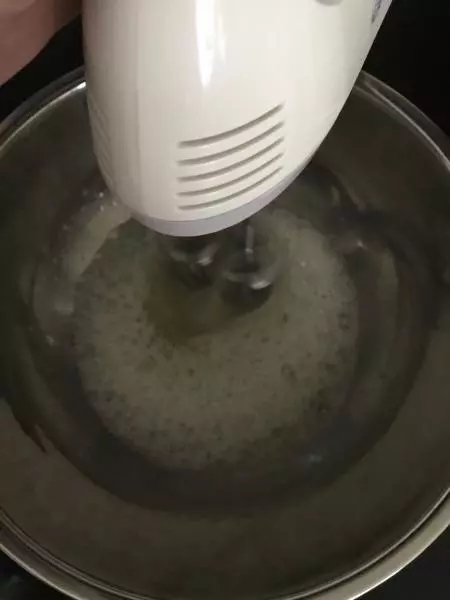
7打至泡沫細膩狀態後,再加入1/3的砂糖,出現紋路時就倒入剩下的砂糖
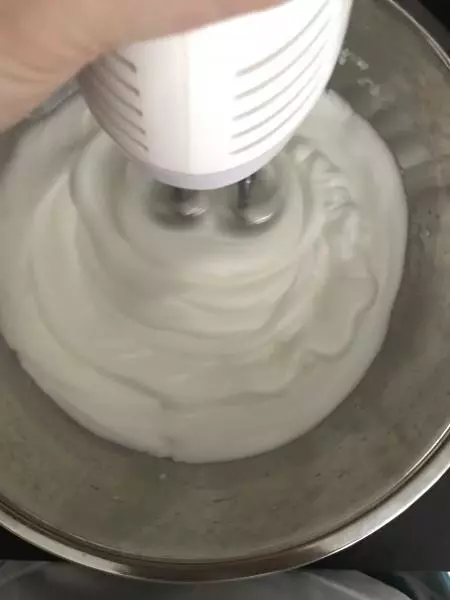
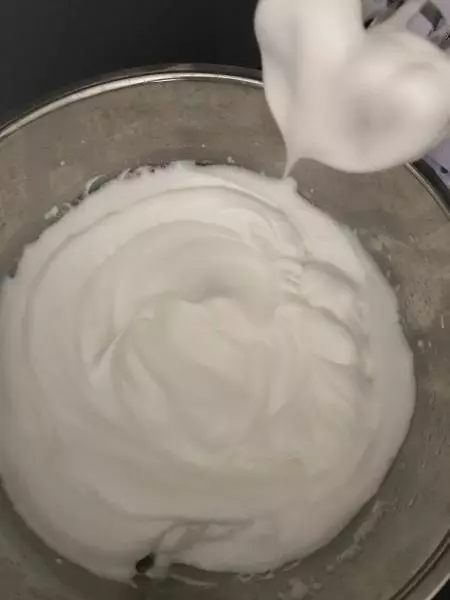
8全程用中低速打至出現打彎鉤,也就是濕性發泡即可
9烤箱預熱160度 先取1/3蛋白加入奶酪糊中,切拌混合均勻
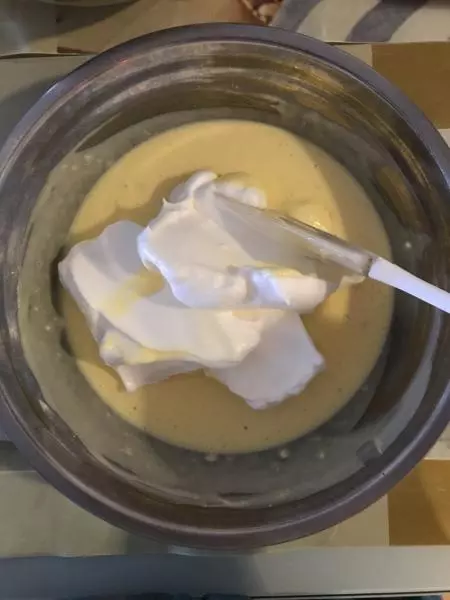
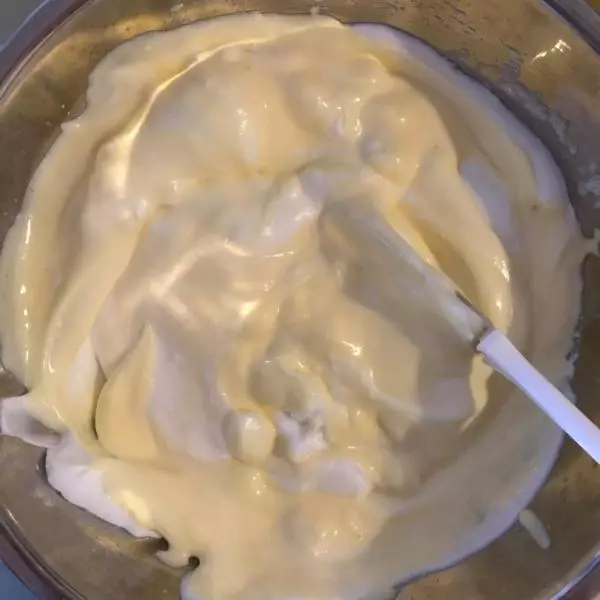
10然後再取1/3切拌均勻,最後把混合好的奶酪倒入蛋白盆中,切拌均勻倒入模具中
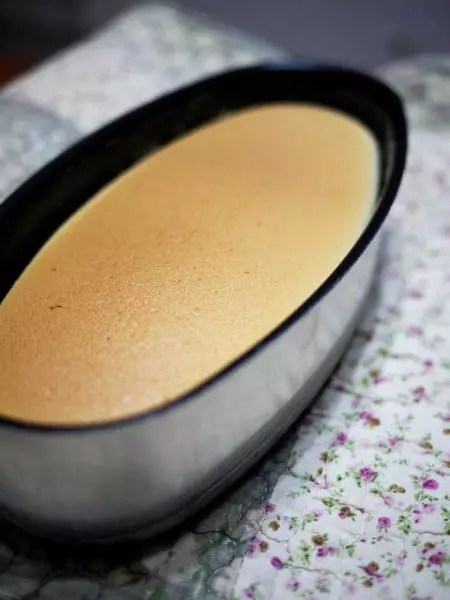
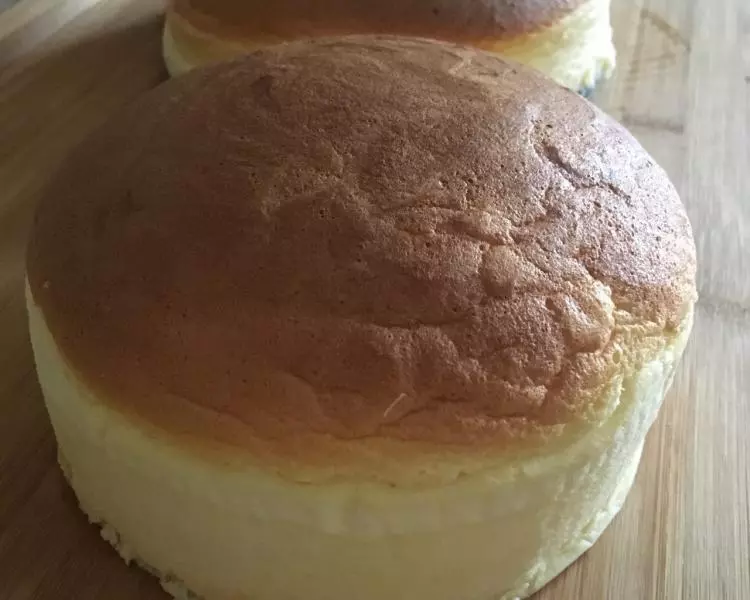
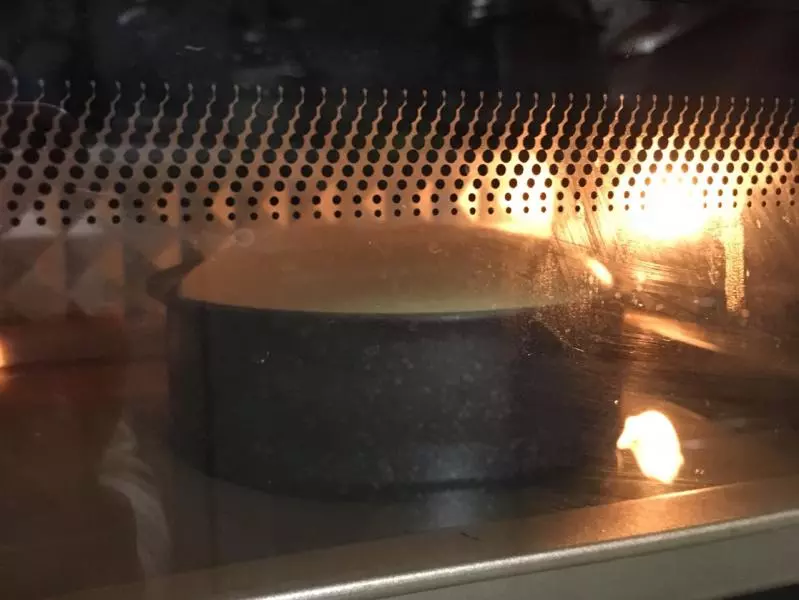
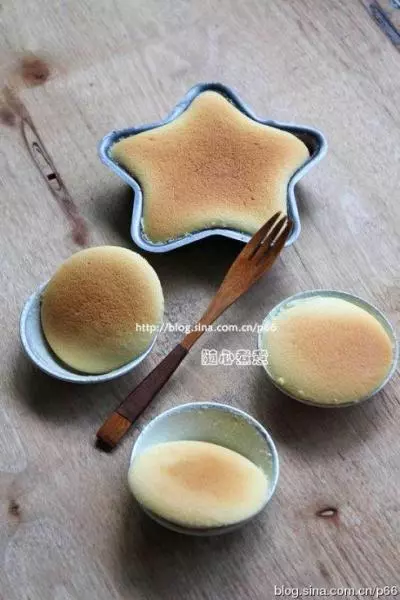
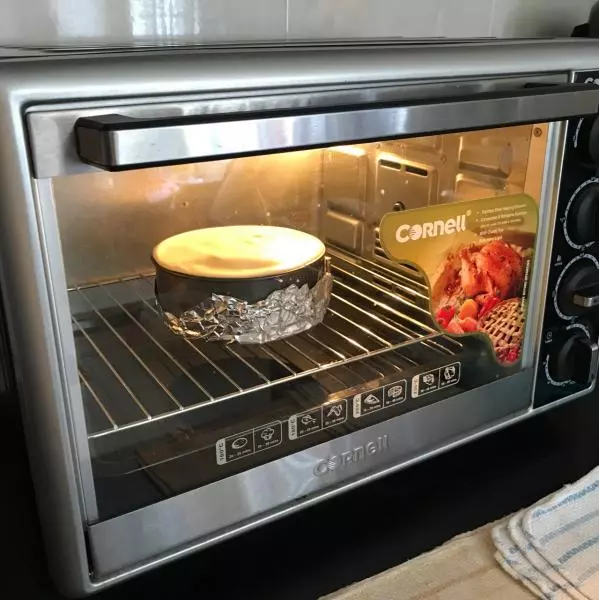
11烤盤中注入高約3cm的水,然後把蛋糕模具置於烤網上,既不直接接觸水,烤盤烤網在同一層,水浴法,中下層,160度15分鐘,150度50分鐘(活底模具請包好錫紙防止進水)
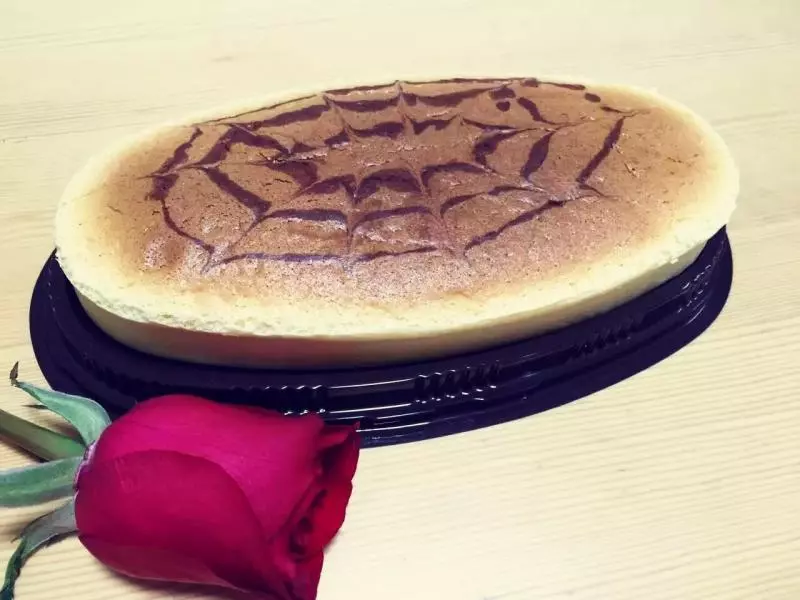
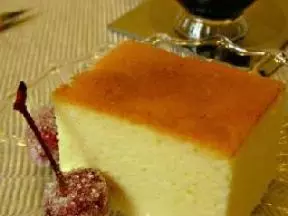
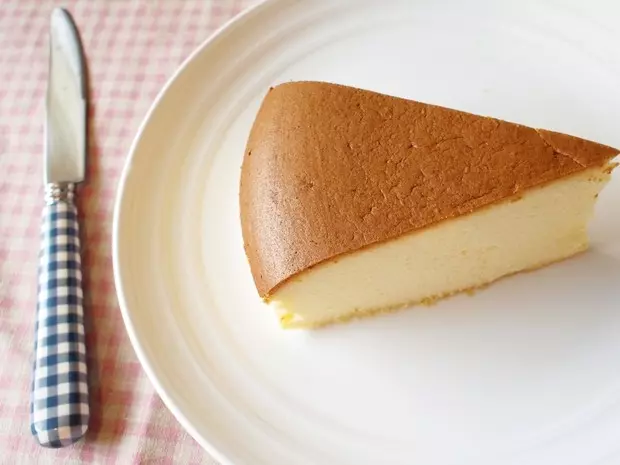
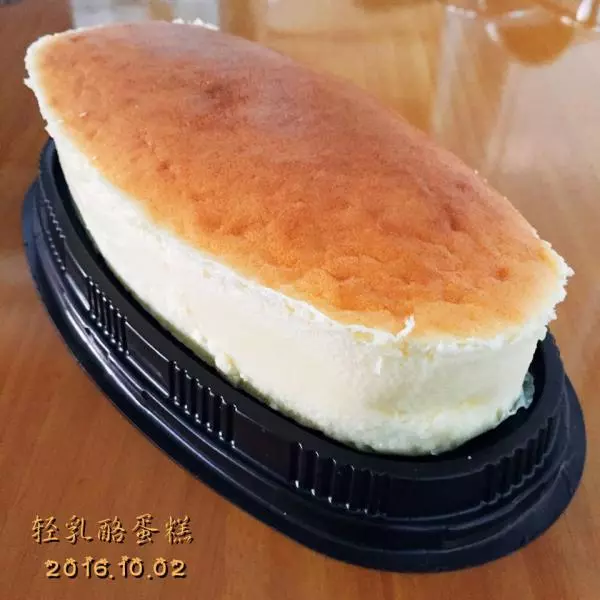
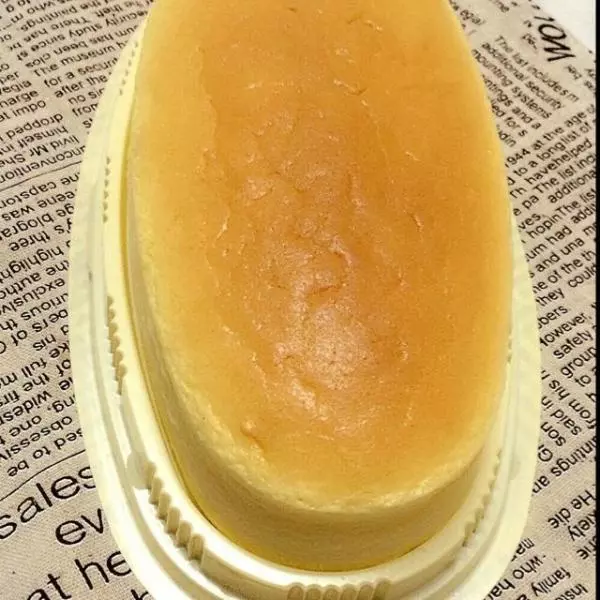
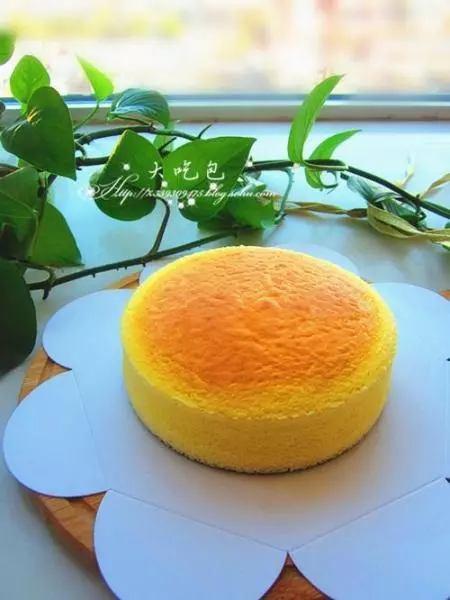
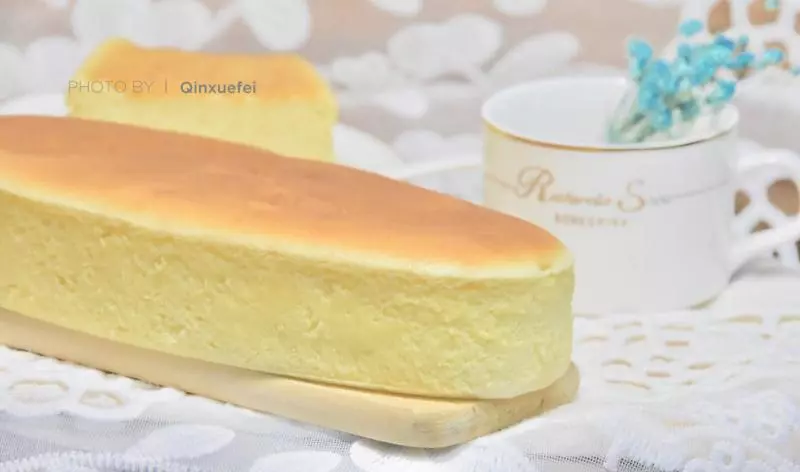
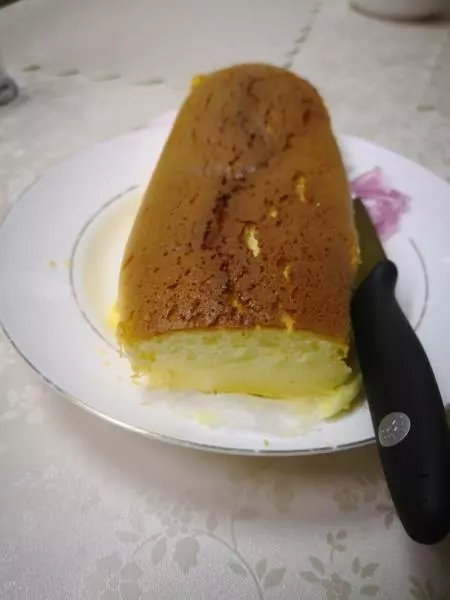
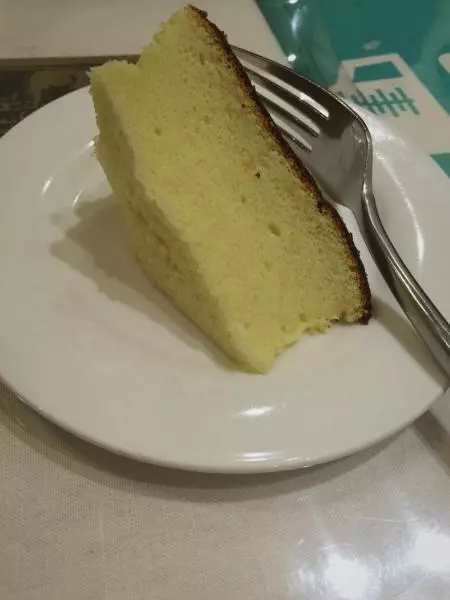
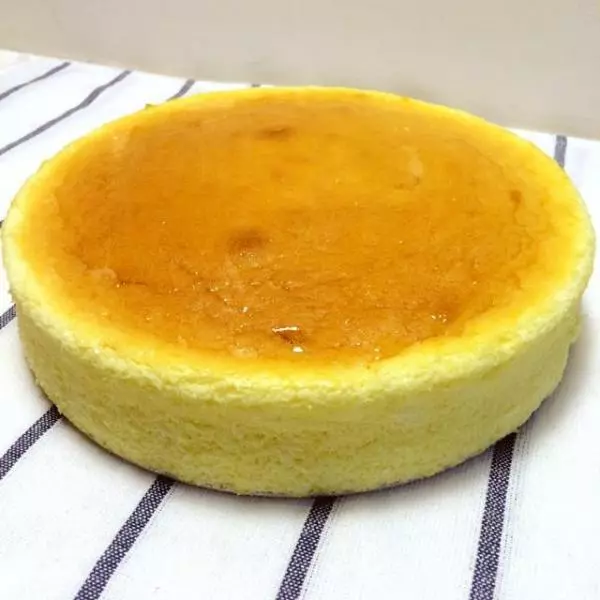
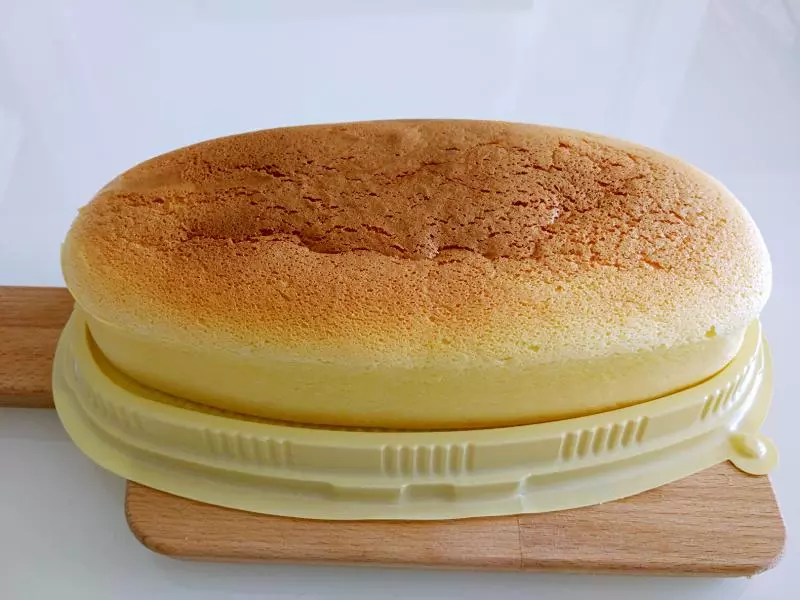
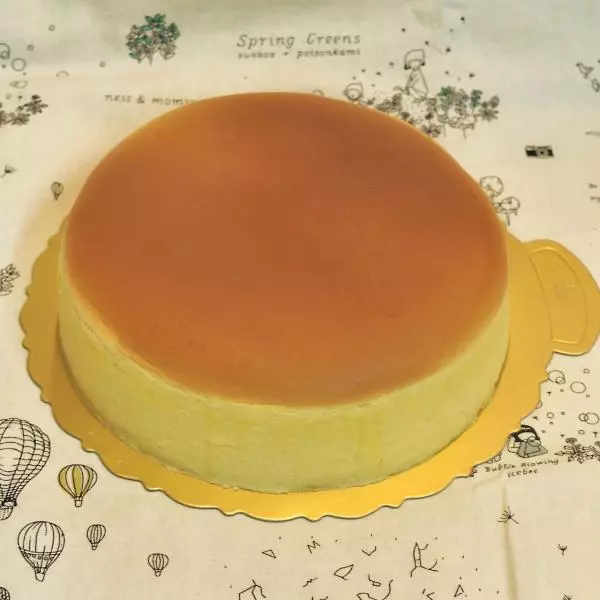
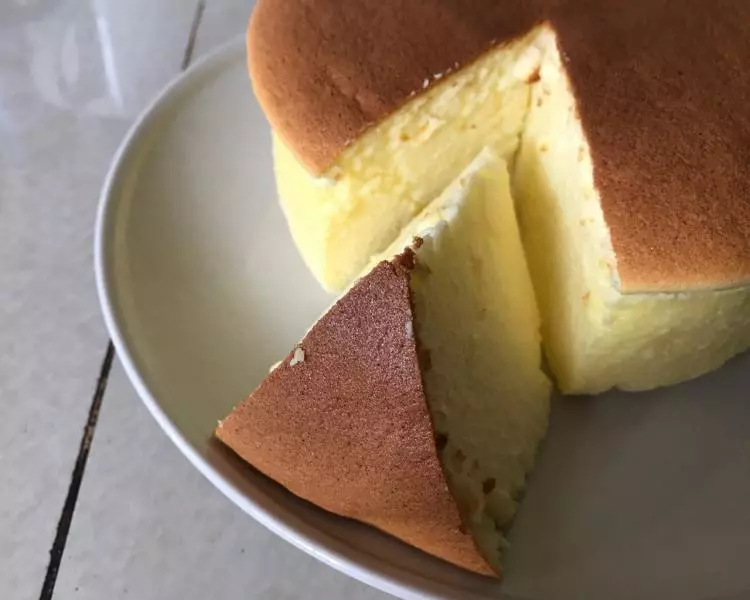
12烤好之後放在烤箱燜30分鐘,方取出脫模,無需倒扣,冷卻後放入冰箱,建議冷藏,口感更佳