原料
配方在簡介: 耐心100, : , : , :
步驟
11、將butter milk的材料混合靜置,如圖。
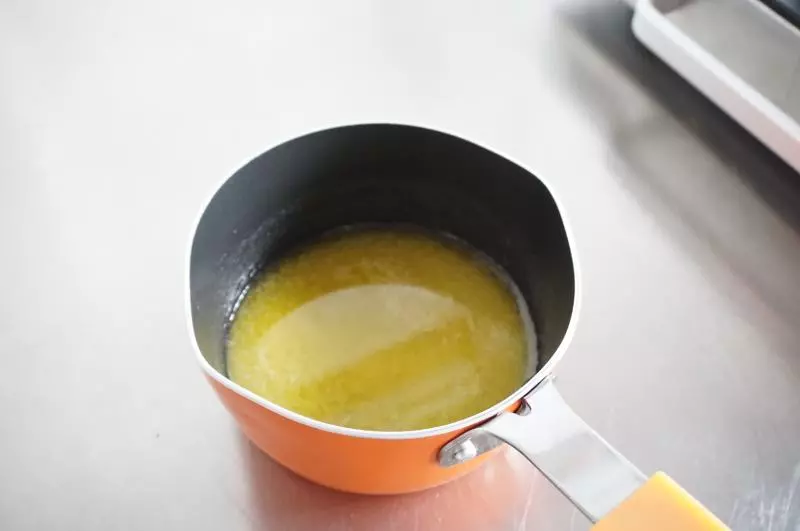
22、製作澄清黃油:先小火將黃油融化,不要沸騰。如果部分黃油未融化,其他已經融化的黃油就會提前沸騰,所以需要全部融化才能進行下一步。
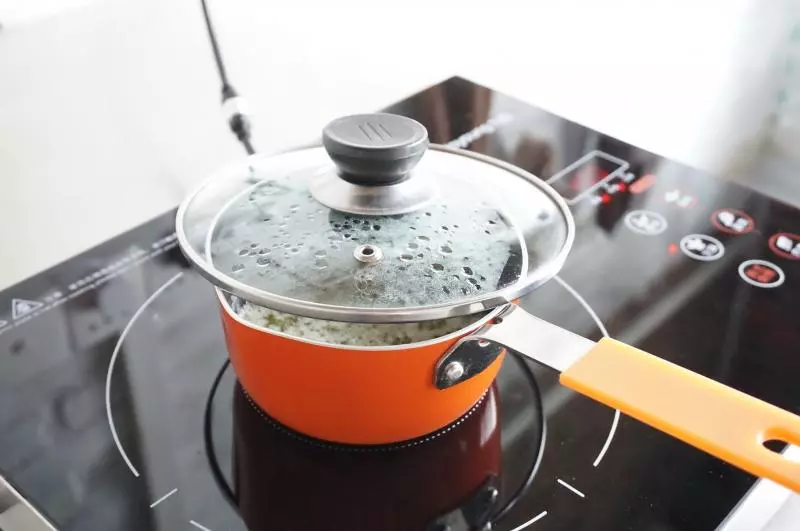
33、同樣是小火,用一個小蓋子蓋著奶鍋,但要留一條縫隙以便水蒸汽排出,不會回流到鍋里。因為黃油加熱過程中會沸騰,油會飛濺,所以需要加一個蓋子防止黃油飛濺。
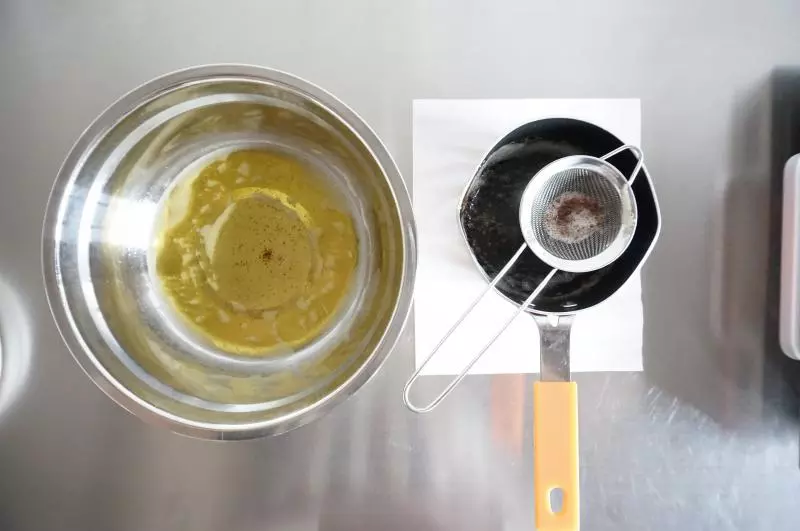
44、一直加熱到黃油變澄清,底部沉澱物變褐色,然後過濾,如圖,左邊的澄清的黃油,右邊是沉澱物。
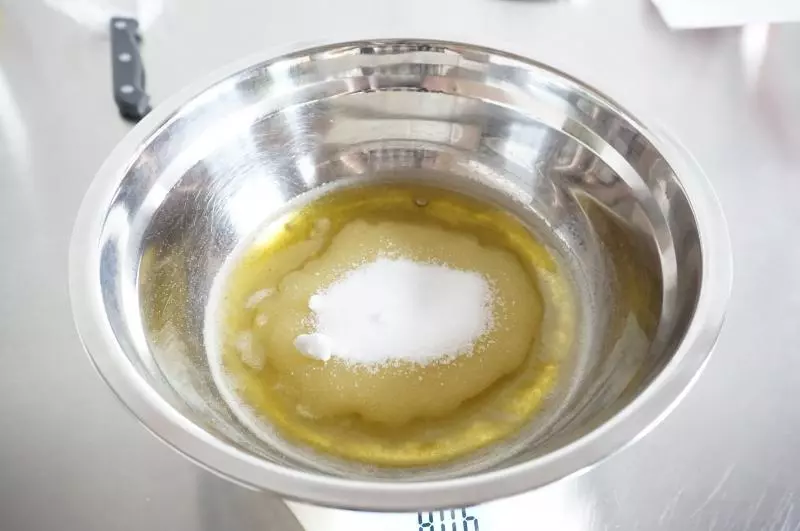
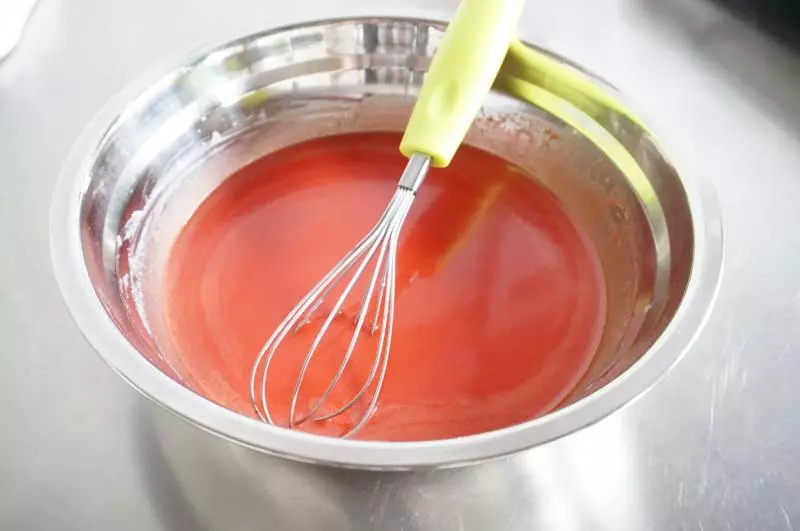
55、加入細砂糖,充分混合均勻,砂糖不必充分溶解。
66、加入雞蛋,攪拌均勻。

77、加入butter milk、色素,攪拌均勻。
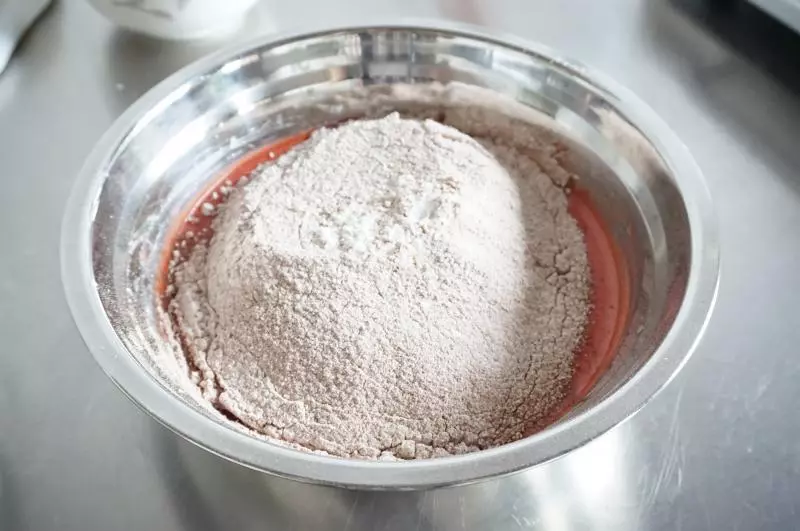
88、將低筋麵粉、可可粉、鹽、小蘇打混合,並過篩到7中攪拌均勻,即成紅絲絨麵糊。
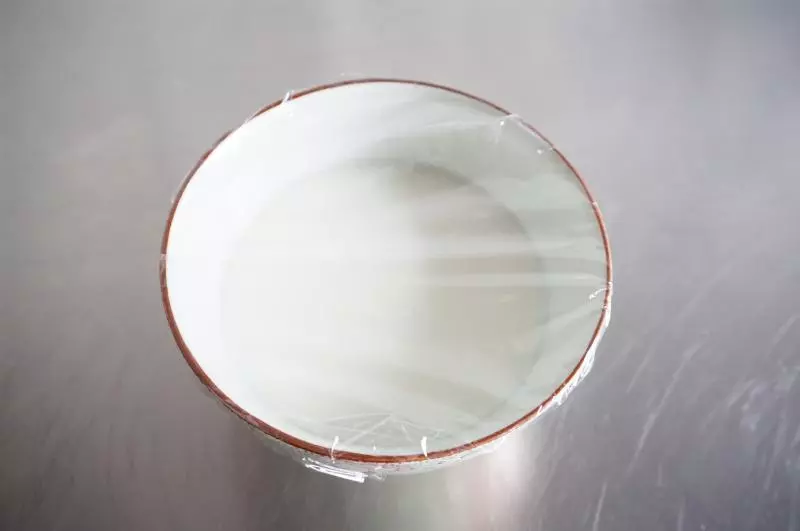
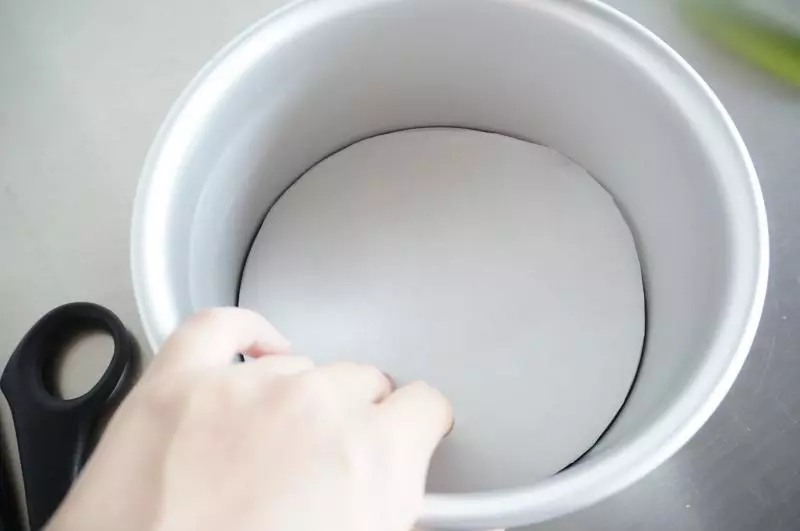
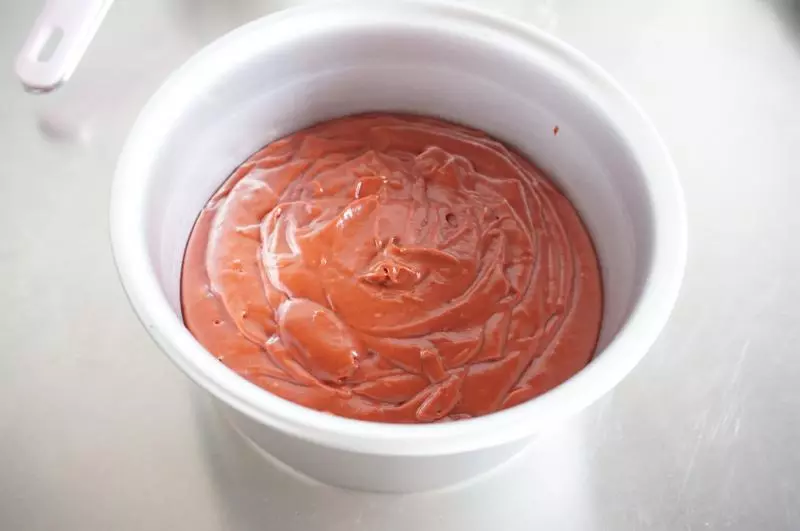
99、裁剪和模具底部一樣大的油紙,置於底部,倒入混合好的麵糊。
1010、烤箱上下火180度,中層,烘烤30~35分鐘,或直到用牙籤插入拔出無沾濕麵糊。
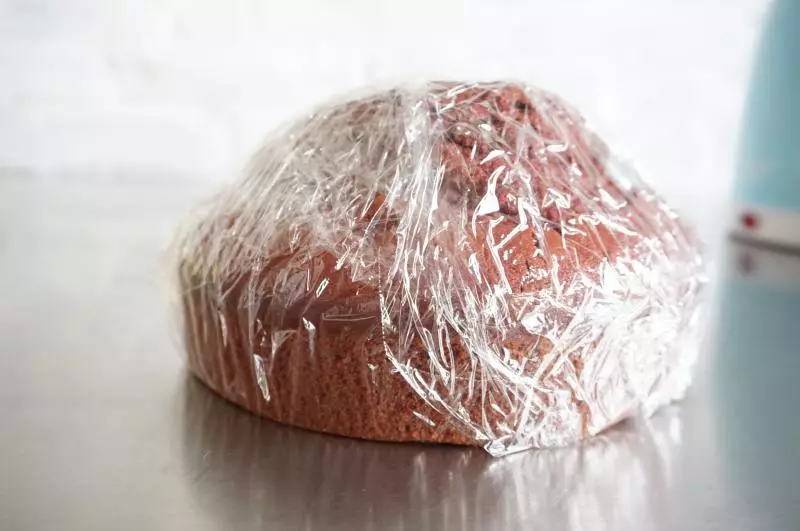
1111、蛋糕冷卻到微熱狀態,然後脫模,用保鮮膜包裹後冷藏到完全冷卻。
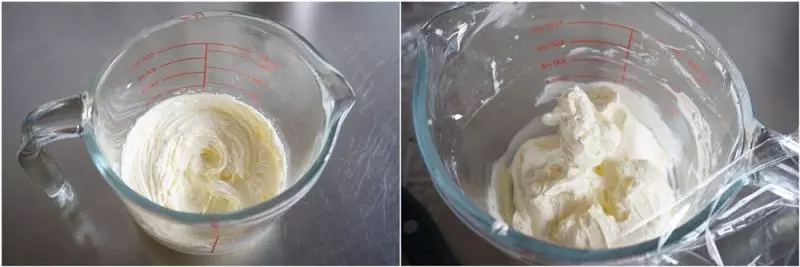
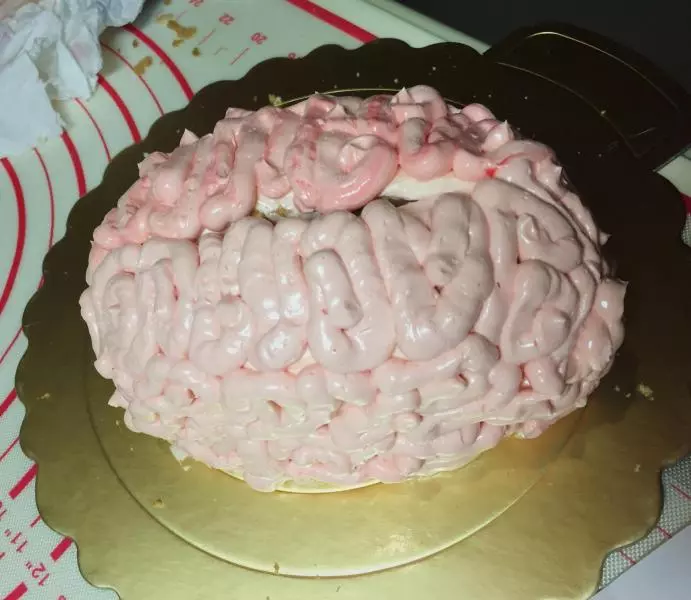
1212、製作奶油霜,黃油需要軟化到室溫,然後打散,加入糖粉打發至泛白。最後分3次加入淡奶油打發,充分混合。如圖,左邊是泛白的黃油,右邊是打發好的奶油霜。 奶油霜加適量色素調色即可。 ※天氣冷如何軟化黃油:微波爐每5s加熱一次,直到合適狀態。
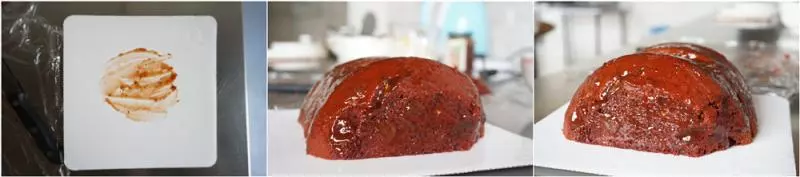
1313、蛋糕頂部切平整,如圖切開蛋糕,然後放置。
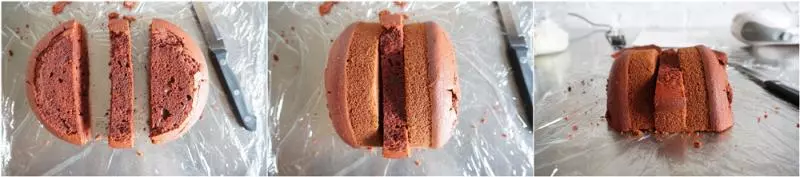
1414、如圖,把突出的兩端削成有弧度的形狀,選一邊的兩側削兩個小弧度,如圖二。
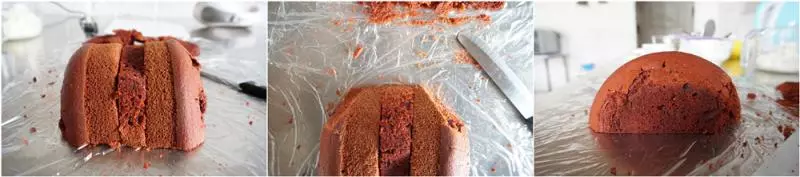
1515、如圖,在蛋糕托塗少許草莓醬防止蛋糕移動。然後在蛋糕夾層粘合處塗上草莓醬,最後再塗蛋糕表面。
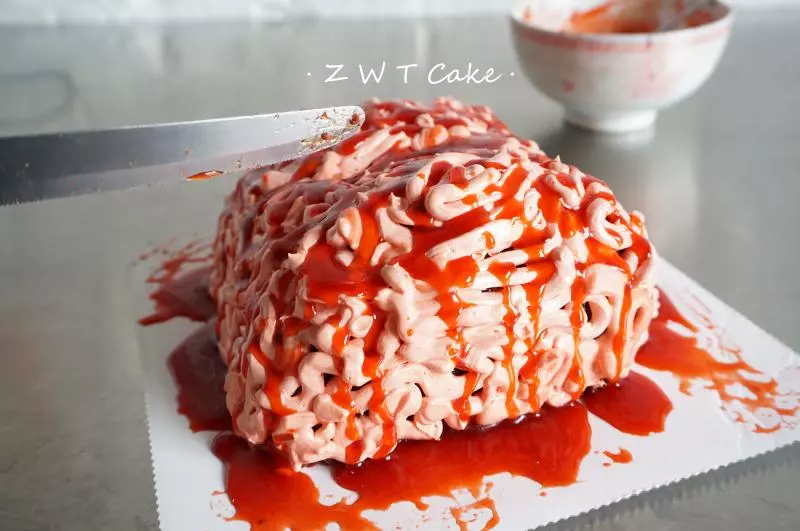
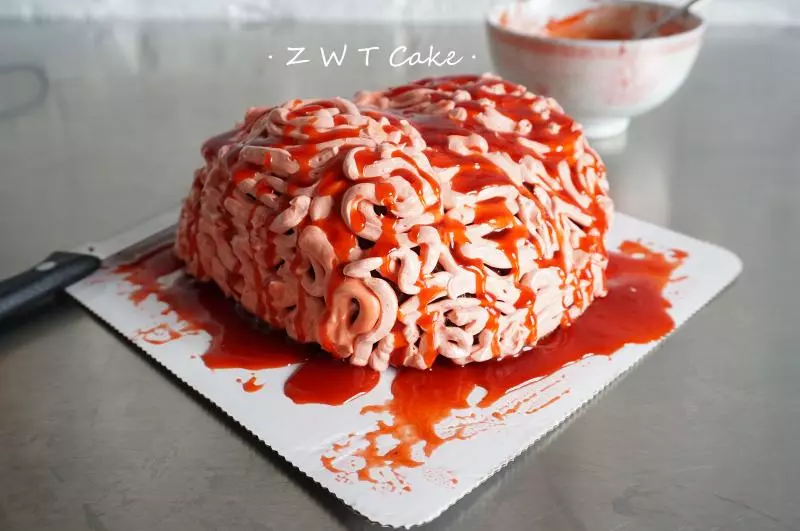
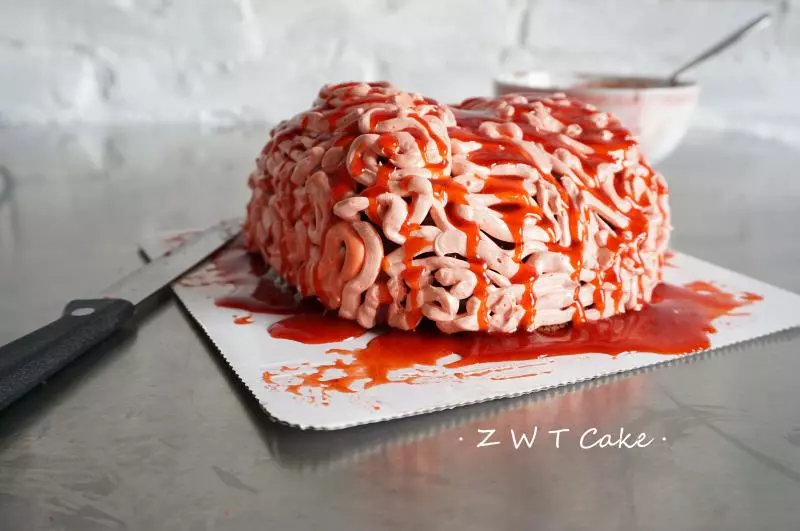
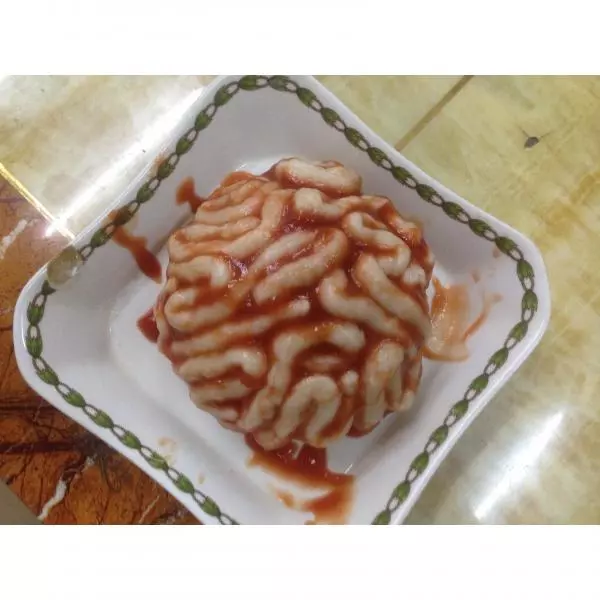
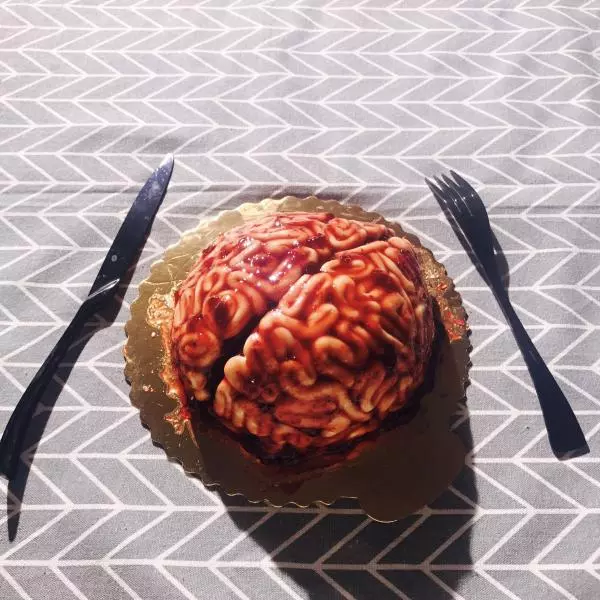
1616、紅色血製作:草莓醬和飲用水混合均勻,然後過濾掉草莓籽,最後再用色素調色。 最後奶油霜裝進裱花袋擠出線條,用勺子淋在蛋糕上製造血淋淋的樣子。
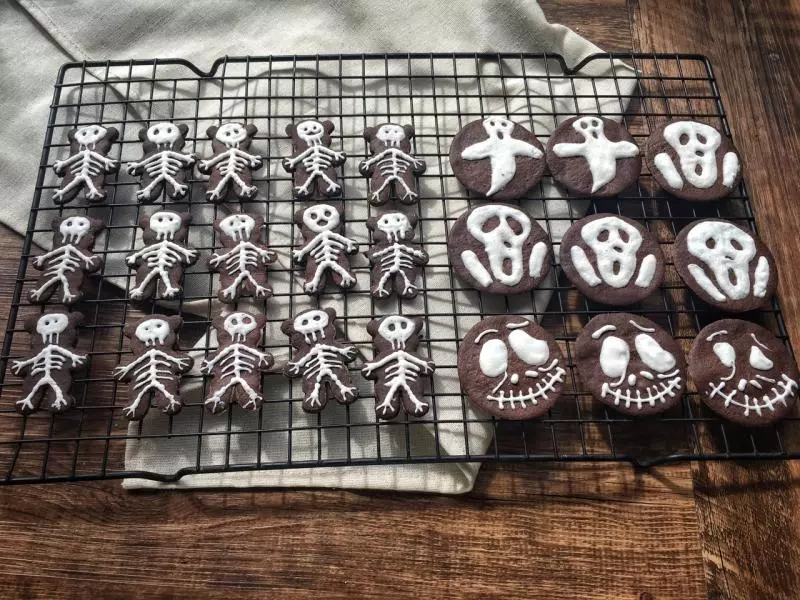
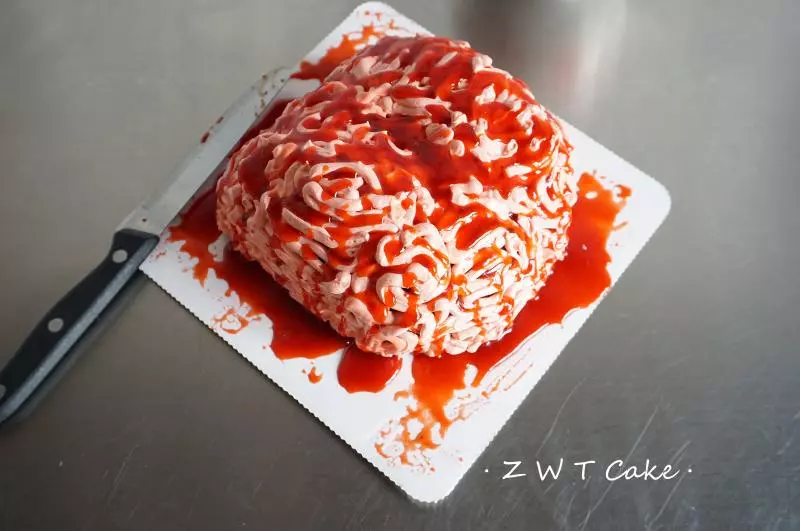
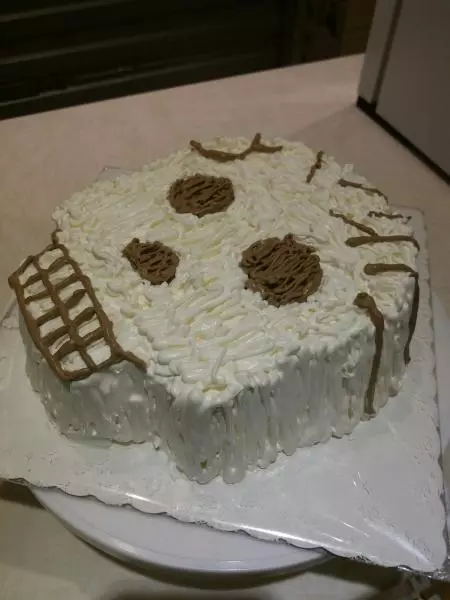
17成品
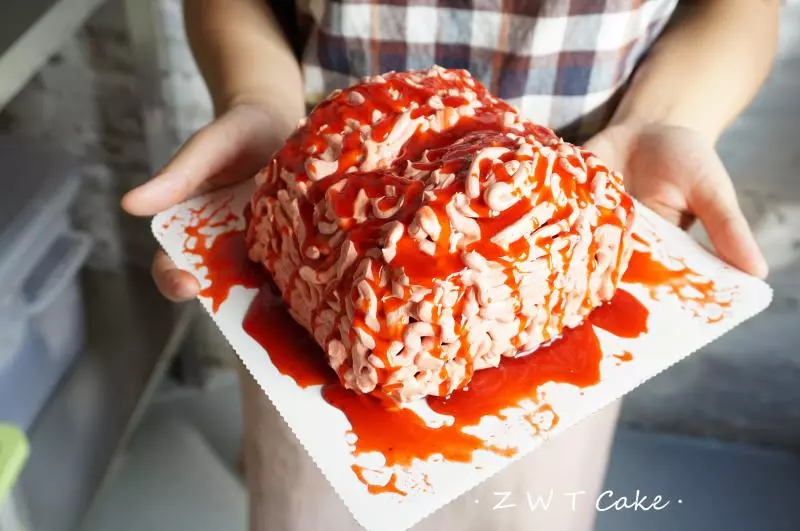
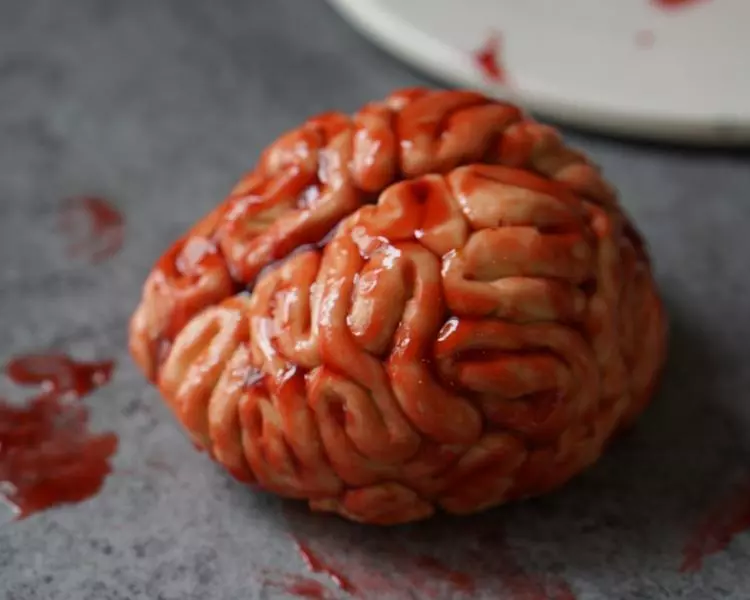
18紅絲絨蛋糕胚其實就是材料混合均勻就可以了,用澄清黃油不需要打發,而且有特殊的香氣。蛋糕看著恐怖,其實是草莓味的哦~~
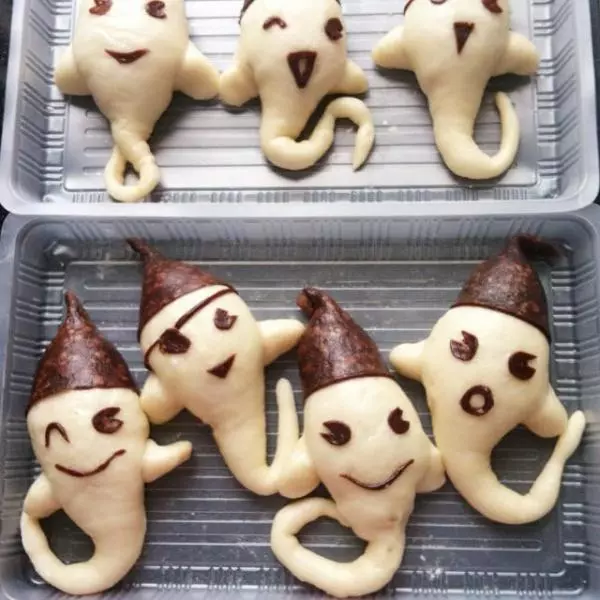
19成品
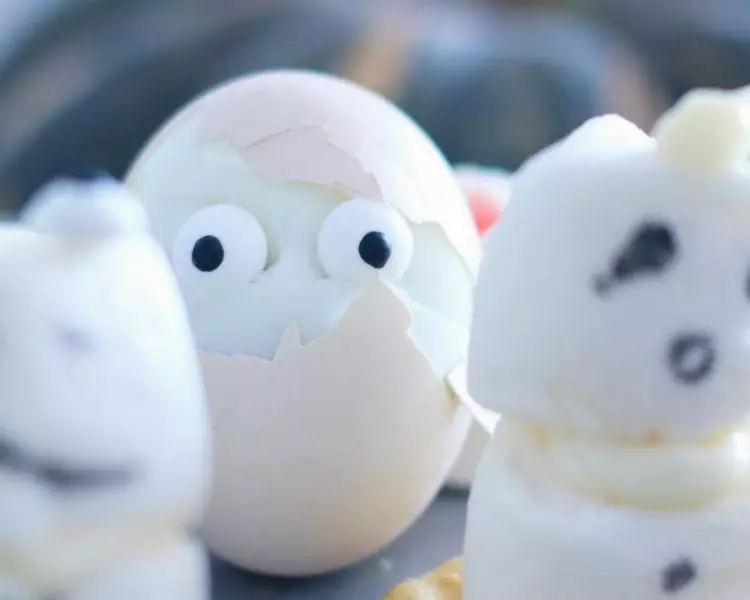
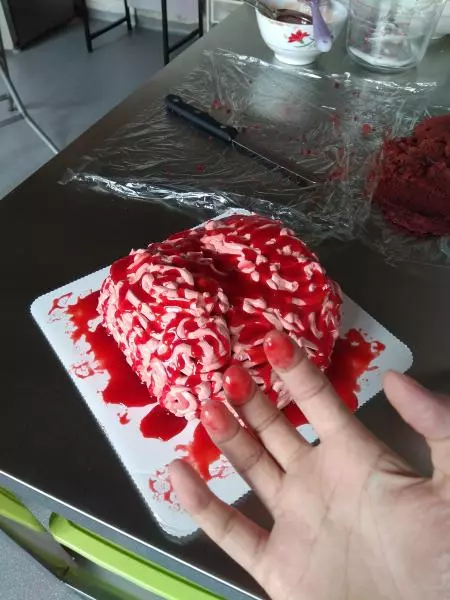
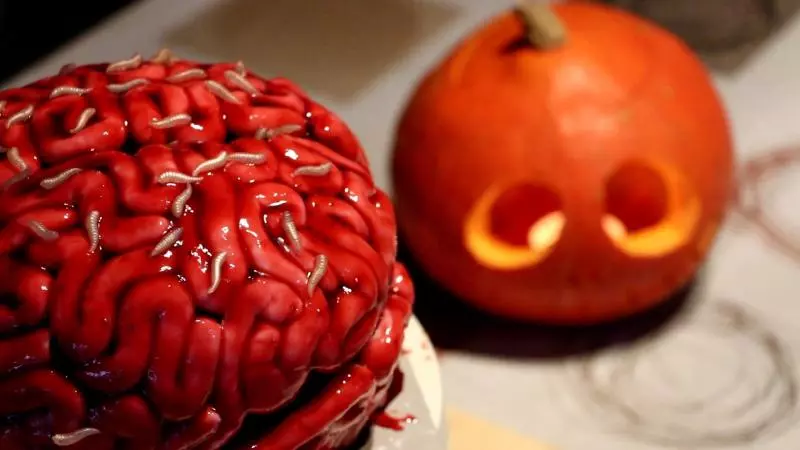
20成品
小技巧
請看簡介


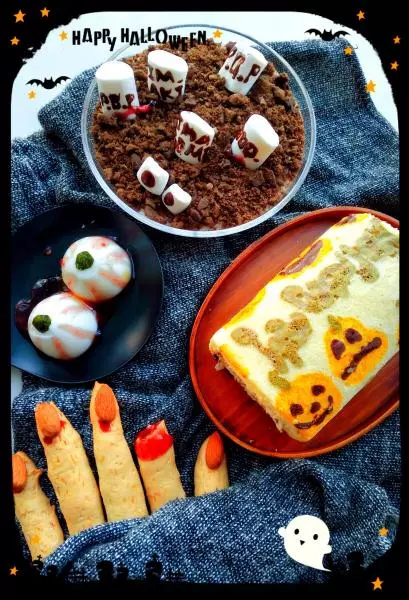
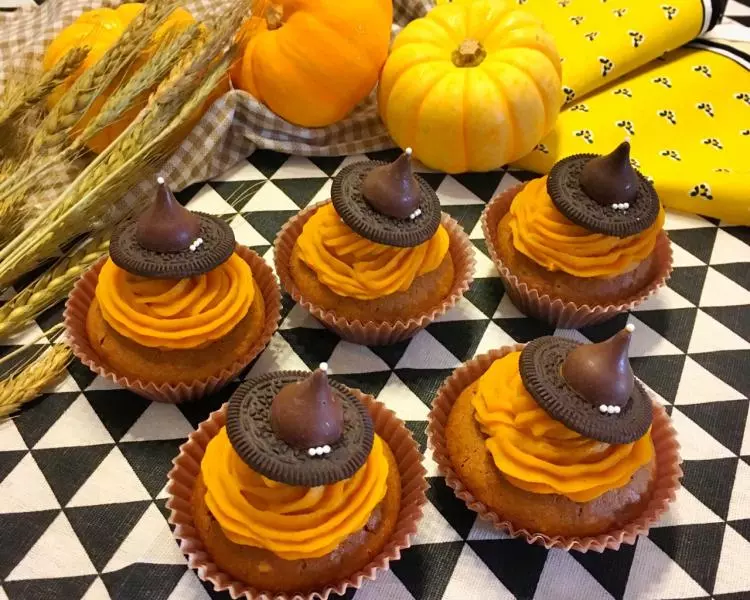
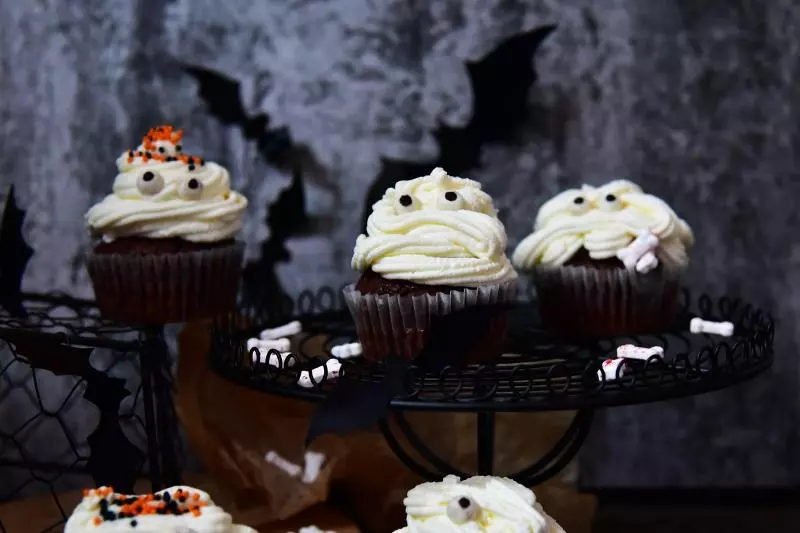
![[萬聖節]南瓜杯子蛋糕](/images/node/24/241616.webp?1638104719)