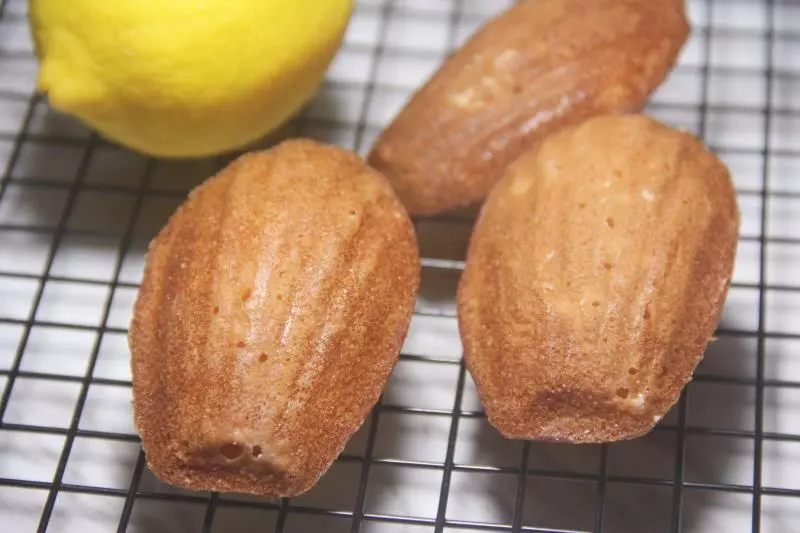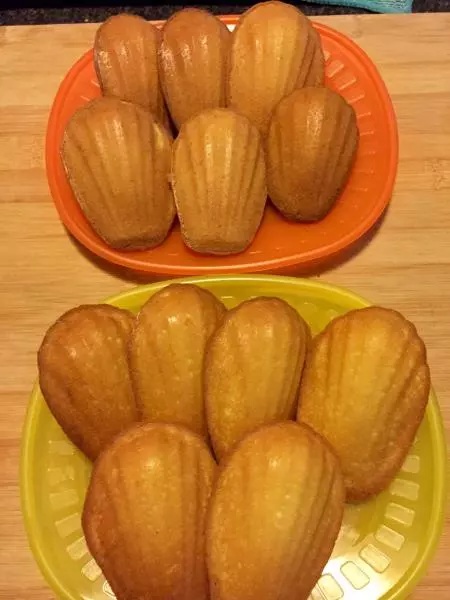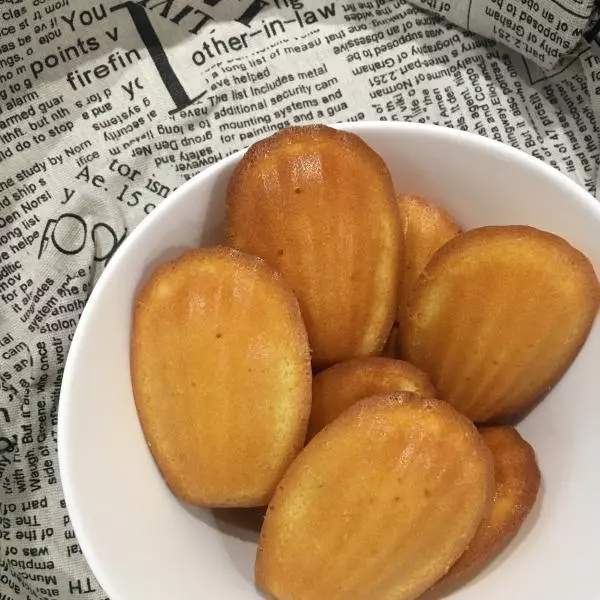
原料
雞蛋: 2個, 泡打粉: 2.5克, 黃油: 50克, 低筋麵粉: 80克, 細砂糖: 60克, 檸檬皮屑: 半個
步驟
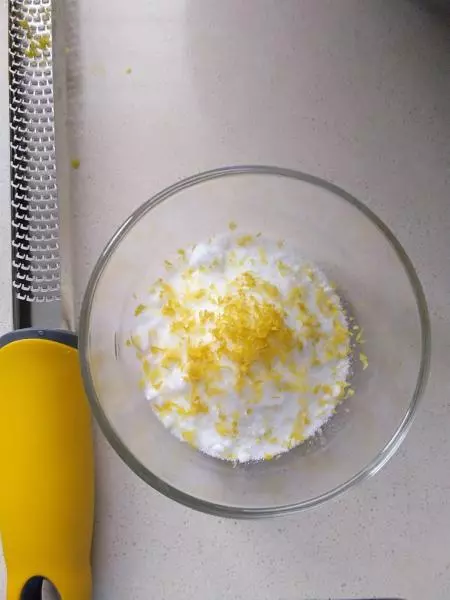
1用刨絲刀刨半個檸檬皮屑,注意不要把檸檬內皮白色部分削進去,那樣會苦。將檸檬皮屑和細砂糖混合均勻,放置一小時。
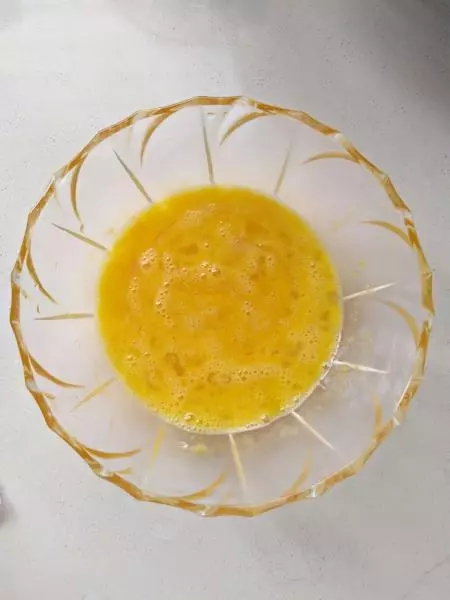
2將雞蛋打入砂糖和檸檬皮裡面,攪拌均勻即可
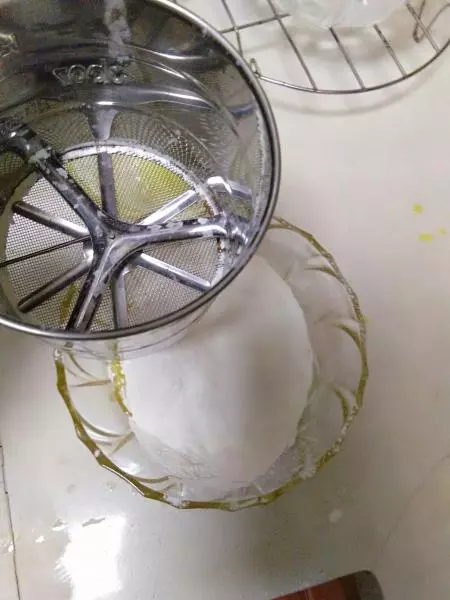
3將低筋粉和泡打粉過篩後加入上述蛋液中,攪拌均勻。
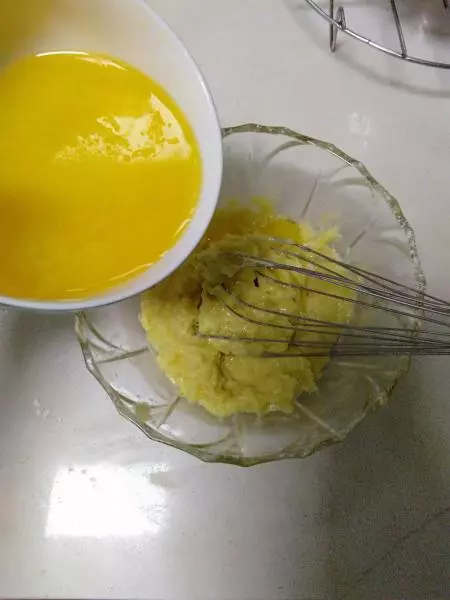
4將軟化黃油加入麵糊中,繼續用手動打蛋器攪拌。
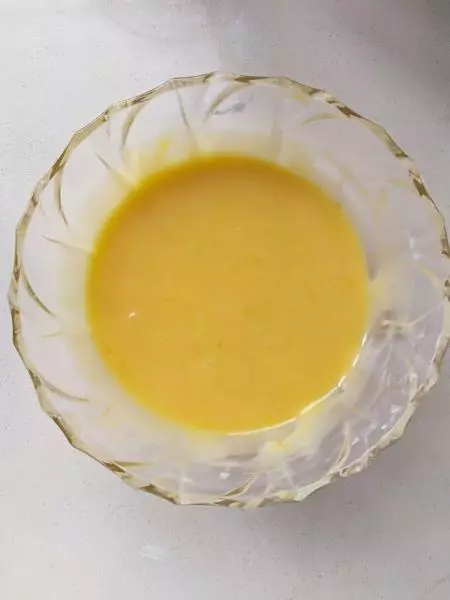
5攪拌至麵糊順滑後,覆蓋保鮮膜,放在冰箱冷藏一小時。
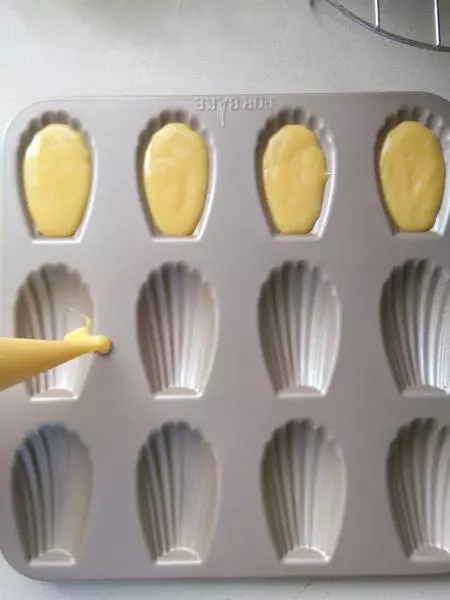
6從冰箱取出麵糊,剛取出來的麵糊已凝固,常溫放一會變成可流動狀態後,裝入裱花袋,(也可以用勺子),將模具裝入九分滿。
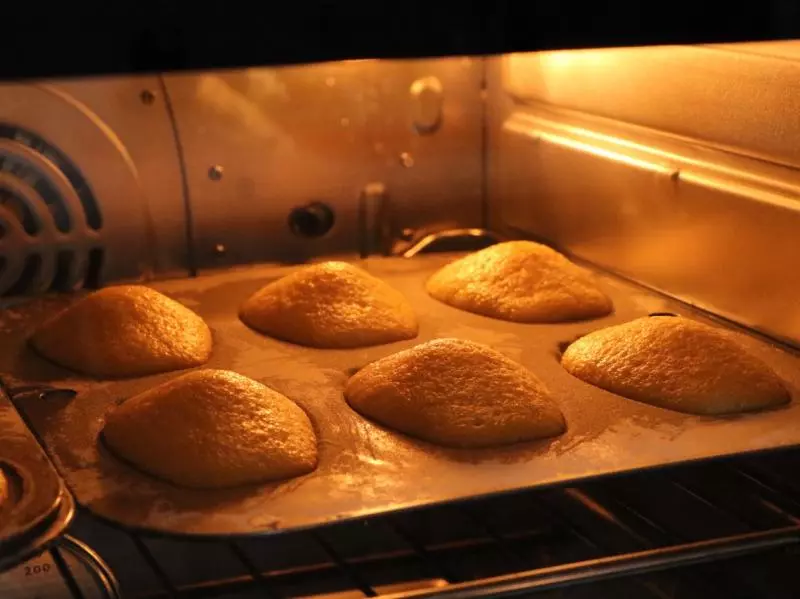
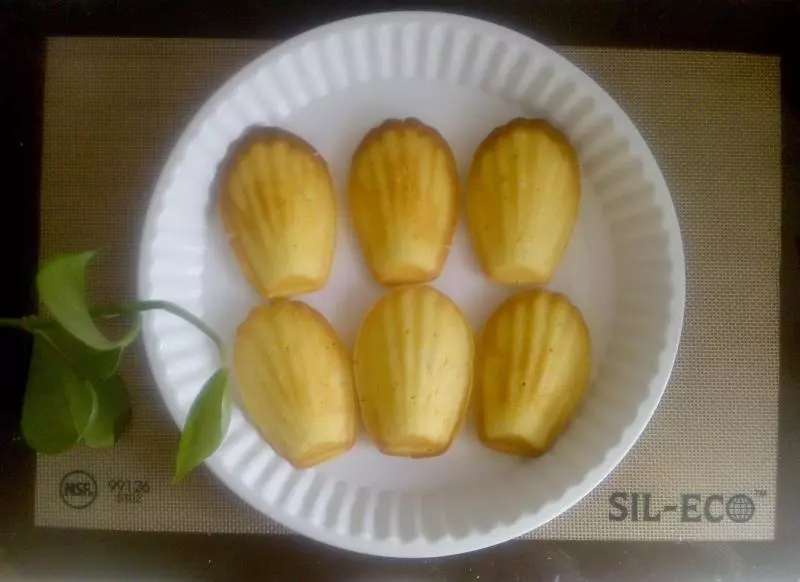
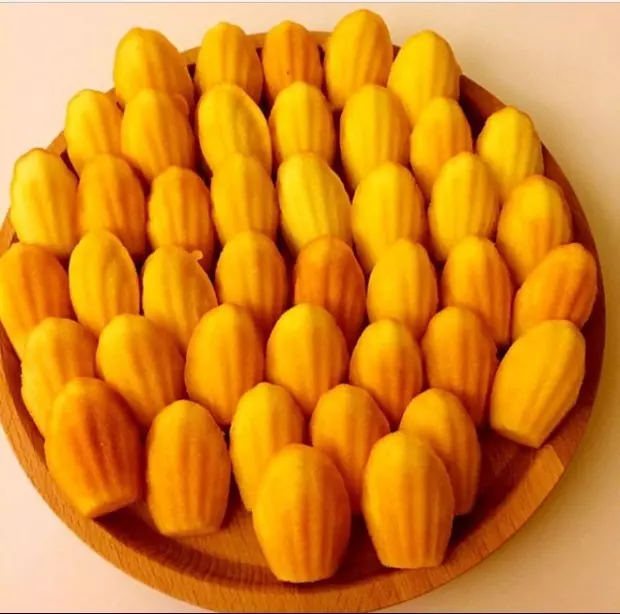
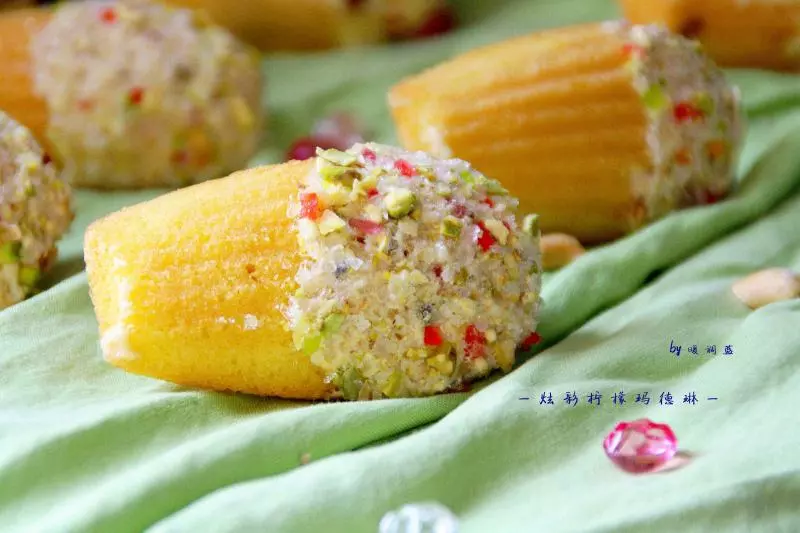
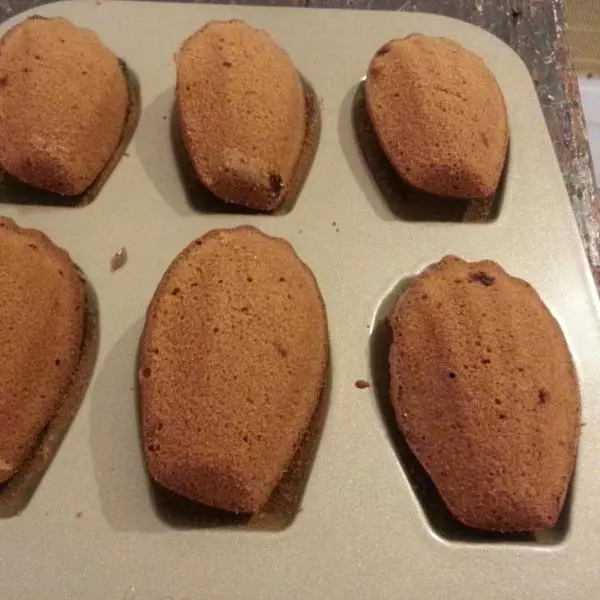
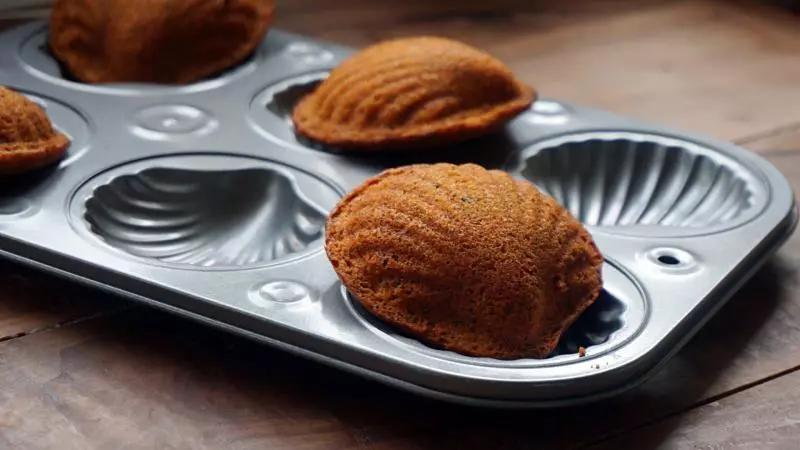
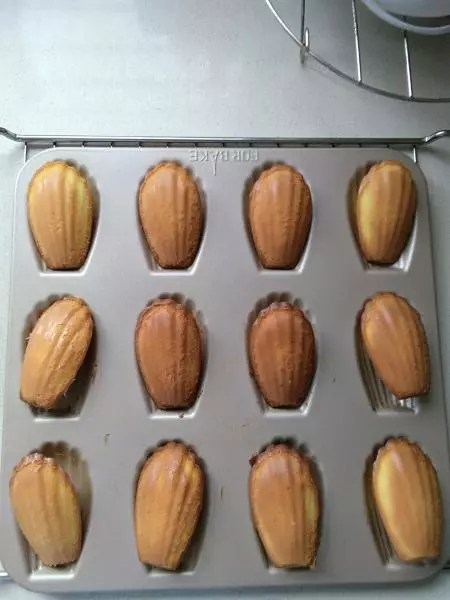
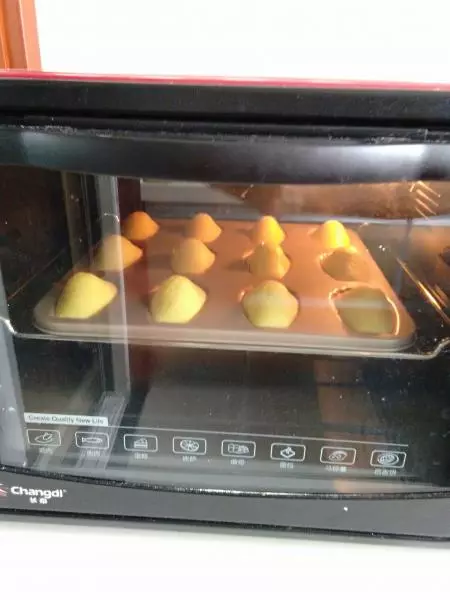
7烤箱190度,烤14min左右。這是8分鐘的時候,已經鼓起可愛的大肚子了
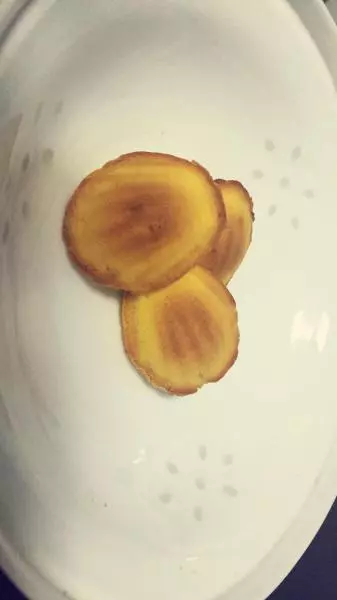
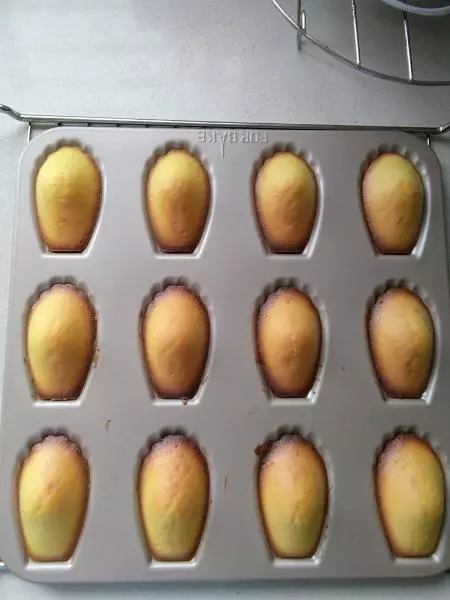
8有點烤糊?
小技巧
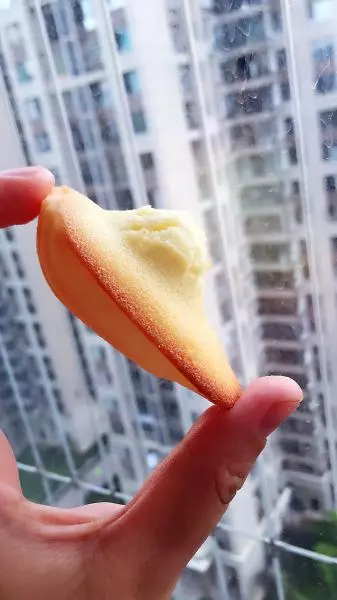
1.不喜歡甜的,自己可以調節糖的量。 2.每個烤箱不一樣,感覺我家的就是容易烤糊的那種,一般我家會在蛋糕鼓起大肚子之後(8分鐘左右,蛋糕鼓起肚子,而且邊緣已變棕色),把溫度調到180度。