原料
低筋麵粉: 100克, 水: 150克, 黃油: 80克, 雞蛋: 150克, 糖: 20克, 淡奶油: 100克, 糖粉: 10克
步驟
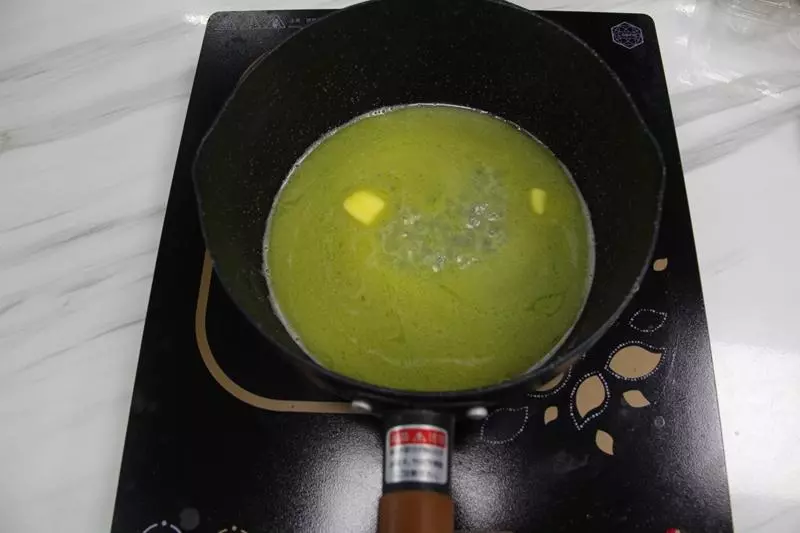
1把水、糖、黃油放入鍋里,用中火加熱攪拌至融化
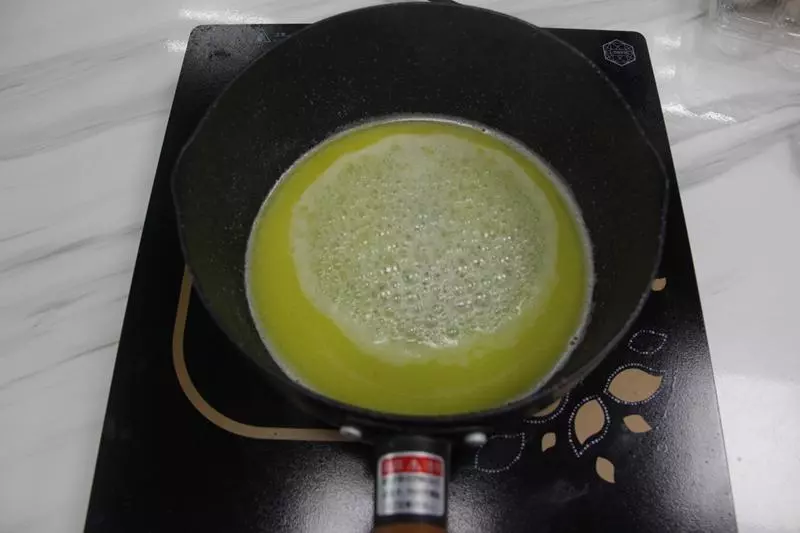
2煮至稍微沸騰冒氣泡,轉小火
3一次性倒入低筋麵粉,快速攪拌至沒有乾粉
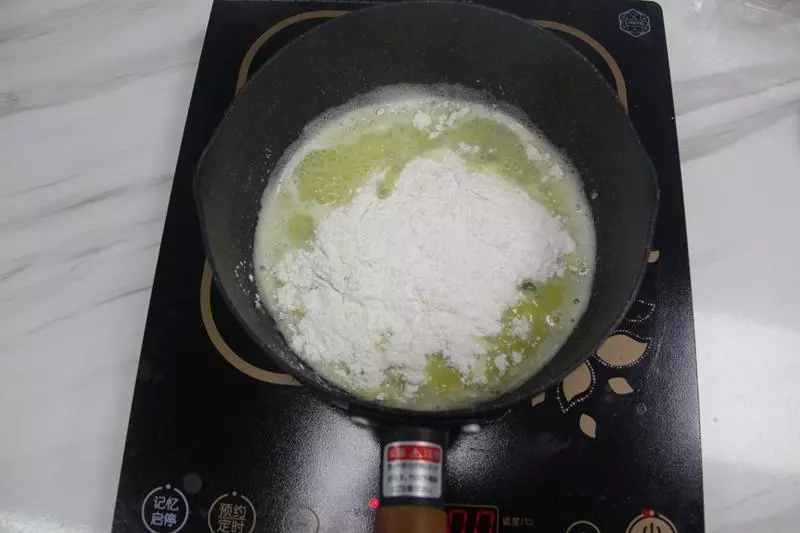
4麵粉和水完全混合後,關火即可
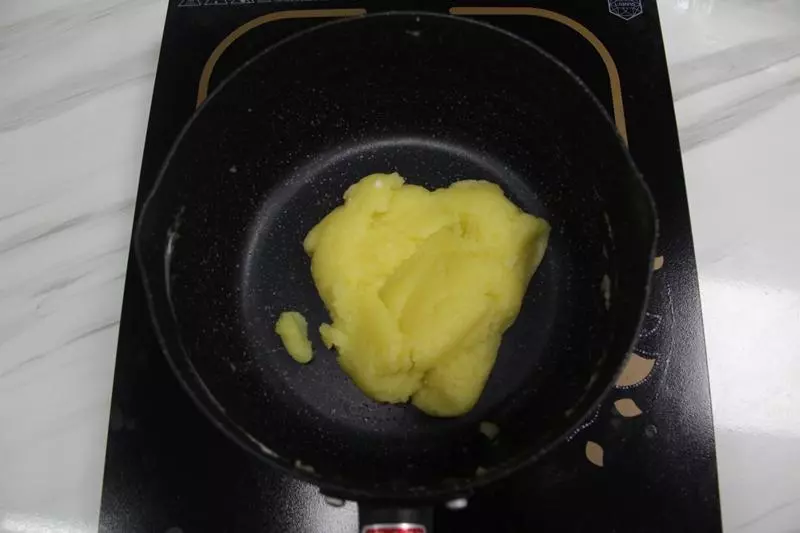
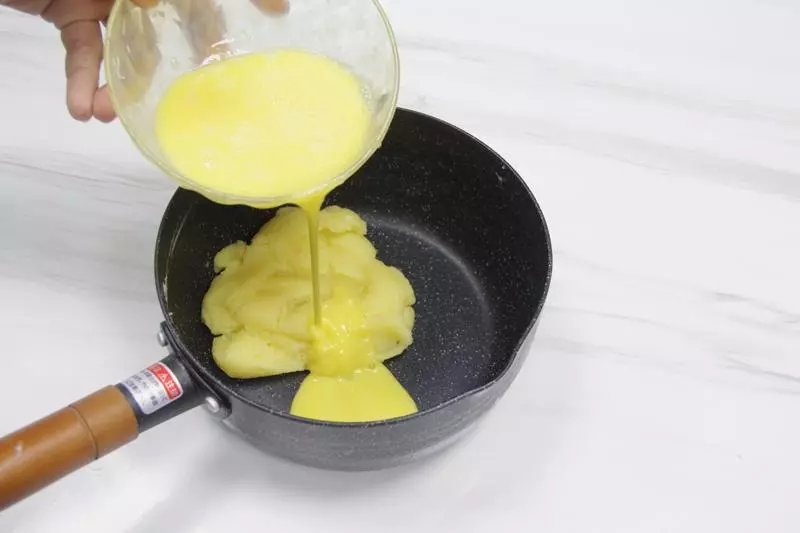
5稍微放涼,分次加入雞蛋液,攪拌至麵糊吸收
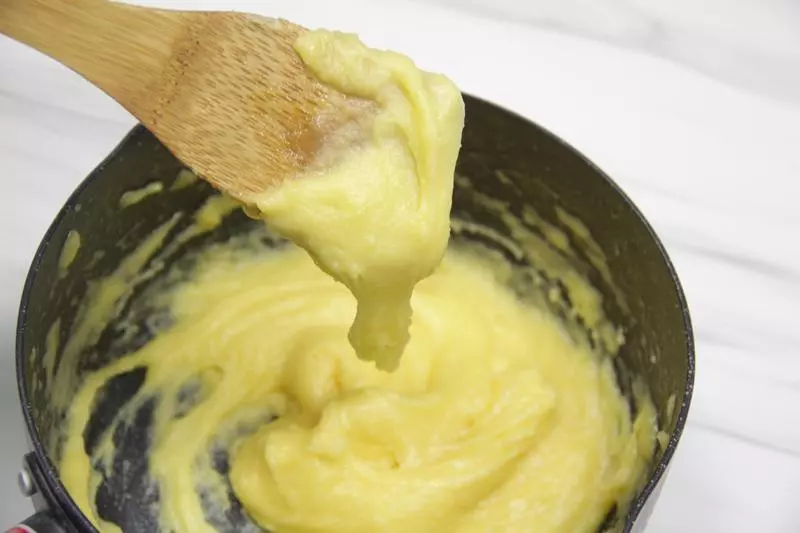
6挑起麵糊,呈倒三角形狀,即可
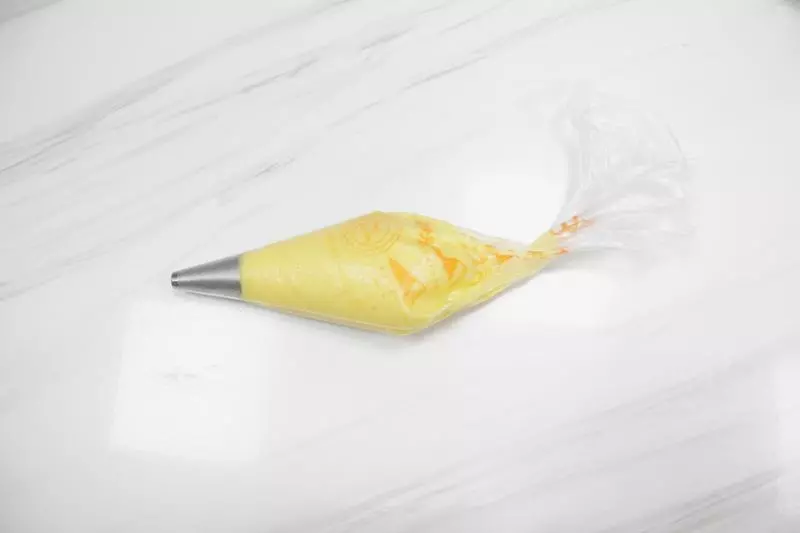
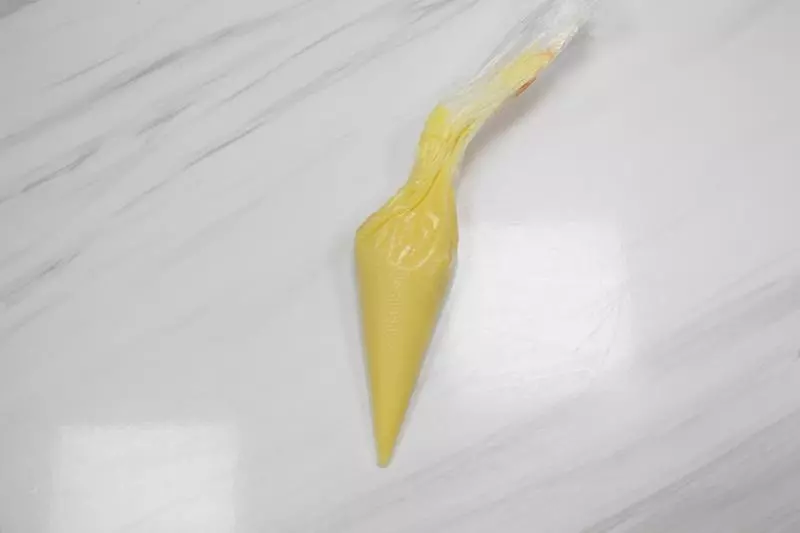
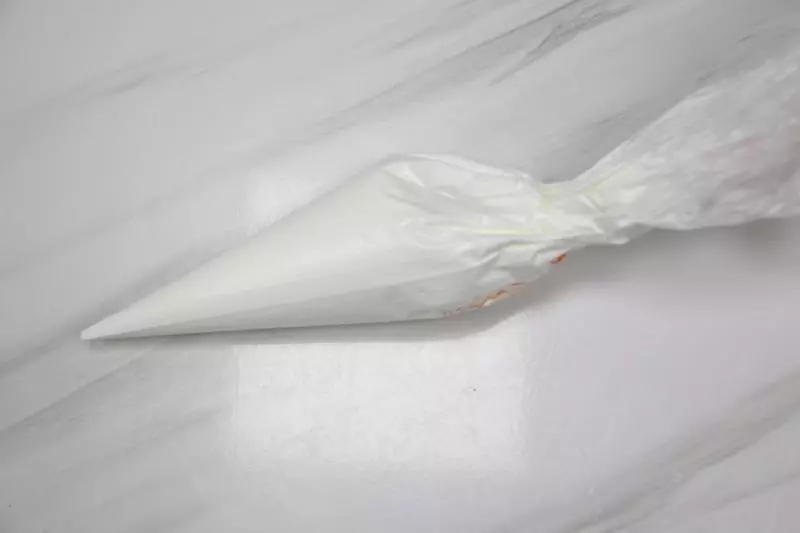
7把麵糊裝進裱花袋中
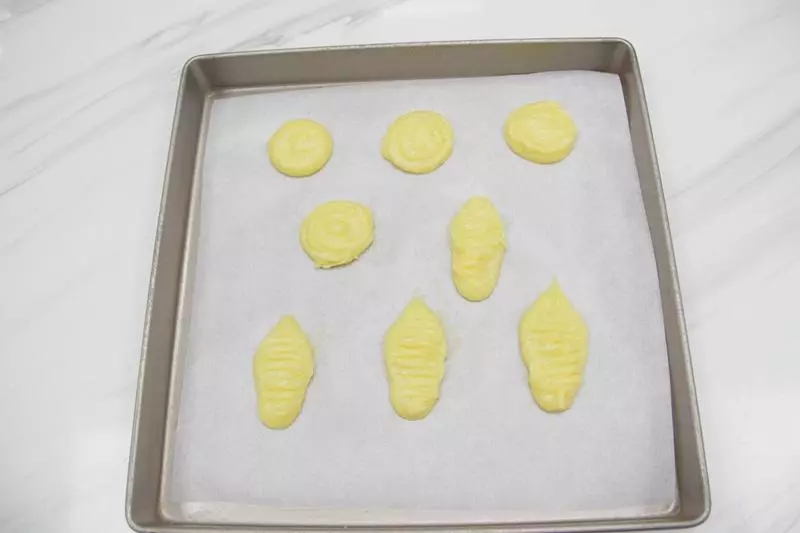
8烤盤墊上油紙,擠上水滴形狀和圓形狀的麵糊
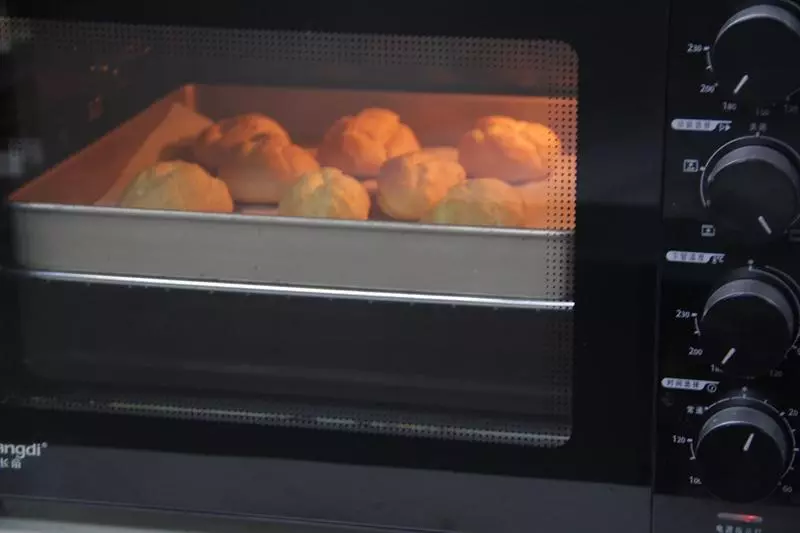
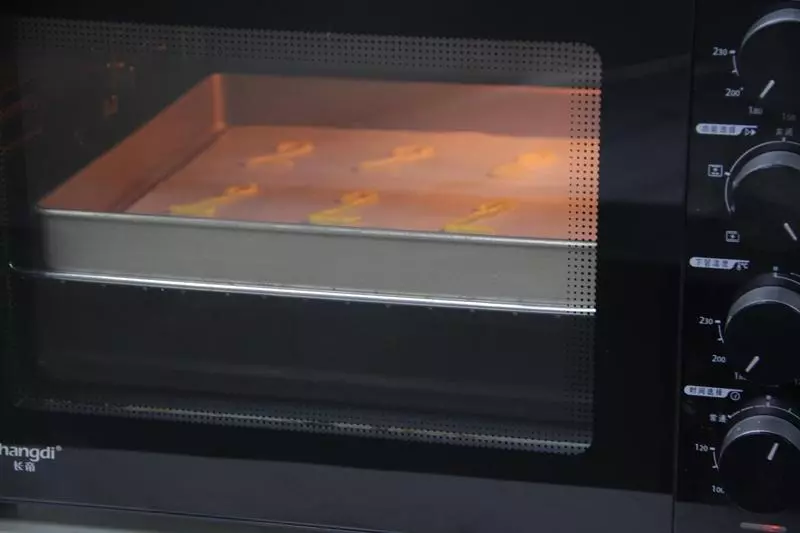
9烤箱提前預熱,上下火180度,烘烤20分鐘。出爐放涼備用
10把剩下的泡芙麵糊,裝進小裱花袋
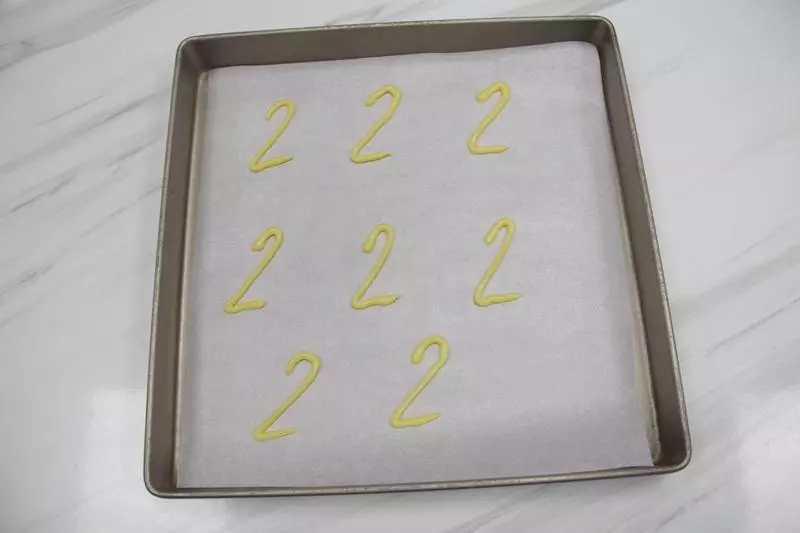
11在油紙上擠出2形的麵糊
12烤箱提前預熱,上下火180,烘烤5分鐘,放涼備用
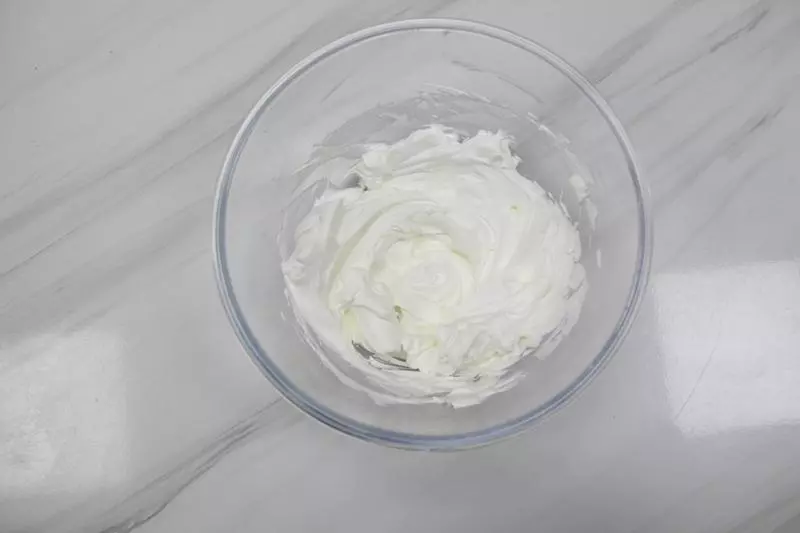
13淡奶油加入糖粉,用電動打蛋器打發至乾性狀態
14把奶油裝進裱花袋,剪出小口備用
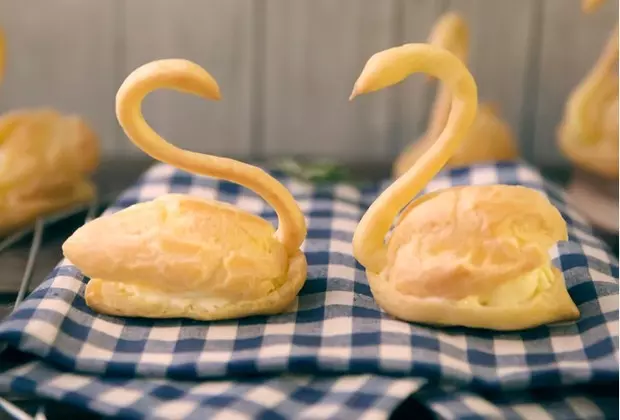
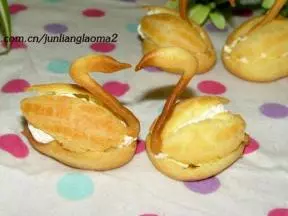
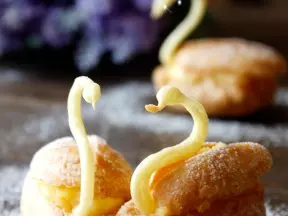
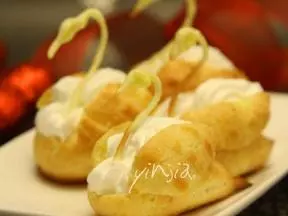
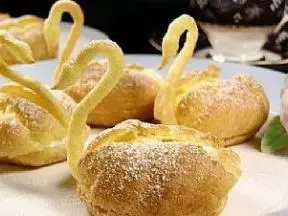
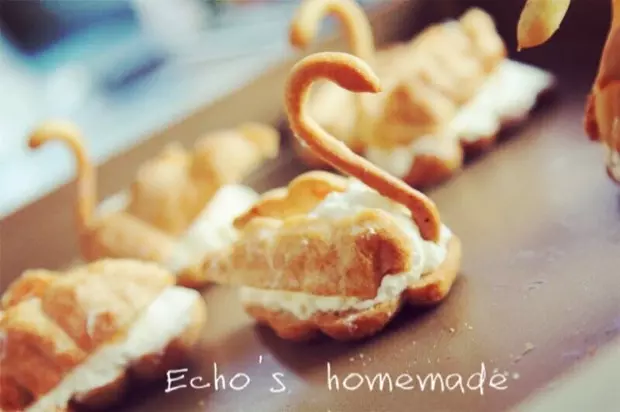
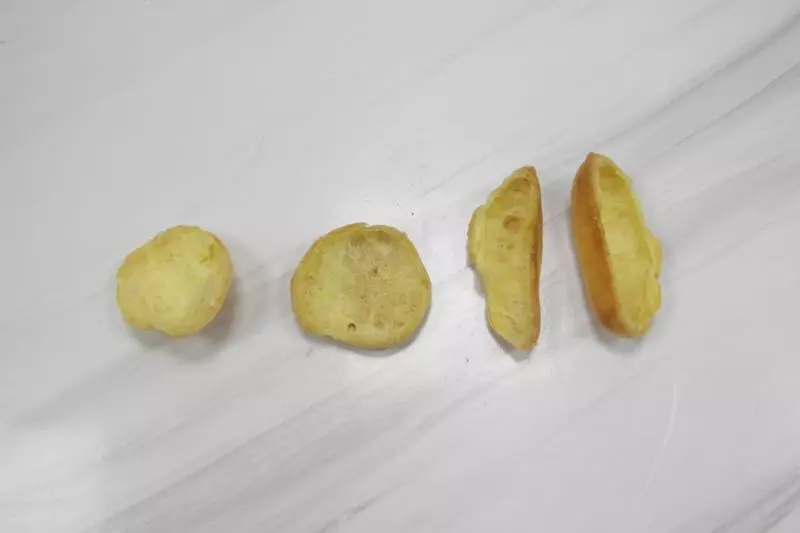
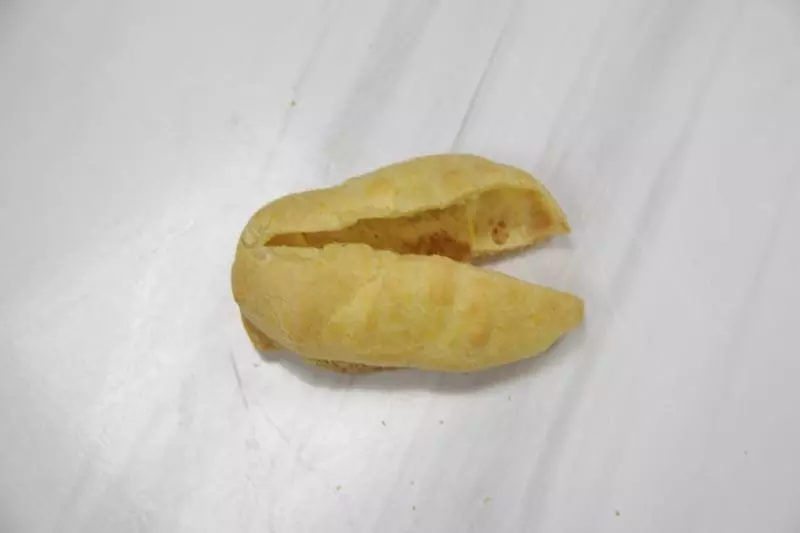
15把水滴泡芙從中間對剪,再將圓形泡芙剪掉底部
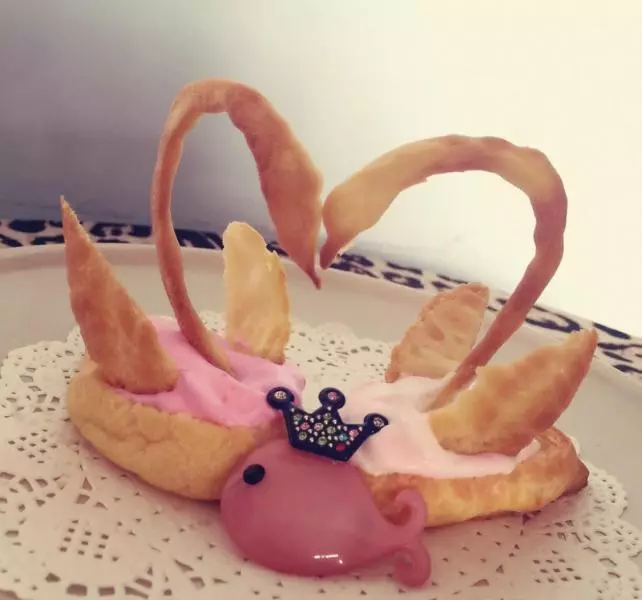
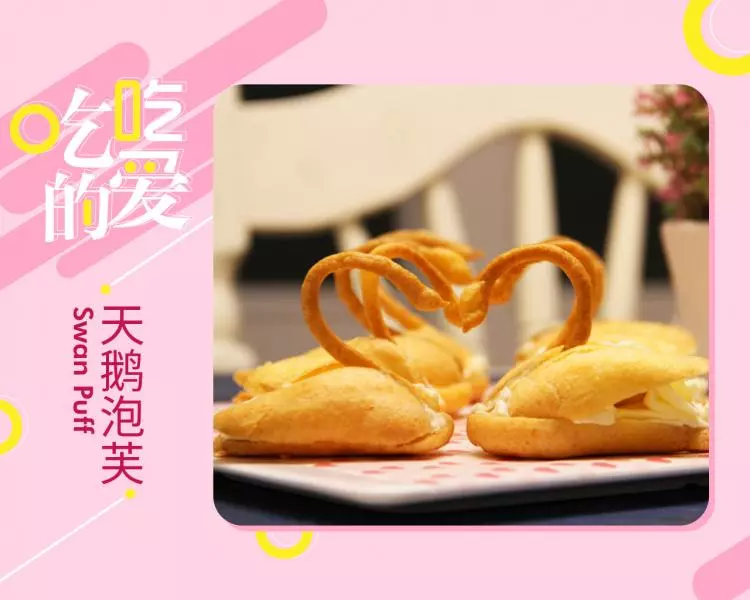
16底部擠上奶油,然後裝上兩瓣翅膀
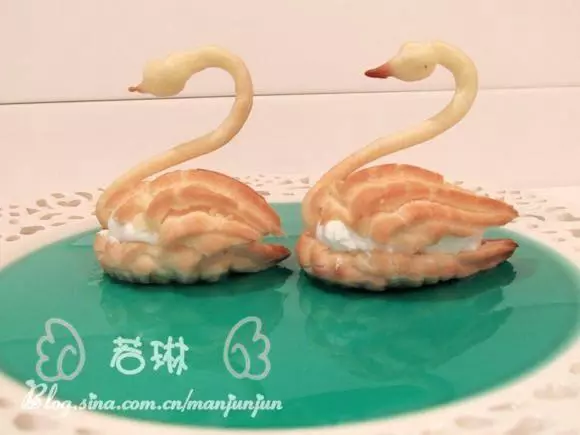
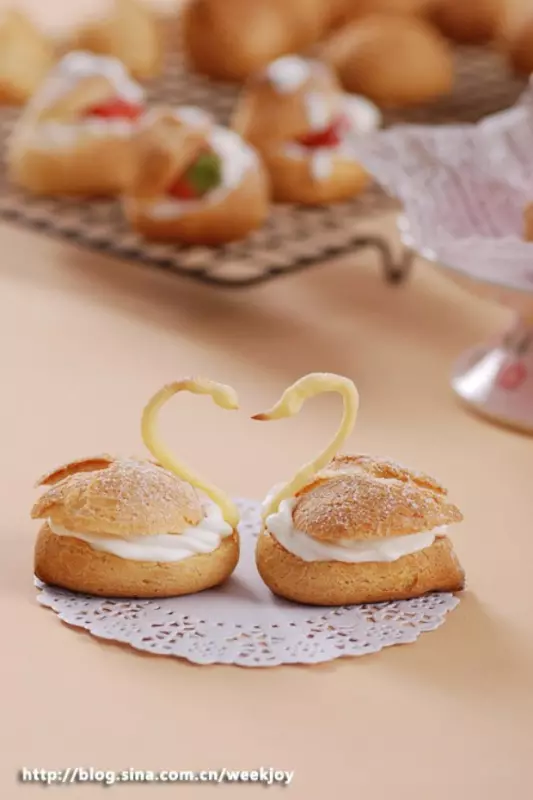
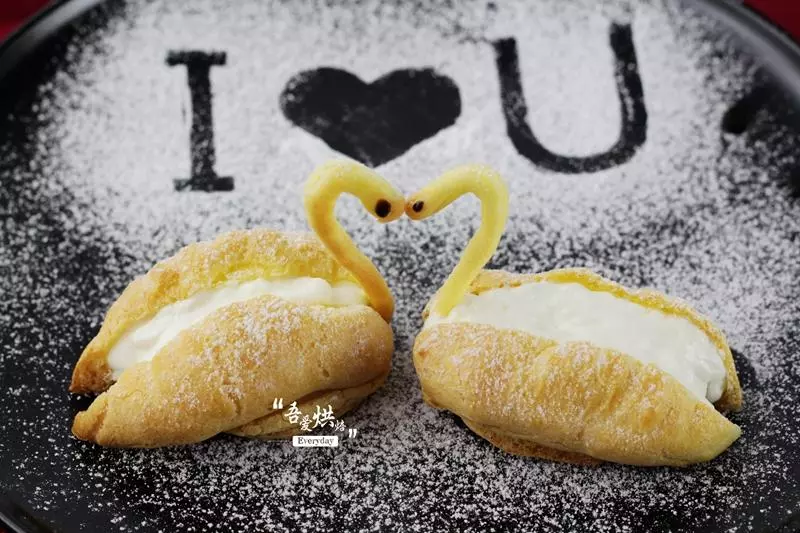
17最後,把頸部插入前端,用巧克力醬點綴眼睛即可,然後用紙剪出I❤U 的字,然後撒上糖粉
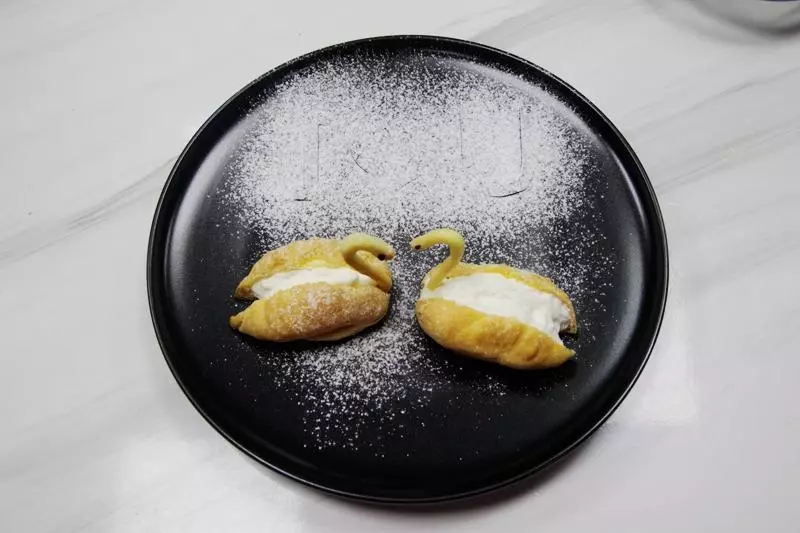
18然後再取出紙片即可
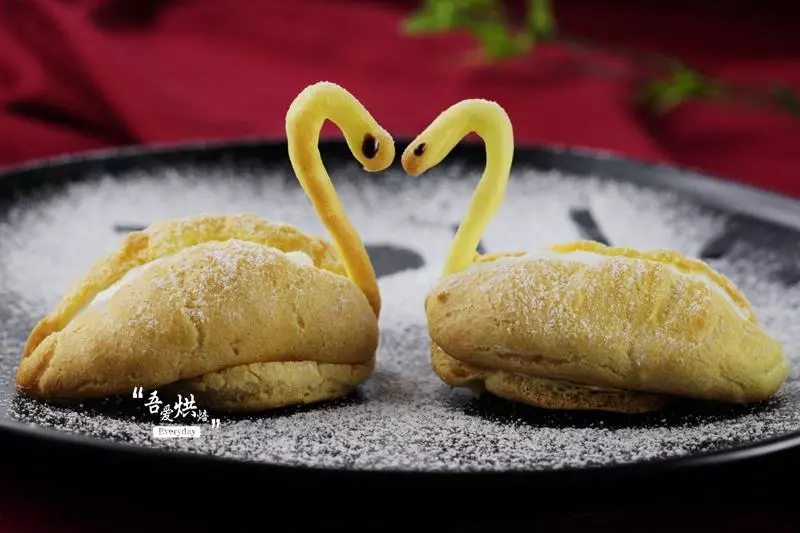
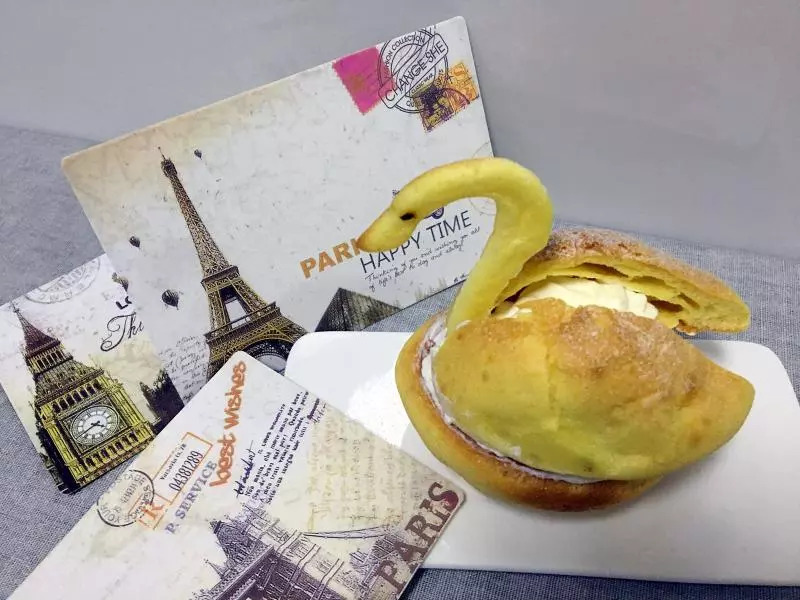
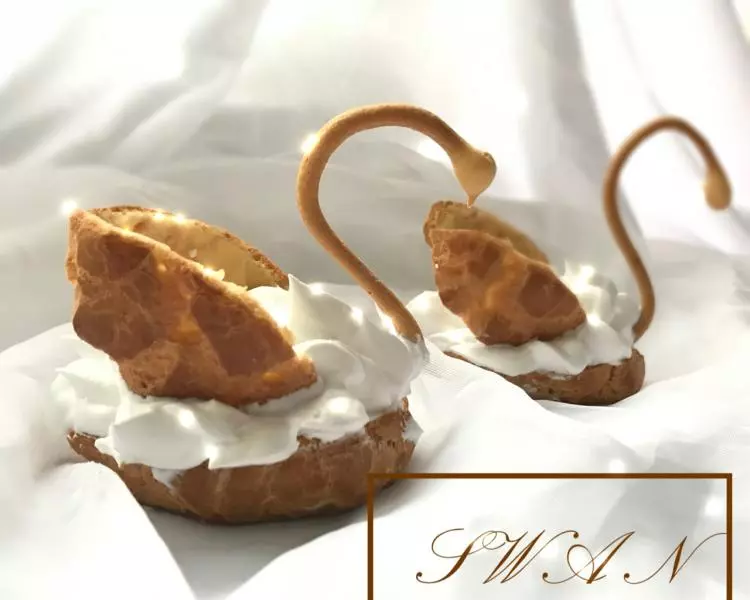
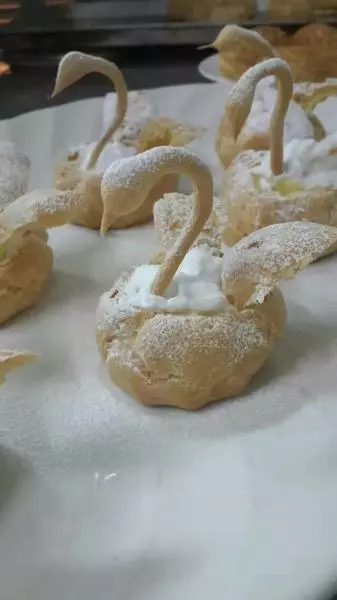
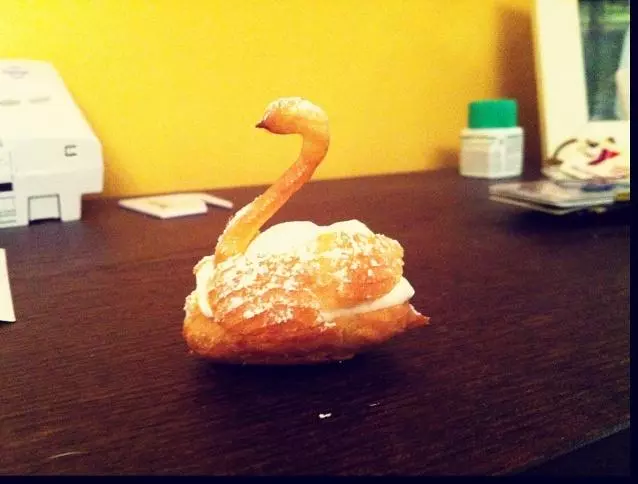
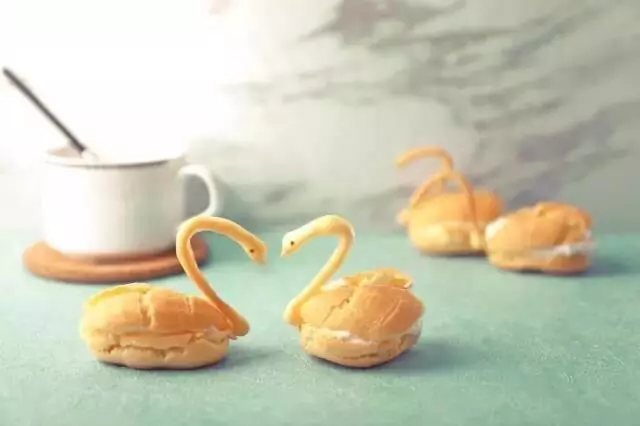
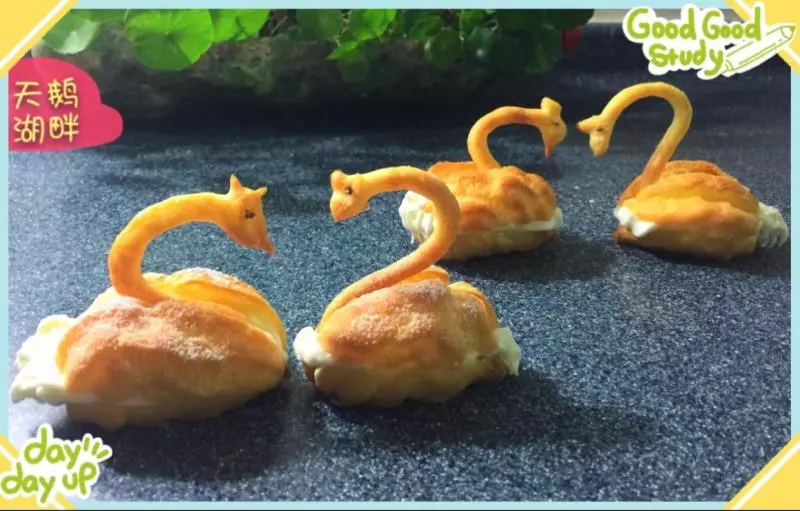
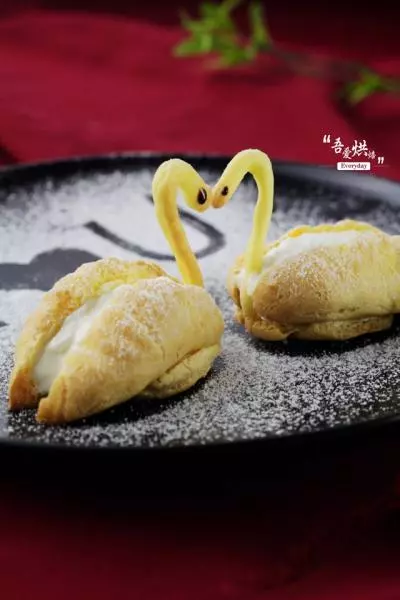
19成品欣賞
小技巧
吾愛心語: 1:麵粉倒入黃油水中,需要等快速拌勻,然後底部起一層皮即可離開 2:雞蛋的量沒有固定,需要看麵糊的狀態,成倒立三角即可 3:泡芙在烘烤過程中勁量不要打開烤箱門,否則很容易出現塌陷狀態