原料
蛋黄: 2个, 软化黄油: 100g, 细砂糖: 20g, 低筋面粉: 10g, 玉米淀粉: 10g, 牛奶: 200g, 细砂糖: 10g, 香草豆荚: 1小段, 低筋面粉: 40g, 融化黄油: 40g, 蛋黄: 5个, 细砂糖: 20g, 蛋白: 4个, 细砂糖: 50g
步骤
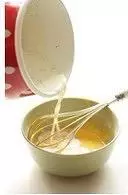
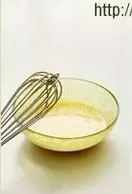
1制作卡士达黄油馅:蛋黄+20g细砂糖打至粘稠发白,然后将低粉和玉米淀粉混合筛入,搅拌均匀

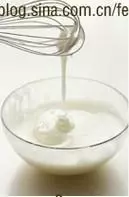
2牛奶+10g细砂糖+剖开的香草籽,煮至沸腾前,然后关火放至不烫

3不烫的牛奶缓缓冲入步骤1中,边搅拌边冲入,至均匀
4均匀后,重新倒回锅中,小火不停搅拌,知道呈现粘稠但稍流动的糊状,关火,把锅放在凉水或冰箱里降温,这样卡士达酱就做好了

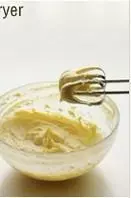
5把卡士达将放到搅拌盆中拌均匀,然后分3-4加入彻底软化的黄油

6用手动打蛋器或电动打蛋器,打至可以拉出小尖,这样卡士达黄油馅就做好了(彻底软化的黄油很好打,但如果还有些偏硬,就要用电动)
7制作蛋糕卷面糊:蛋黄+20g细砂糖打至粘稠,鹅黄色
8蛋白分3次加入细砂糖,打至捞起可以流动,滴落的形状可以在蛋白上保持不变(湿性发泡前的状态)
9将打好的蛋黄糊倒入蛋白糊中,用打蛋器搅拌均匀

10筛入粉类,用橡皮刮刀翻拌均匀

11在刮刀上倒入融化的黄油(温的,不要热黄油),用橡皮刮刀快速拌均匀

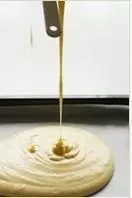
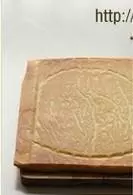
12倒入铺有烘焙纸的烤盘中,稍抹平,敲一下烤盘底部,震出一点气泡,马上放入200度预热的烤箱中层,8-10分钟,表面呈金黄色即可
13烤盘后翻过来掀去烘焙纸,烘焙纸掀起之后,再翻过来,正面朝上,散热一会
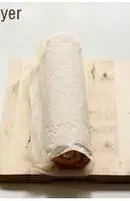
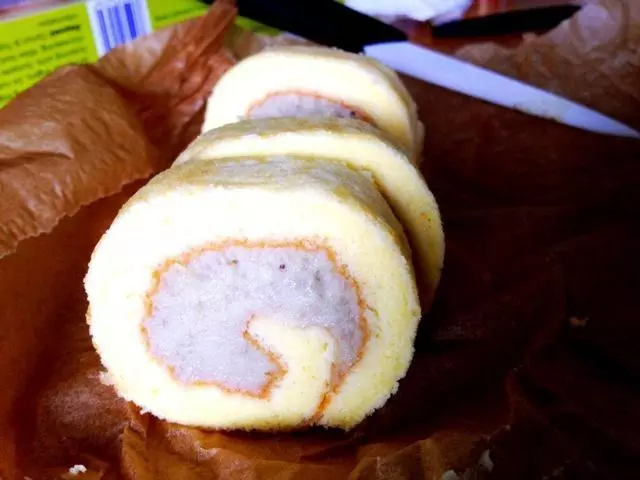
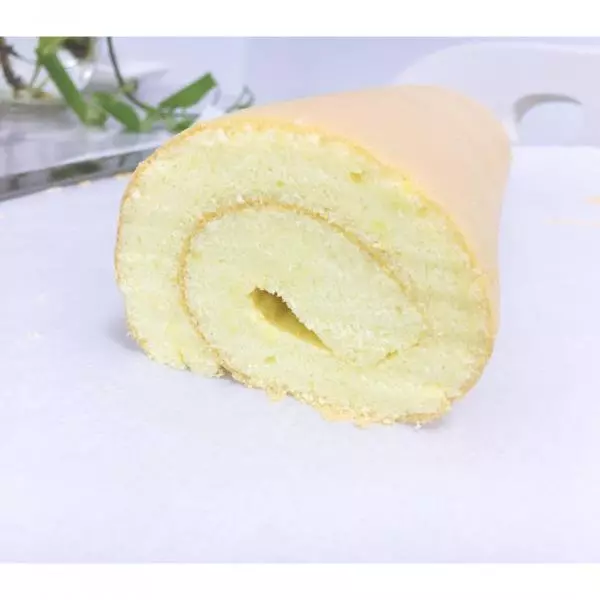
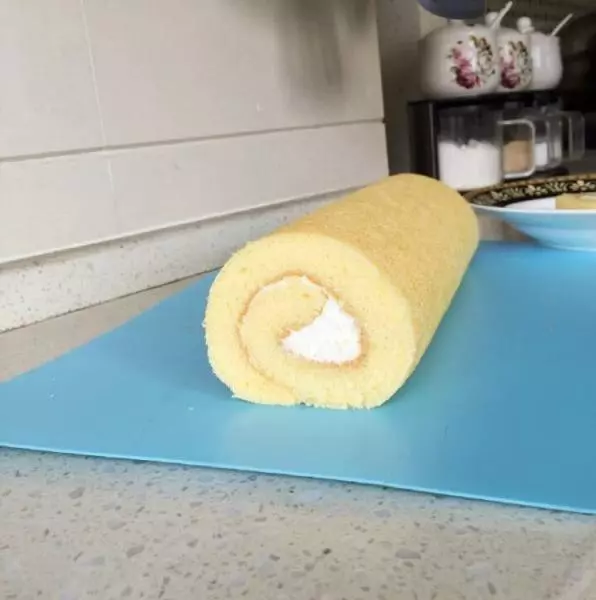
14不烫的时候,将蛋糕卷要开始卷的起始边切齐
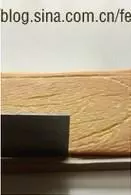
15均匀地涂抹卡士达黄油馅。起始边抹齐,末端少抹甚至不抹

16从刚才切的起始边那边卷起

17要卷的均匀且紧实
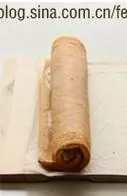
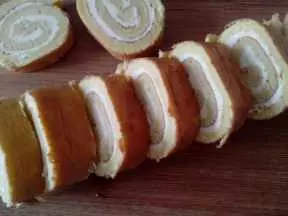
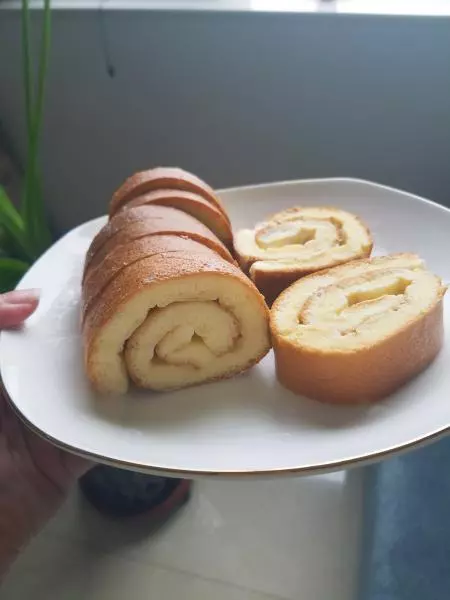
18用烘焙纸包起,放入冷藏定型30分钟后切块食用