原料
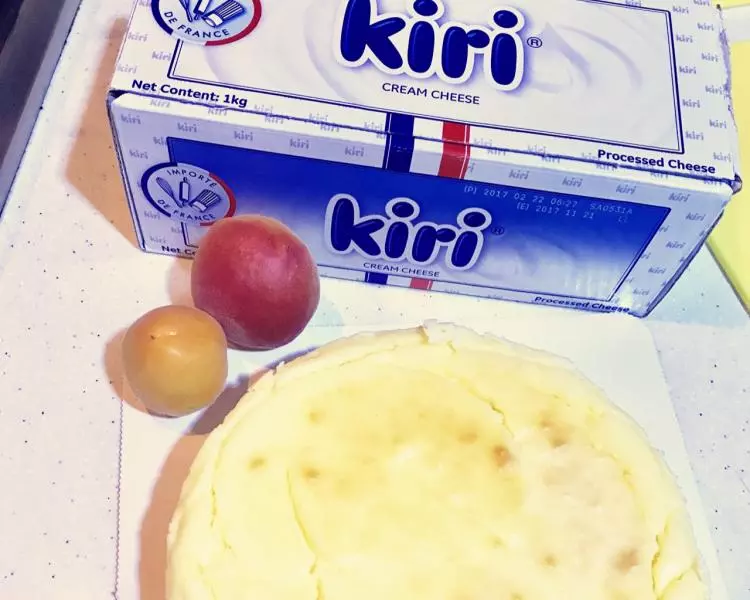
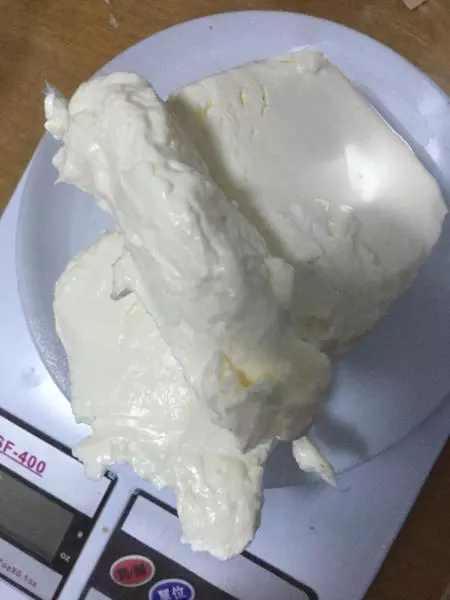
奶油奶酪: 200g, 砂糖: 100g, 鸡蛋: 3个, 淡奶油: 120g, 牛奶: 20g, 玉米淀粉: 15g
步骤
1奶油奶酪室温软化
2加砂糖打至顺滑
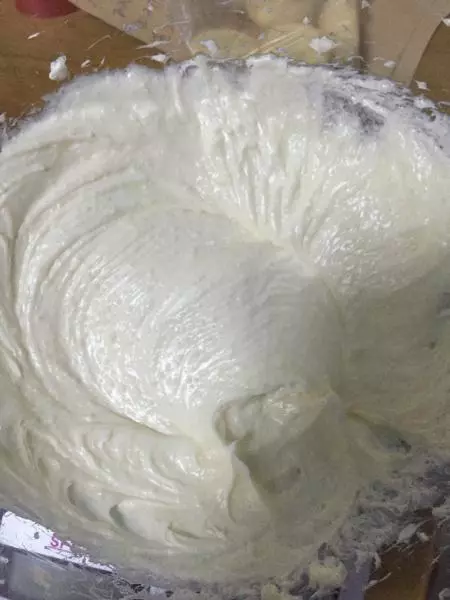
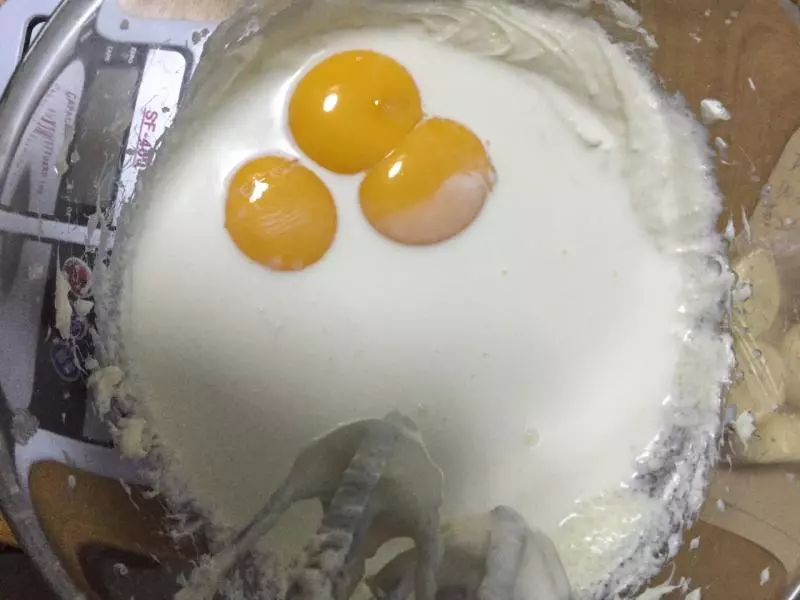
3蛋白蛋黄分离 将蛋黄 牛奶 淡奶油 加入奶酪糊中 搅打均匀 最后加入玉米淀粉 翻拌均匀
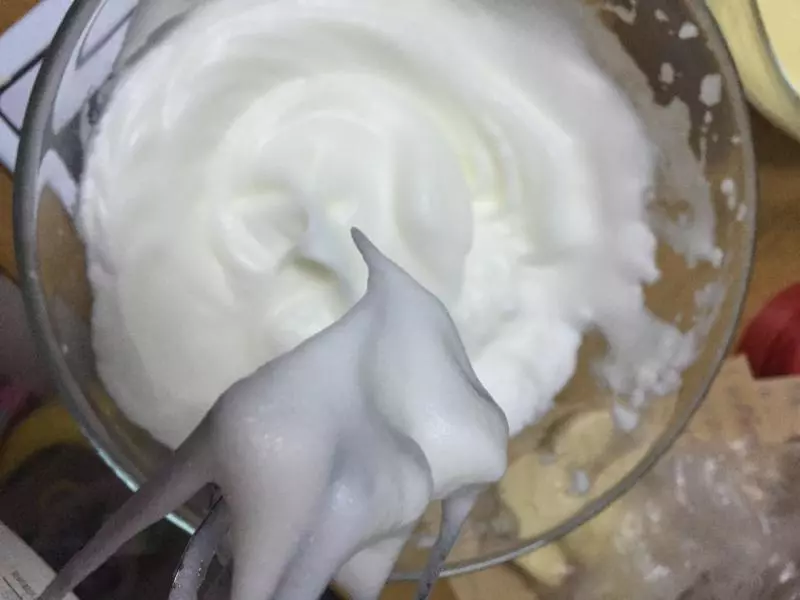
4蛋白打至接近干性发泡 就是提起打蛋器有小尖角就行啦
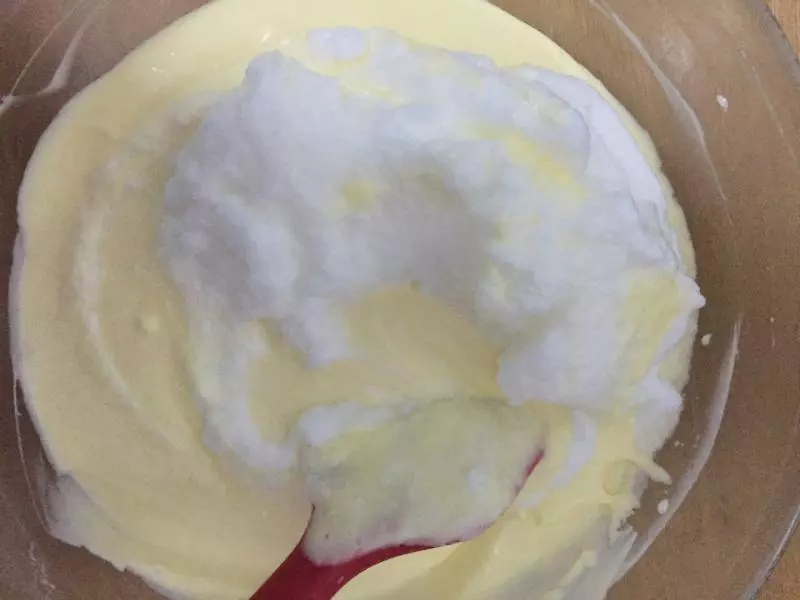
5将蛋白分三次拌入奶酪糊中 拌匀
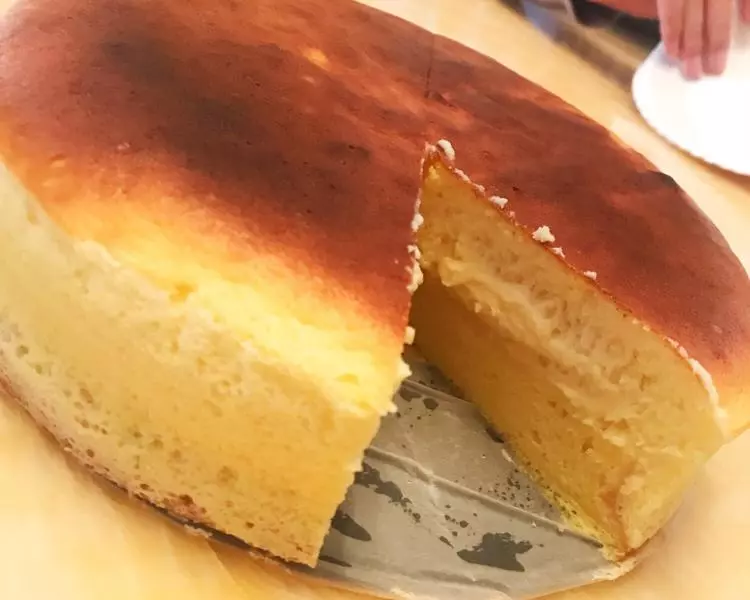
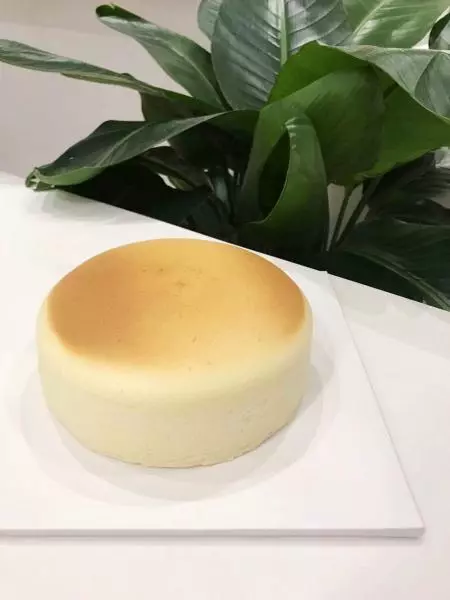
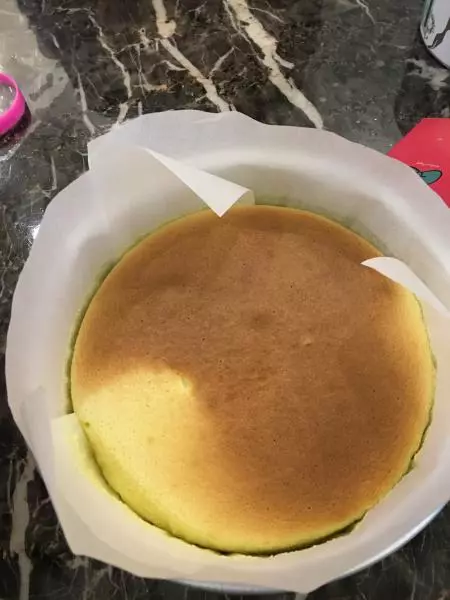
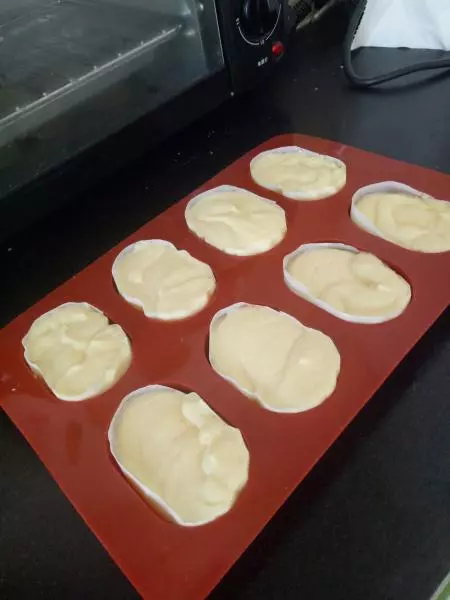
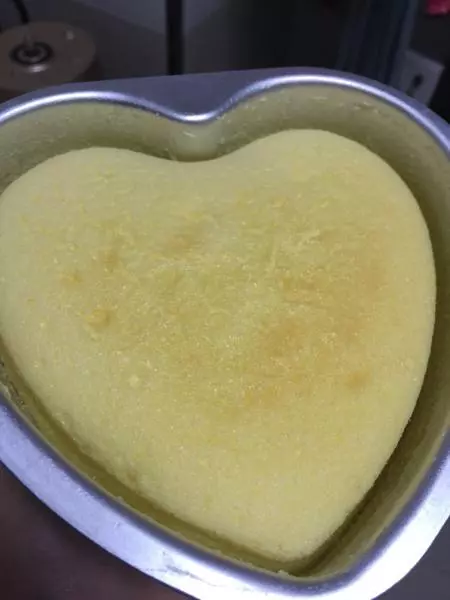
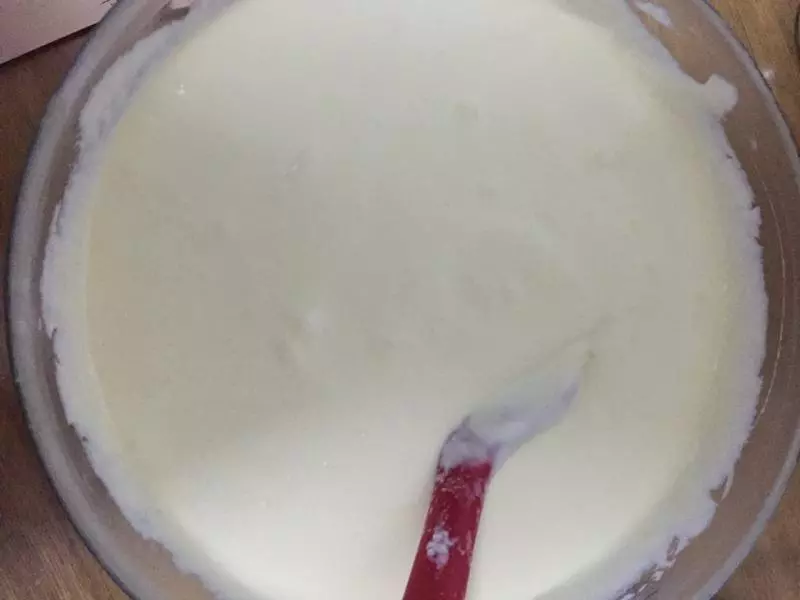
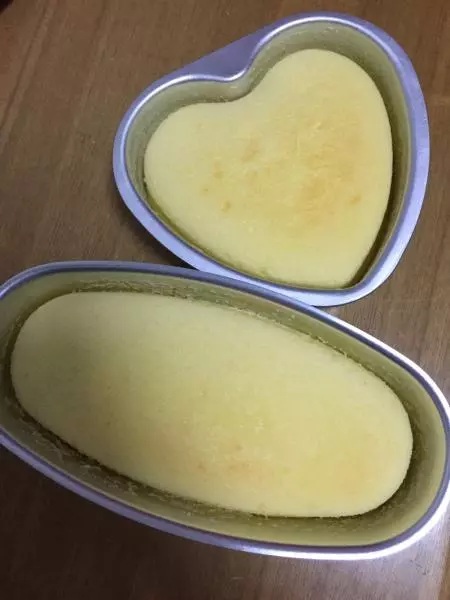
6烤箱预热 拌好的奶酪糊倒入模具中 160° 35分钟 之后转200° 5分钟
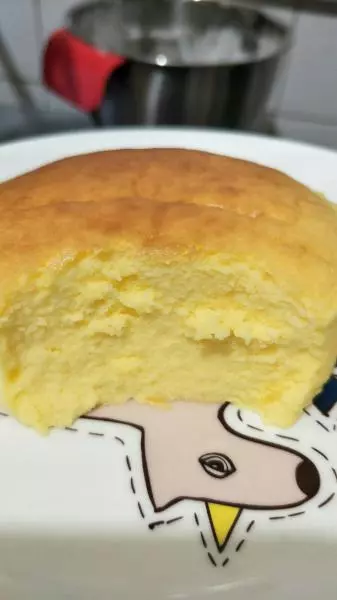
7放凉以后就可以吃啦 当然 冰箱冷藏一下口感更好
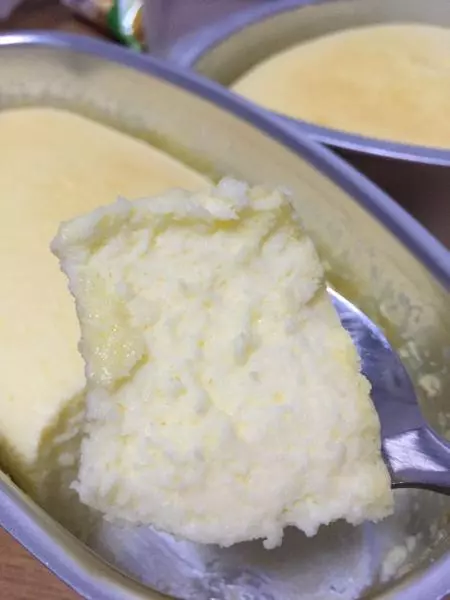
8开吃 根本停不下来
小技巧
活底模具一定要包锡纸 防止模具进水 烤盘里面要用热水呦