原料
面粉: , 黄米: , 大米: , 温水: , 发酵粉: , 白糖:
步骤
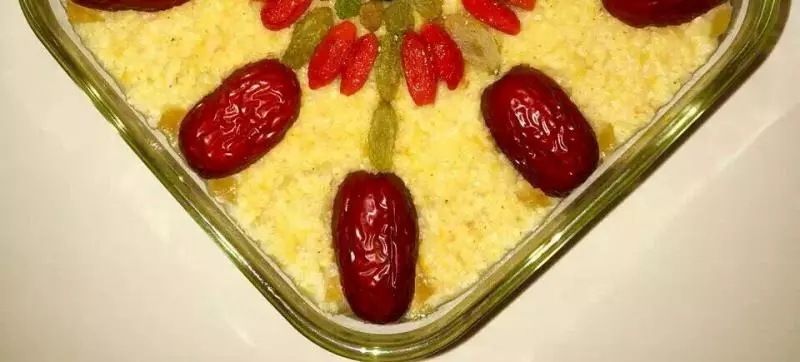
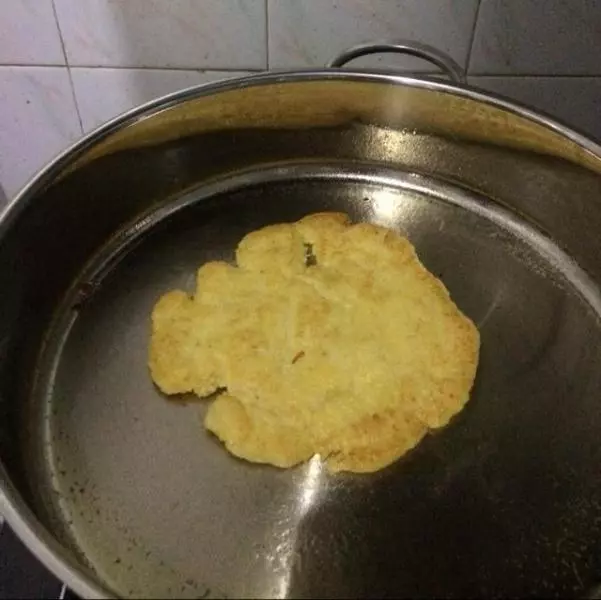
1黄米和大米混合,加入少许清水,放入蒸锅蒸40分钟,米熟烂

2蒸熟后,趁热加入白糖,搅拌均匀
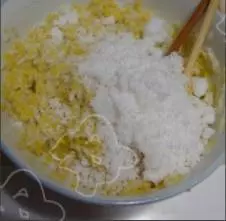
3凉凉,备用

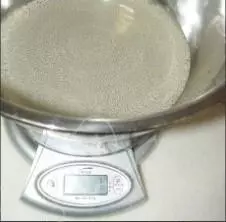
4温水300克
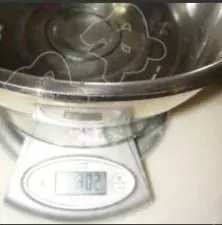
5加入发酵粉2克(我的电子称称小额有误差),搅拌均匀,化开发酵粉
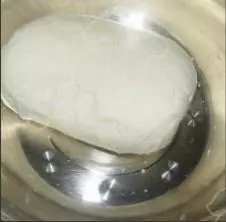
6加入面粉600克

7和成光滑的面团,放温暖的地方发酵
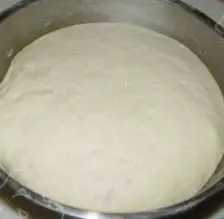
8发酵至两倍大
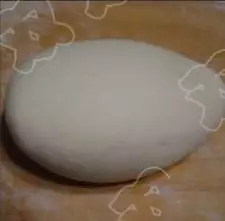
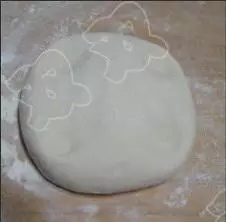
9将发酵好的面团取出,揉成光滑的面团
10将面团向四周揪成四方形
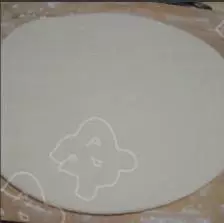
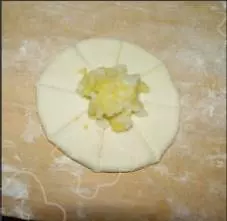
11用擀面杖擀成圆饼
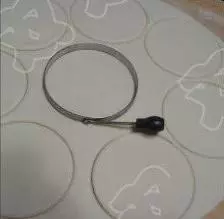
12用圆形煎蛋器取形
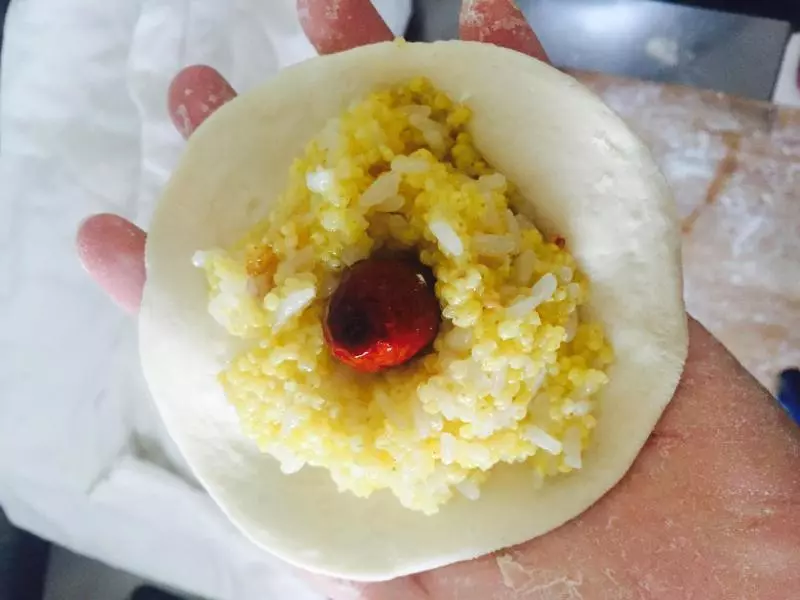
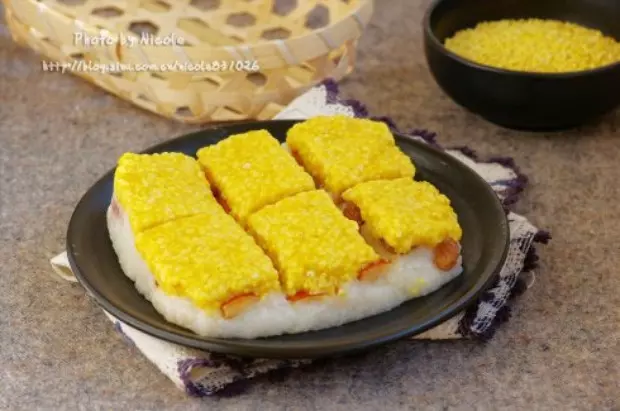
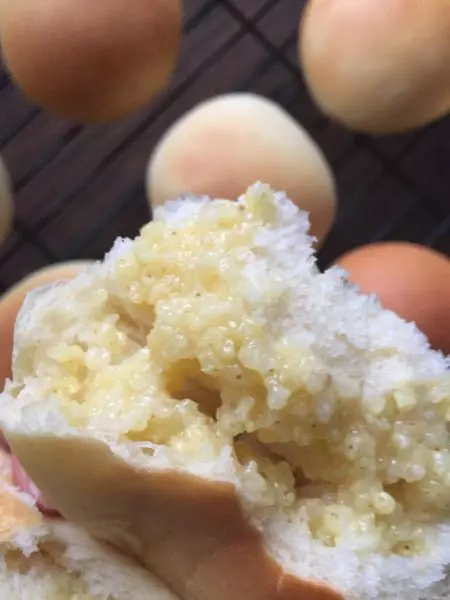
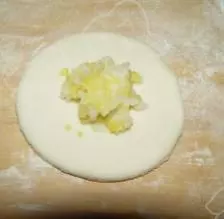
13取黄米馅放在外皮上
14用刀子将其均分成8份
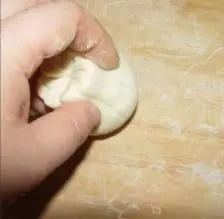
15捏合其中的一个小片。捏合里面,外面不捏
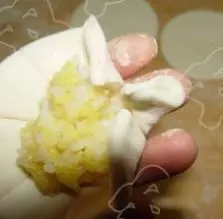
16依次捏完
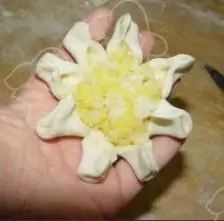
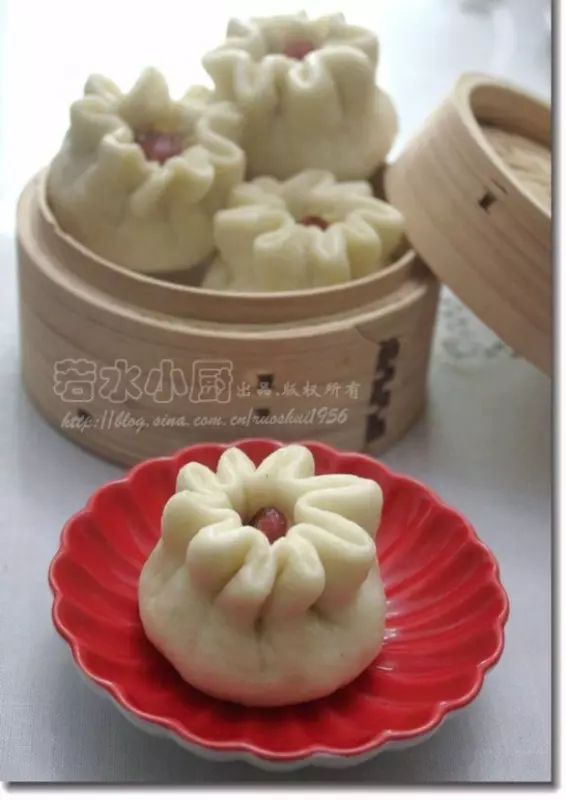
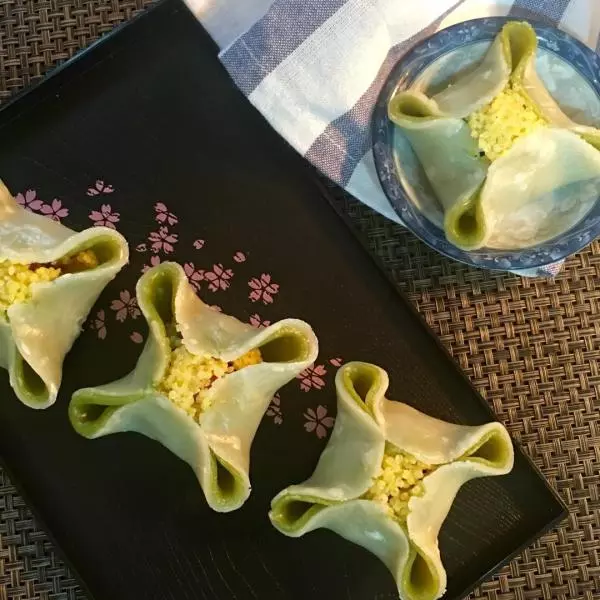
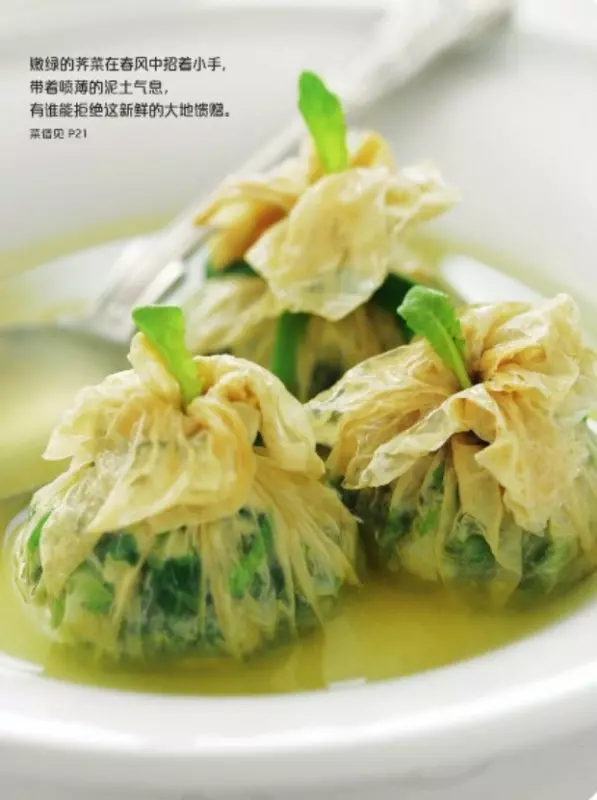
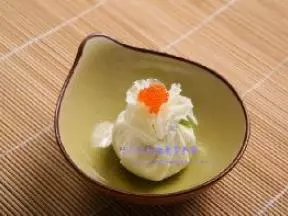
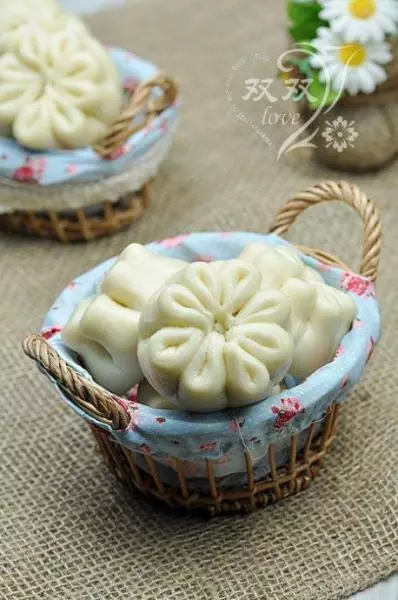
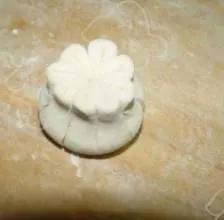
17将其朝中间位置聚拢。18、用手指聚拢整形
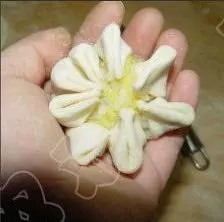
18整形完成,二次醒发
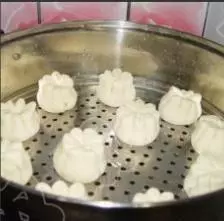
19蒸锅放水,箅子刷油,将石榴包放入
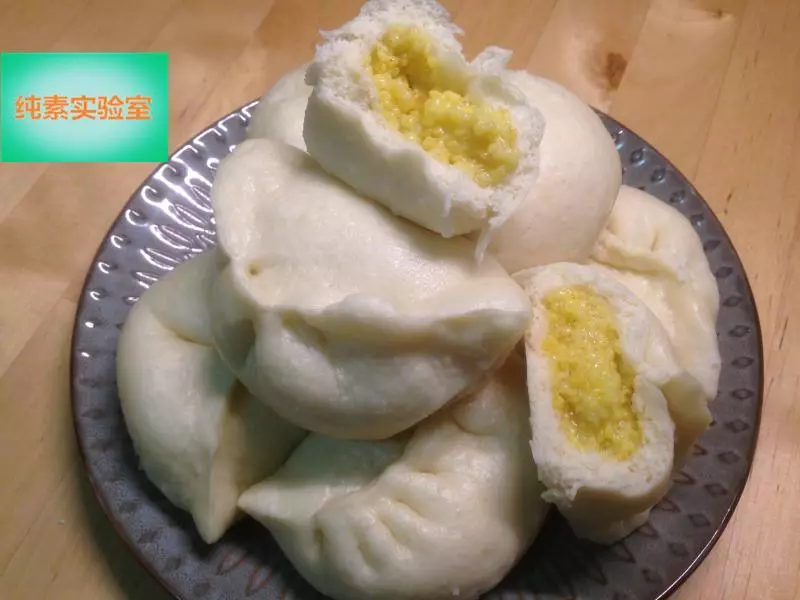
20蒸锅烧开水,出热气开始,15分钟,关火,焖5分钟开盖子即可
小技巧
1、黄米比大米多放些,黏度大,容易成团。 2、清水和面粉的比例为1:2,稍硬些,容易整形。 3、均分成8部分,每一部分捏合时,里面捏合,外面不捏,出来的形状好看。 4、二次醒发的时间不要太久,不然蒸出来的石榴包矮胖,不好看。