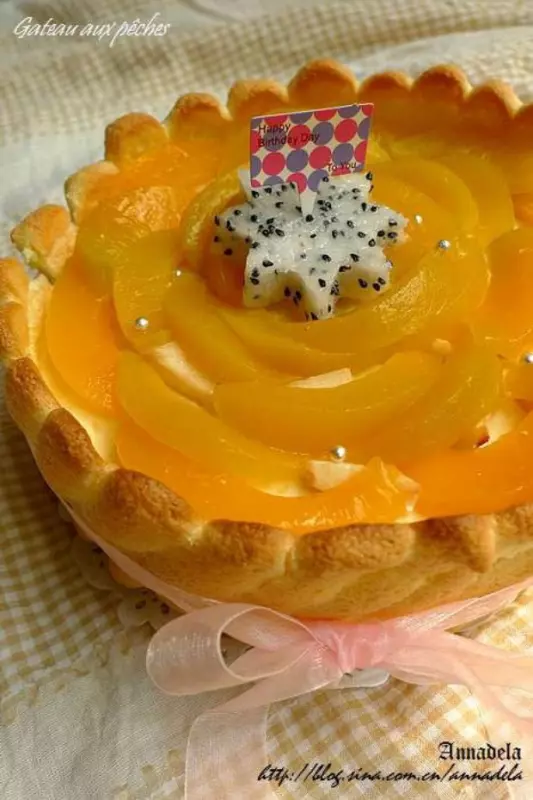
原料
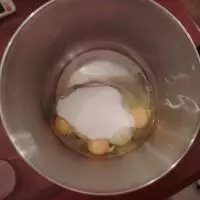
鸡蛋: 180g, 细砂糖: 110g, 低筋面粉: 28g, 可可粉: 28g, 牛奶: 30g, 鲜奶油: 300g, 细砂糖: 30g, 黄桃肉: 适量, 盐: 一小勺
步骤
1蛋液与细砂糖混合,隔热水打发。牛奶加热,保持温柔状态。烤箱预热至190度。
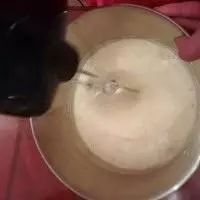
2高速4分钟左右,打至蛋糊纹理顺滑。
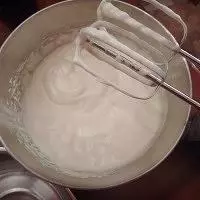
3再低速打发2分钟,整理气泡。
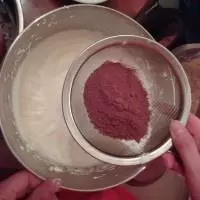
4筛入面粉及可可粉,大幅搅拌。搅拌至看不见干粉再稍微搅拌几下即可,因可可粉中含有油脂成分,过多搅拌很容易造成消泡。
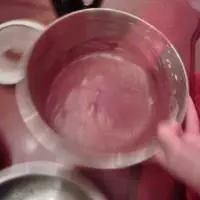
5倒入温热的牛奶,搅拌均匀。
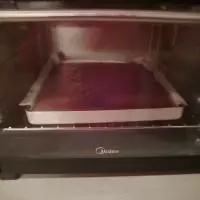
6将蛋糕糊倒入垫上油纸的烤盘,放入预热好的烤箱中,烘烤10-12分钟。
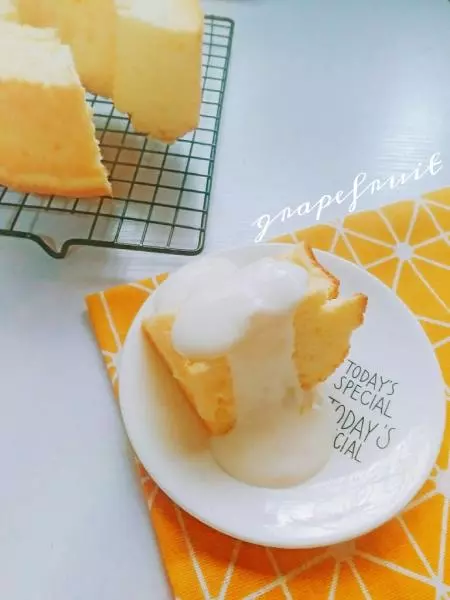
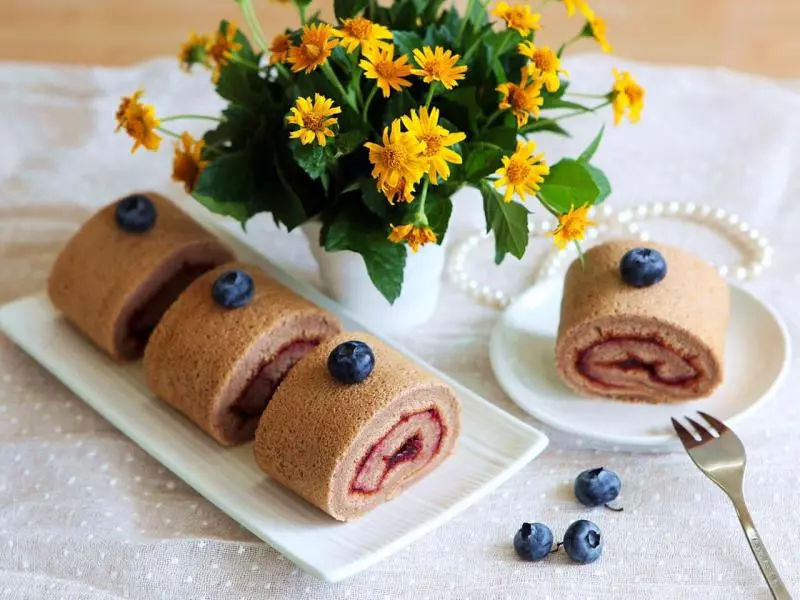
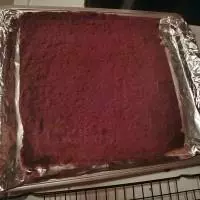
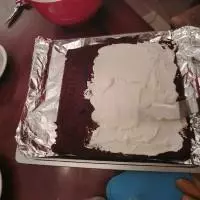
7蛋糕取出烤箱后脱模、脱纸,冷却。
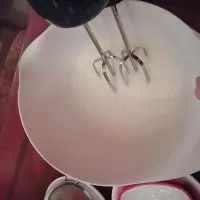
8将300克鲜奶油及30克细砂糖一起打发到可涂抹状态。
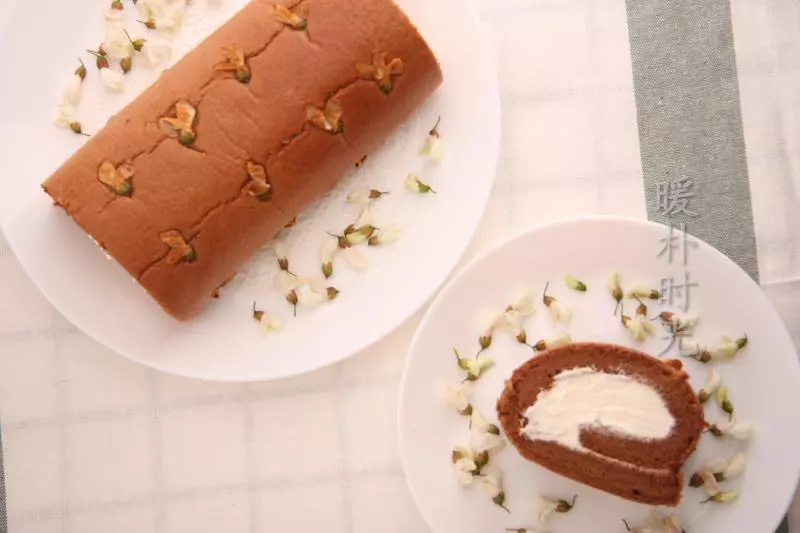
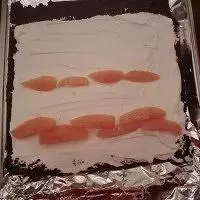
9将奶油涂抹在蛋糕体上。
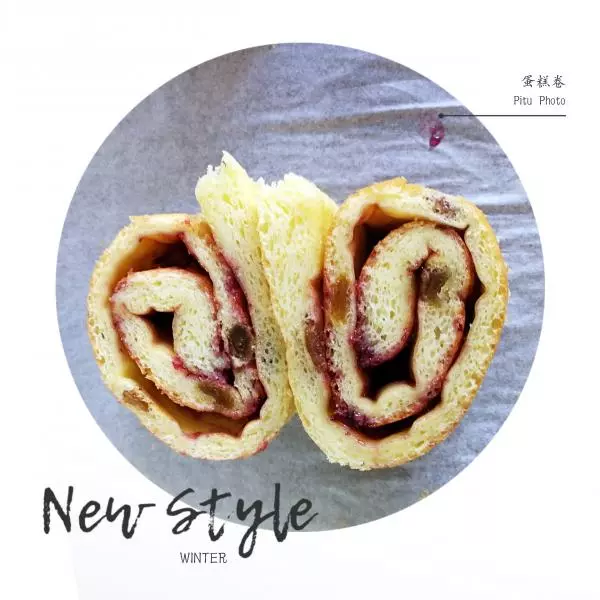
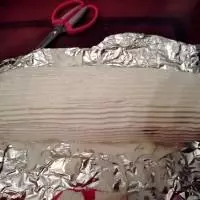
10排列上黄桃果肉,卷起后放入冰箱冷藏定型半小时。
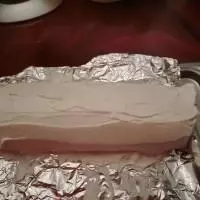
11蛋糕从冰箱取出后,将剩余的奶油抹在蛋糕卷表面。
12用三角刮板刮出条纹。
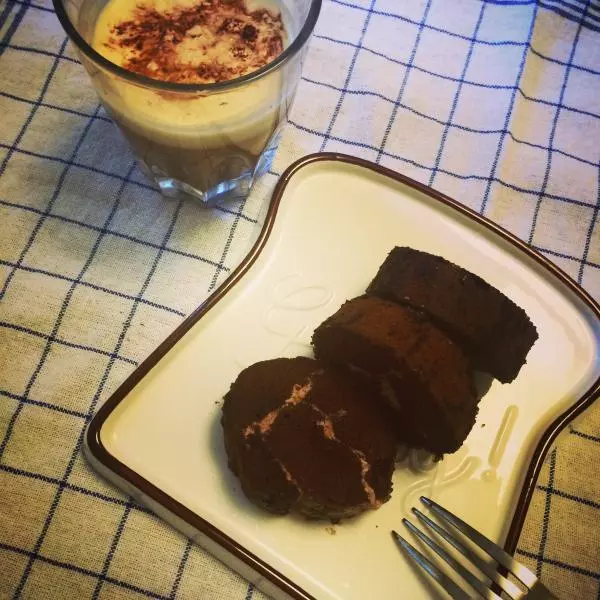
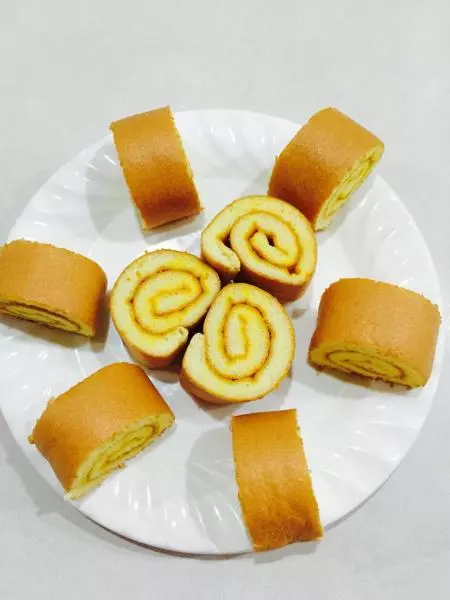
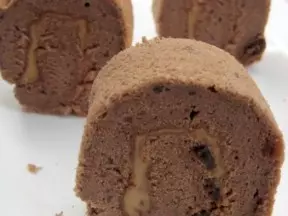
13切片完成。