原料
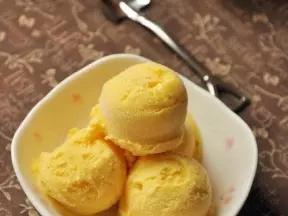
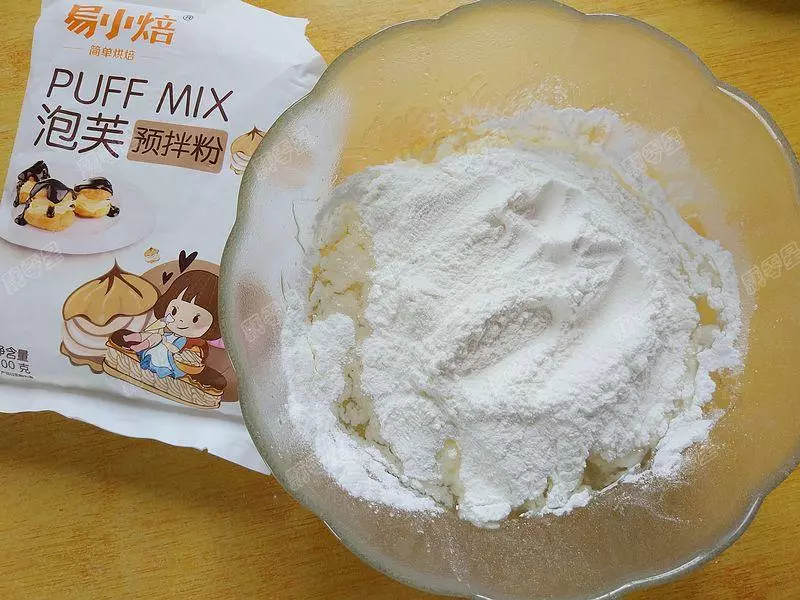
泡芙预拌粉: 100g, 黄油: 70g, 水: 100克, 鸡蛋: 3个, 冰淇淋: 100g
步骤
1将融化的黄油、水、易小焙泡芙预拌粉放入容器中
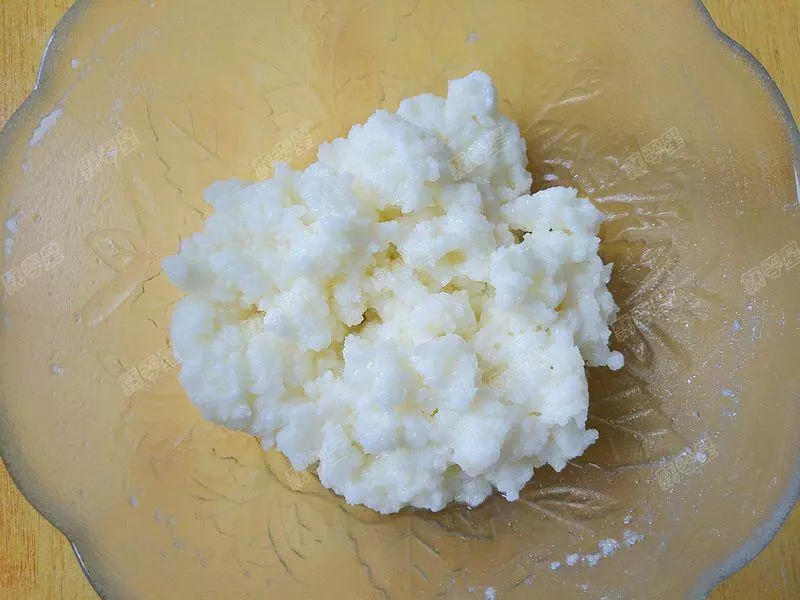
2搅拌均匀成团,用打蛋器快速搅打两分钟
3鸡蛋打散,分次加入到面糊中,每次加蛋液都要充分打匀
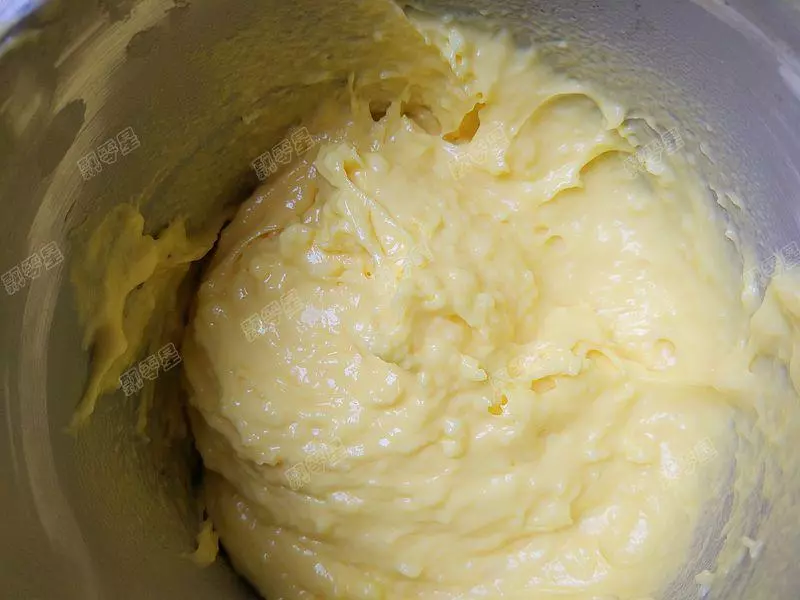
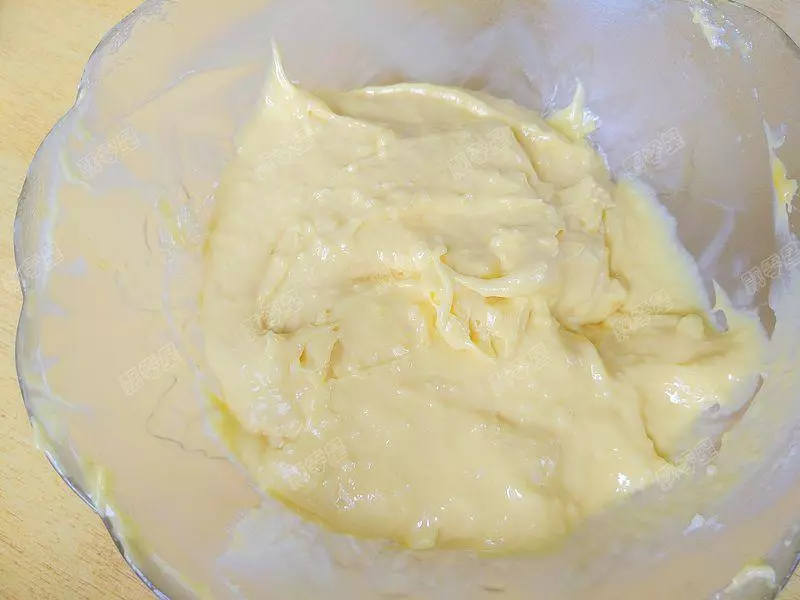
4最后搅打成光滑细腻的面糊
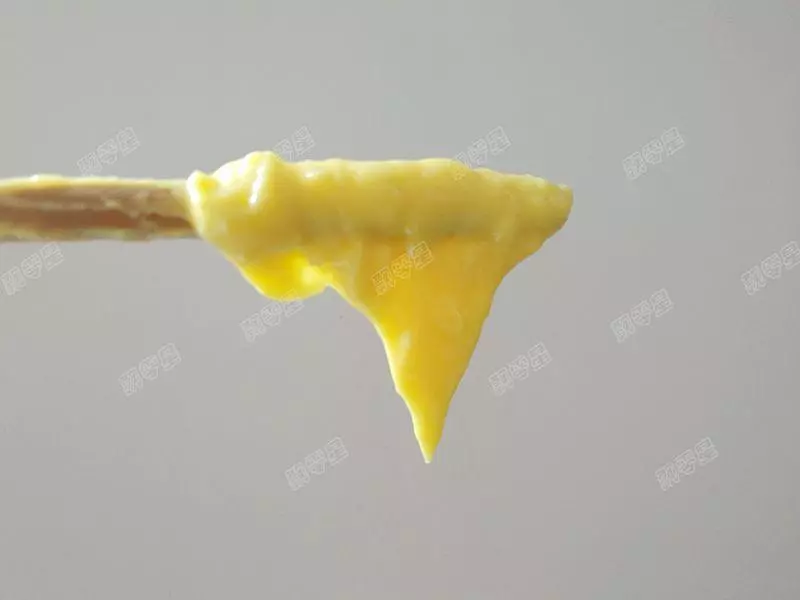
5用筷子挑起成倒三角的状态
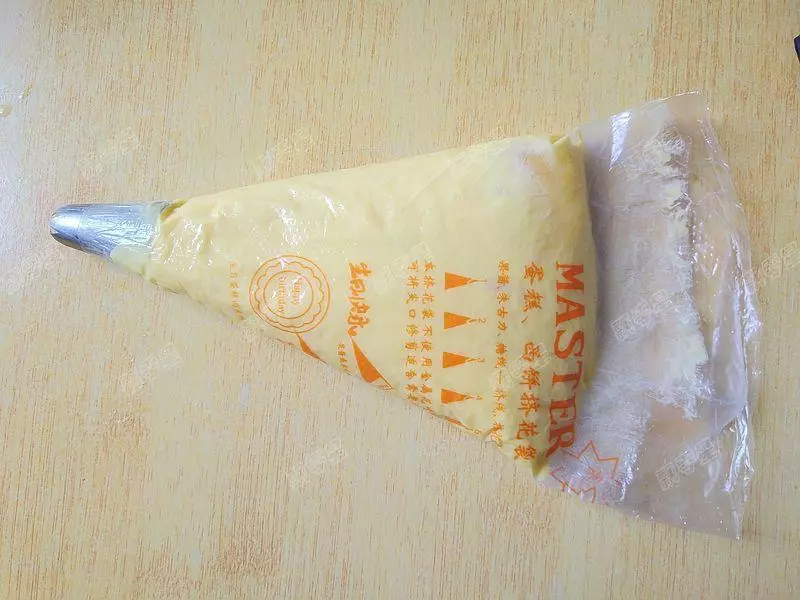
6面糊装入裱花袋中
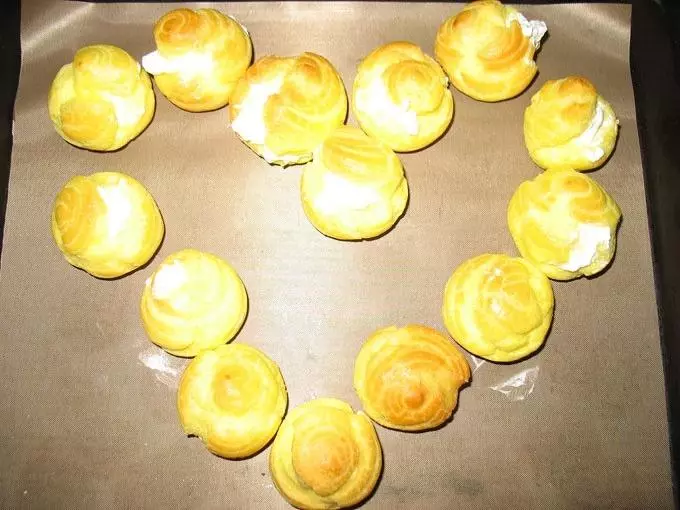
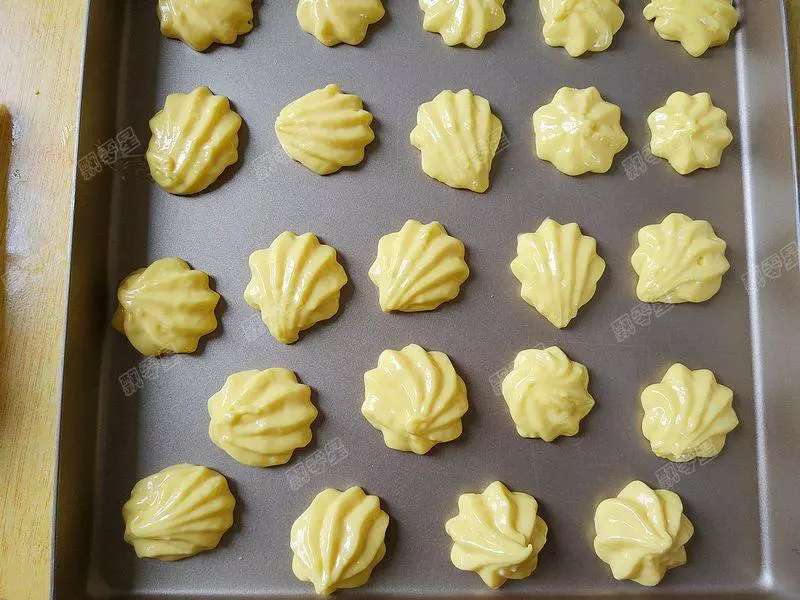
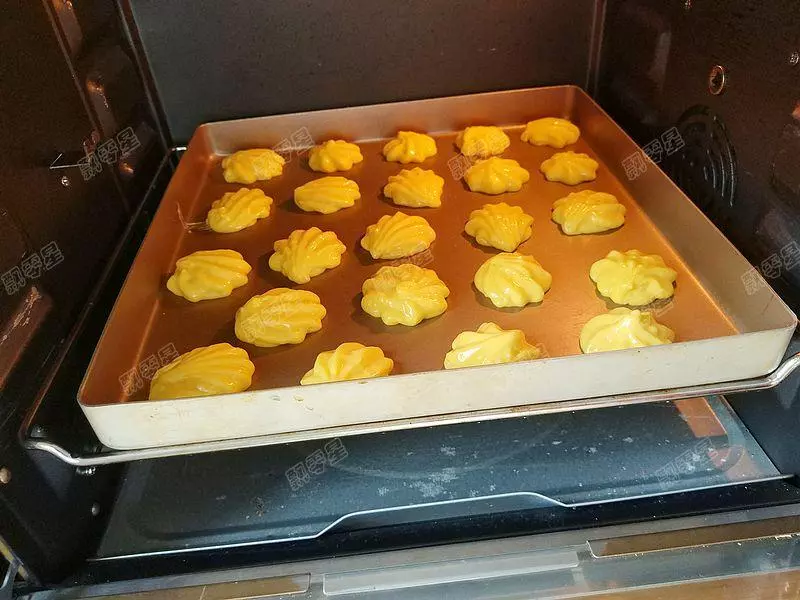
7挤入烤盘中
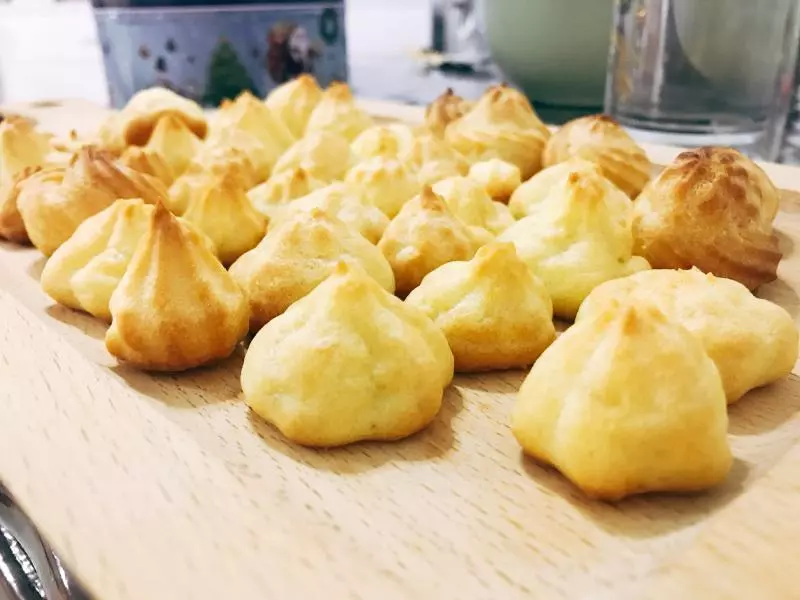
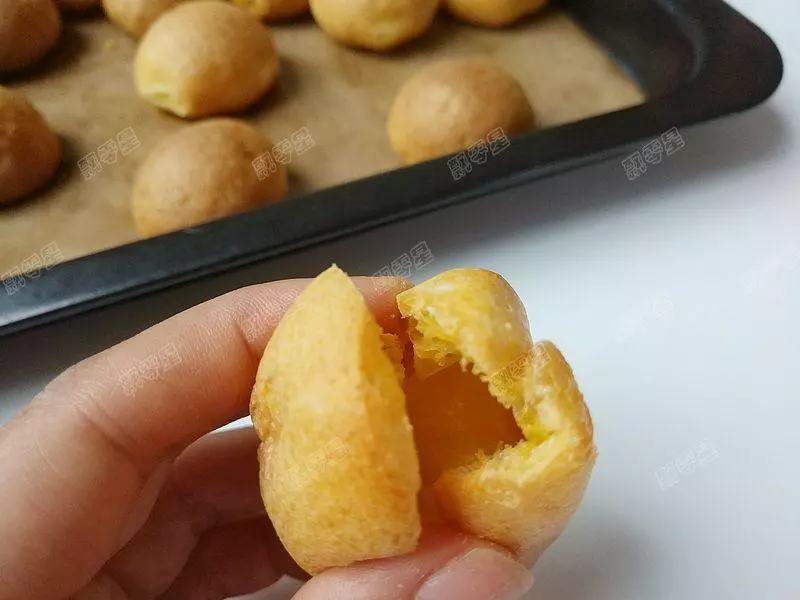
8烤箱200度预热,将烤盘放入中下层,烤15分钟。至泡芙膨胀后,将温度降至180度,继续烘烤20分钟,烤至表面黄褐色就可以出炉了
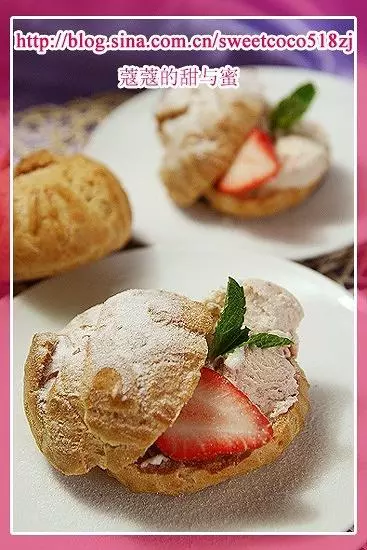
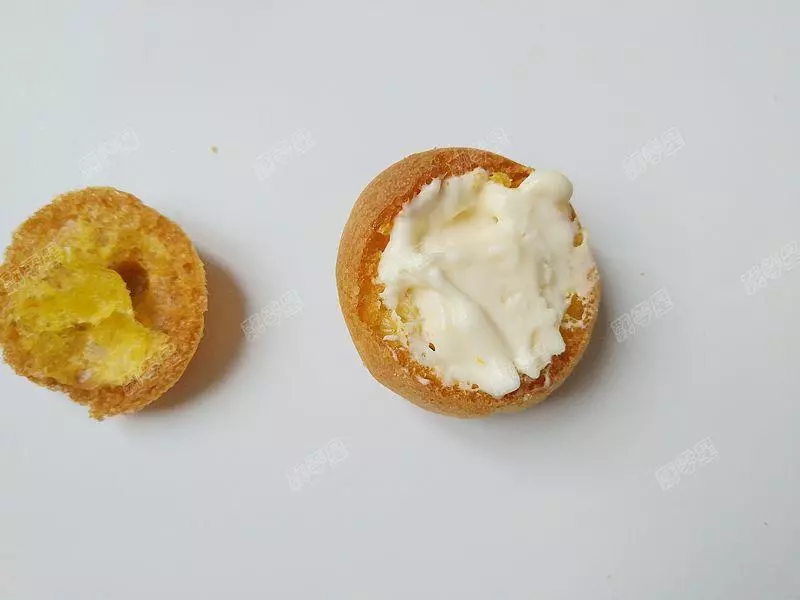
9烤好的泡芙晾晾,用小刀在上部三分之一处切一刀
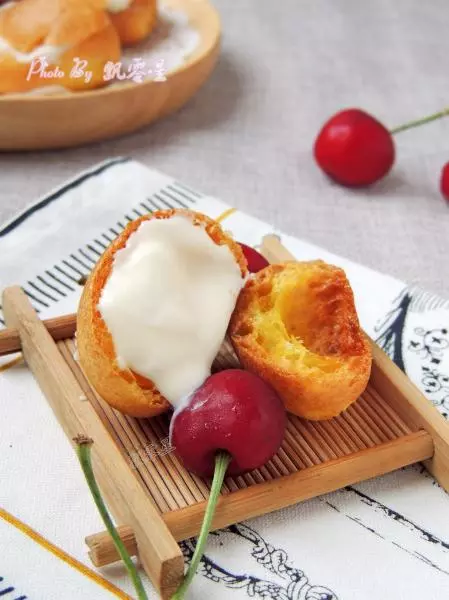
10将冰淇淋挤入中空部分就可以了
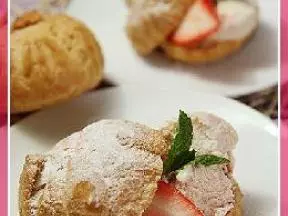
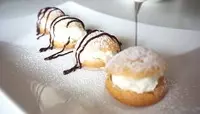
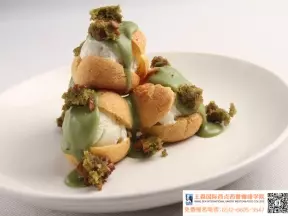
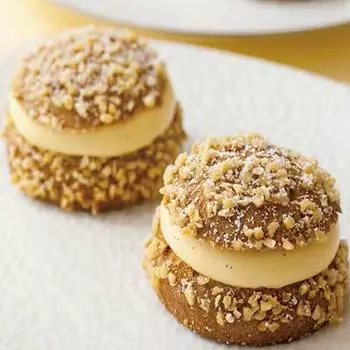
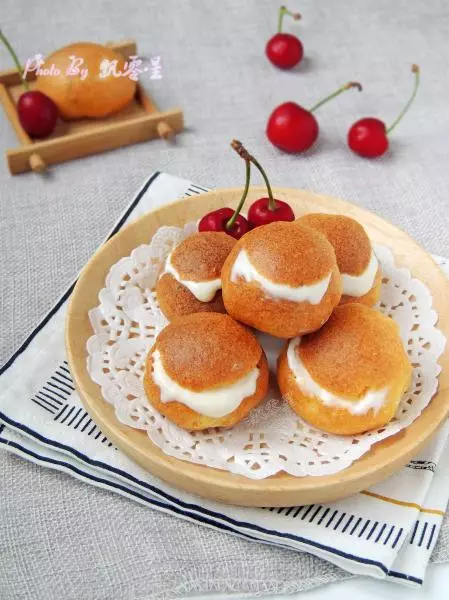
11成品图
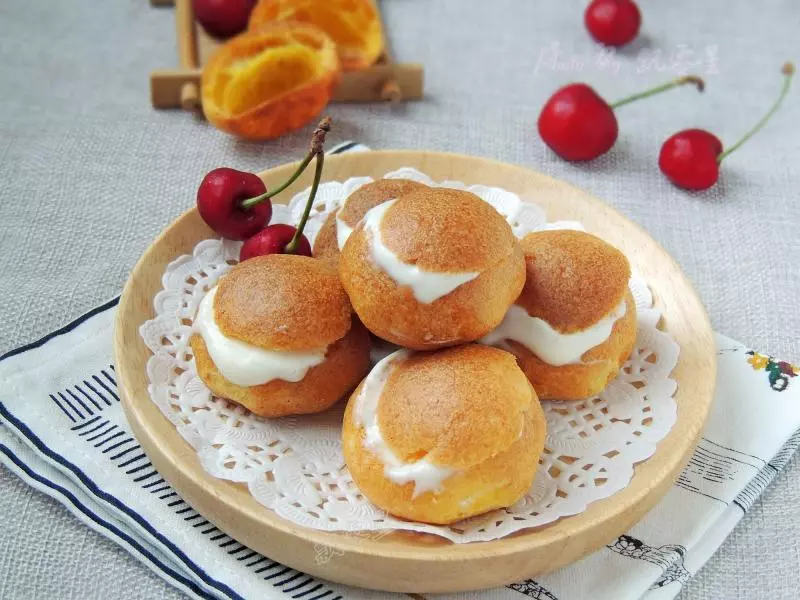
12成品图
小技巧
1.配方里的鸡蛋不一定需要全部加入,用筷子挑起面糊,面糊呈倒三角形状,尖角到底部的程度约4CM左右,并且不会滑落的程度就可以了。 2.裱花袋套在一个杯子上,就比较方便往里面装面糊了 3.面糊受热会膨胀,所以挤在烤盘上的面糊之间要留有空隙。 4.泡芙一定要一次烤到位,否则出炉后会塌陷,烤的中途切记不要打开烤箱门. 5.烤箱温度要根据自家烤箱温度调节。