原料
菠萝皮: , 黄油: 60克, 糖粉: 40克, 低筋面粉: 75克, 泡芙面糊: , 黄油: 35克, 牛奶: 85克, 糖: 1克, 低筋面粉: 55克, 鸡蛋: 一个半到两个, 卡士达酱: , 淡奶油: 200克, 砂糖: 20克, 蛋黄: 两个, 砂糖: 20克, 玉米淀粉: 15克, 黄油: 15克, 牛奶: 200克, 香草精油: 少许
步骤
1准备菠萝皮里的黄油软化!

2加入糖粉搅打均匀,不用打发!

3筛入低筋面粉搅拌均匀!

4弄成面团,放入保鲜袋里!

5捏成细长条,冷藏到冰箱里!

6黄油+牛奶+砂糖加热!

7黄油牛奶加热至沸腾,倒入面粉烫熟!

8取一个鸡蛋,打撒了,慢慢倒入烫过的面糊里,搅匀了在放下一次,加入一个鸡蛋,在打一个鸡蛋,分成搅拌,搅拌成倒三角,面糊慢慢低落的样子!

9面糊搅拌好的样子!

10把面糊装入裱花袋!

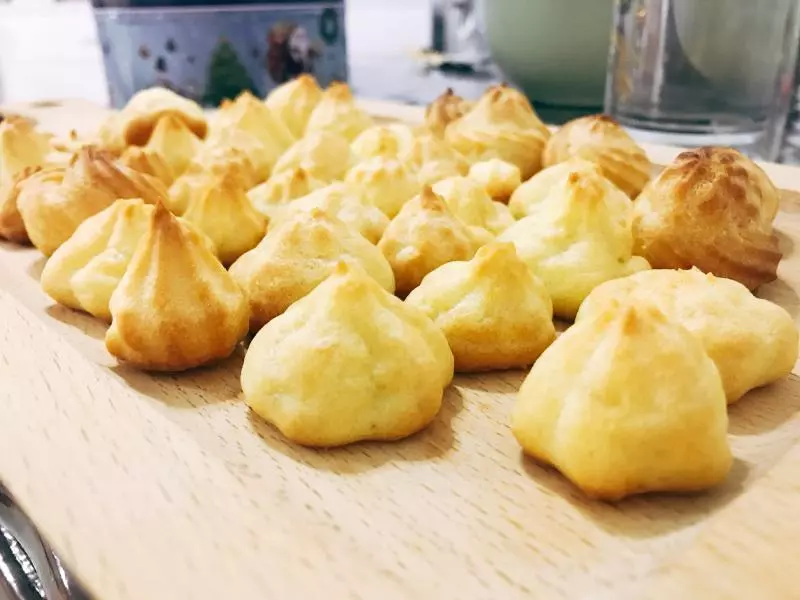
11裱花袋减一个小口,挤上一小坨,空隙一定要留大一点,因为面糊会膨胀的很厉害哦!

12冷藏好的的菠萝皮切!

13拿手掌压一下!

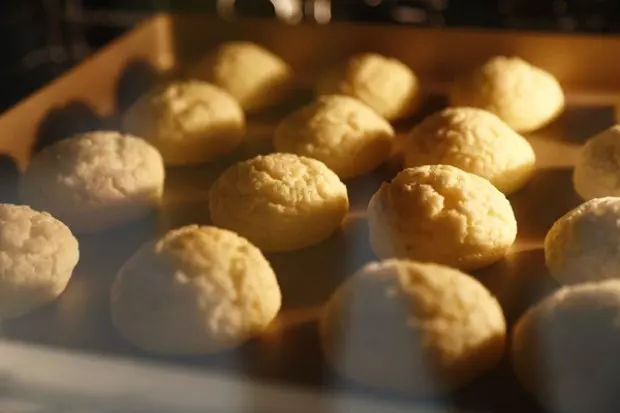
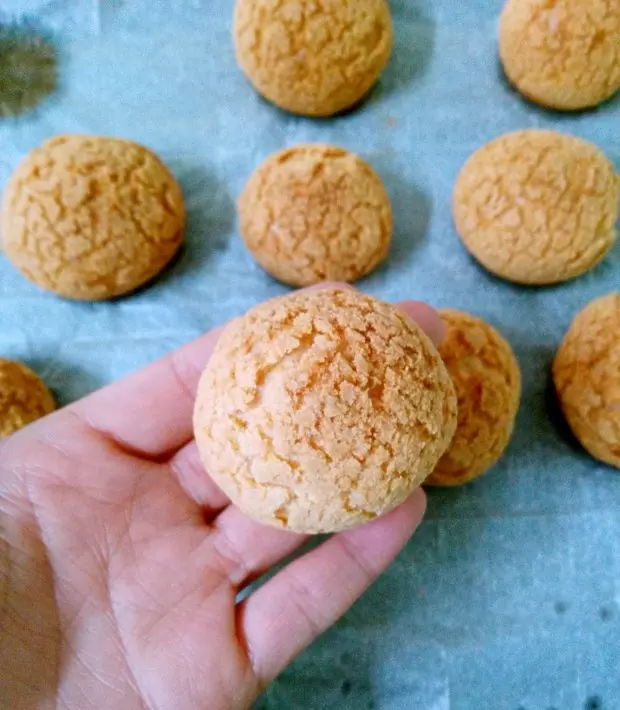
14把菠萝皮盖到面糊上,入烤箱预热150度35-40分钟!

15看着在烤箱里慢慢变大!

16用烤制泡芙的功夫,来做卡士达酱,淡奶油+砂糖打至6分发!

17蛋黄+砂糖用电动打蛋器打发!

18加入玉米淀粉继续搅拌!

19牛奶加热后关火滴入香草精油!

20趁热把三分之一牛奶倒入蛋黄糊里搅打均匀,余下的也慢慢倒入搅匀!

21隔水加热蛋黄糊,特别粘稠了,关火加入黄油至融化!

22奶油和做好的蛋黄面糊混合均匀就是卡士达酱!

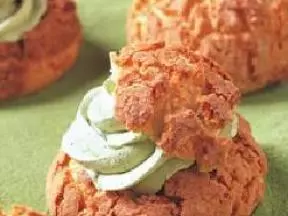
23一个裱花袋减个小口,放进去挤泡芙馅嘴,灌进去泡芙馅!

24可以罐的很满?

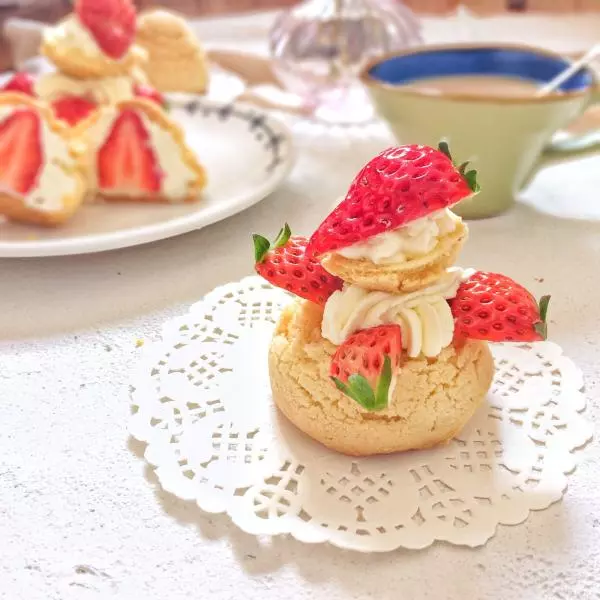
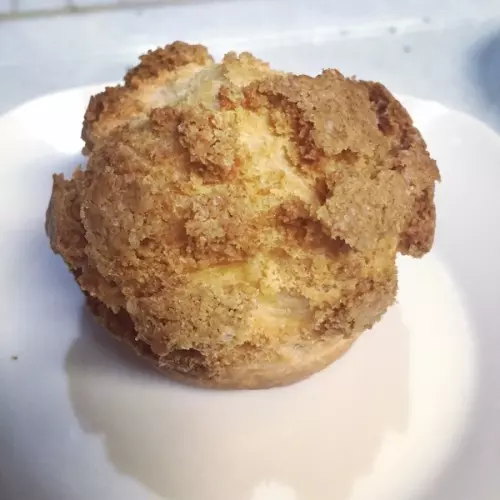
25烤了一炉又一炉,非常好吃!

26做好了,大家也可以试试!

小技巧
熊熊碎碎念:1、泡芙面糊一定要烫过才能打进去鸡蛋!2、弄的每一个面糊离得都要远一点,因为泡芙会膨胀呢!3、挤面糊要从下往上挤一坨,不要画圈挤!4、烤制泡芙的过程中千万不要开烤箱的门,否则发起来的泡芙会扁的!5、做好卡士达酱,可以加入抹茶粉,可可粉,榴梿馅,加入什么就变成什么味道,当然你怕麻烦直接打发淡奶油罐进去也是可以的!