原料
面团:: , 高筋面粉: 350克, 水: 185克, 耐高糖酵母: 5g, 糖: 50克(咸口25克), 盐: 3克, 橙皮丁: 30克, 黄油: 15g, 馅料:: , kiri奶油芝士: 80g, 橙皮丁: 20克
步骤
1kiri奶油芝士,安佳黄油,糖渍橙皮丁 糖渍橙皮丁制作链接:https://www.xiachufang.com/recipe/102871871/

2除了黄油和橙皮丁外,其他都放入盆内,因为面粉的吸水性不同,水先预留10g,看情况酌情增减哦!

3揉面机1档揉成团,2档5分钟,

43档10分钟,揉成粗膜

5加黄油,3档继续揉35分左右,

6揉出手套膜即可

7取出面团,加糖渍橙皮丁

8揉匀

9混合成光滑面团

10可用保鲜袋装起,空气排出,袋子扎紧。

11冬日可放烤箱开启发酵功能(夏日可放温暖处发酵即可)

12发酵2到2.5倍至大时,保鲜袋胀起,成大包鼓即可!

13手沾面粉,从保鲜袋里取出面团,揉匀,排气!

14按面团等量分成四份,滚圆,盖保鲜膜醒发15分钟。

15醒发面团过程中,把奶油芝士隔热水融化,加入糖渍橙皮丁(因为橙皮丁有糖分,所以芝士里可不用多加糖粉了哦?)

16可放入裱花袋,也可省略,看个人习惯哈?

17取一个松弛好面团揉成长椭圆条,其他的三个面团用保鲜膜盖住,以免表面风干哦!

18擀成长条面片,体积大致为长38cm宽9cm(及供参考)

19翻个面,在宽面片中间挤上橙皮丁奶油芝士(80g的芝士奶油要分成四份用完,所以每份用多少自己要拿捏好哈?)

20面片一边稍微压扁,橙皮奶油芝士均匀的抹开

21从一头慢慢卷起

22卷起包好,捏紧收口,头围稍微滚的细一些!

23一端如图内卷,像蜗牛一样卷成团

24末端滚细压在面团下面

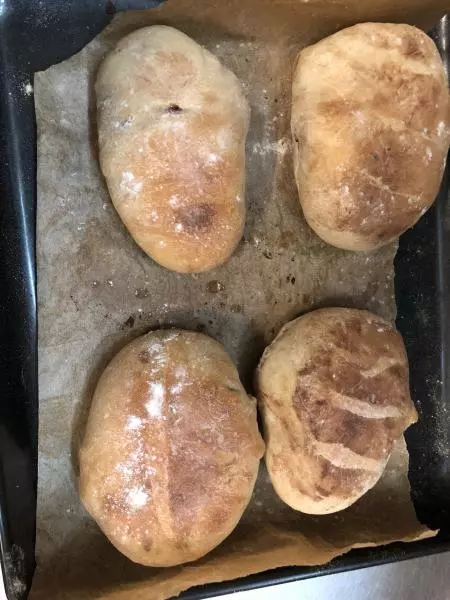
25烤盘铺油纸,面团尽量隔开放,

26入烤箱二次发酵至2倍大(烤箱发酵个人习惯会用油纸盖住,以防表面太干)

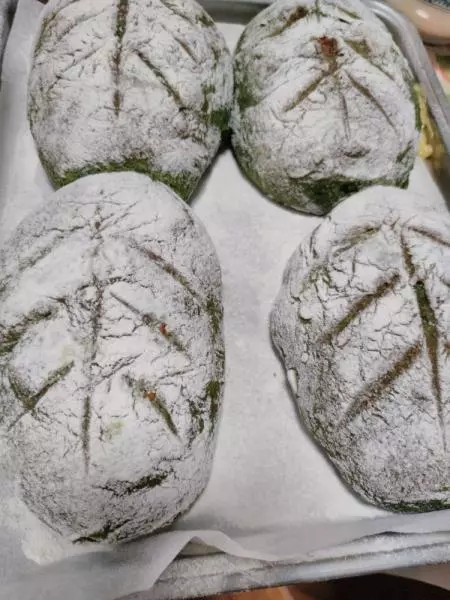
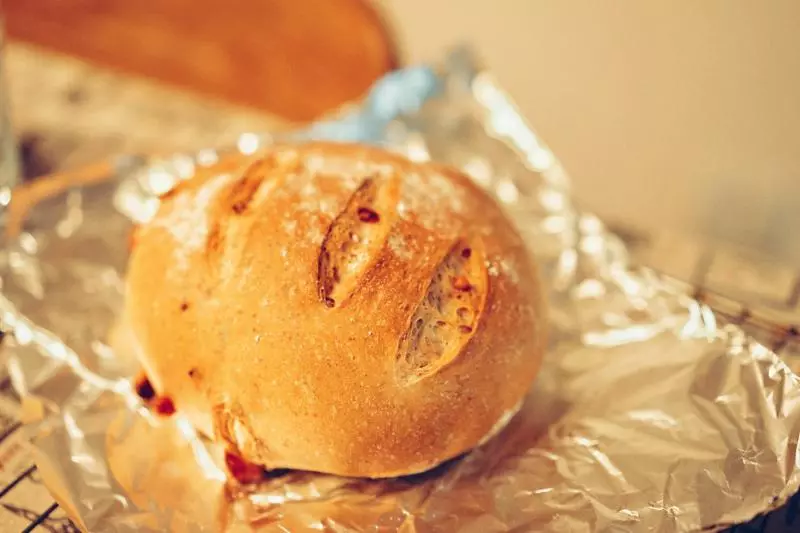
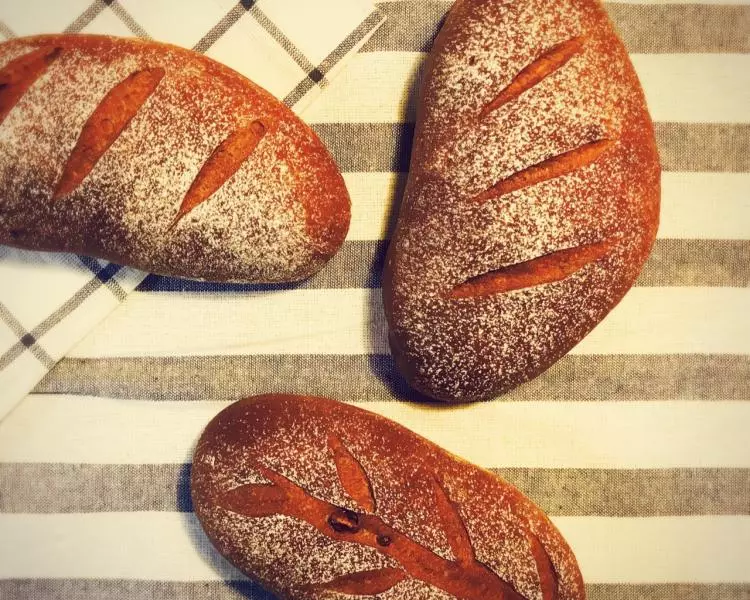
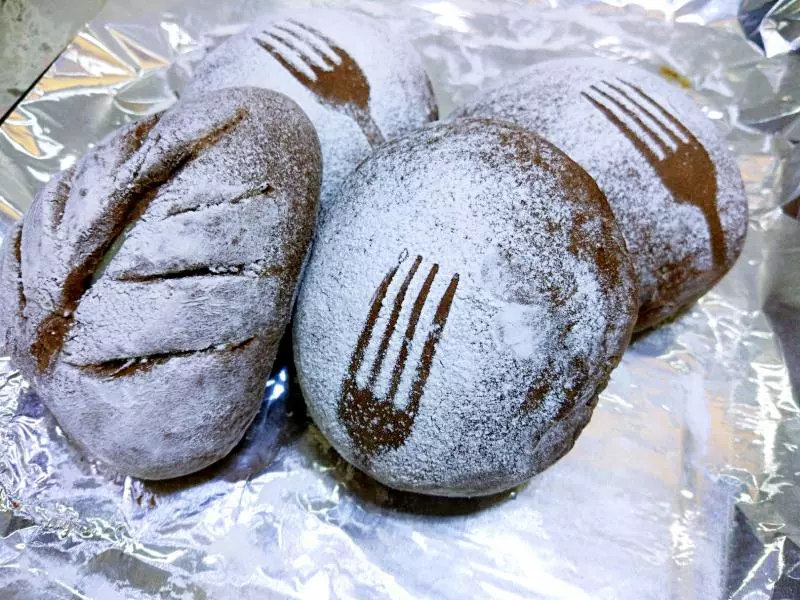
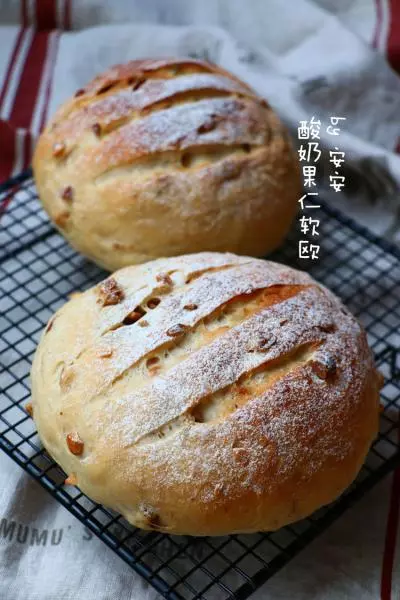
27手指轻摁表面会慢慢回弹即发酵完成,表面筛粉

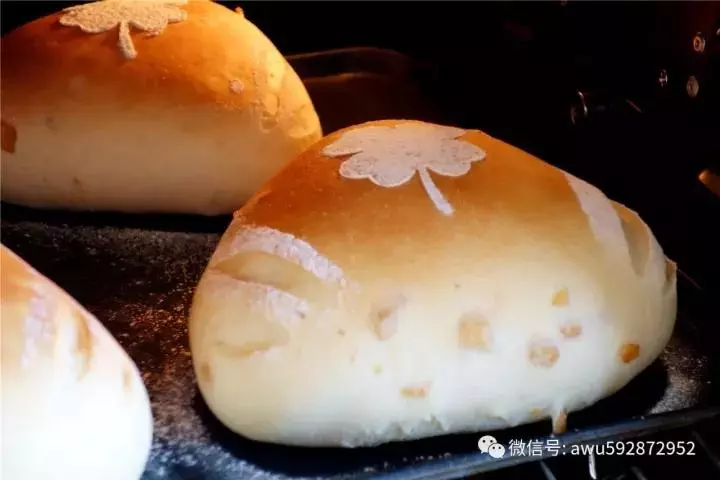
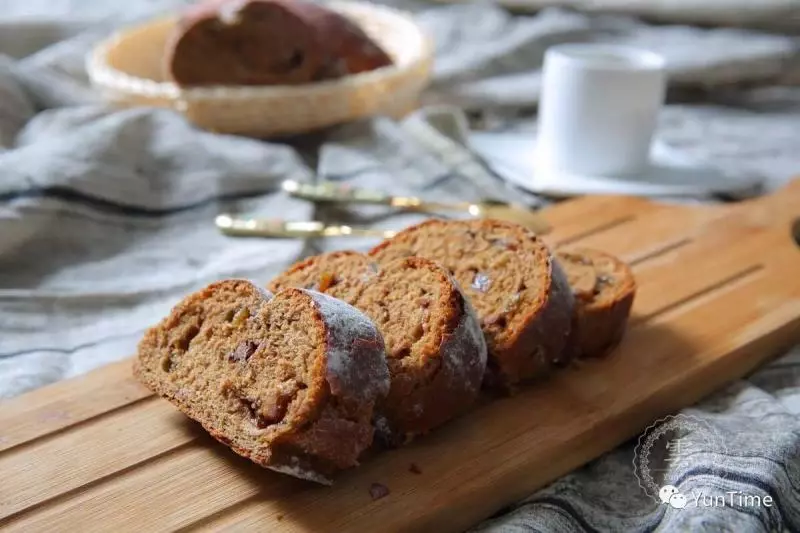
28入烤箱上下管170℃,20分钟,不喜欢表面颜色太深的,烤十分钟时,盖油纸,继续烤10分钟!我家烤箱火力比较大,只用170.每家烤箱不同,自己注意温度哈? 开烤箱盖油纸的瞬间,那个橙香味迎面扑来,简直香曝啦??

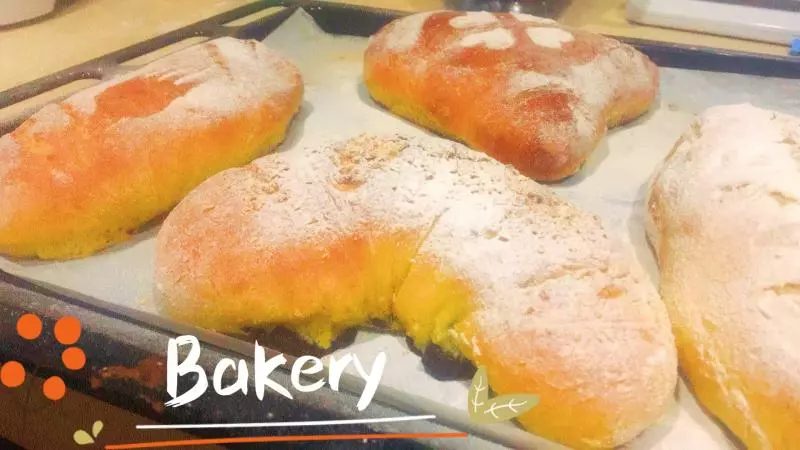
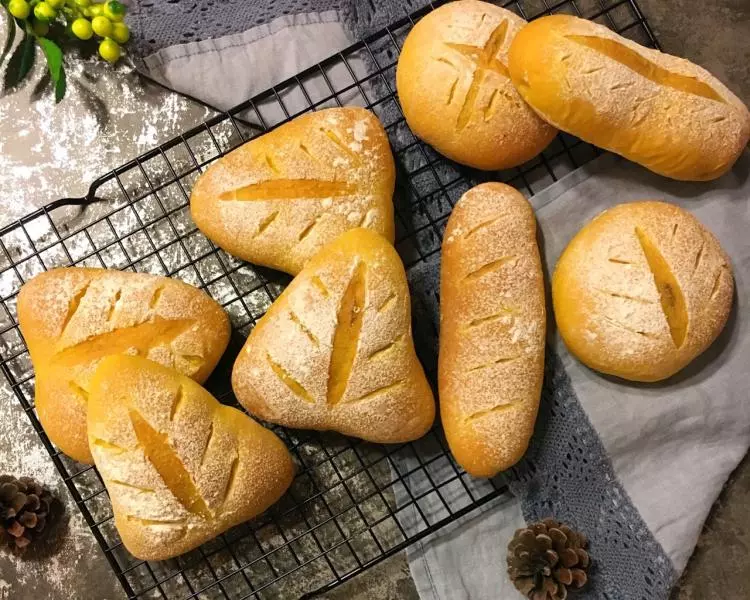
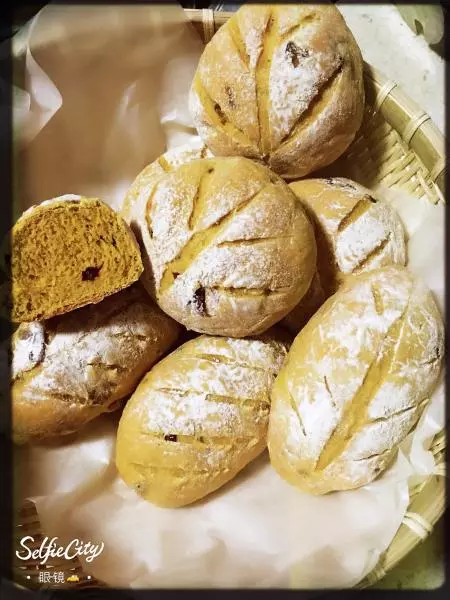
29趁阳光刚好,出室外拍哈✌✌ 还好中午没人,不然会被人扔鸡蛋的??

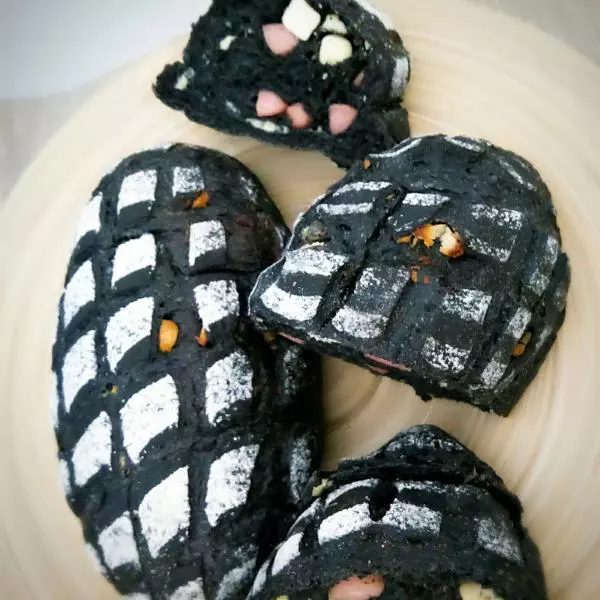
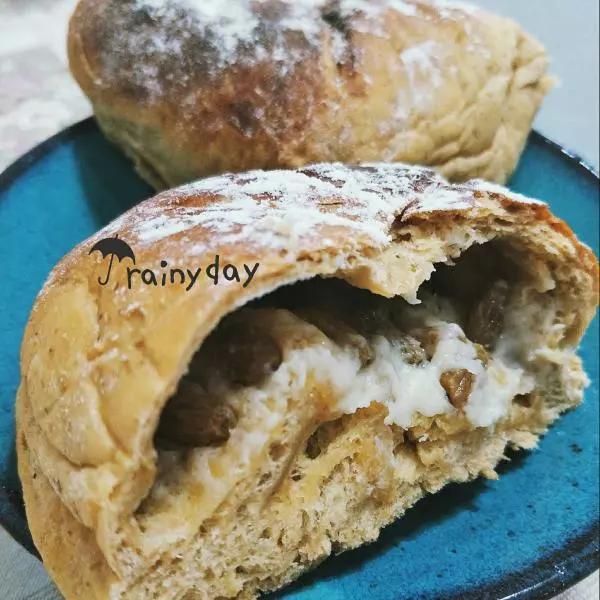
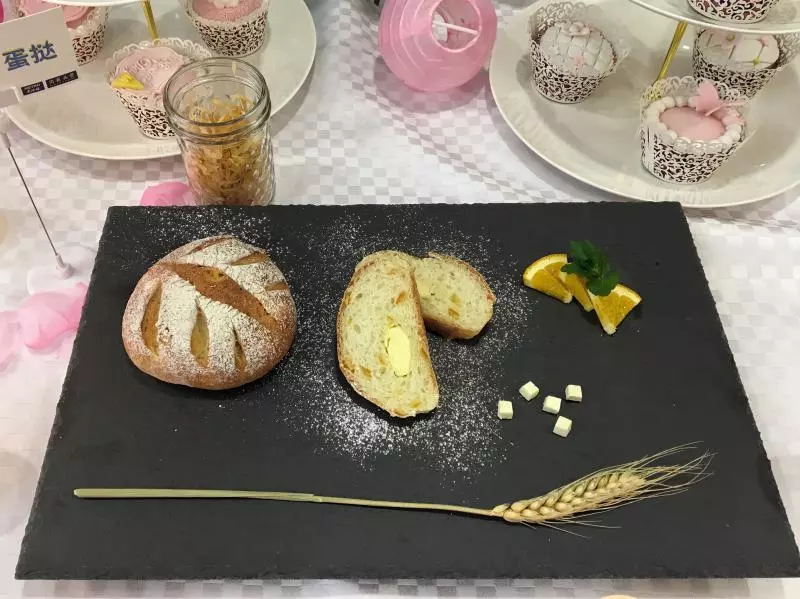
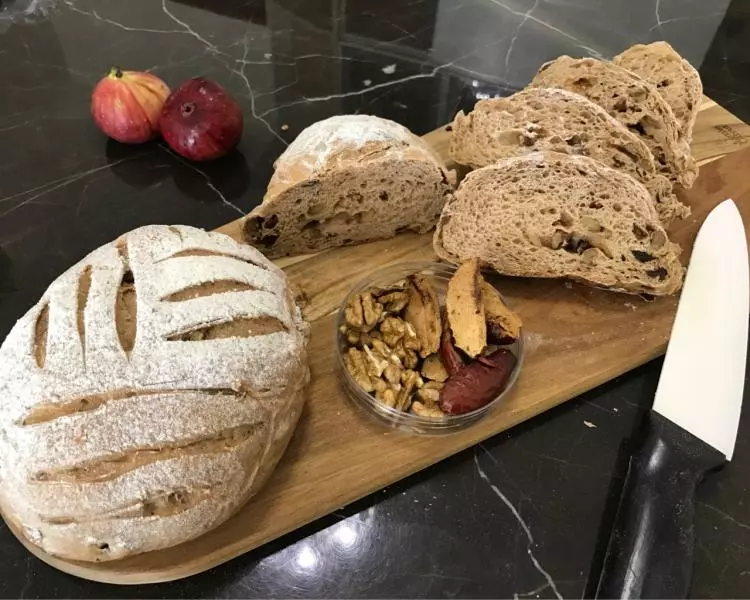
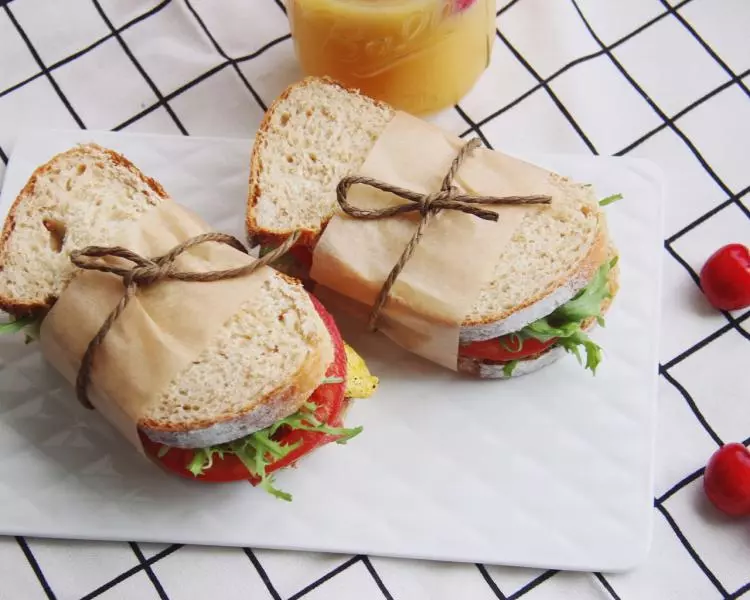
30切开做成汉堡胚,真的超级香哈!

小技巧
?此配方是基础方,亲们可根据自己的口味酌情添加坚果,增加口感哈!