原料
高筋面粉: 200g, 细砂糖: 30g, 椰浆/牛奶: 110-120g, 盐: 1g, 酵母: 2.5g, 黄油: 15g, 鸡蛋: 1个, 细砂糖: 50g(可增减), 黄油: 40g, 椰蓉: 100g
步骤
1材料~

2把面包用料除了酵母、牛奶和黄油都称量好在一起 注意盐要放在边上 避免接下来酵母与其直接接触

3牛奶用微波炉加到温热 与酵母混合均匀静止10分钟

4酵母表面产生细密气泡 倒入在面粉混合物中间

5厨师机调至1档低速揉面10min左右

6用刮板切开一小块面团 用手慢慢展开可以达到面筋状态 加入提前软化的黄油 厨师机调至3档高速揉10min左右

7用刮板切开一小块面团 用手慢慢展开成口香糖一样的薄膜 就完成揉面 俗称手套膜

8把面团整形滚圆 放入容器盖上保鲜膜 冰箱5度冷藏发酵12小时 或常温发酵 结合自己时间来选择发酵的方法

9总之发酵至两倍大 嗯~君华君睡过头,发得有点夸张

10手指蘸上面粉在中间戳孔 不回弹不塌陷的状态就是发酵好了 如果回缩就是还没发好 塌了就是发过头

11用刮板轻轻把面团刮出来 不要用手扯 然后来回给面团按压排气 把气泡压破

12面团称重均等分为10份 逐个整形滚圆

13盖上塑料膜醒面松弛15min

14等待面团松弛时准备椰蓉馅 先把鸡蛋打散 加入细砂糖 隔热融化的黄油 最后是椰蓉 喜欢葡萄干可以加进去,分量自己喜欢就好~

15椰蓉馅分为10份捏好

16面团松弛好,桌上和擀面杖都撒上手粉 上面、下面这样擀开成牛舌状

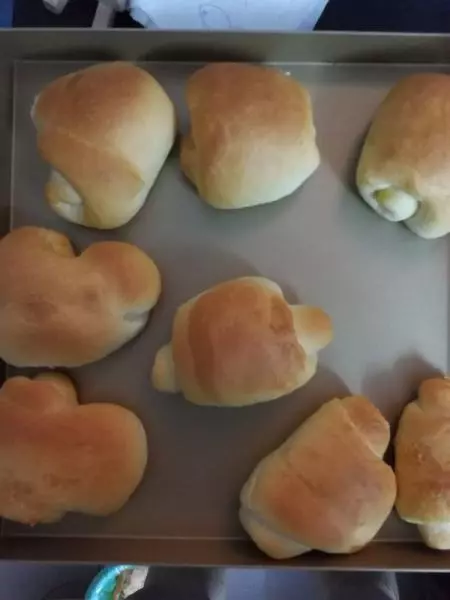
17放上椰蓉馅,从上至下卷起

18捏好两边收口,整形,收口朝下放 全部整形后放入烤箱 放入一杯热水 发酵至两倍大

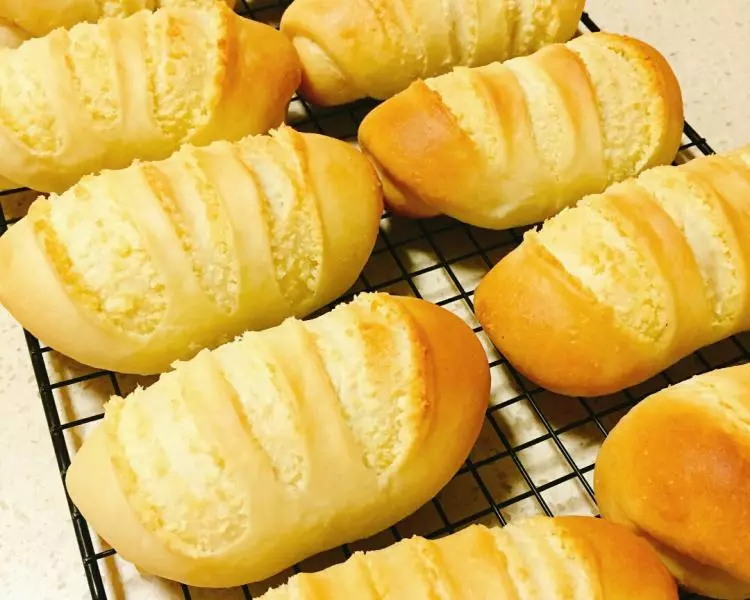
19发酵好后预热烤箱180度 割包,割上两道

20刷上一层水或者蛋液后放入烤箱 烤制15-20min 上色满意后盖上锡纸

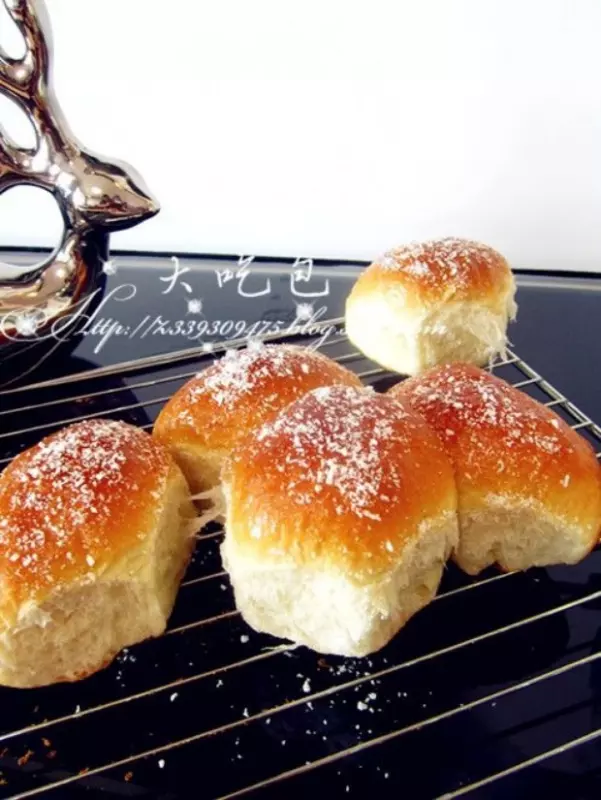
21烤制好后取出移至烤架 放凉后撒上糖粉装饰

22微信公众号:君华君 微博:君华君 B站:君华君yeah