原料
红曲米粉、竹炭粉或可可粉等食用色素: 适量, 蛋糕糊:
步骤
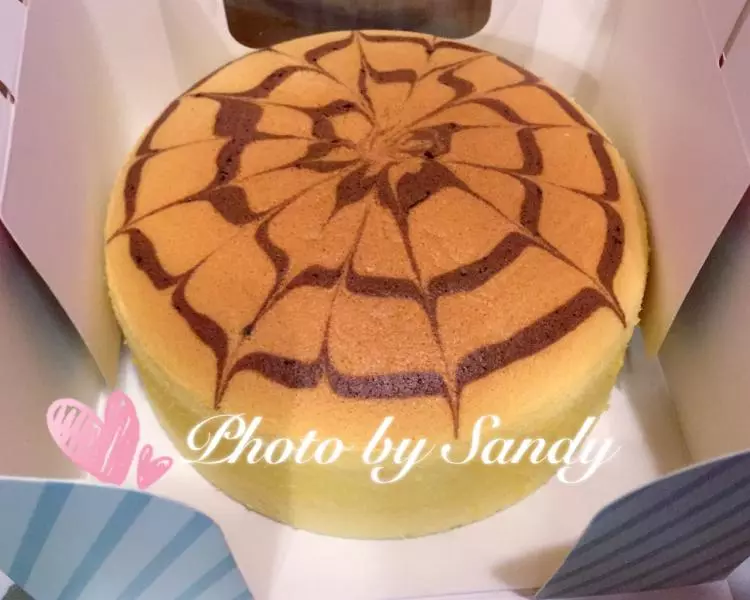
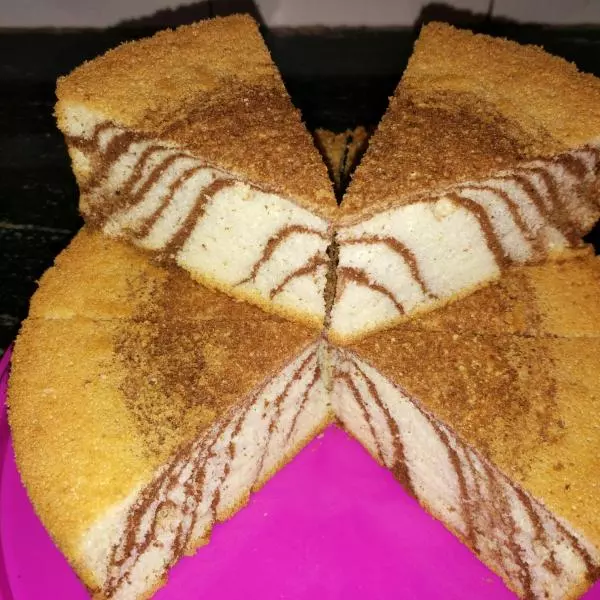
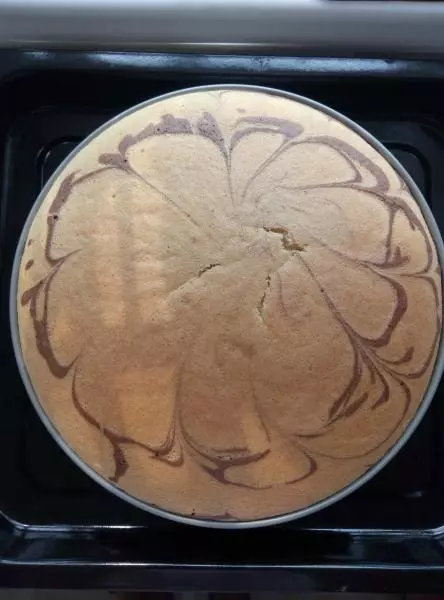
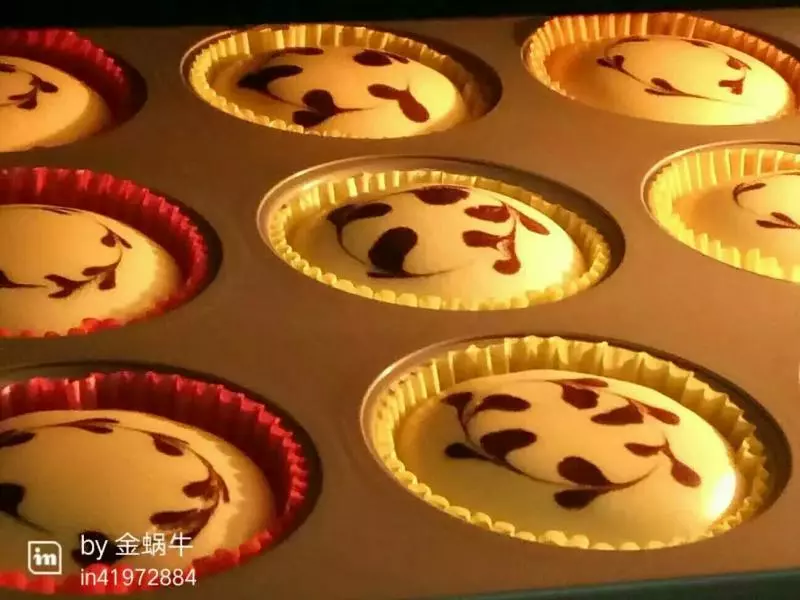
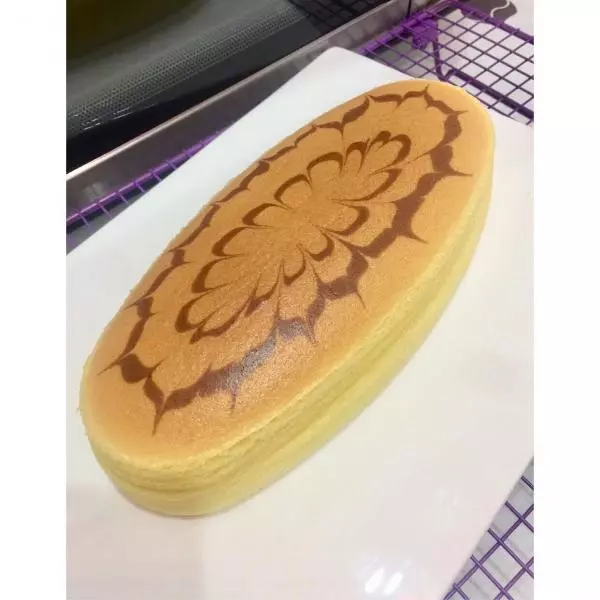
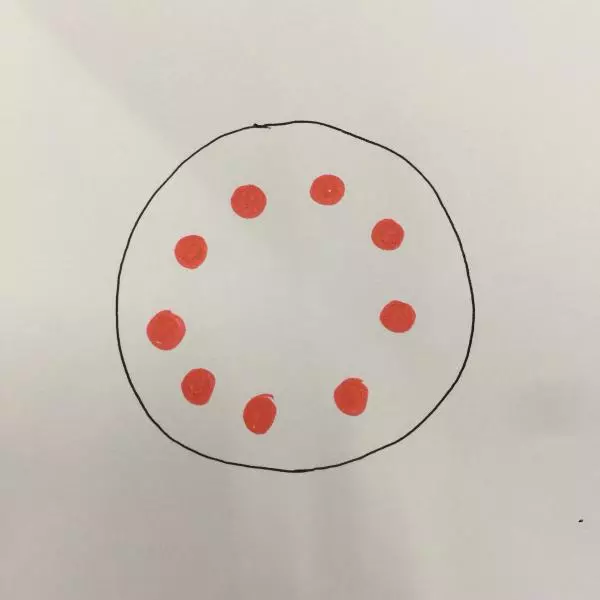
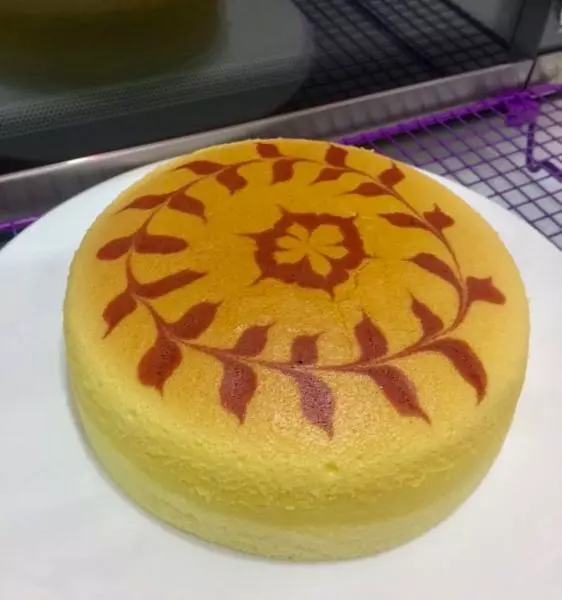
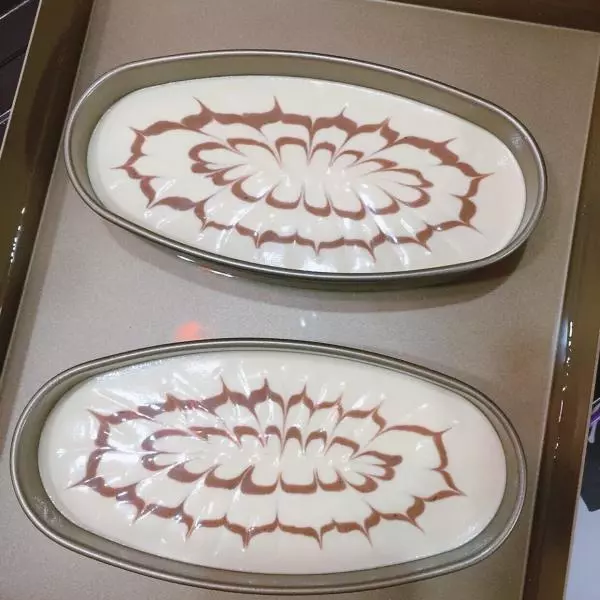
1千叶纹 将准备好的蛋糕糊倒入模具中(留少量面糊拉花用)震去气泡,用刮板刮平。在留下的面糊中加入适量食用色素,翻拌均匀,倒入裱花袋。 在裱花袋尖端剪一个小口,一定不要剪大了。剪好后可以先在厨房用纸或其他地方挤出线条,确认粗细程度,满意之后再正式往模具中的蛋糕糊上挤。 挤好彩色蛋糕糊后,用筷子或牙签按图示箭头方向拉花。每划拉一次,把筷子或牙签提起、擦干净。 千叶纹建议使用筷子拉花,其他细小一些的花纹建议使用牙签等细一些的工具拉花。 这个菜谱中有四种拉花:千叶纹、心形纹、环形叶纹、放射状纹。

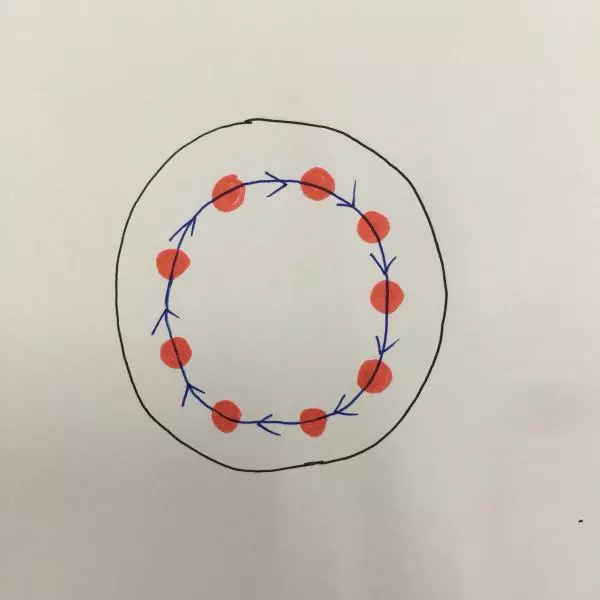
2千叶纹示意图 图中红色线代表彩色面糊,蓝色代表拉花线路方向。
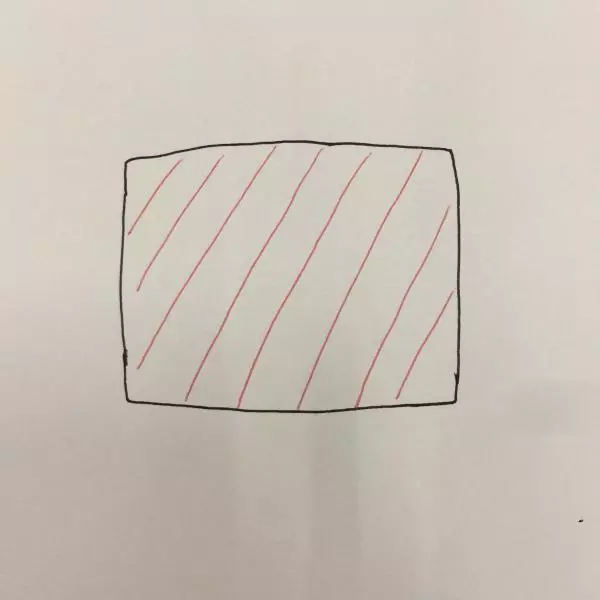
3千叶纹示意图

4心形纹
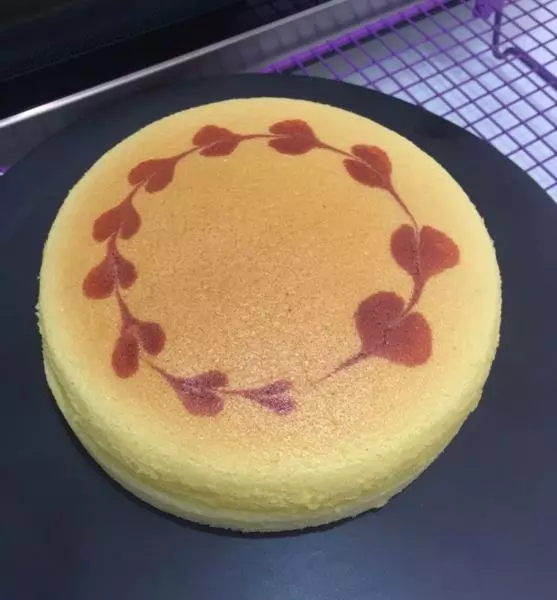
5心形纹示意图
6心形纹示意图
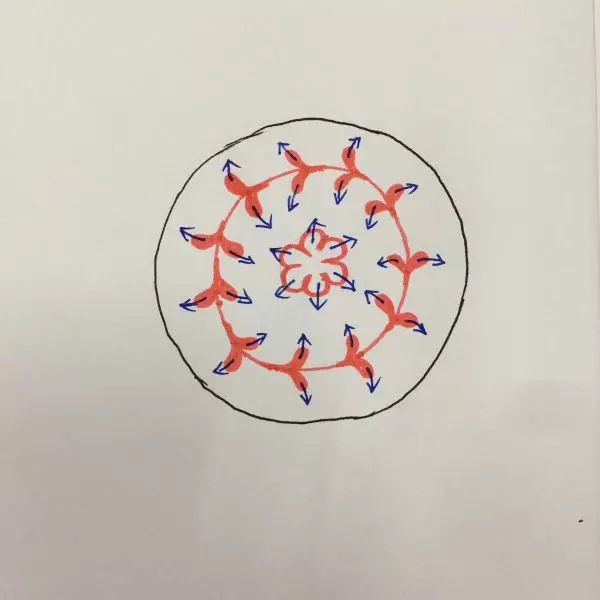
7环形叶纹
8环形叶纹示意图
9环形叶纹示意图
10环形叶纹示意图
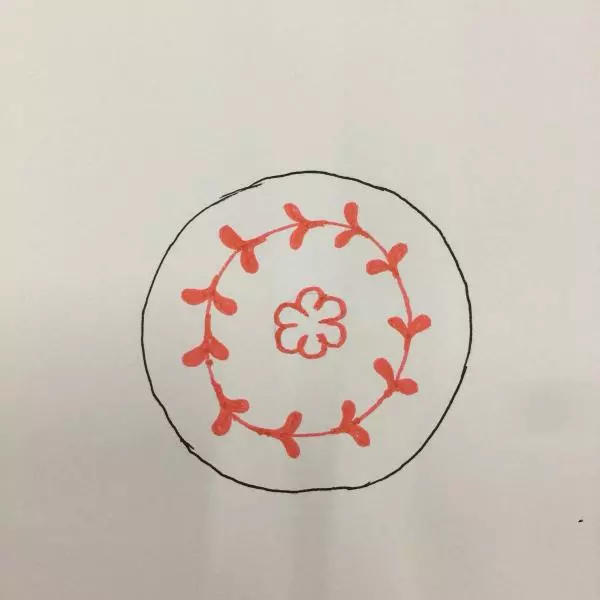
11环形叶纹示意图
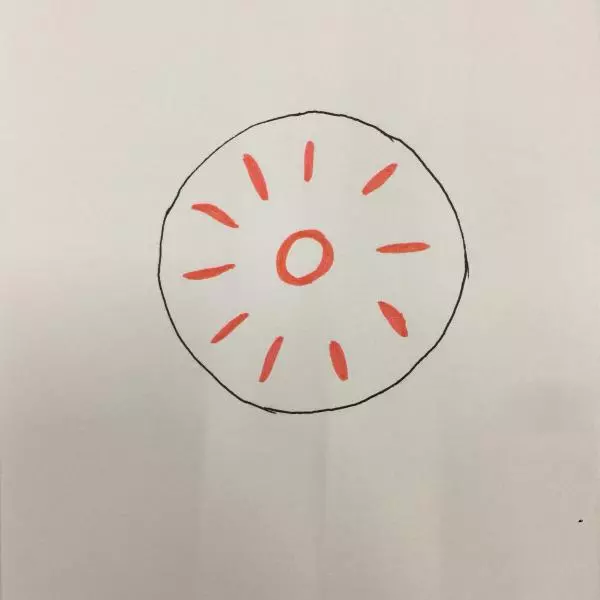
12放射状纹
13放射状纹示意图
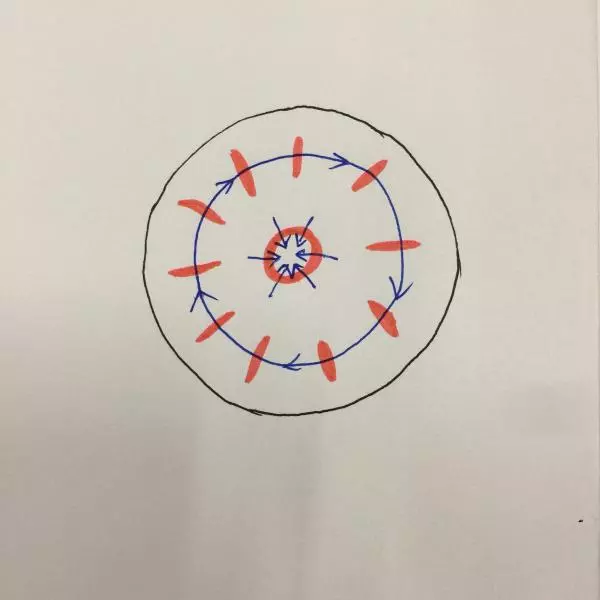
14放射状纹示意图 这个图先按蓝色箭头拉花,然后再按黑色箭头拉花。 黑色箭头是外圈往外拉花线路。

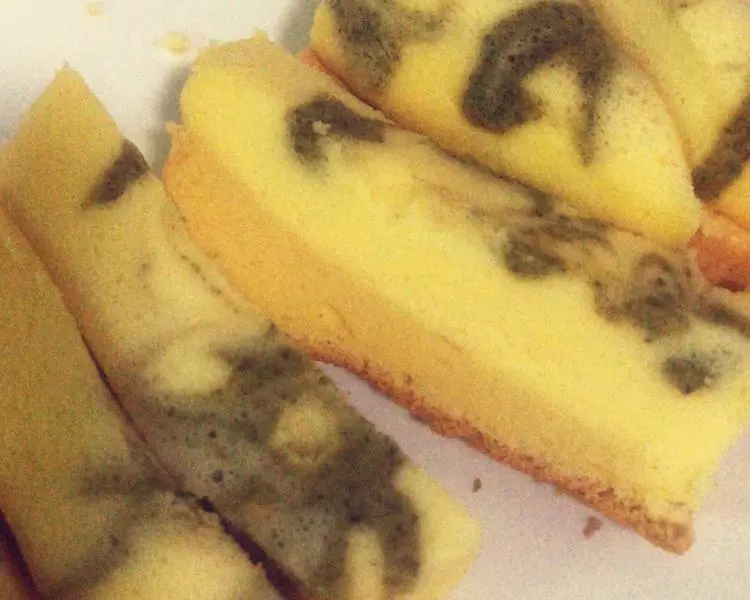
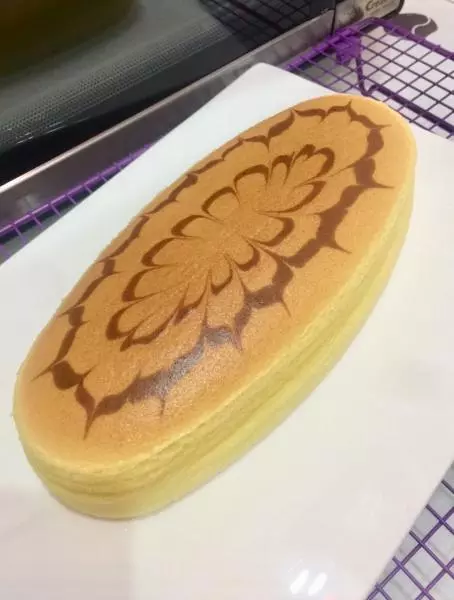
15步骤14完成后变成这个样子。
小技巧
1.准备蛋糕糊时,建议将蛋清冷冻至刚刚出现冰碴后打发,这样蛋糕糊状态稳定,即使拉花会延迟入炉烘烤时间,也不至于消泡。 2.如果使用可可粉,一定不要加太多,否则蛋糕上有拉花的地方可能会出现开裂。 3.不建议使用巧克力酱拉花,因为与蛋糕糊质地不同,不融合、不流畅、不自然。 4.用裱花袋挤彩色面糊时,即使线条有一点粗细不均或者不流畅也不要太担心,因为拉花以后会有改善,烘烤以后随着蛋糕膨胀,花纹会变得更加流畅自然。 这只是一个小小的启发,大家可以发挥想像,做出各种各样漂亮的拉花。期待大家的作品。 如果有不对的地方欢迎指正。