原料
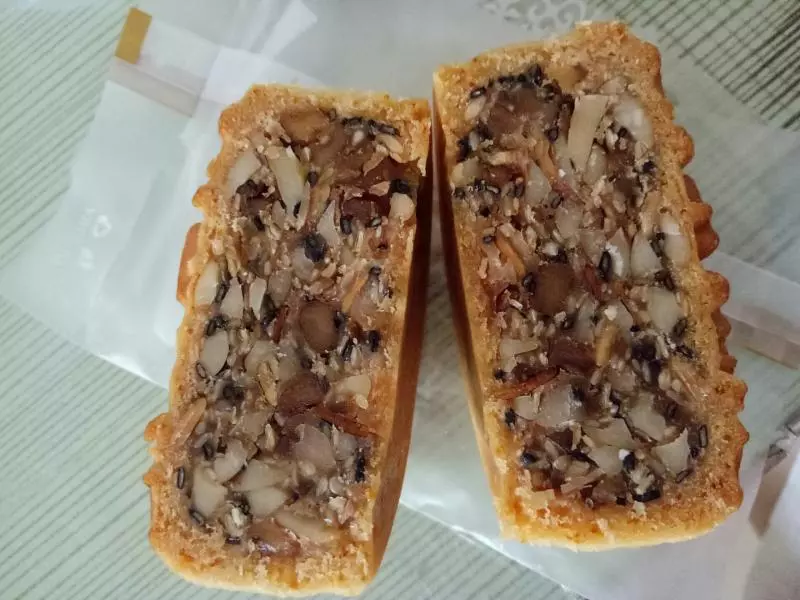
中筋面粉: 165克, 转化糖浆: 116克, 花生油: 50克, 枧水: 4克, 吉士粉: 4克, 蛋黄: 1个, 蛋白: 1/4个, 馅料: 35克*20个
步骤
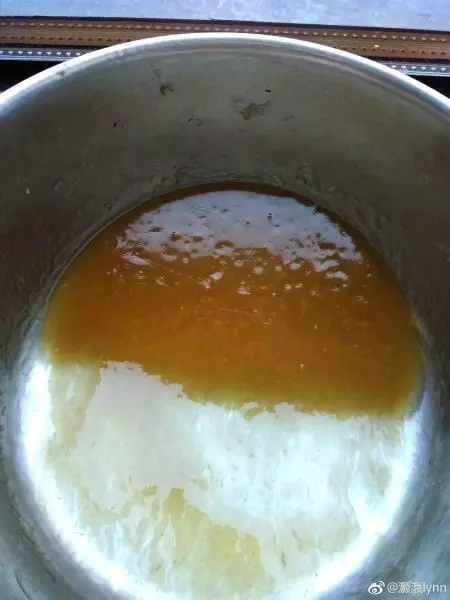
1混合糖浆、花生油、枧水、吉士粉,搅拌均匀。
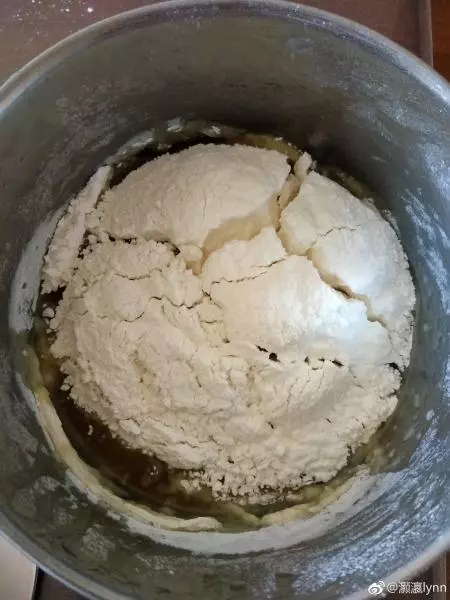
2将中粉过筛加入,混合拌匀。用保鲜膜盖好,醒发2小时以上。
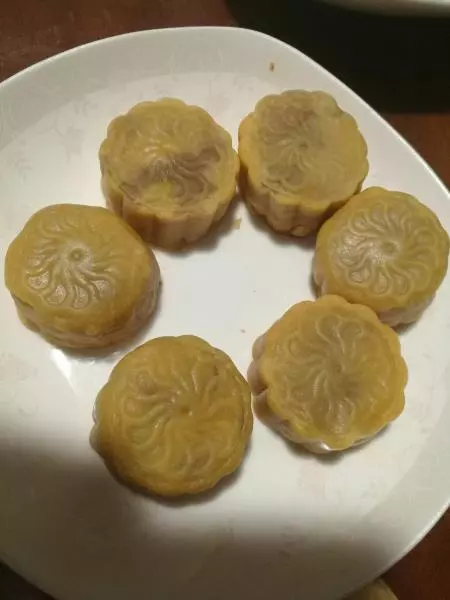
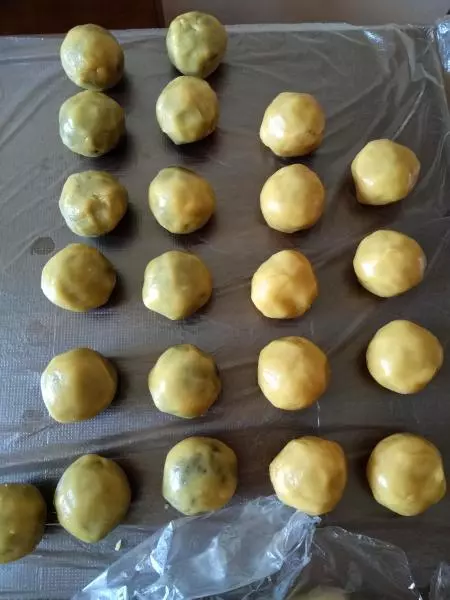
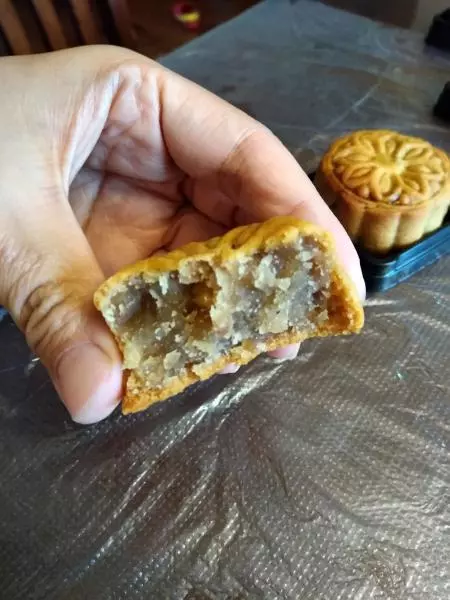
3将准备好的馅料按克数分割好,这里忘记拍照了,右图是已经裹好面皮的圆球状。
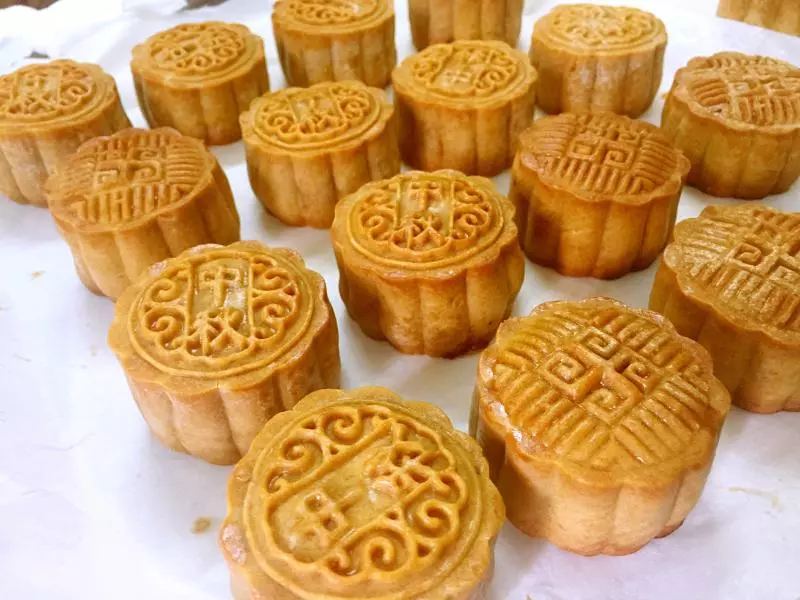
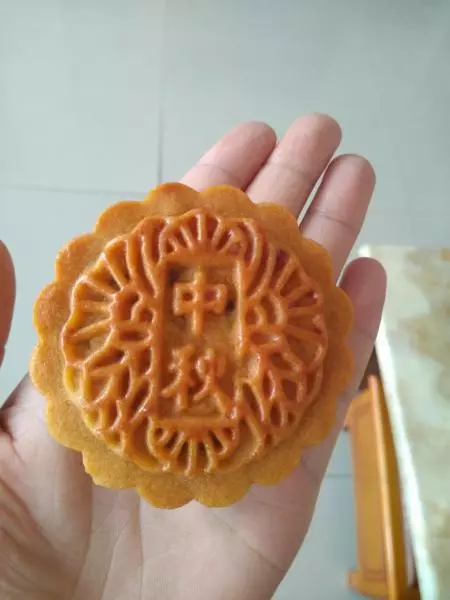
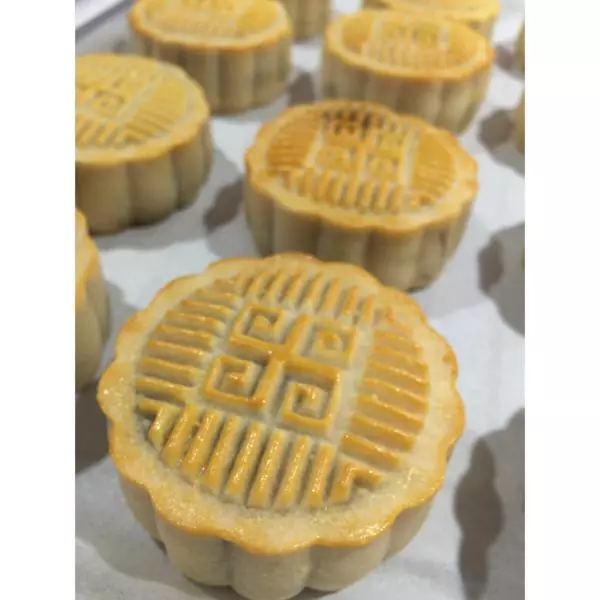
4用模具扣压出形状,模具内侧可以刷上薄薄的油,切记不要刷太多哦,因为月饼本身已经有油哦。
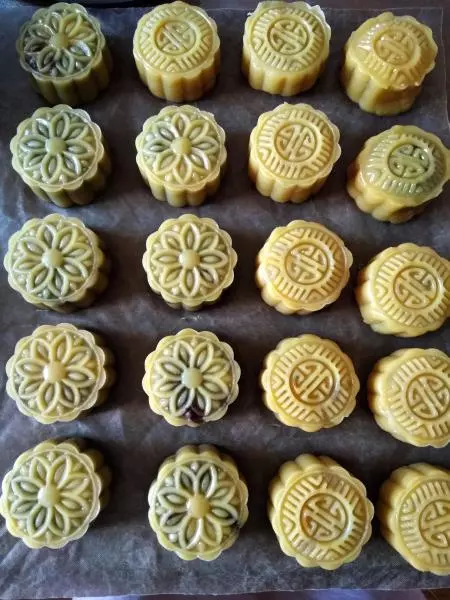
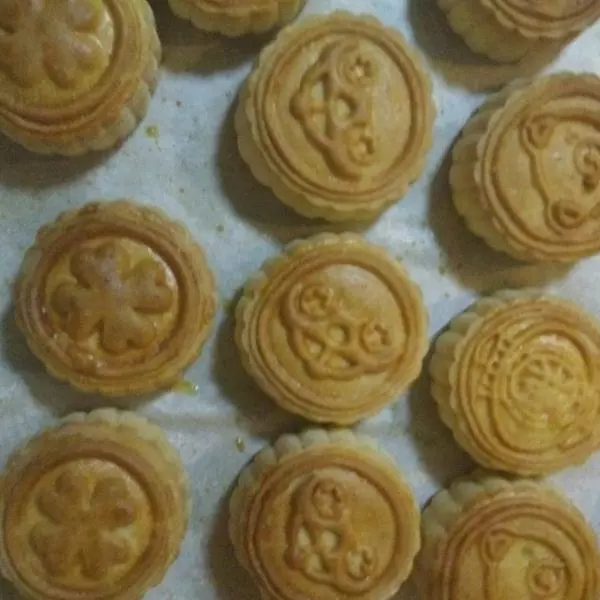
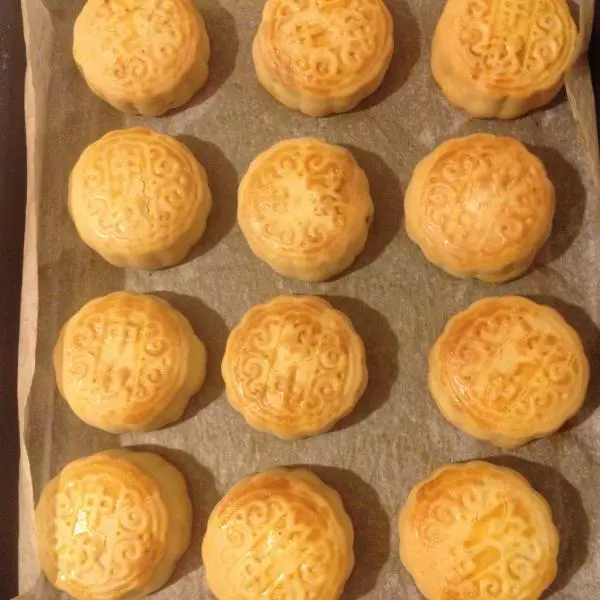
5进入烤箱之前,200度预热5分钟,把烤盘放进烤箱,先烤5分钟,待月饼定型,从烤箱内取出,刷一层薄薄的蛋液(刷蛋液切记只刷薄薄的一层,不然烤出来的月饼,花形就看不出来了,而且给出的蛋液配量据说可以刷上一百个月饼的量呢)
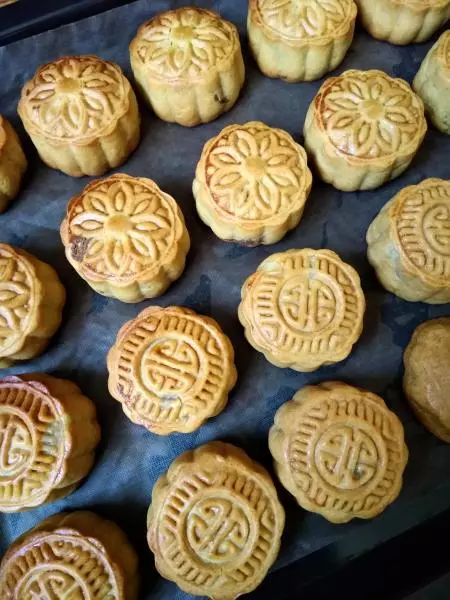
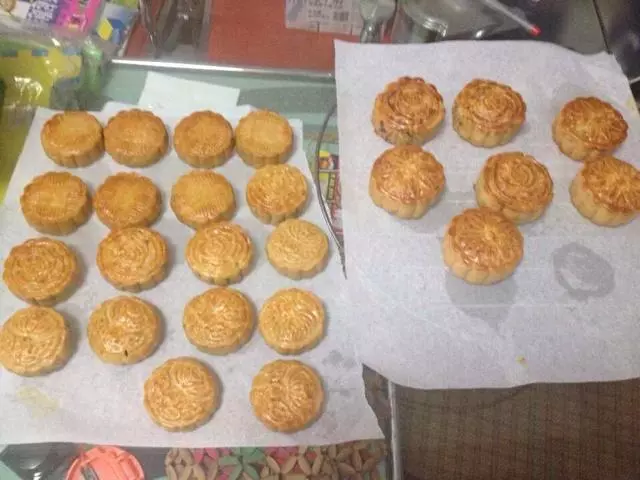
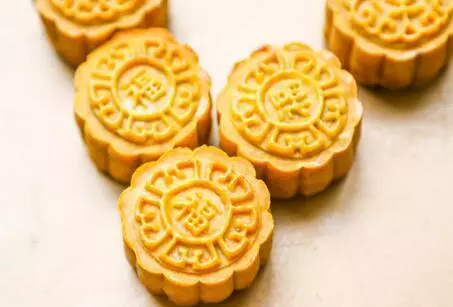
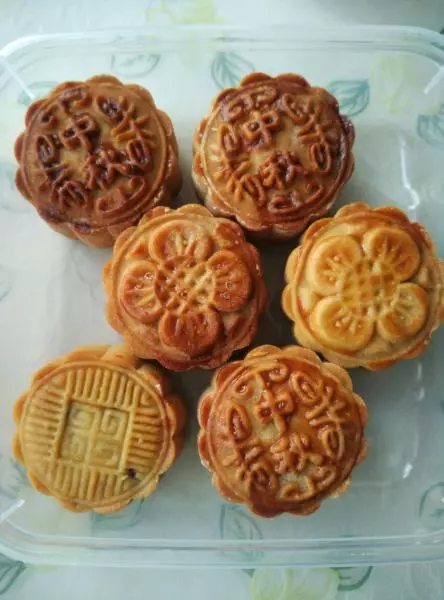
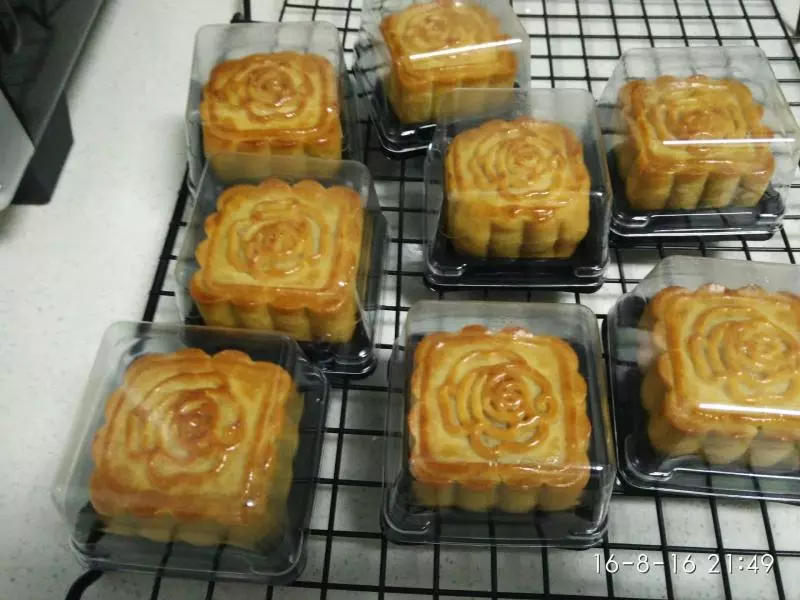
6把刷好蛋液的月饼重新放入烤箱,200度再烤18分钟(每家的烤箱脾气各不相同,以月饼烤上色为主。)
小技巧
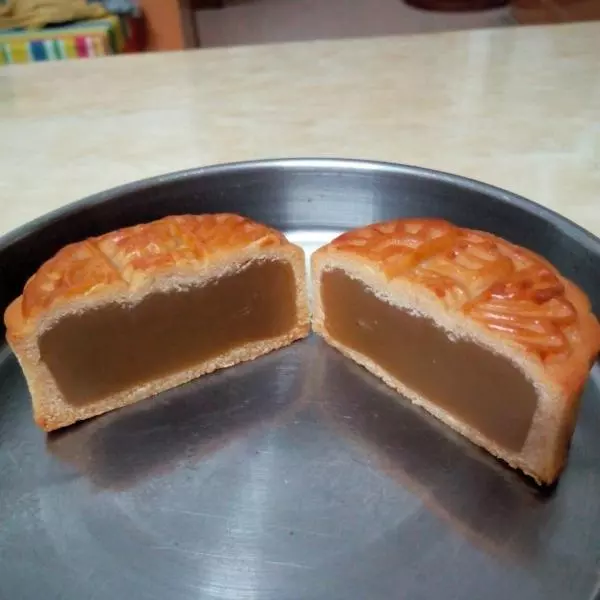
醒发的面团切记不要冷藏,常温即可,一定要两三个小时,时间越长,面团越不粘手。面团放入吉士粉,可以不用等回油就直接吃,面皮是酥酥的,当然也可以不放,那样月饼就得回油等上两三天再吃才会更好吃。