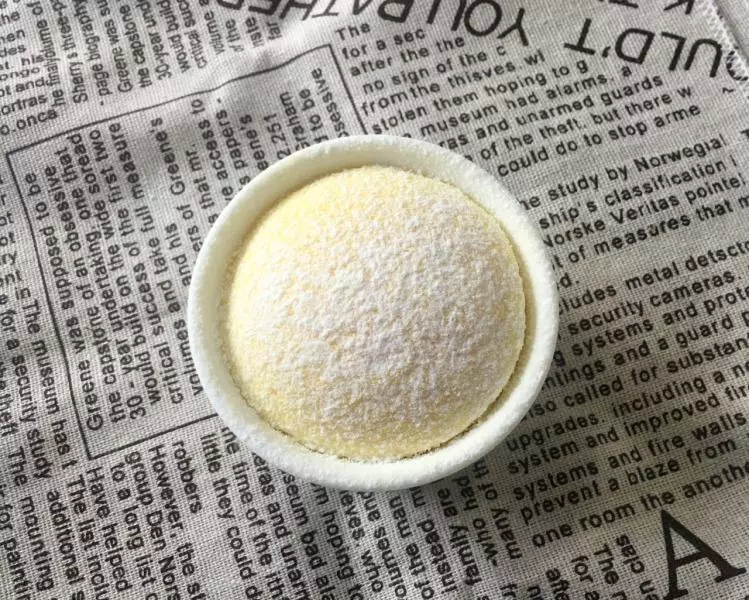
原料
奶油奶酪: 300g, 黄油: 45g, 蛋黄: 57g, 砂糖: 55g, 玉米淀粉: 11g, 牛奶: 150g, 蛋白: 95g
步骤
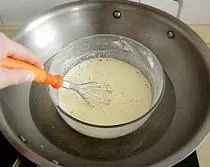
1将奶酪加热到非常软

2加入融化的黄油
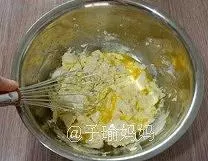
3用蛋抽搅打成光滑细腻状态
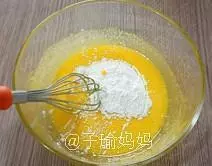
4蛋黄中加入细砂糖,打到砂糖完全融化

5加入玉米淀粉,搅拌均匀
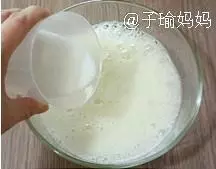
6冲入热的牛奶,快速搅拌均匀

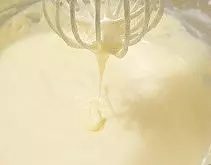
7将蛋黄盆坐到热水锅中,边搅拌边加热
8直到粘稠为止立刻离开热水
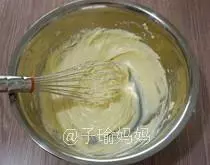
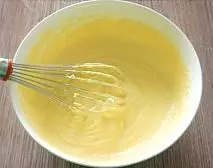
9将蛋黄糊趁热倒进奶酪盆中,快速搅拌均匀
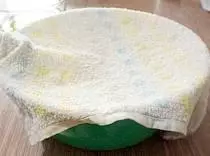
10盖上一块湿布,开始进行打蛋白工作
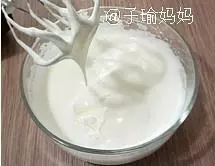
11蛋白分三次加入砂糖,一直用低速或者手动蛋抽来打
12打到拉起蛋抽有垂下三角蛋白即可,较湿的发泡状态;先预热烤箱180度
13将蛋白霜分两次倒入蛋黄奶酪盆中
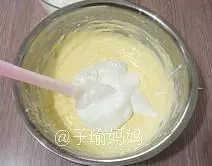
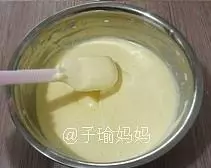
14切拌均匀
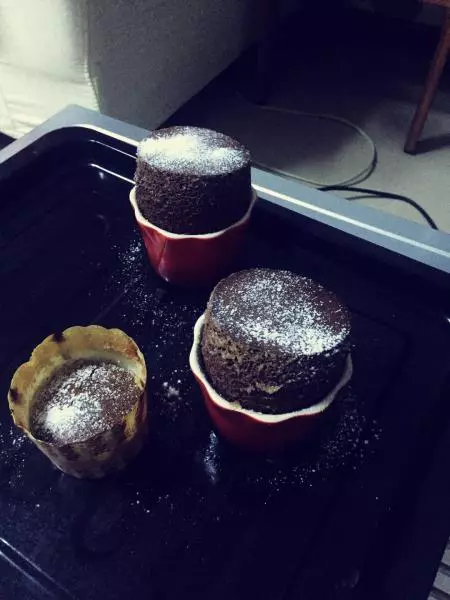
15固底7寸模中均匀的抹上一层黄油
16将面糊倒入模中,在桌面上轻磕几下,震出气泡
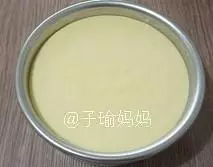
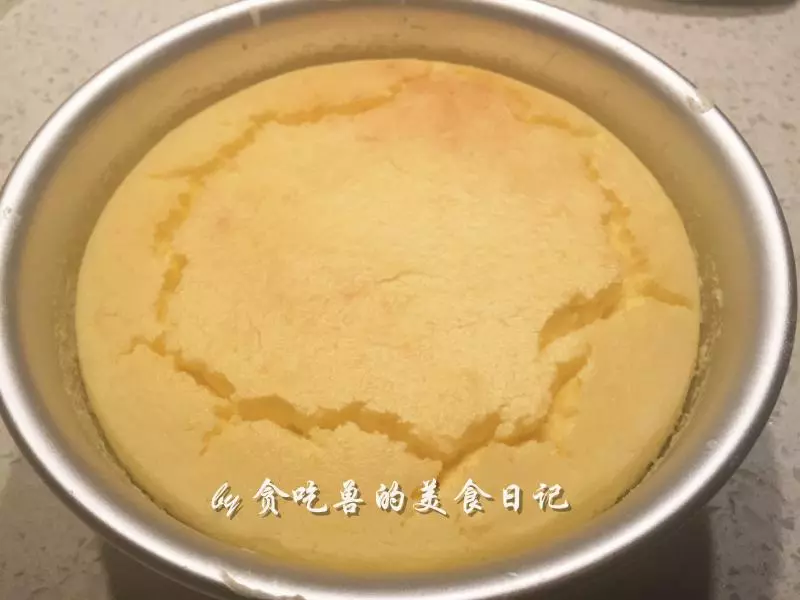
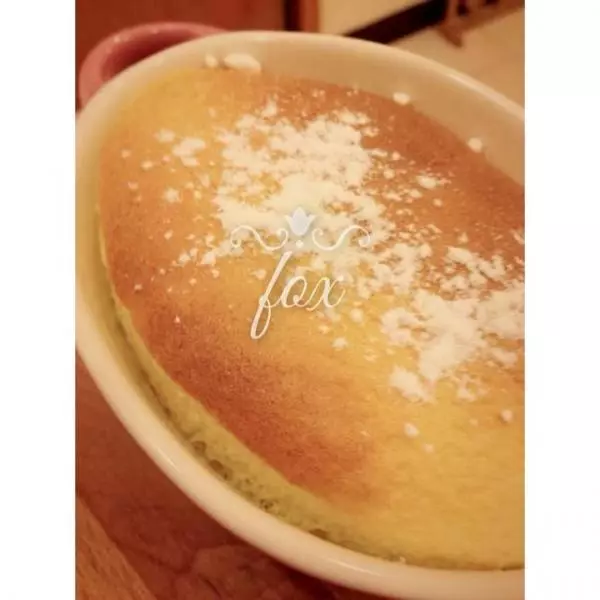
17送入烤箱,放下层,用水浴法,即烤盘中注水,将模具放入水中,尽量用深点烤盘,这样模具可以入水有一定深度

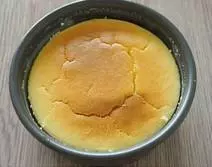
18度烤箱15分钟,然后转至160度烤25分钟,叮声后不要立即把蛋糕从烤箱里面拿出来,让它在烤箱里呆40到60分钟

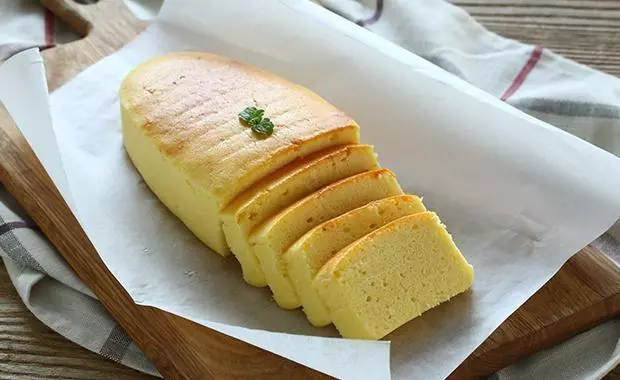
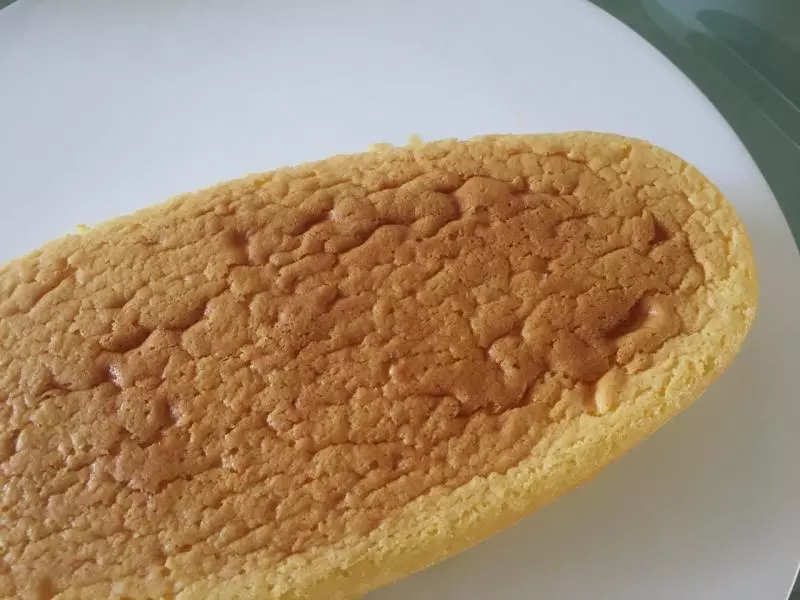
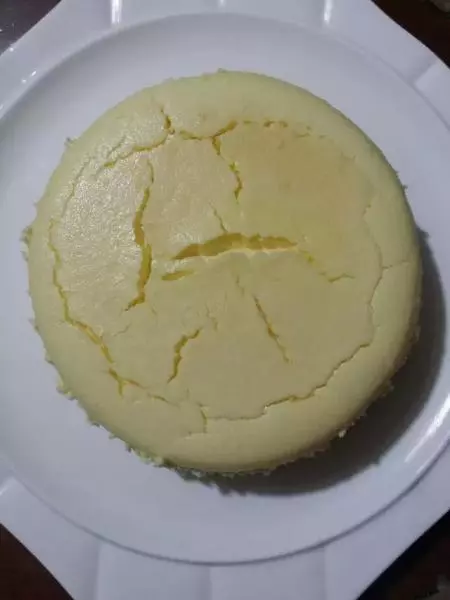
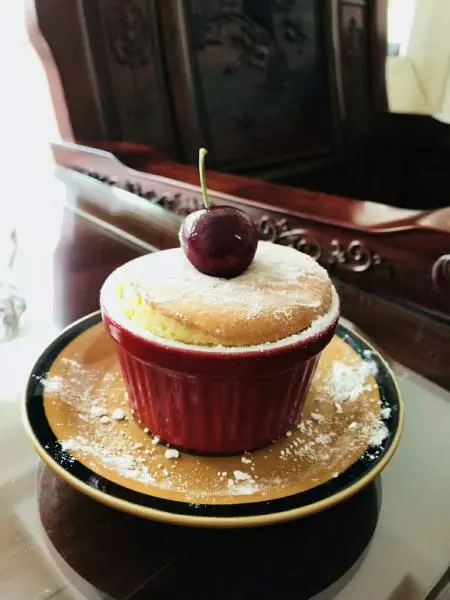
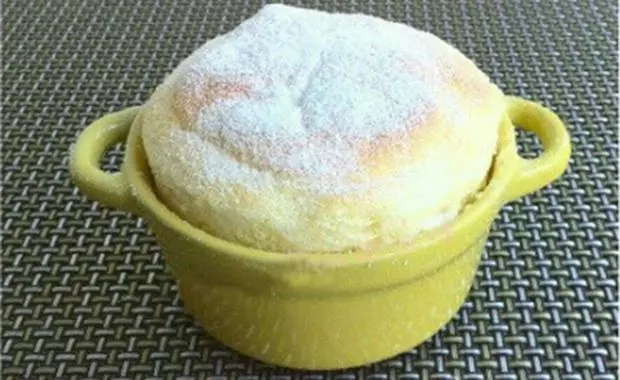
19蛋糕基本冷却回缩后拿出来,等彻底冷却后包上保鲜膜进冰箱冷藏6个小时左右,即可开吃了
小技巧
1、奶酪最好选择KIRI奶油奶酪; 2、黄油是融化不是软化; 3、蛋黄和蛋白最好是精确称量后再用; 4、蛋白最好放冰箱冷冻到周围有一圈冰渣了再使用; 5、这个方子适合用在7寸模,用在6寸模的话,倒8分满后将剩下的面糊再装个小纸杯放边上一起烘焙; 6、玉米淀粉量不要轻易的增加和减少;其它材料也是这个原则; 7、烘焙时可以用固底模也可以用活底模,活底的需要用锡纸包起来; 8、蛋糕烘焙时间到后,蛋糕还是会有一定的晃动感,所以不要马上取出,用余温继续捂著; 9、蛋糕非常的软,所以一定要冷场至少半天以上才可以开动; 10、这款蛋糕热量非常的高,建议浅尝即可。仅适合一般普通人群。