原料
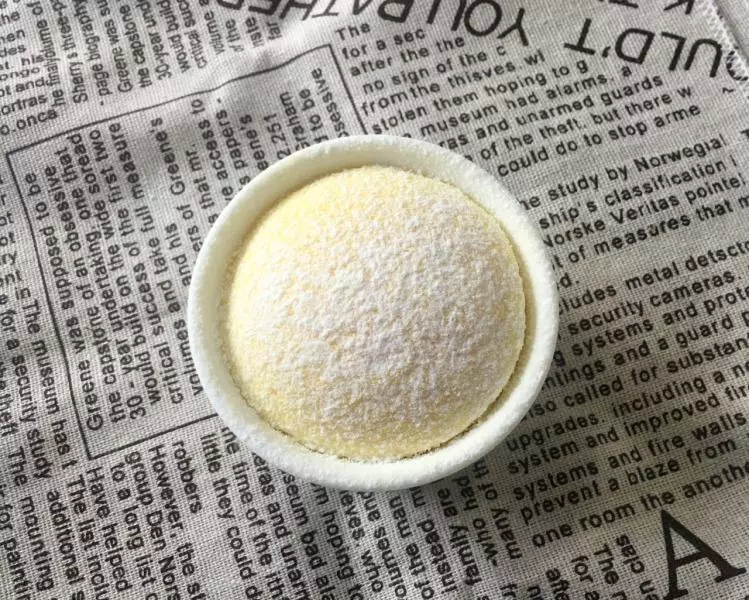
低筋面粉: 30克, 白糖: 60克, 牛奶: 200克, 食用油: 60克+10克(涂抹在杯内的), 黄油: 60克+5克(涂抹在杯内的), 鸡蛋: 4个, 香草精油: 3-5滴, 柠檬精油: 3-5滴(可省略)
步骤
1把舒芙蕾杯子准备好

2在杯子的内周边涂上一层薄薄的黄油,然后再倒入一点白糖,把杯子打侧转一个圈,让周边都粘上白糖即可,把剩下多余的糖倒出来。

3把牛奶倒入锅中,小火加热至开始感觉到有温度,关火,加入黄油搅拌至其完全融化,随即筛入低筋面粉,筛入后快速搅拌均匀至无粉粒即可。

4怕搅拌不均匀的最好过筛一两次,确保面糊无粉粒。

5然后再倒回小锅中,小火加热至浓稠有纹路,即可关火待凉了。

6把蛋黄和蛋清分量出来

7等面糊稍凉后,加入蛋黄

8加入蛋黄后,快速搅拌均匀

9拿出分离出来的蛋清

10加入几滴柠檬精油(可省略)

11加入几滴香草精油,为的就是祛除鸡蛋的腥味

12然后打发蛋白,把白糖分三次加入打发的蛋白里,等蛋白开始冒泡的时候开始加入第一次白糖。

13等蛋白开始消泡的时候加入第二次白糖

14等蛋白完全消泡后加入剩下的白糖

15一直把蛋白打至七八成企身,即拿起搅拌机后能看到有弯钩就可以

16蛋白不用完全打至硬性发泡哦,看到有弯钩不走形就可以

17把打发好的蛋白的一半加入到我们之前搅拌好的蛋糊里

18用上下翻拌的方式搅拌均匀

19然后再把搅拌好的蛋糊倒回到打发好的另一半蛋白里

20同样以上下翻拌的方式搅拌均匀

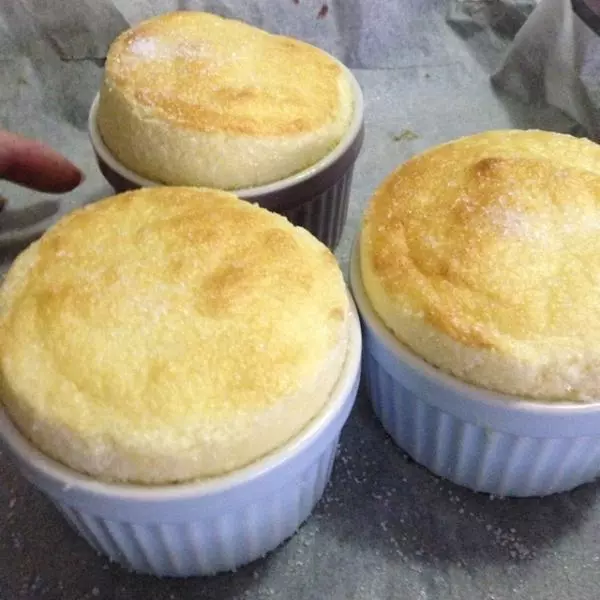
21把搅拌好的蛋糊倒入我们准备好的模具里,倒8分满就可以,太满容易在烘烤过程中溢出哦

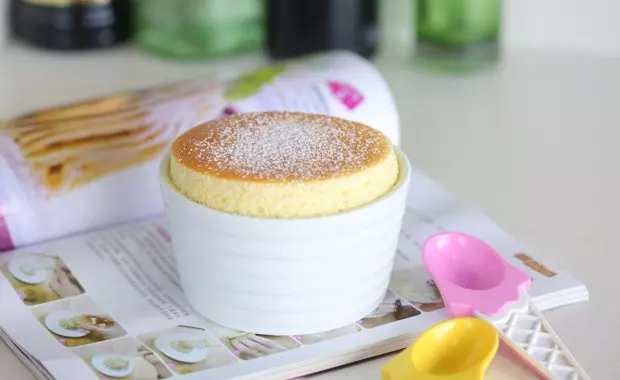
22预热烤箱至190度

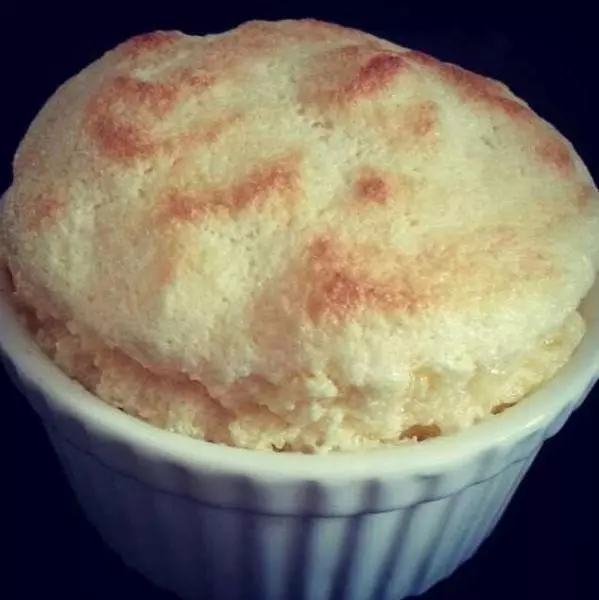
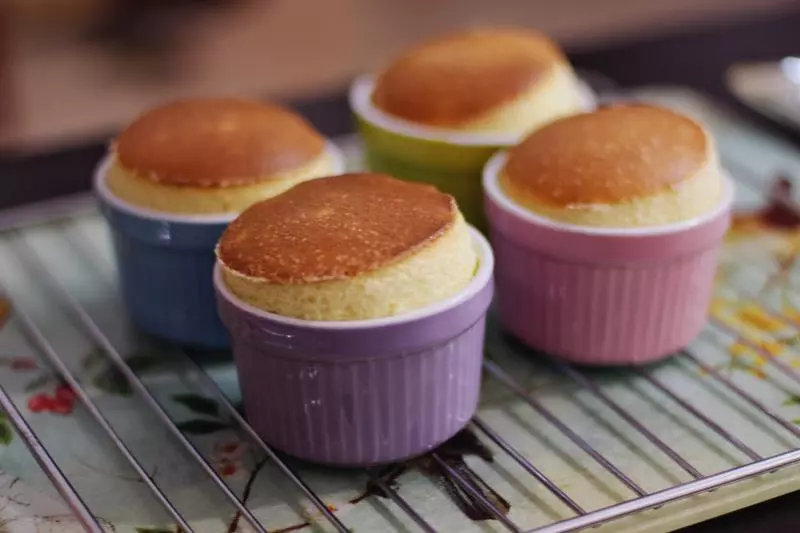
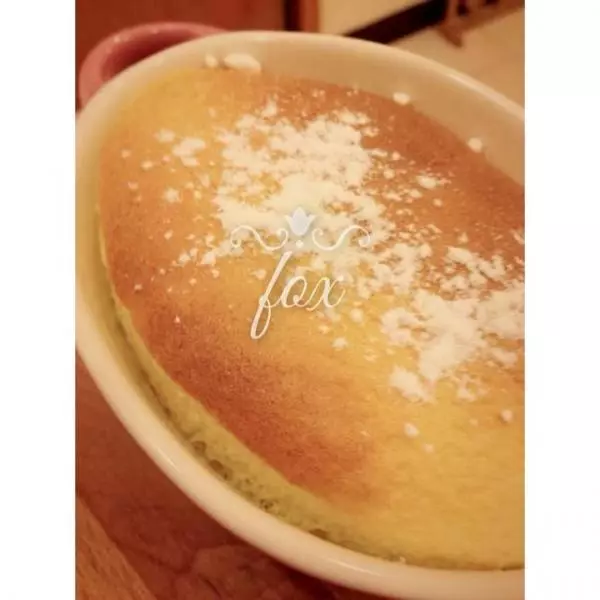
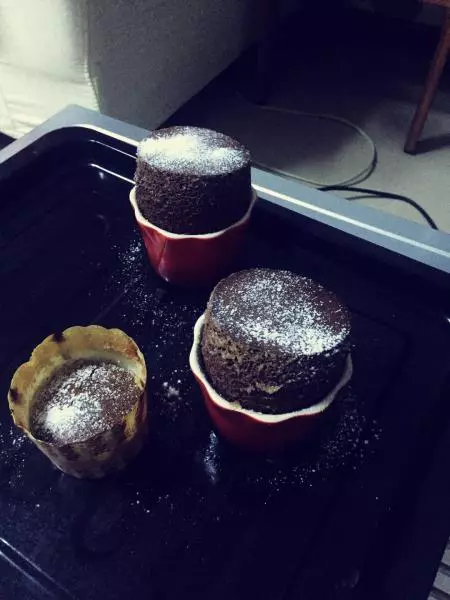
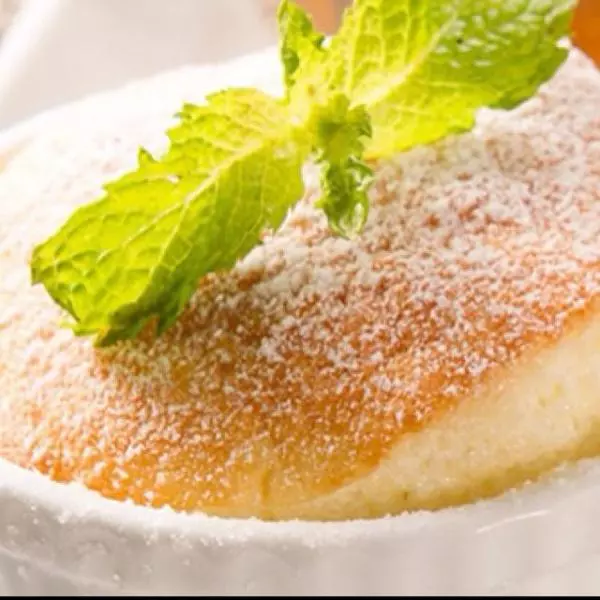
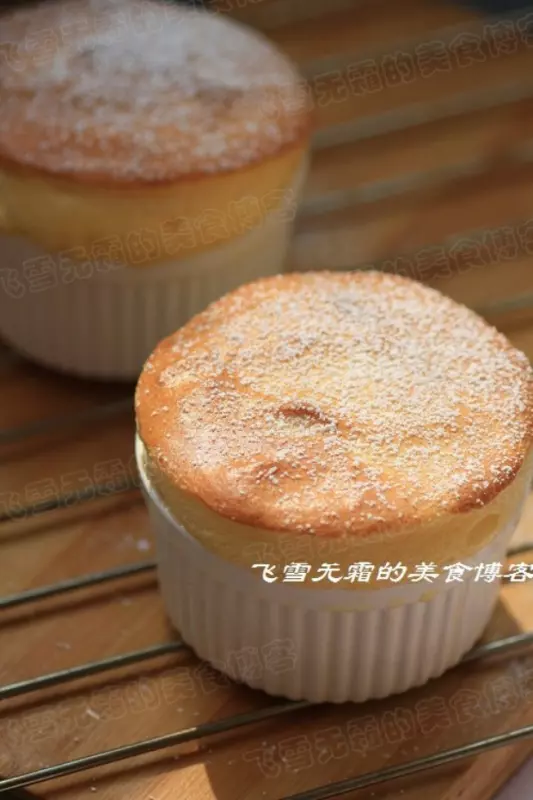
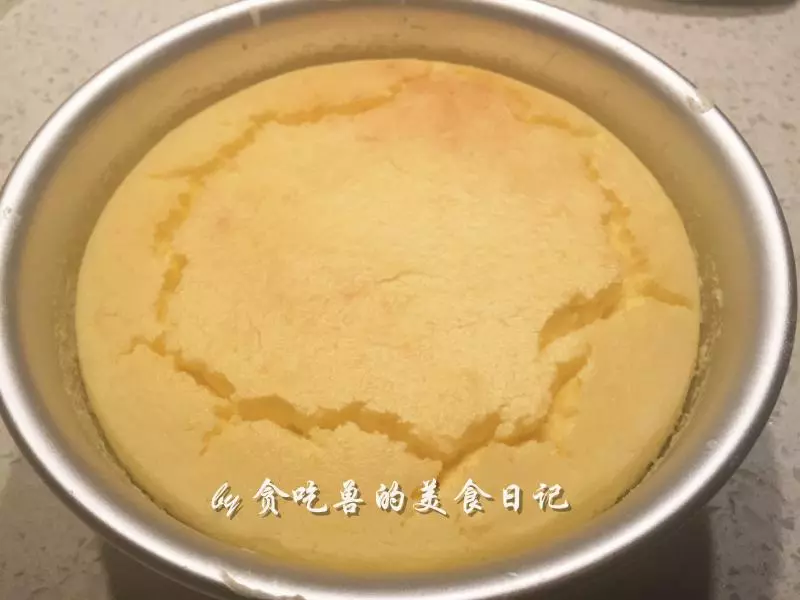
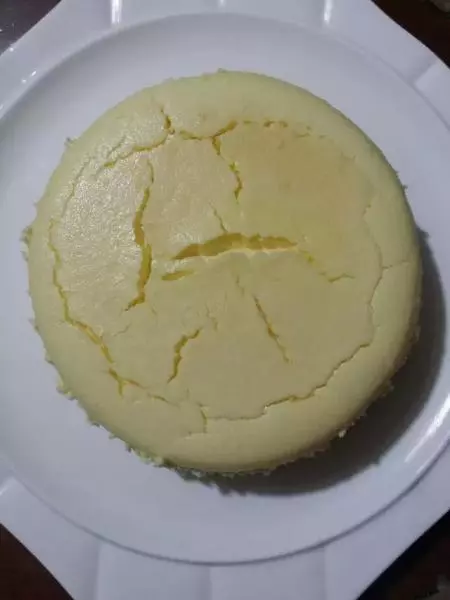
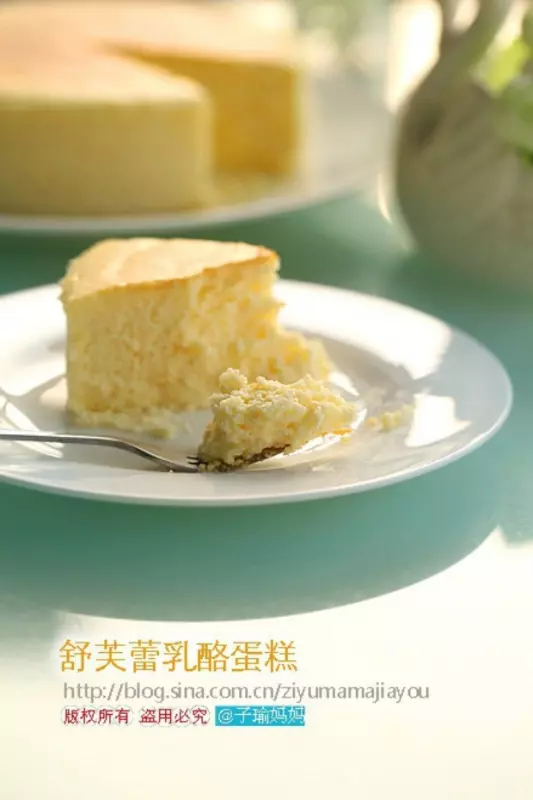
23把舒芙蕾放入到已预热好的烤箱,烘烤15-20分钟。

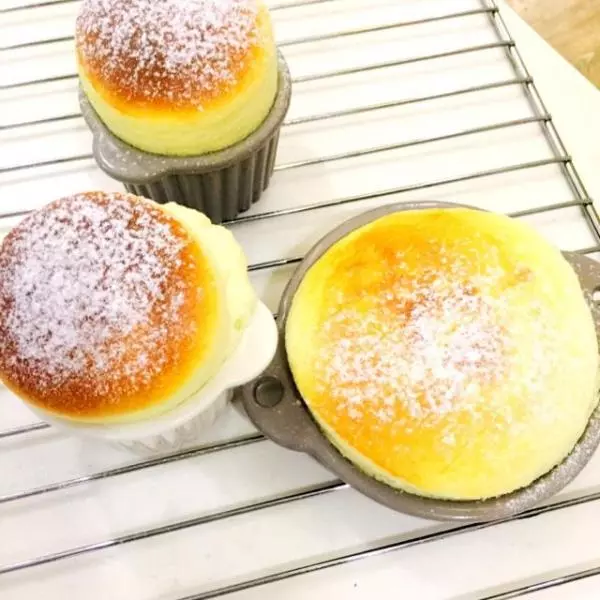
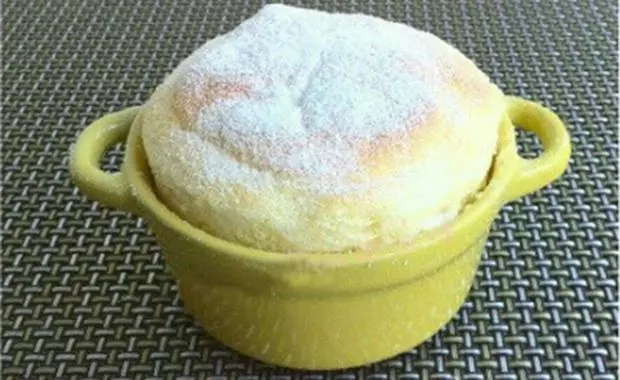
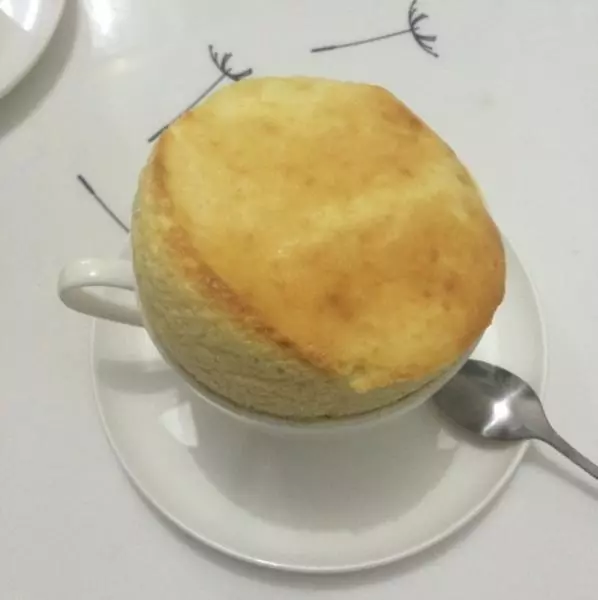
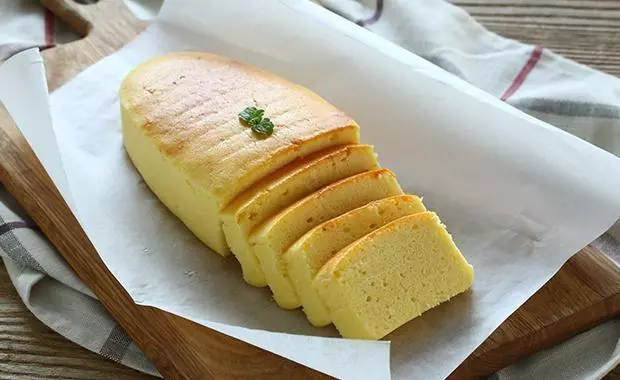
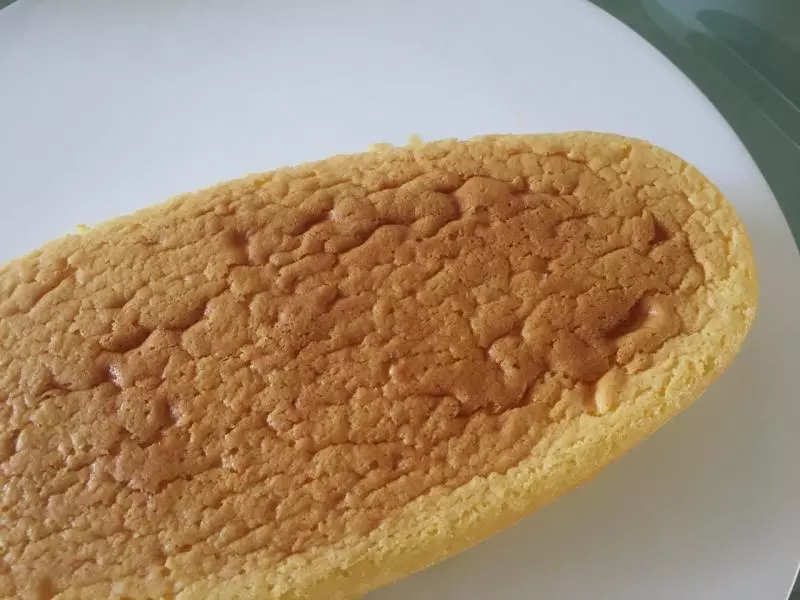
24大概在10分钟左右就开始看到舒芙蕾在慢慢地升高,因为每个烤箱的温度都有点偏差,所以15分钟的时候就要开始注意火候,看到舒芙蕾升高且表面金黄即可。

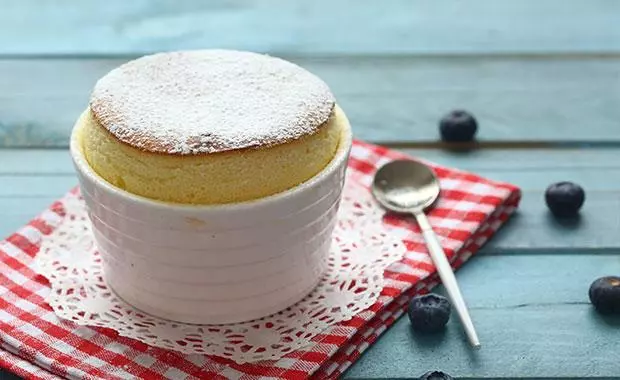
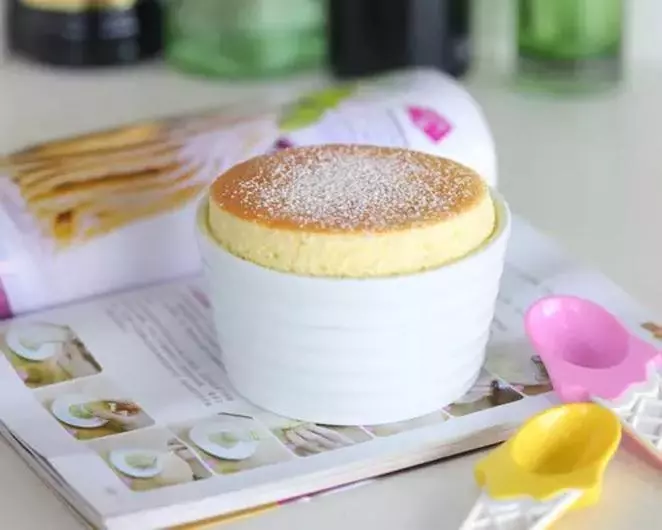
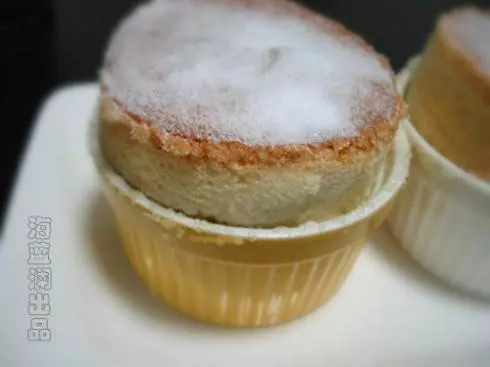
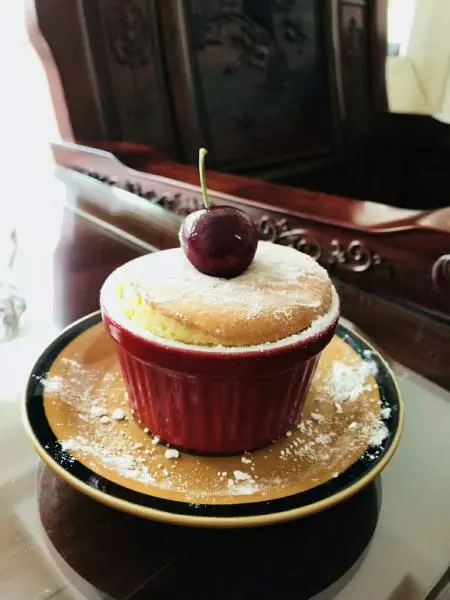
25考完后拿出来快速在表面上撒上一点糖粉即可享用咯

26舒芙蕾做好后要尽快食用哦,不然一下子就坍塌下来了