原料
鸡蛋: 1个, 糖: 45g, 牛奶: 25g, 面粉: 15g, 黄油: 15g, 中筋面粉: 130g, 猪油: 30g, 糖: 10g, 水: 65g, 中筋面粉: 150g, 猪油: 75g
步骤
1鸡蛋打散,依次加入糖、牛奶、面粉搅拌均匀。入蒸锅蒸20分钟,每5分钟搅拌一次,出锅晾凉备用。(注:此处为6个奶黄馅量,豆沙馅是买来现成的哈哈哈。)

2将用料中油皮、油酥的材料分别混合拌匀。

3油皮、油酥都揉成光滑面团,包上保鲜膜,静置10分钟.

4松弛好的面团平均分成12份。 油酥12份,油皮12份。

5取一团油皮按扁,中间放上一团油酥。

6左手用虎口慢慢往上推油皮,使油皮包裹住油酥,右手把挤出来的馅按进去,慢慢收口。

7包好的面团收口朝下放到面板上。

8压扁擀成长条。

9从上往下卷好。

10卷好的面卷封口朝下放到一边,盖好保鲜膜,松弛10分钟。

11这边将晾凉的奶黄馅和准备好的豆沙馅平均分好。

12将松弛好的面团竖着放好,擀成长条,从上往下卷起来,重复两次。

13将面团立起然后按扁,擀成中间厚四周薄的圆形面片。

14放上分好的馅料,用包油酥一样的方法,慢慢收口。

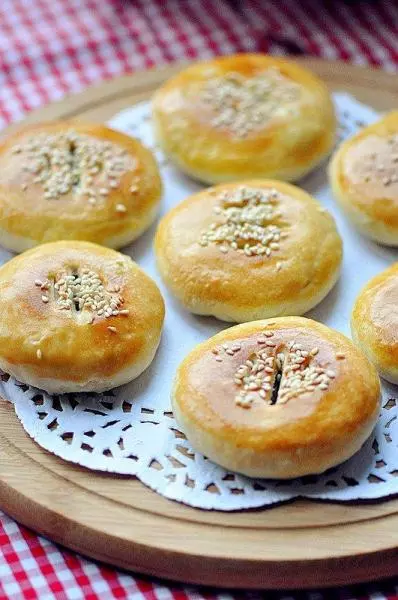
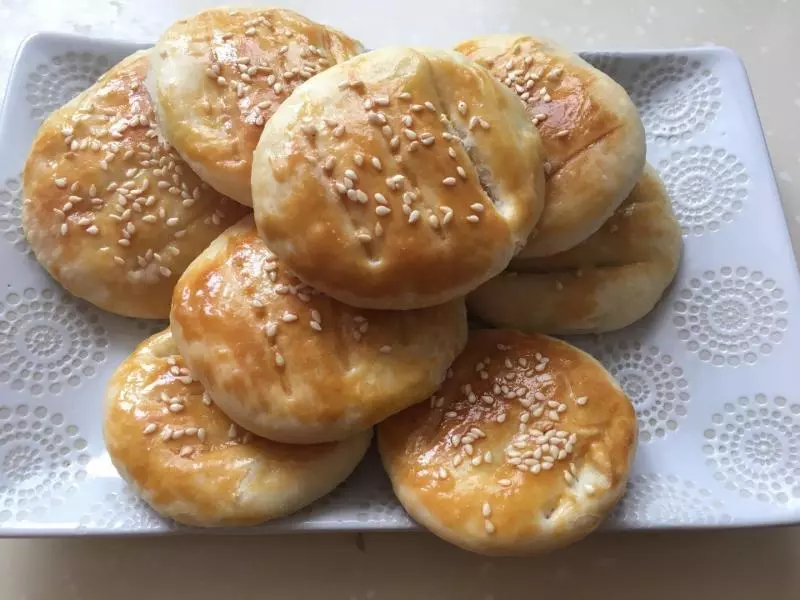
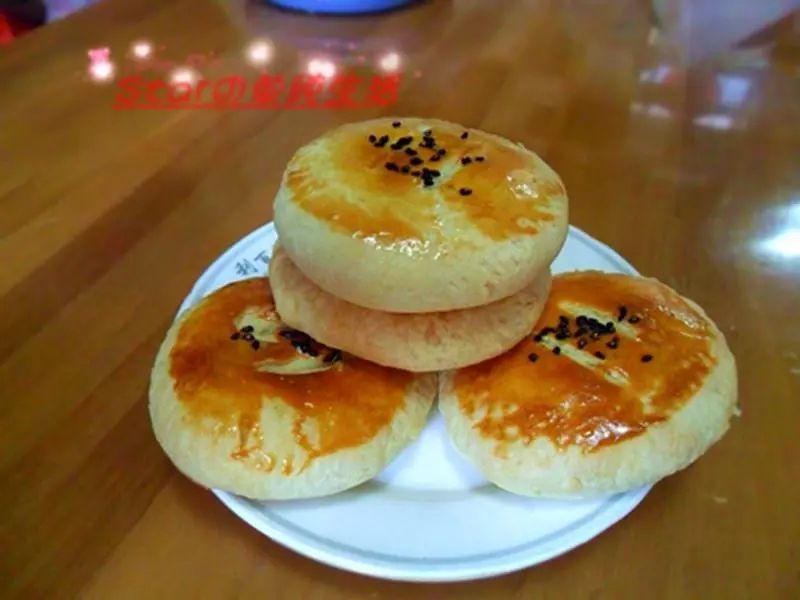
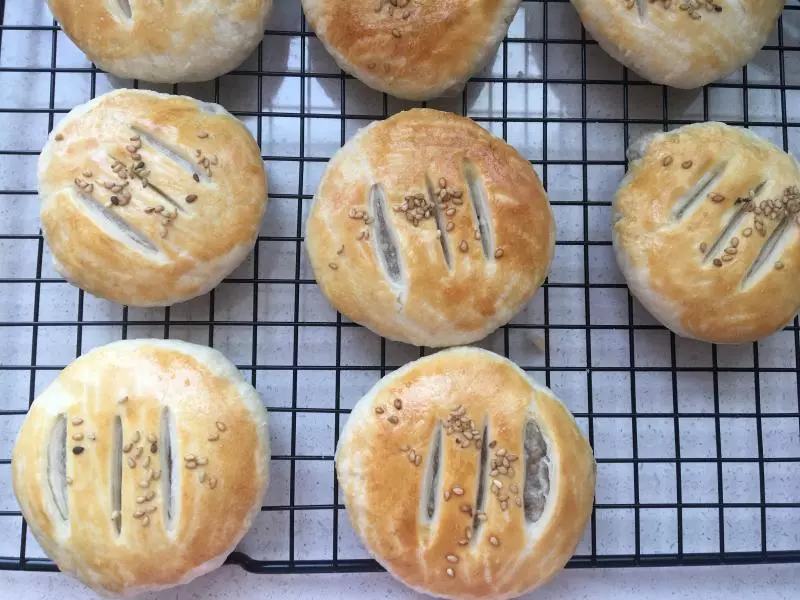
15收口朝下按成小圆饼。

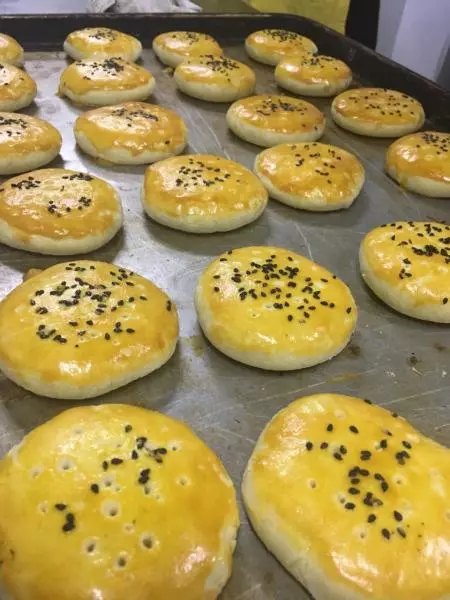
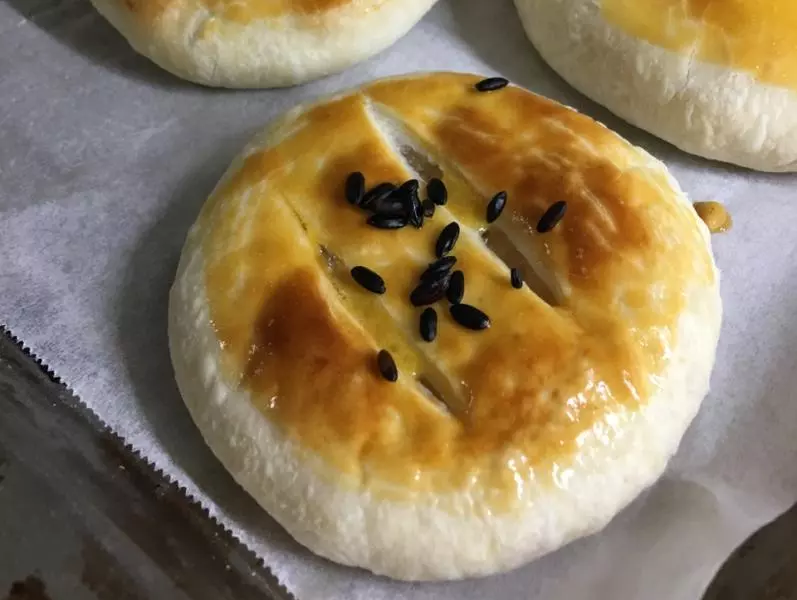
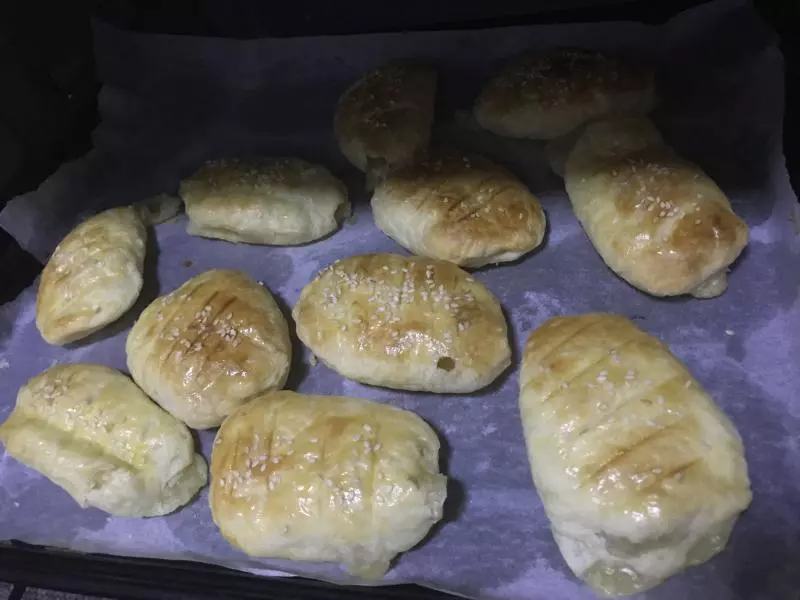
16放入铺好硅油纸的烤盘,表面刷蛋黄液。

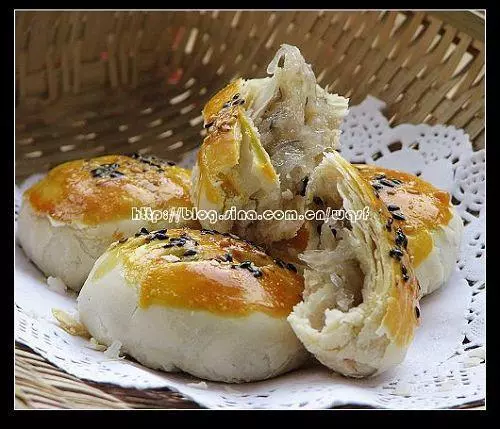
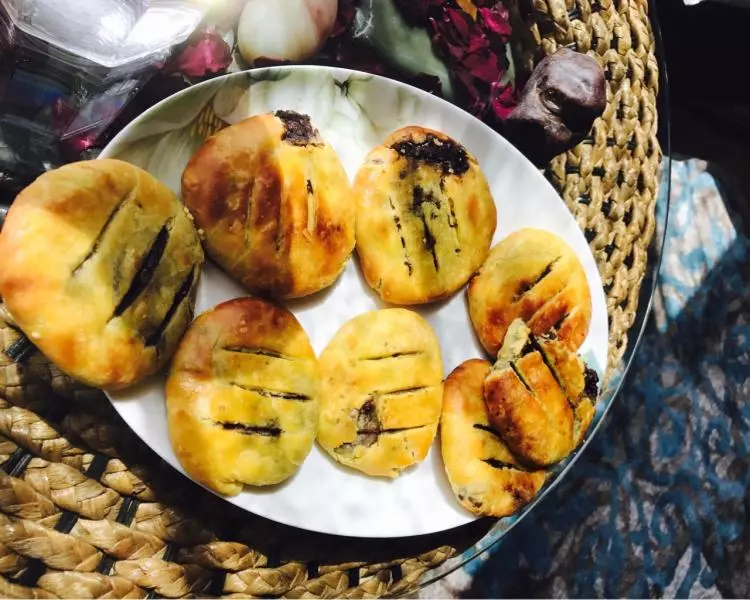
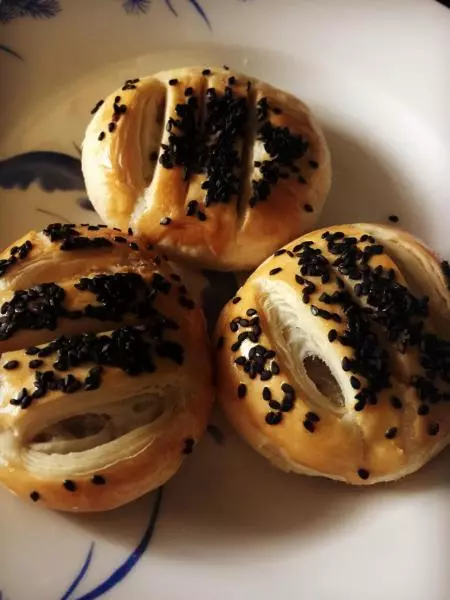
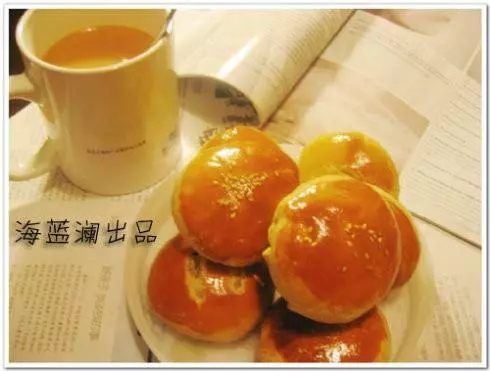
17用到在饼表面划三个口,要划透表面,在表面撒芝麻。

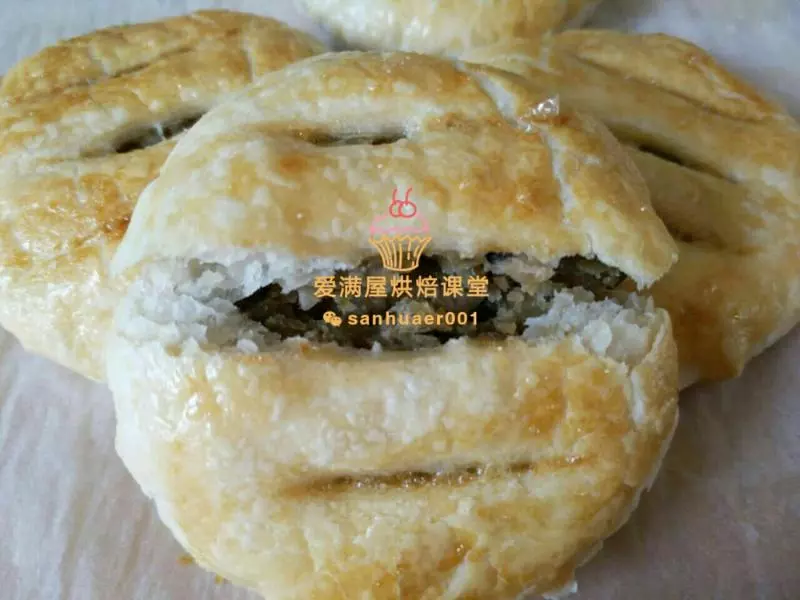
18烤箱预热10分钟,上下火180度20分钟。

19香喷喷出锅啦。

20酥的掉渣啊。

21豆沙馅。

22奶黄馅。