原料
油皮: , 中筋面粉: 100克, 白糖: 8克, 猪油: 35克, 水: 75克, 油心: , 低筋面粉: 70克, 猪油: 35克, 馅料: , 凤梨馅: 适量, 难度系数: 中, 时间: 3小时
步骤
1油皮和油心分开称好放在两个小盆中,将油皮和油心分别和匀揉成光滑的面团。(这里油心只需要和到无干粉状态)和好之后放在桌面上静置30分钟到1小时。

2静置好的面团平均分成8个,放在桌面上

3和好的油心

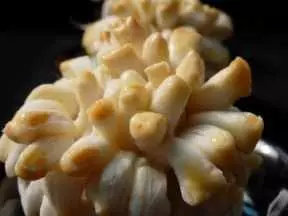
4将静置好的油心包在油皮之中擀成长条之后卷成图片上的形状,然后放在桌面上静置30分钟

5提前准备好的凤梨馅也平均分成8个放在桌面上。

6将面团擀开之后把馅包进面团里做成如图的形状。

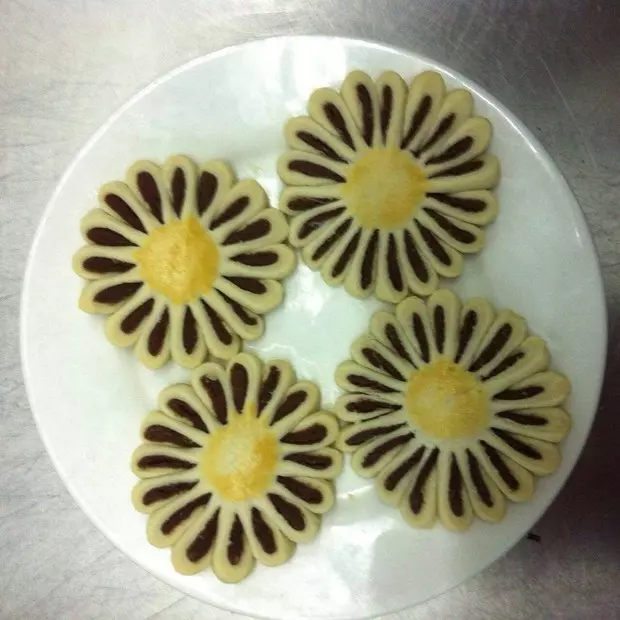
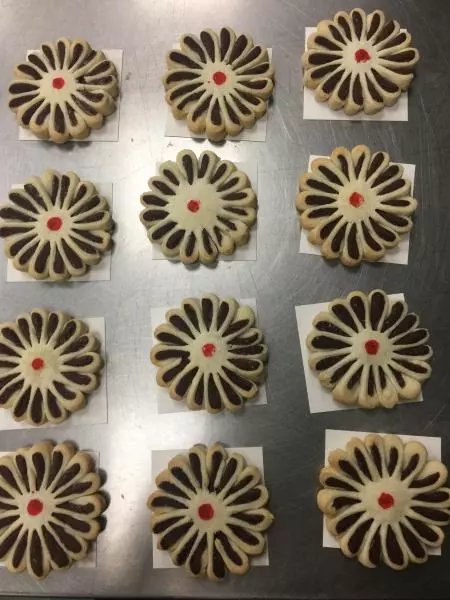
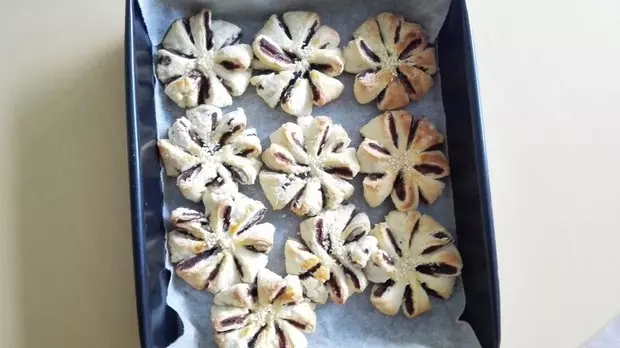
7包好面团压扁,稍留一点厚度。然后用小刀或者剪刀切出花瓣的样子(成型过程忘记截图了,就做出这种形状)

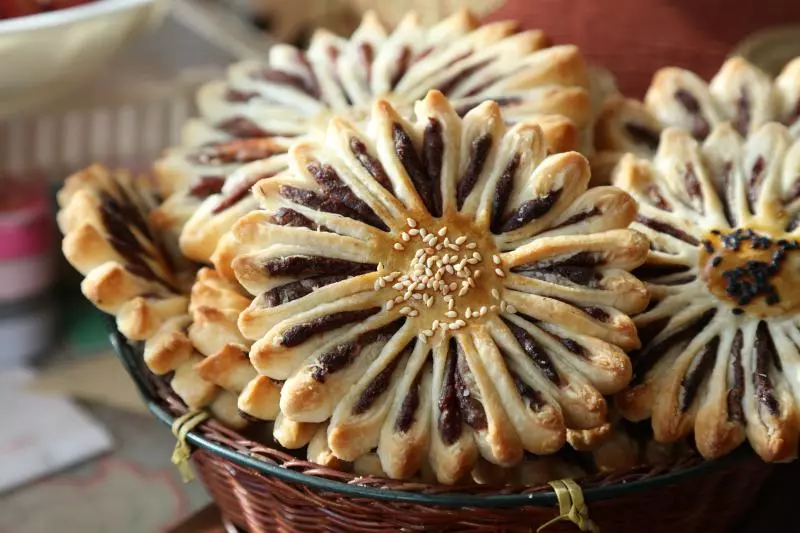
8将表面刷上一层蛋黄放进烤箱中层180度,时间25分钟,换面12分钟。

9一盘漂亮,可口的菊花酥就这样做好了。

小技巧
小贴士:面粉吸水量不同可能会在和面的过程中感觉面团有点稀,可根据实际情况适当加减。面团一定要充分静置,这样可以增加口感。