原料
小南瓜(蒸熟): 半个, 面粉: 适量, 麻酱: 适量, 盐: 适量, 番茄酱(甜辣): 适量, 孜然: 适量, 鸡蛋: 一个
步骤
1第一步,把小南瓜洗净,挖出籽,蒸熟备用。这个就不用图解了吧
2第二步,和面。适量面粉和蒸熟的南瓜混合,和成面团。(这个我都没有加水,就直接用的南瓜和干面)然后盖好盖子放一会儿。
3第三步,取出一部分面团在案板上揉,基本和包包子大小一致的一块面就可以了。

4第四步,把面团擀成薄片,里面放入麻酱和少量盐。

5第五步,包好,尽量别让麻酱露出来。

6第六步,把面团擀成圆形,越薄越好啊,因为用的是平底锅而不是电饼锅。

7第七步,锅内放油,然后放入饼。

8第八步,盖盖子闷一下,切记,一定要啊。

9第九步,鸡蛋打散备用。

10第十步,看一下锅里的饼,然后把饼翻过来。

11第十一步,在这一面倒入打好的鸡蛋液和孜然。(请自行忽略随心所欲满锅乱跑的鸡蛋液)然后盖盖子闷一下。

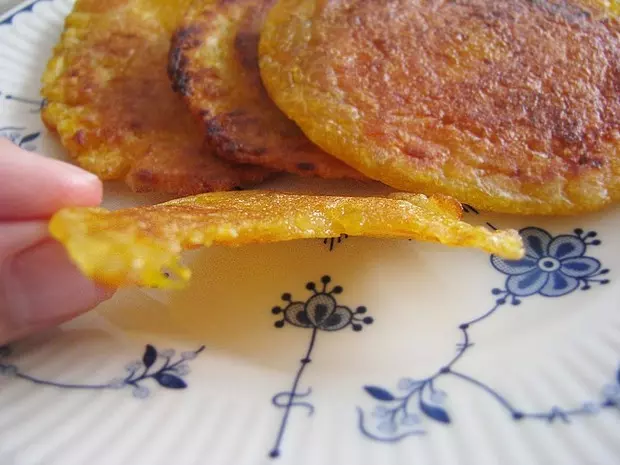
12第十二步,煎三分钟左右,出锅,装盘,切开。

13自行搭配了绿豆银耳羹……