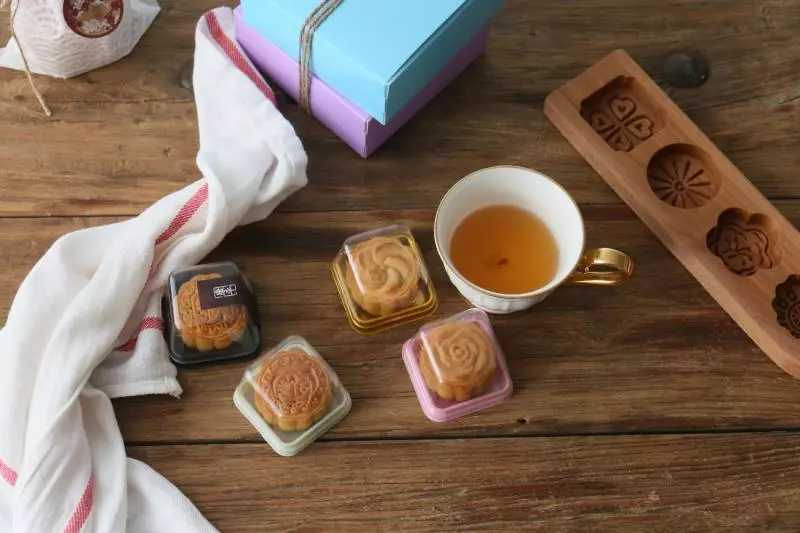
原料
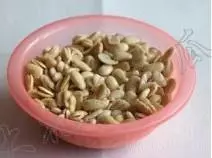
芸豆: 600克, 水: , 油: 150克, 糖: 600克, 面粉: 300克, 咸蛋黄: 23个, 转化糖浆: 220克, 枧水: 4克, 油: 90克, 鸡蛋: 1个(蛋清蛋白分开,刷蛋液)
步骤
1芸豆泡5小时左右,去皮
2加入跟泡好芸豆同体积左右的水,高压锅上气后,小火20分钟。已经差不多成芸豆泥了
3用搅拌机打磨成泥

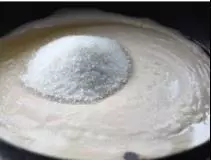
4锅中将油先热好,油凉后,倒入芸豆泥,加入糖
5中小火熬煮,不停地搅拌
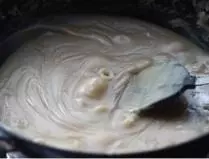
6水分慢慢蒸发,注意别糊底
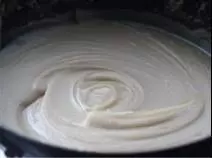
7煮至用铲子铲起一大块芸豆沙,芸豆沙在铲子上一点不会滑动

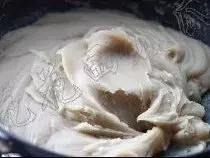
8再继续熬煮几分钟,就可以关火了。待冷却后就可以作馅使用了
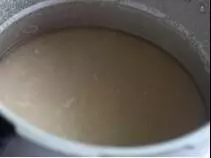
9转化糖桨倒入容器,加入枧水,搅拌均匀,再加入油,搅拌均匀

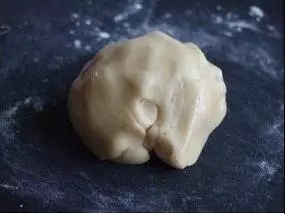
10加入面粉,混合成面团,封上保鲜膜,静置1个小时
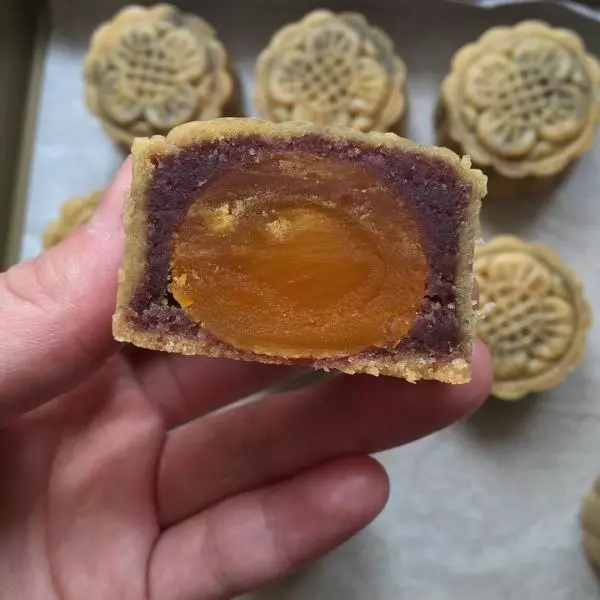
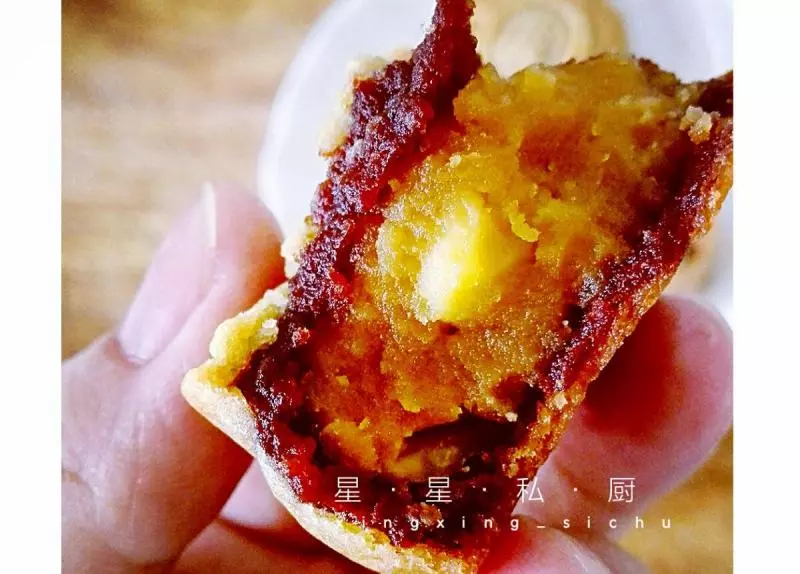
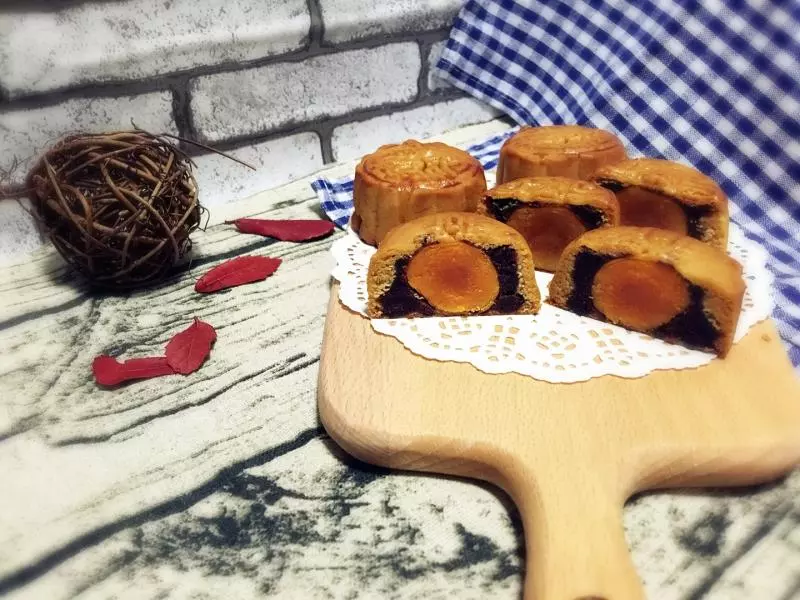
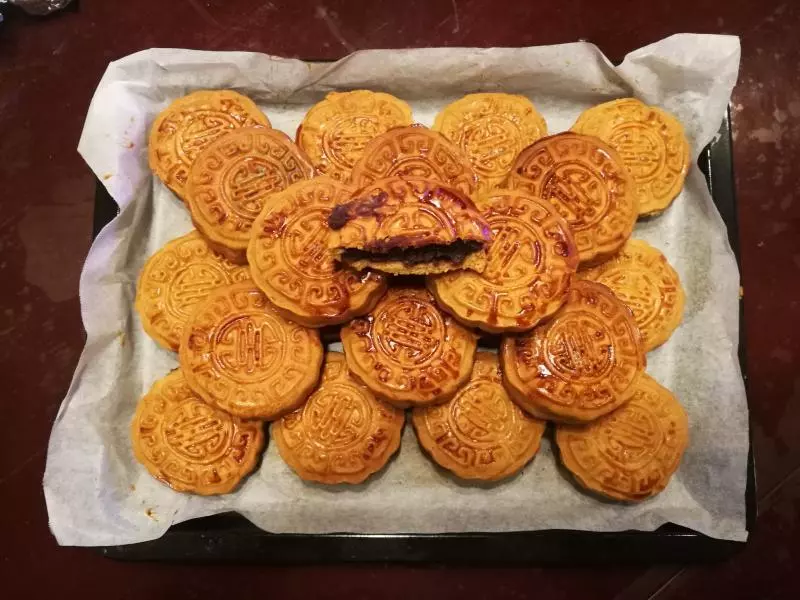
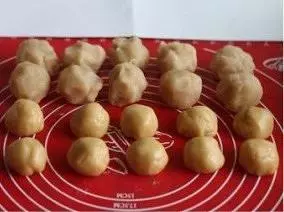
11咸蛋黄隔水加热15分钟,将面团分为25克一小剂,白豆沙分为40克一小剂,咸蛋黄大概10—12克一个,也就是面皮:馅料=1:2
12将白豆沙按个窝,包入咸蛋黄,封口
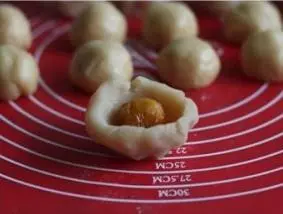
13取面团剂,按成薄皮片,放入馅,右手边按着馅,左手将面皮往上推,直到面皮将馅料包裹好
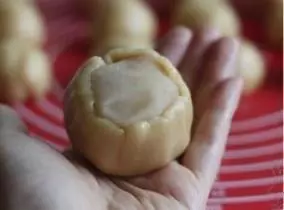
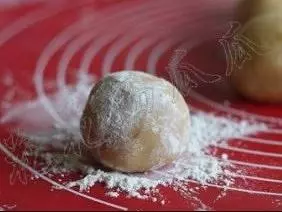
14在干面粉中滚一圈
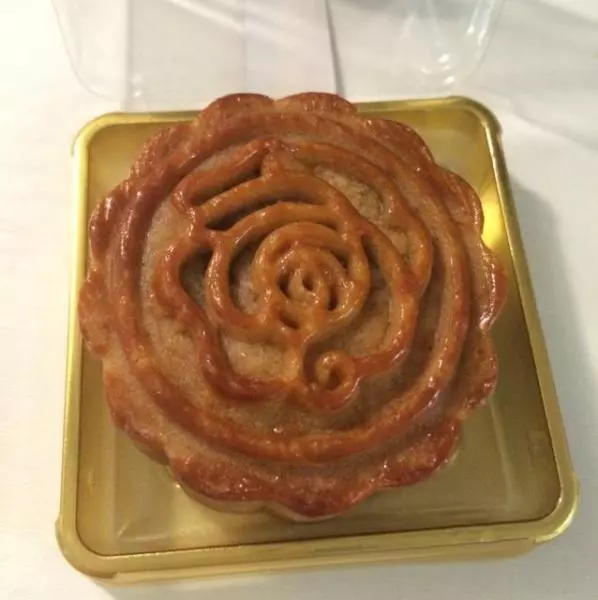
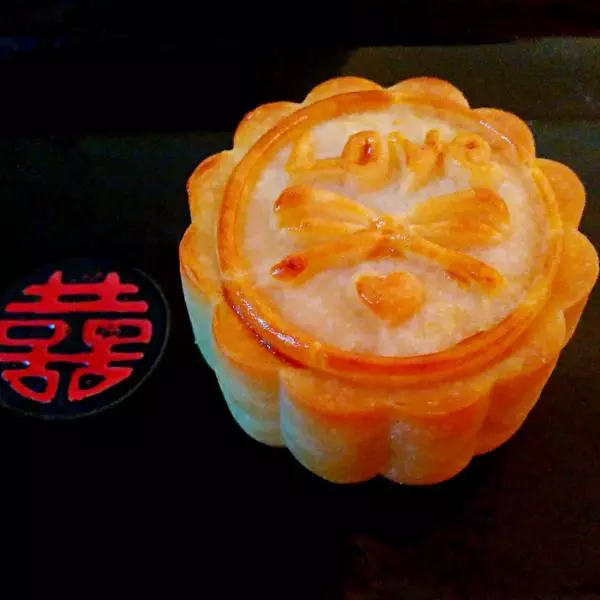
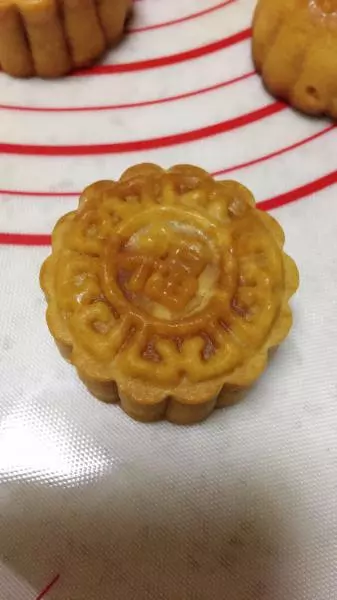
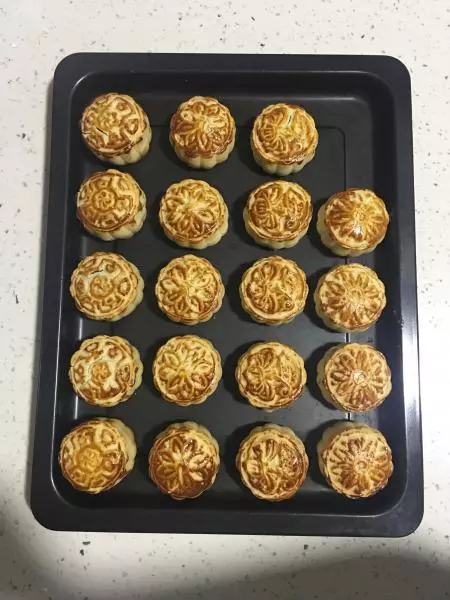
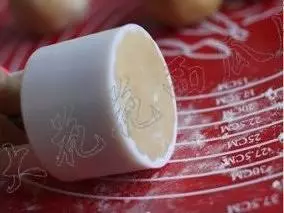
15放入月饼模具
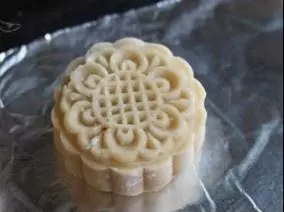
16将月饼压出来
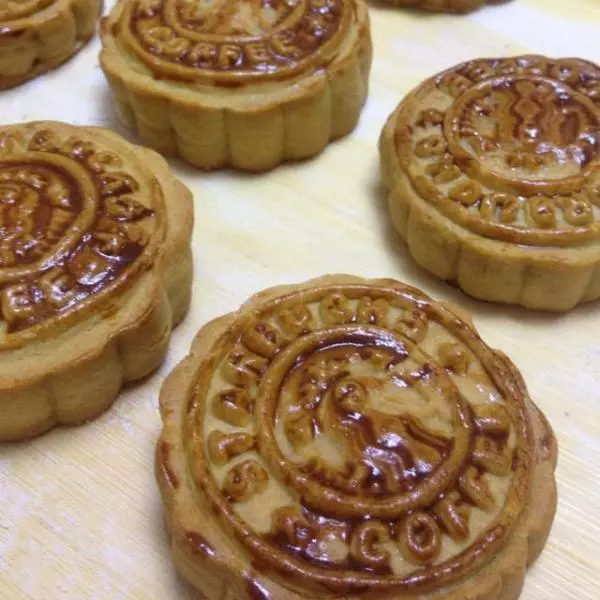
17表层喷少许水
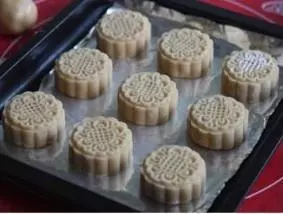
18烤箱预热190度,中层,先烤5分钟
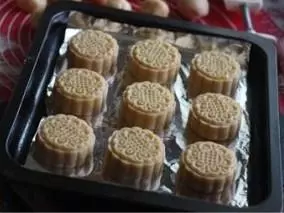
19准备表层蛋液:1个蛋黄+1TBS蛋清。取出烤了5分钟的月饼,刷上蛋液
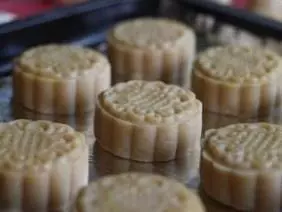
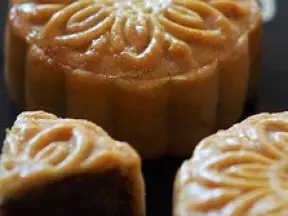
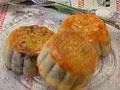
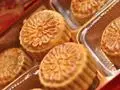
20烤箱预热190度,中层,烤18分钟,至月饼上色

小技巧
1、虽然馅料太干会影响口感,但更不能太湿,否则饼皮很容易烤裂。也就是易干不易湿; 2、表层蛋液不能刷太多。刷子蘸了蛋液后,应该在碗边逼一下,逼出多余的蛋液再往月饼表层刷。否则容易把饼皮的纹路弄糊掉。