原料
看步骤: , : , : , :
步骤
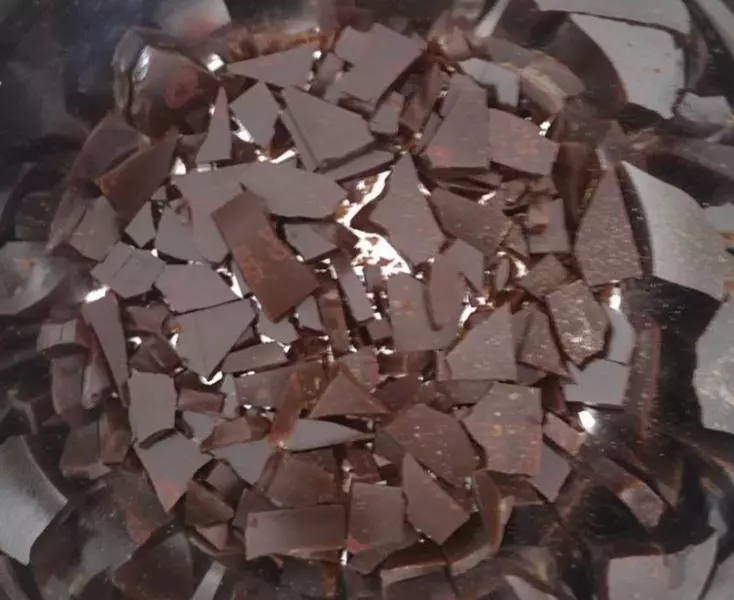
1我用的就是这种东阿阿胶,是我妈在药店买的。一盒正好就是250g。
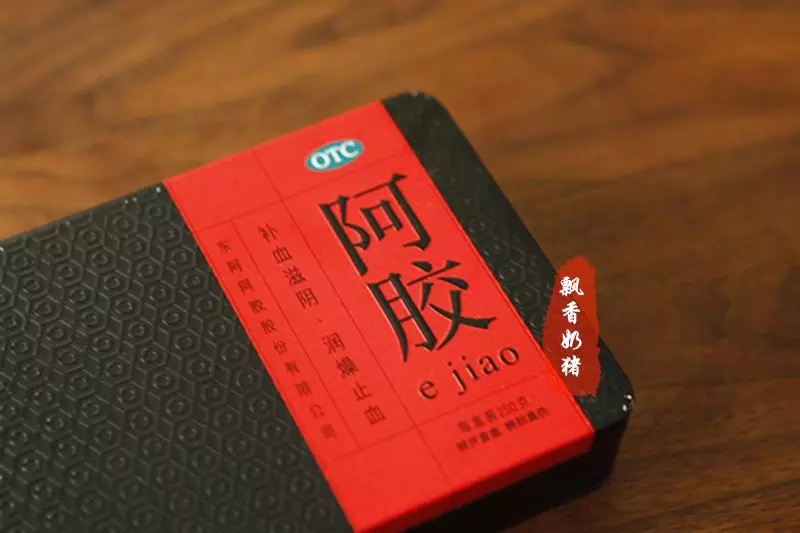
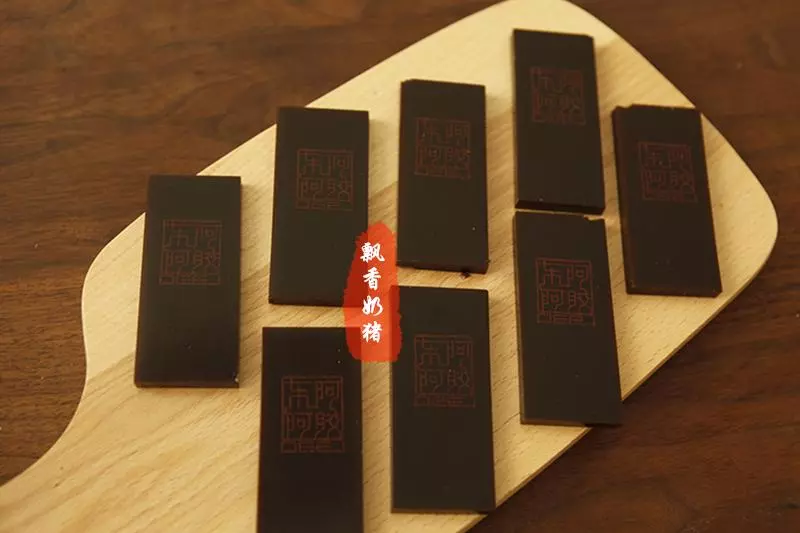
2打开包装盒,取出阿胶,就是这么一个一个的小硬块。
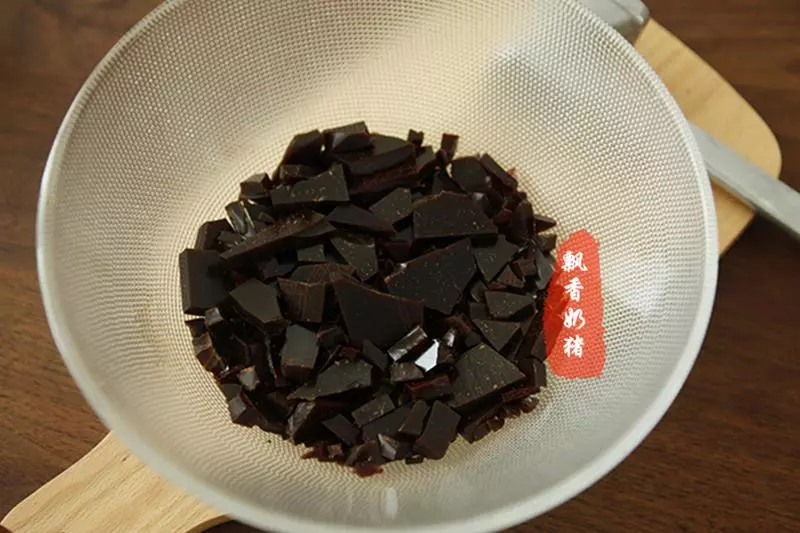
3砸碎,装碗里。 注意:有的朋友喜欢打成粉粉再做,也是可以的。
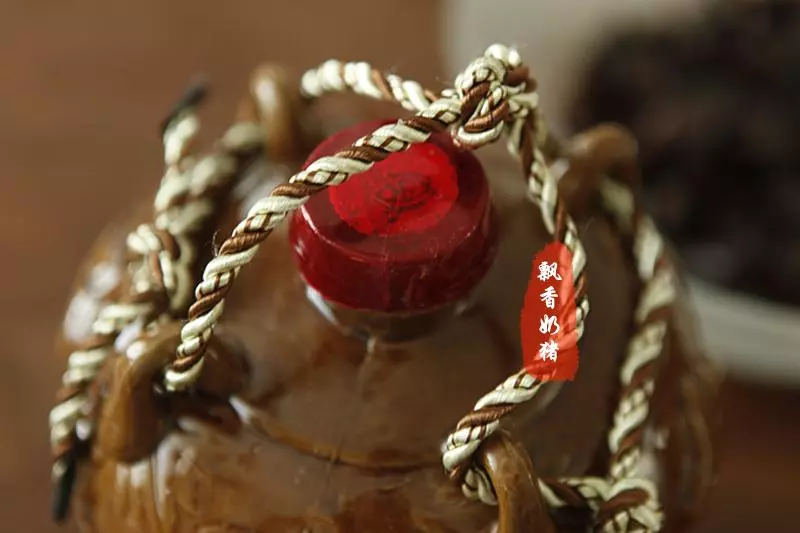
4拿出女儿红黄酒。 注意:做阿胶一定要用黄酒,不能用别的替代。
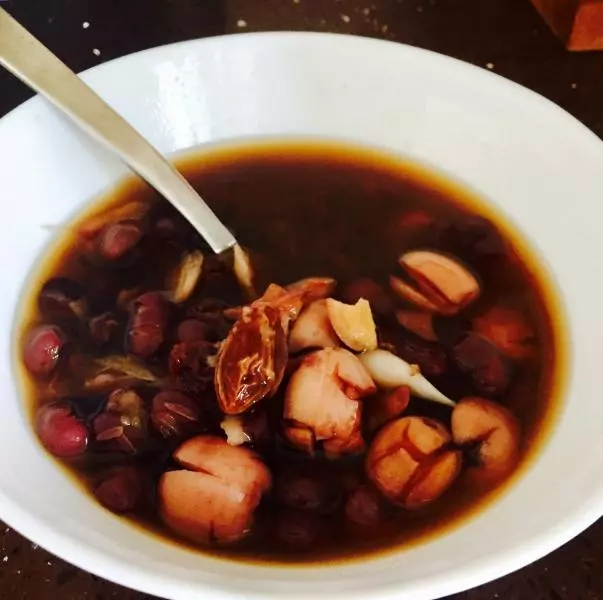
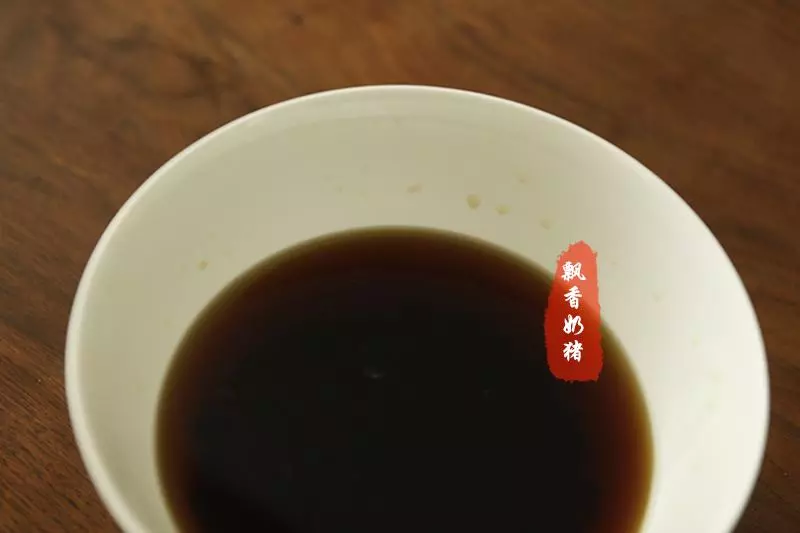
5把酒倒在装阿胶碎块的碗里,盖上保鲜膜,在阴凉处静置烊化2-3天。 注意:阿胶烊化是很重要的,这个过程并不是简单的把阿胶块泡软。而是让黄酒和阿胶充分融合,这样能把阿胶补身体的作用充分发挥出来。
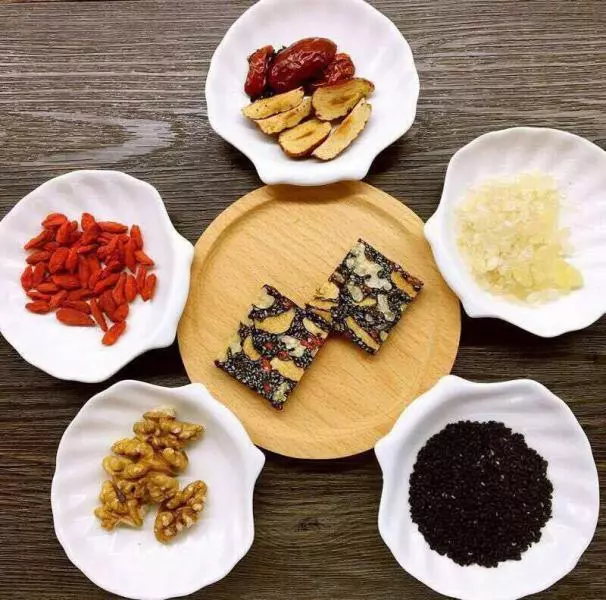
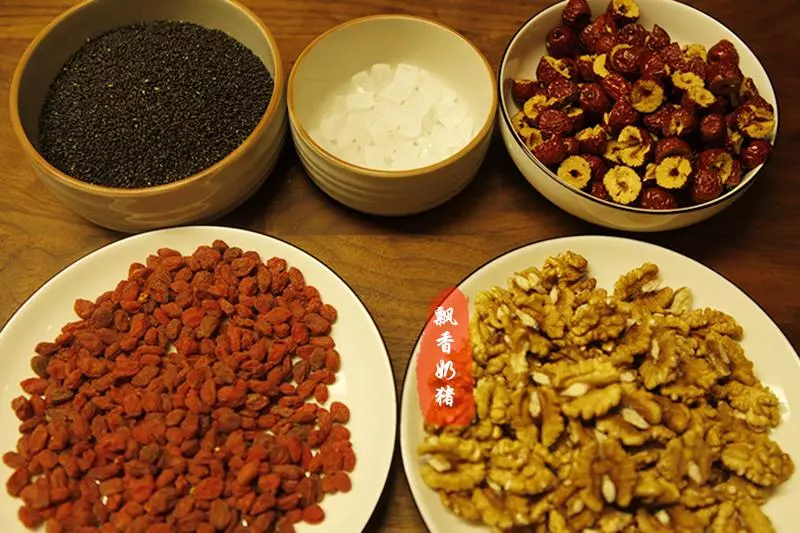
6将冰糖、核桃仁、红枣、枸杞和熟黑芝麻都准备好。 红枣来自新疆的若羌小枣。这个枣是在树上挂干的,没有其它添加剂。别看小,但质量好,也很甜。核桃仁和枸杞也都来自新疆,口感好,枸杞是是纯碱天然晾晒的噢。(不要问我要链接。去网上搜吧,找价格贵点的,评价好点的买就行,都很不错。)黑芝麻要是生的话,用烤箱烤几分钟,烤出香味就可以了。
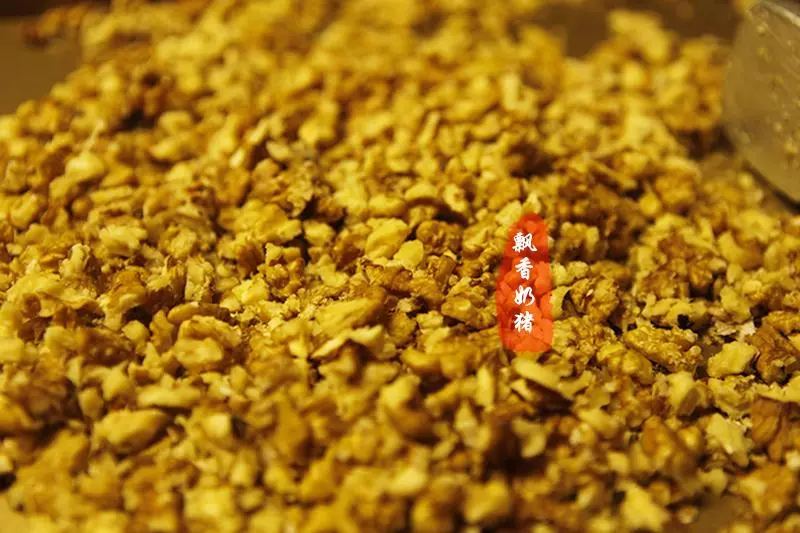
7核桃仁砸碎。
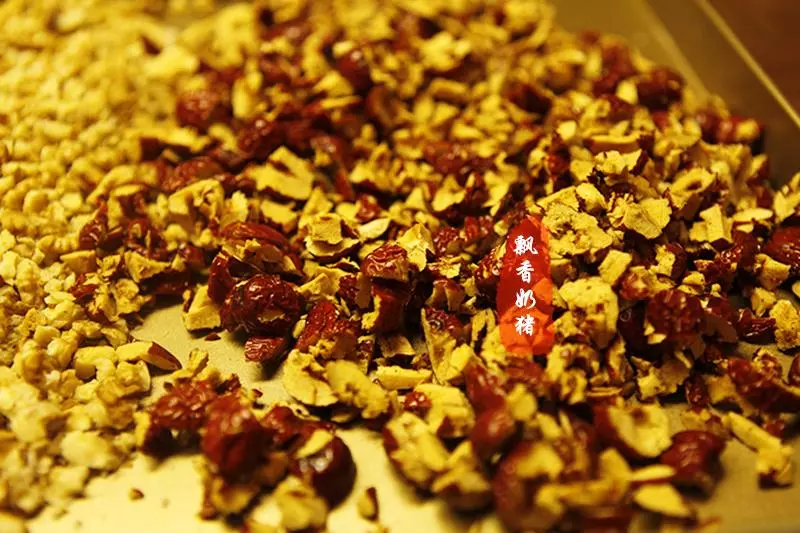
8红枣去核后,剪碎。 配料一切准备妥当后,下面开始做阿胶糕咯。
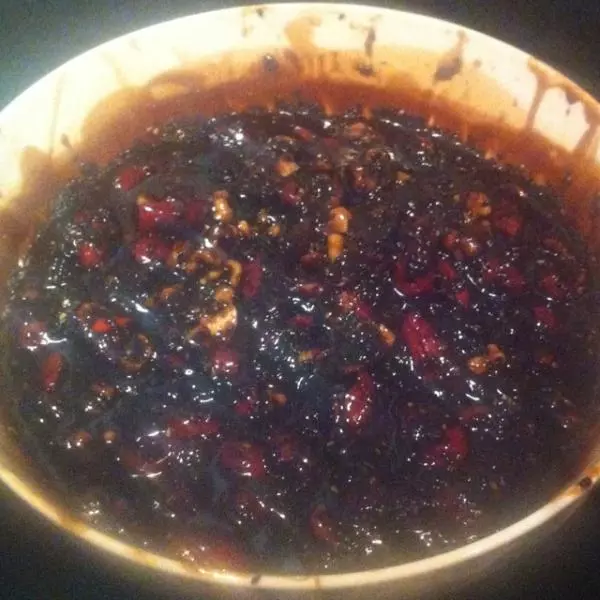
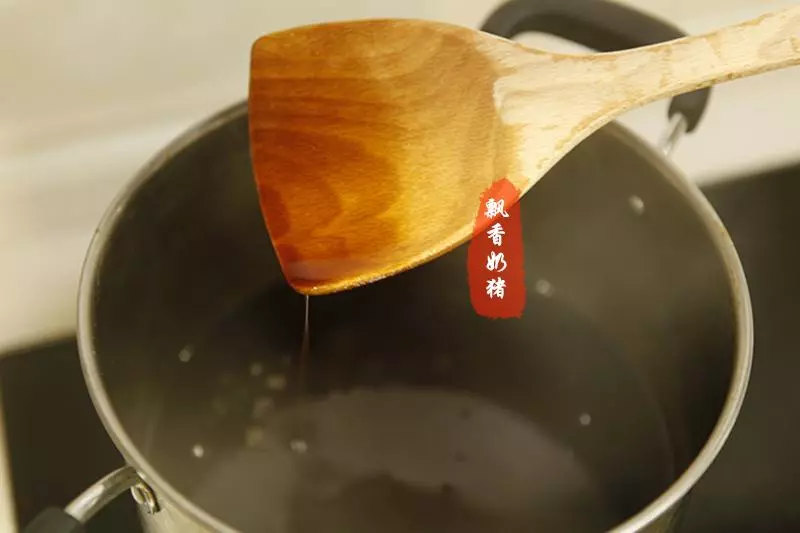
9阿胶烊化2-3天,将阿胶和黄酒都倒入锅里,放在灶上,开最小火,倒入冰糖,开始慢慢熬。 注意:这里要用砂锅或者不锈钢来做阿胶糕,千万别用铁锅,不粘锅一类的。

10做阿胶糕没难度,有耐心就行了。小火慢慢熬,一定守在锅边上,不停搅拌,以免糊锅。那样可真是浪费钱噢!
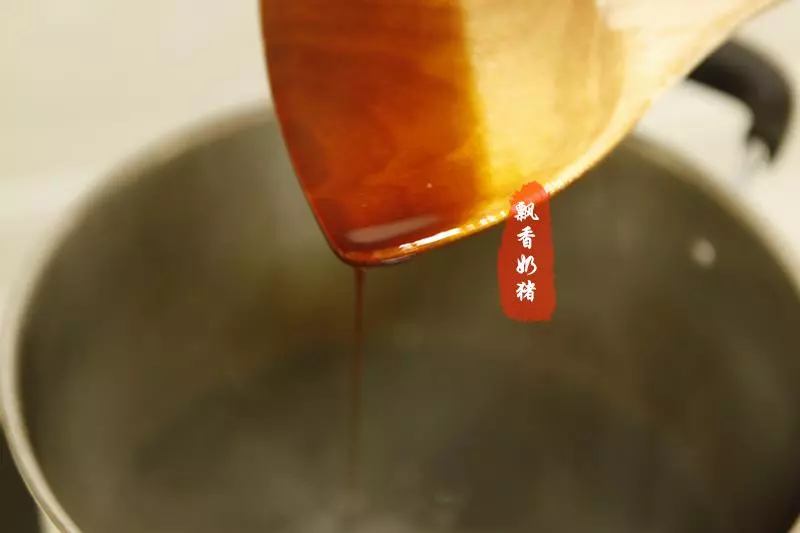
11我一般熬差不多40分钟左右,就是锅里这个越来越浓稠,在勺子上留得越来越多,流动性越来越差的感觉,差不多就可以进行下一步了。 注意:时间和状态只是一个参考,不要死板,因为每家的灶并不一样。阿胶糕最后做出来口感好不好,其实就是看这步。如果时间熬短了,就是阿胶糕太软而不好吃。如果时间熬得太久太浓稠,最后出来的阿胶糕会特别硬,切不动。这个还请各位好好把握。
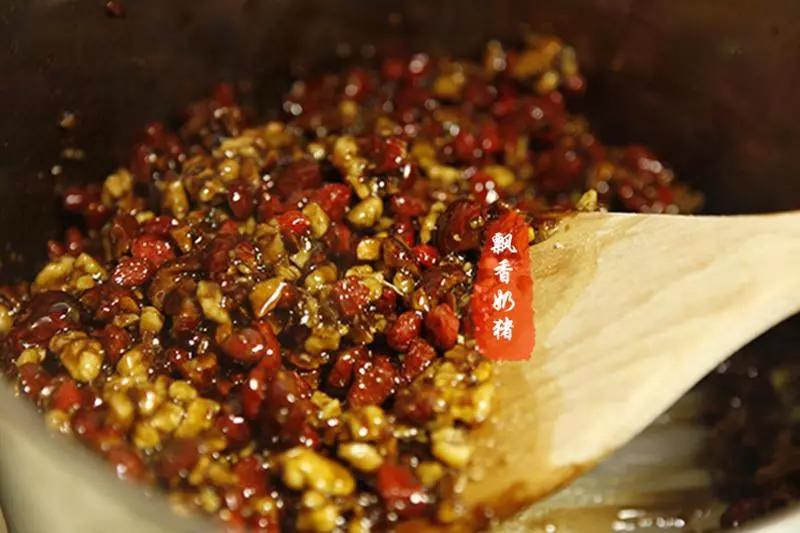
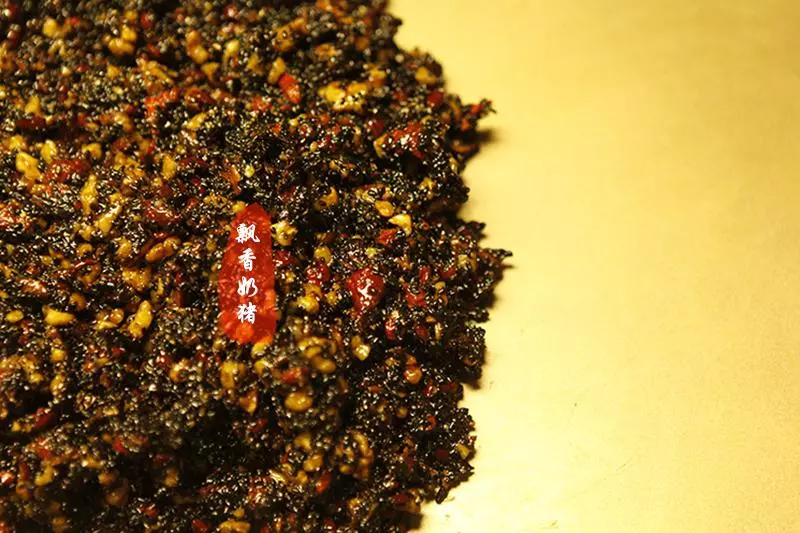
12下入砸碎的核桃仁和剪碎的红枣,大力翻拌。

13注意:还是保持小火哟。
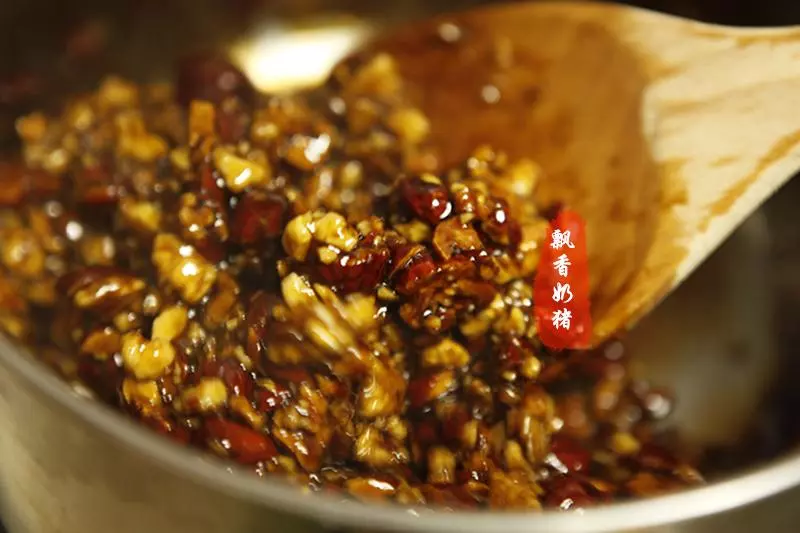
14下入枸杞,一定要拌匀。 最后再下熟黑芝麻,大力翻拌,然后就可以关火了。 注意:黑芝麻一定要最后下噢!
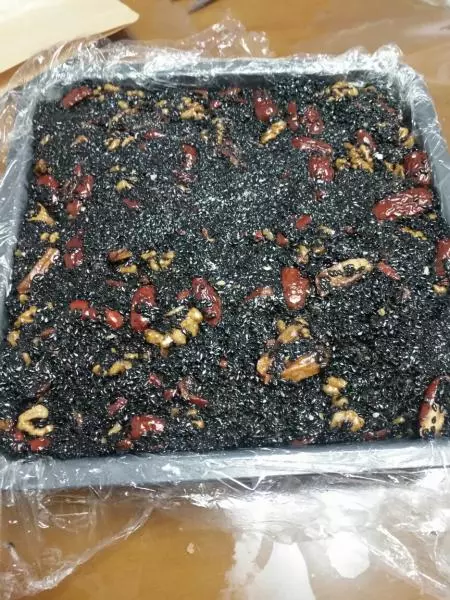
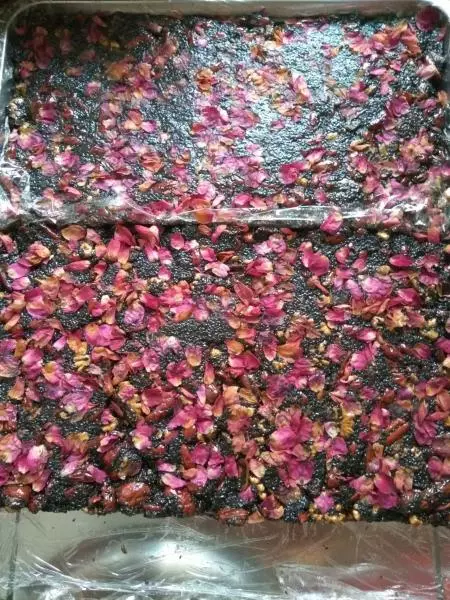
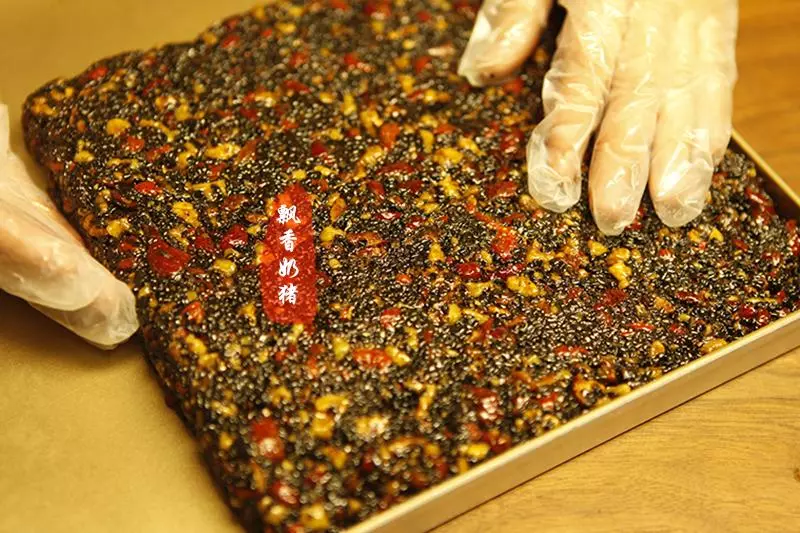
15将拌匀的这一锅倒出,放在不粘烤盘里。 注意:如果你的模具不是不粘的,请垫好油纸或者油布等,并且在油纸或者油布上要抹一点芝麻香油。
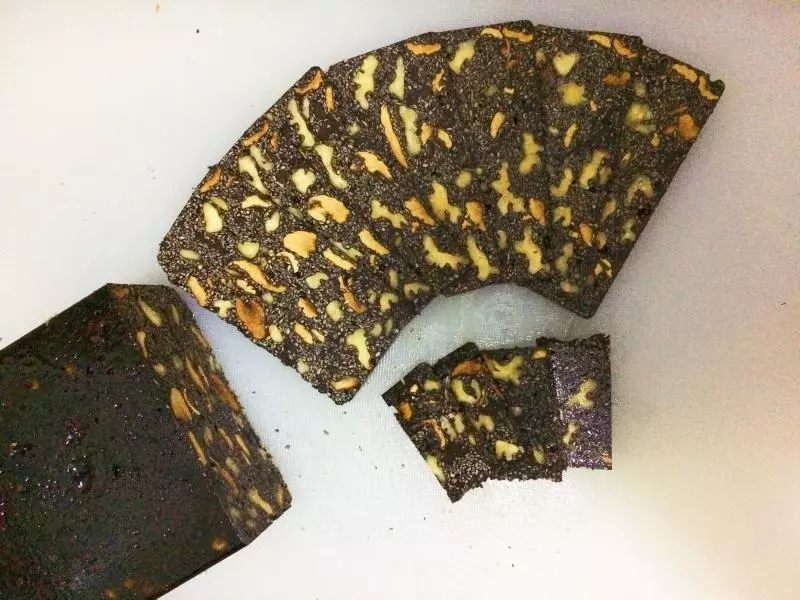
16戴上手套整形。 注意:手套上也一定要抹一点芝麻香油。这儿用芝麻香油,最后会和黑芝麻味道融合在一起,不会有异味。
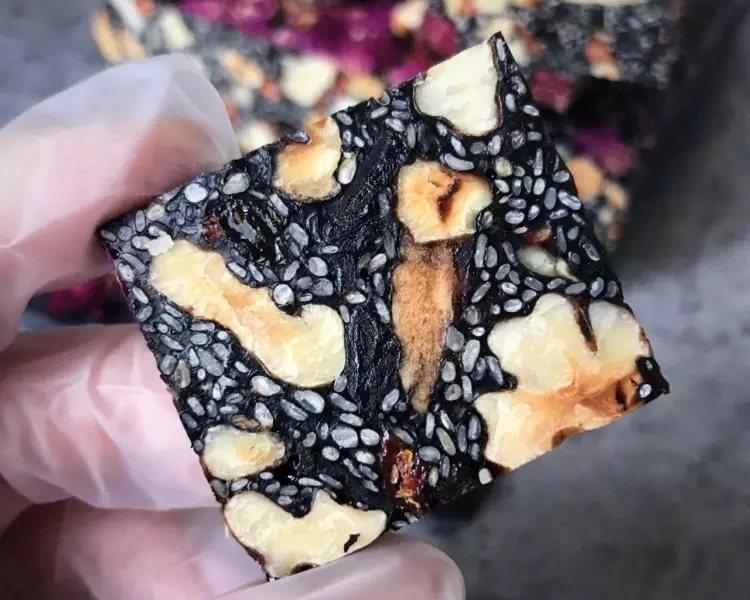
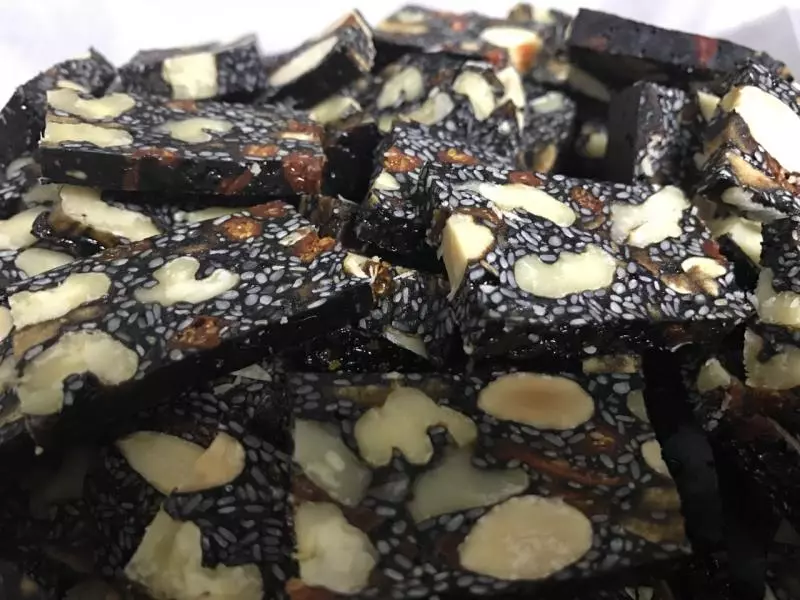
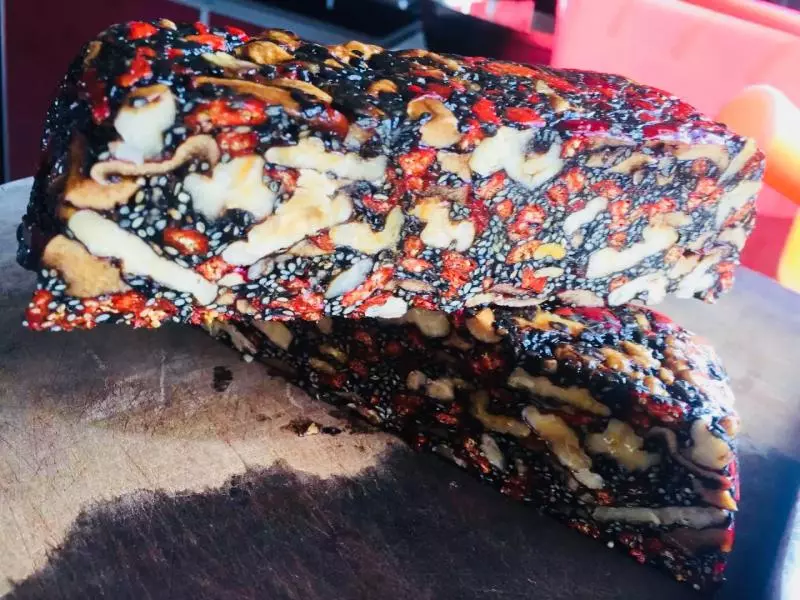
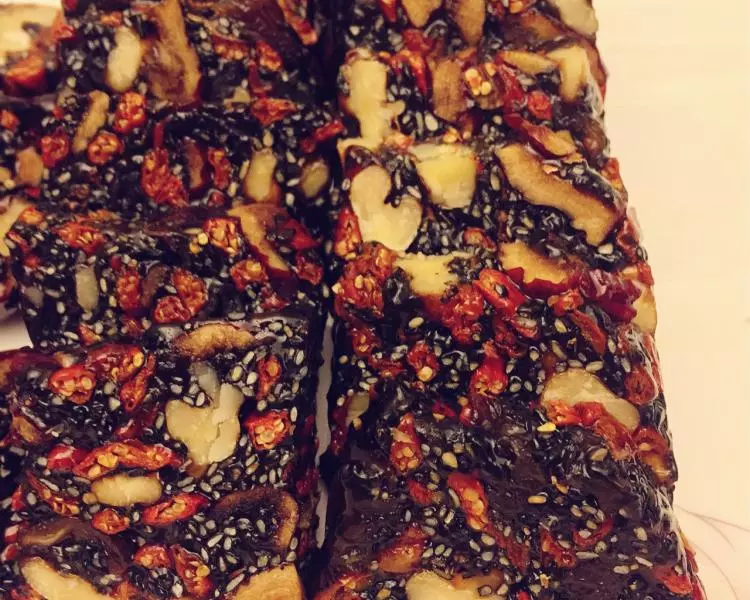
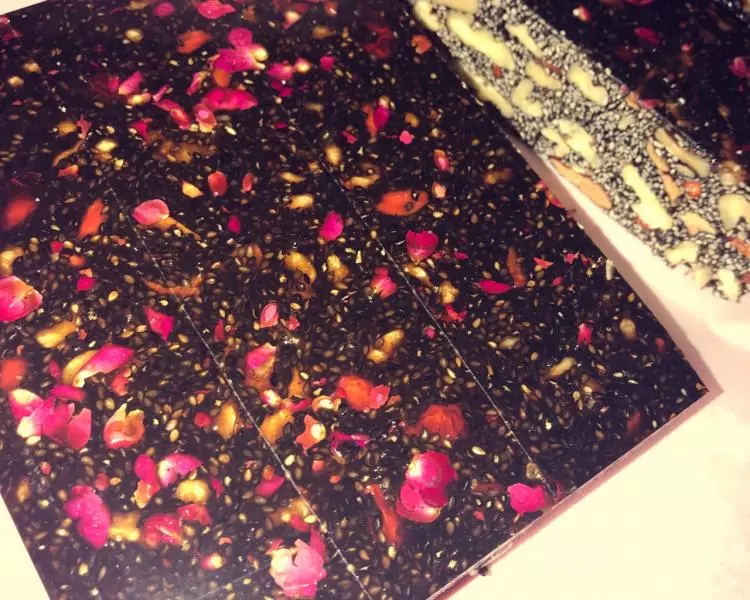
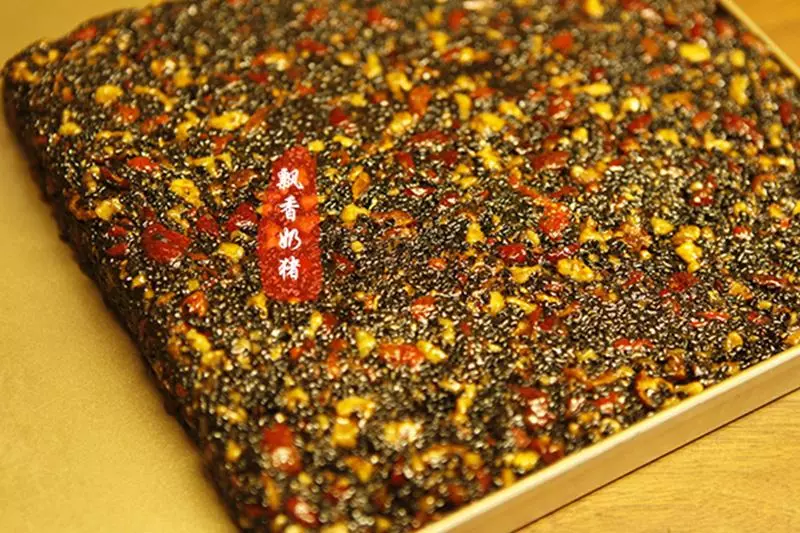
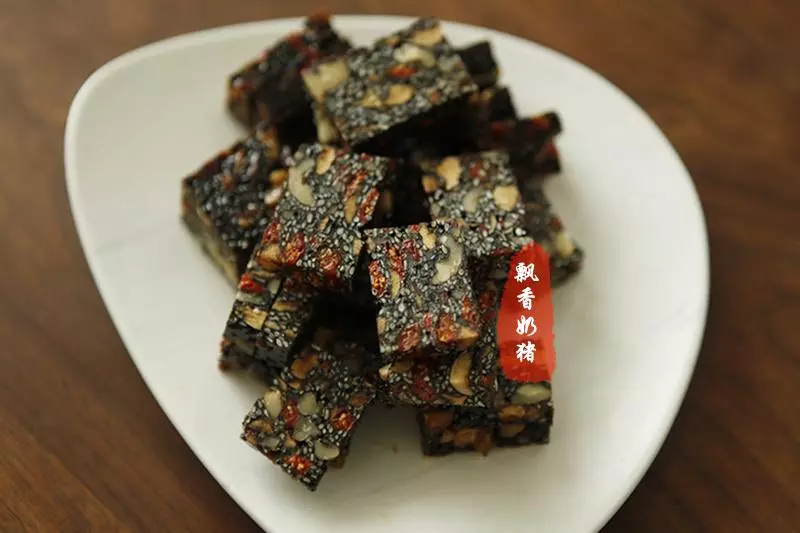
17整好形就是这样,阿胶糕就做好了。 室温放凉,盖上保鲜膜,放到阴凉处静置一夜,直到软硬合适就可以切了。
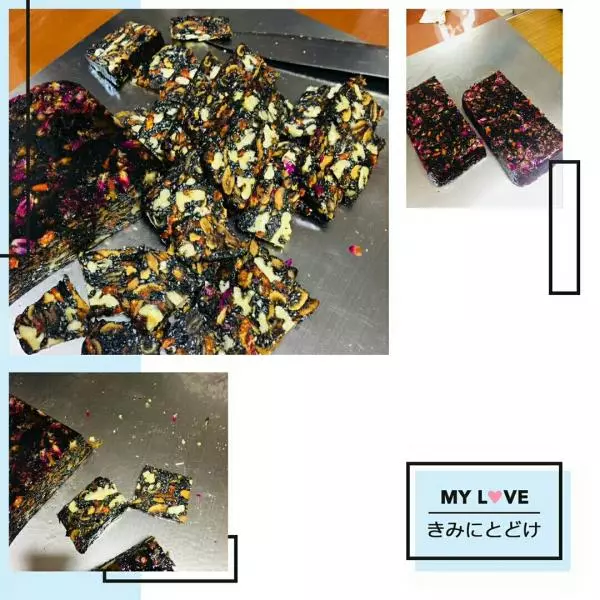
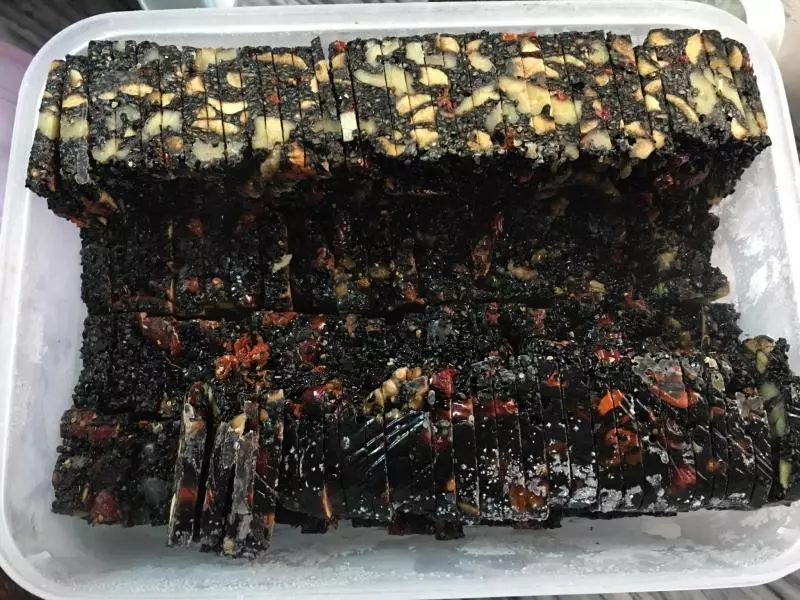
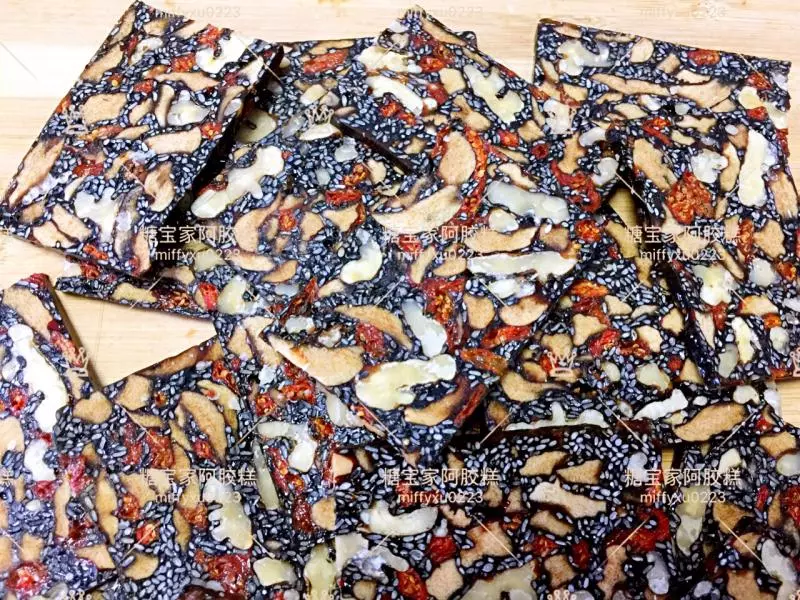
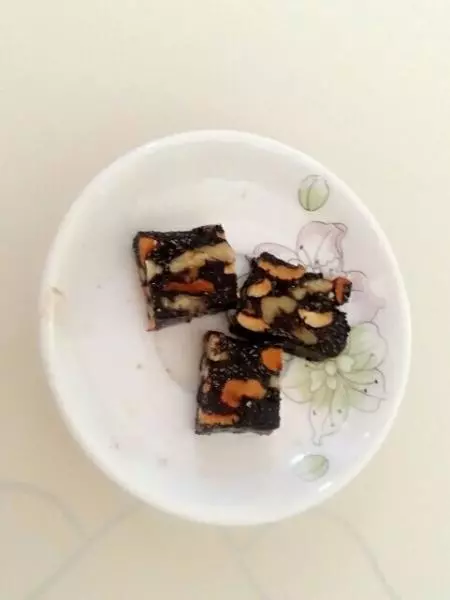
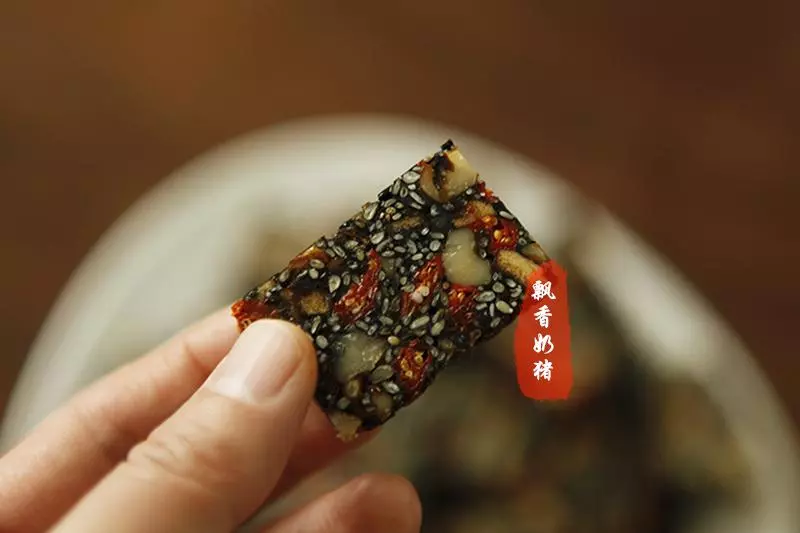
18看看,我做的这个阿胶糕挺好切的哈!

19来,切好一片阿胶糕,吃不吃?嘿嘿。
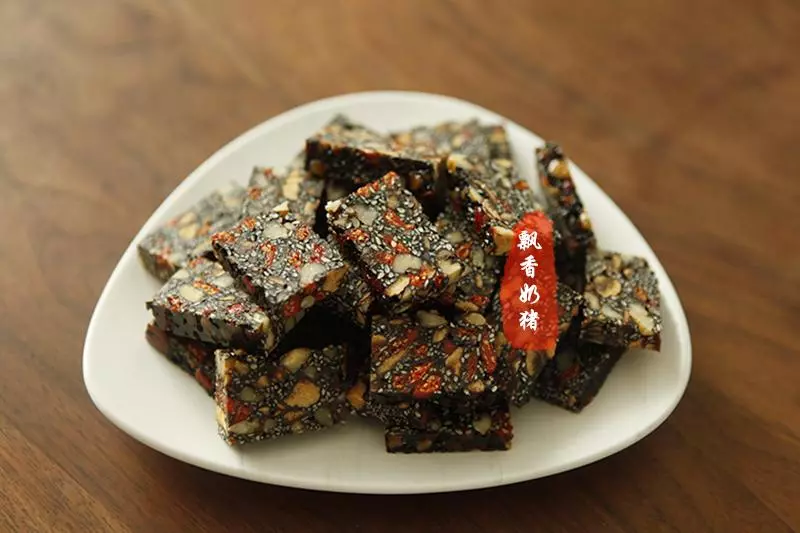
20把它们都切好。
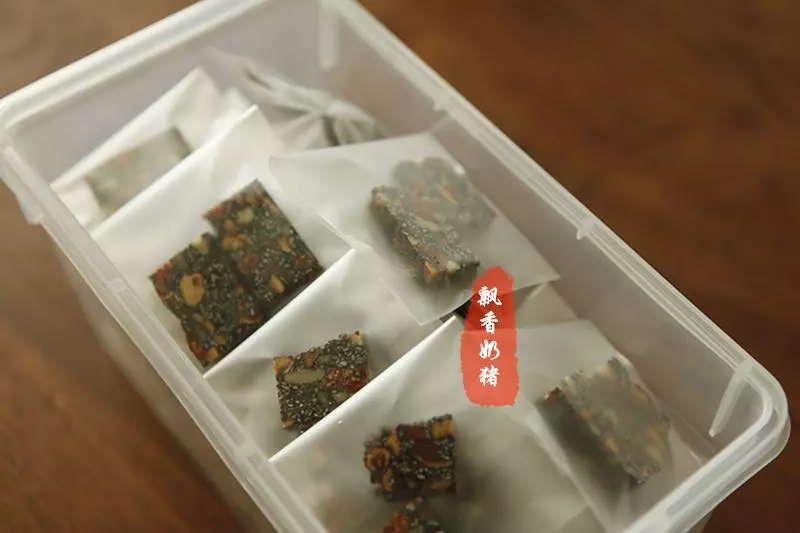
21装在食品保鲜袋里,再放到专门的食品密封盒里。冰箱冷藏,3个月内吃完味道最好哈!
22查询我的更多菜谱,可添加公共号:piaoxiangnaizhu

小技巧
查询我的更多菜谱,可添加公共号:piaoxiangnaizhu