原料
蛋糕体:: , 鸡蛋: 2个, 香蕉(熟透的): 1根半(75g左右), 低粉: 50g, 奶粉: 25g, 牛奶: 20g, 黄油: 30g, 柠檬汁: 1大勺, 装饰:: , 草莓: 适量, 动物淡奶油: 200g, 奶油奶酪: 150g
步骤
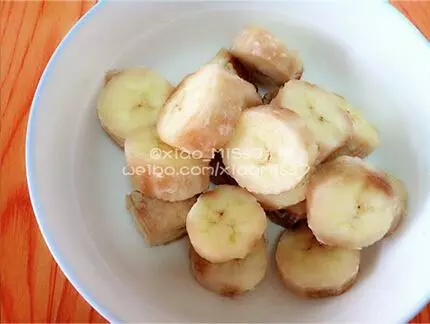
1香蕉切段
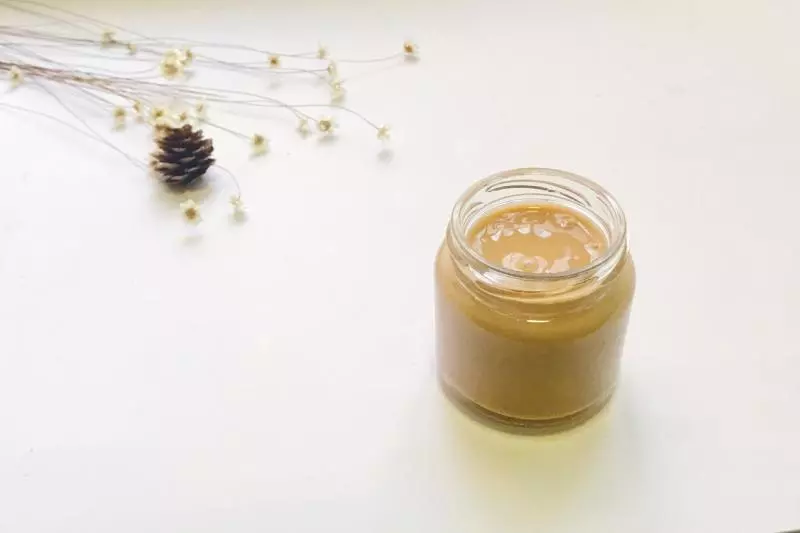
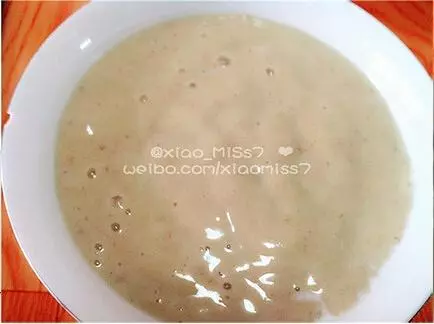
2香蕉和牛奶一起放入料理机打成泥
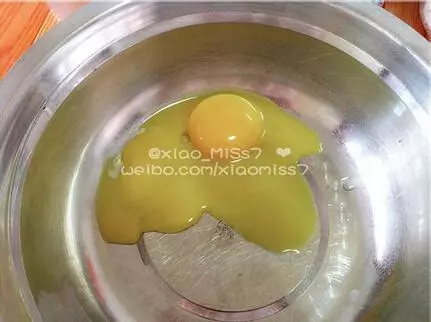
3蛋清蛋黄分离
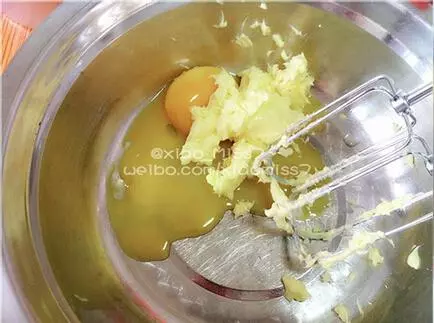
4黄油打发至发白 分三次加入蛋黄,搅打均匀
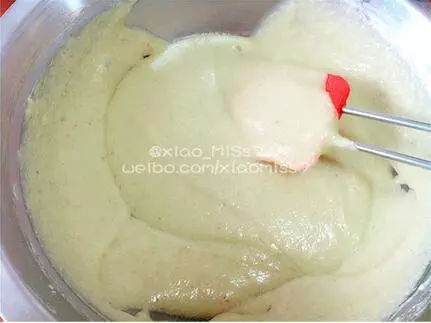
5倒入香蕉牛奶搅拌均匀

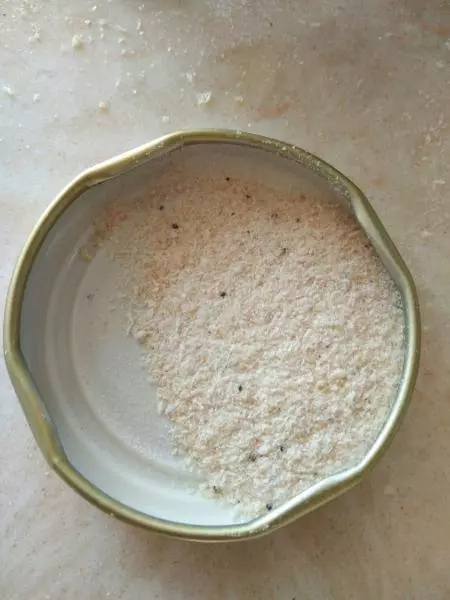
6筛入低粉和奶粉翻拌均匀
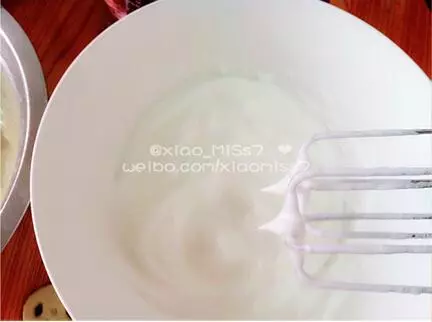
7蛋清里加柠檬汁打发至硬性发泡 提起有个笔直的尖
8取1/3蛋白放入香蕉蛋黄糊里翻拌均匀
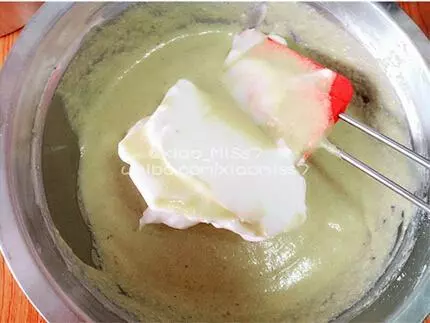
9再把蛋黄糊全部倒回2/3的蛋白盆里
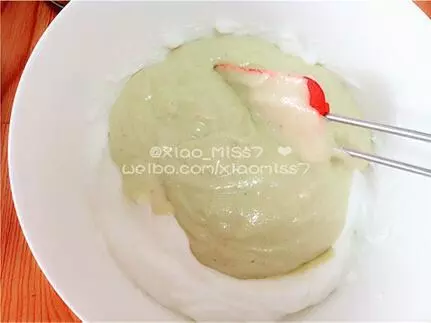
10翻拌均匀
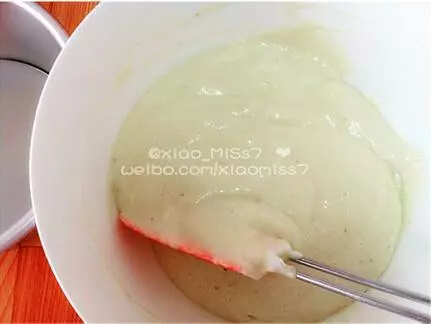
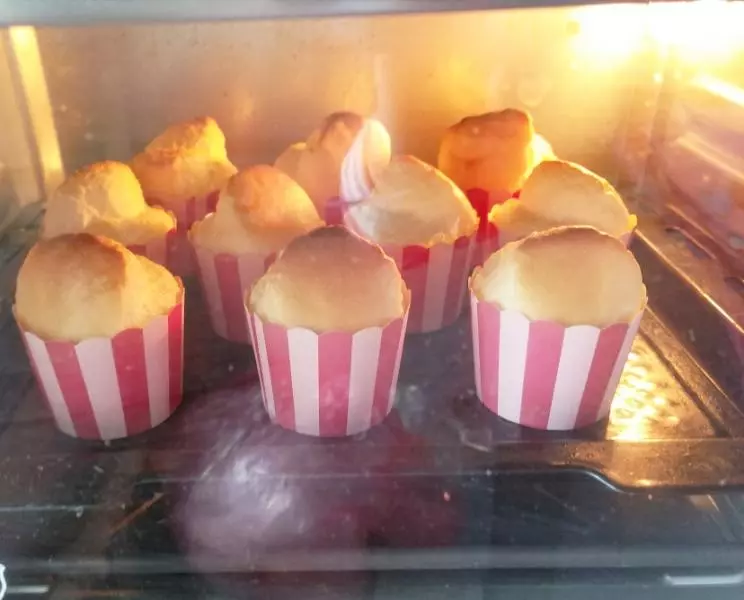
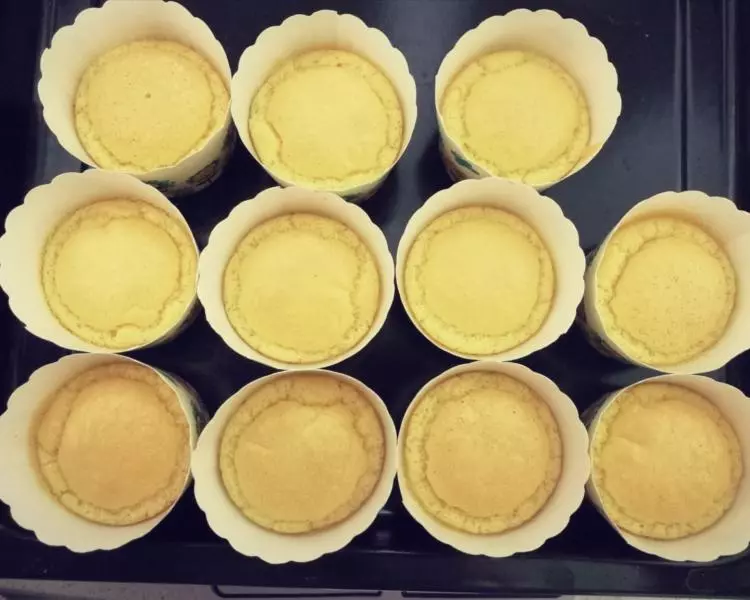
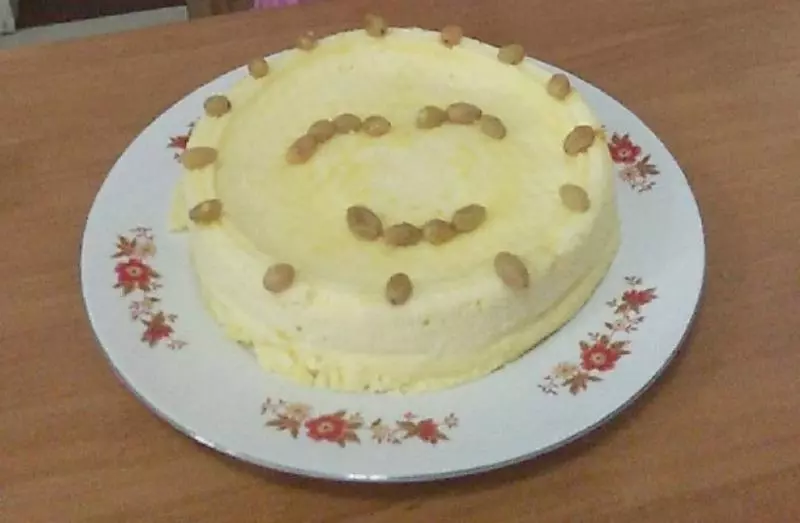
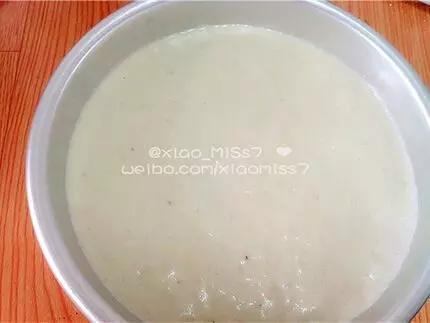
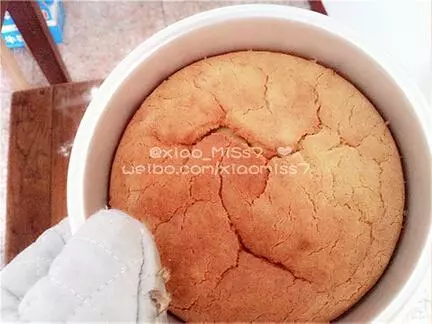
11倒入模具8分满(如图) 震几下
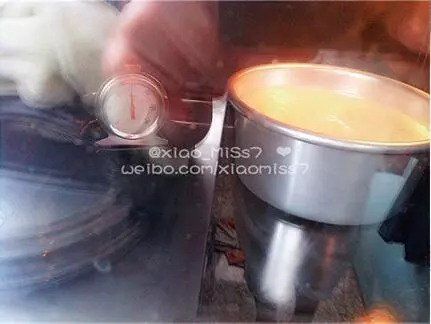
12放入预热的烤箱内 150度60分钟
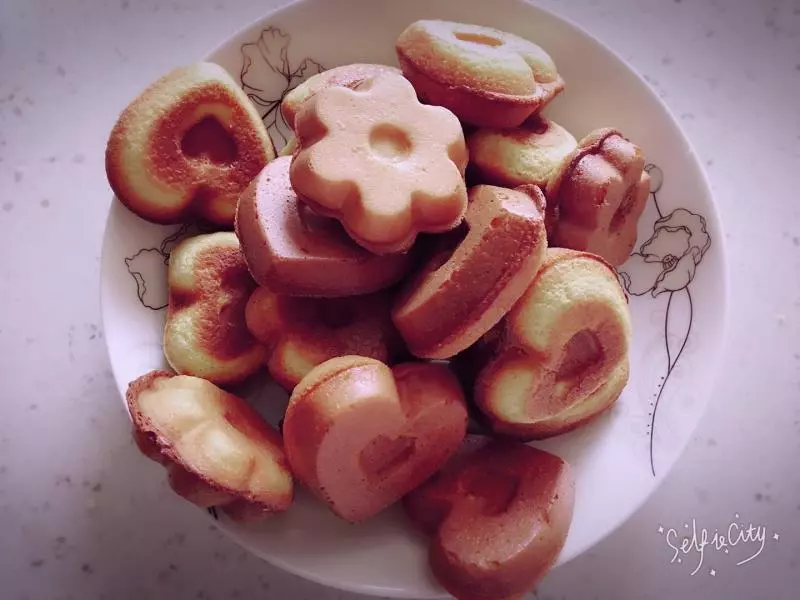
13出炉倒扣晾凉
14晾凉时我们可以制作表面涂抹的奶油 将奶油奶酪隔热水搅拌至顺滑无颗粒,放一边晾凉备用。
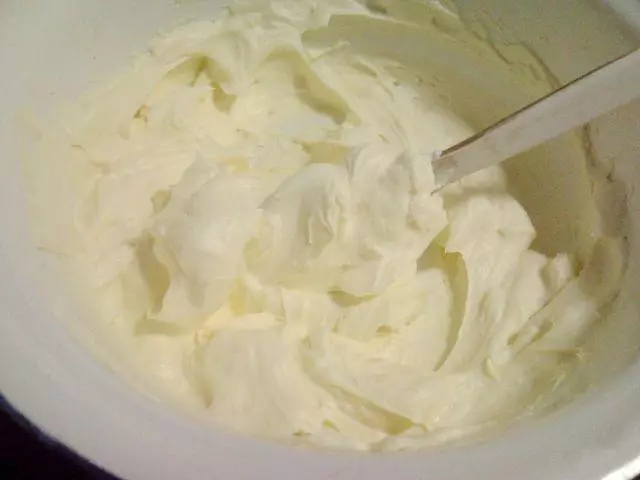
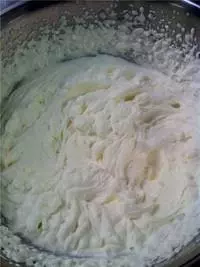
15淡奶油打发后与晾凉的奶油奶酪混合均匀即可使用。
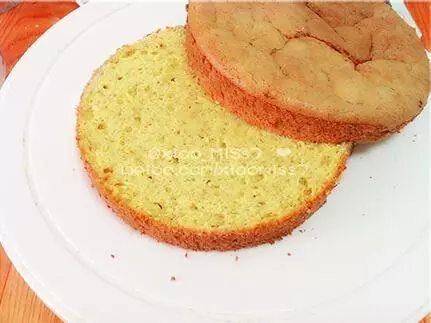
16晾凉后的蛋糕切成2片
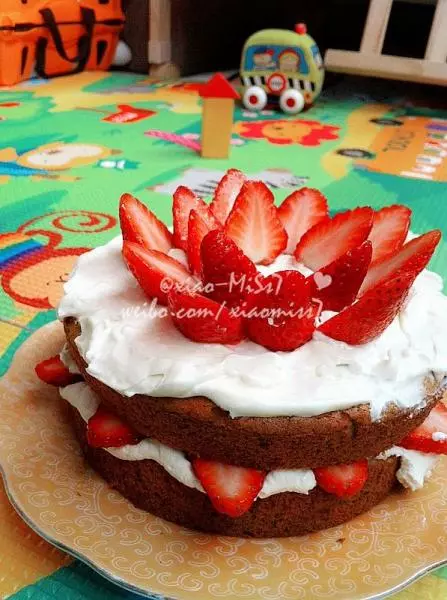
17在第一层蛋糕片上抹上奶油 摆满草莓后再抹上一层奶油

18然后盖上第二层蛋糕片,轻轻压一下,让奶油有溢出来的感觉。 在第二层蛋糕片上继续抹一层奶油 摆上草莓做装饰。
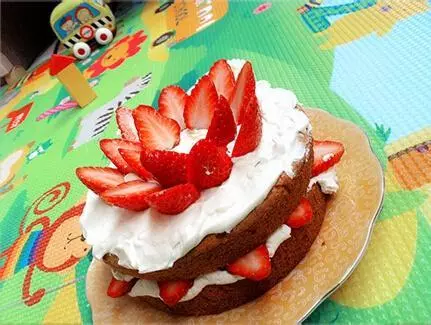
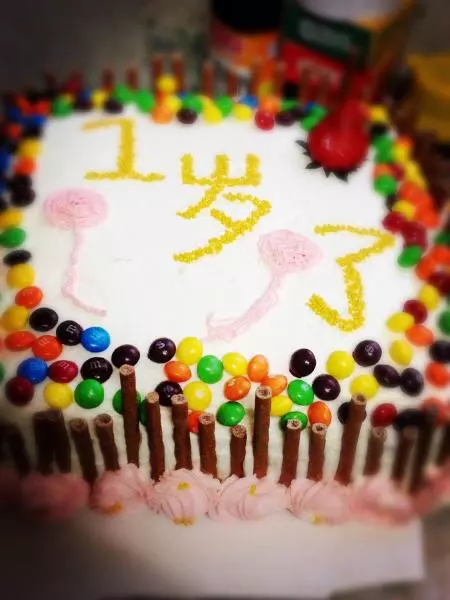
19最后插上蜡烛~ 完成啦~

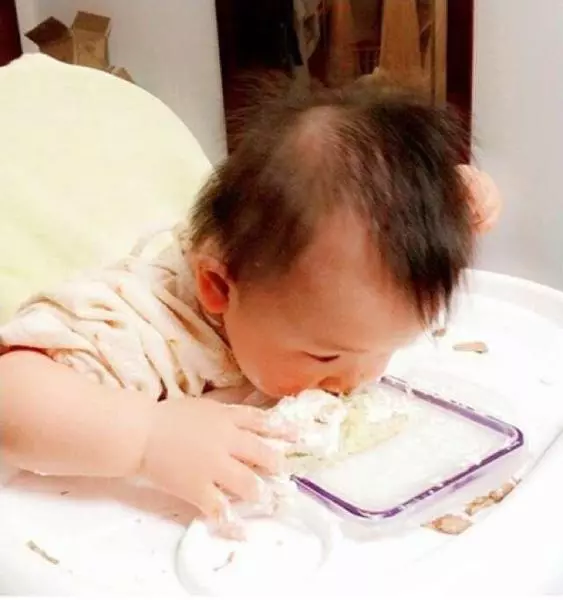
20意外的阳总非常喜欢吃。

21直接拿脸凑上去啃拉~ 看到这一幕,(含泪)一切努力都值得了~
小技巧
香蕉一定要熟透的,,有点软烂的 ,,这样做出的蛋糕会比较甜。 无糖蛋白不是非常稳定,所以翻拌的时候尤其见晓翻拌功底。需要格外注意翻拌手法,切记切记!! 蛋白不稳定所以蛋糕不会膨胀很高,进去是8分满出来也差不多8-9分。