原料
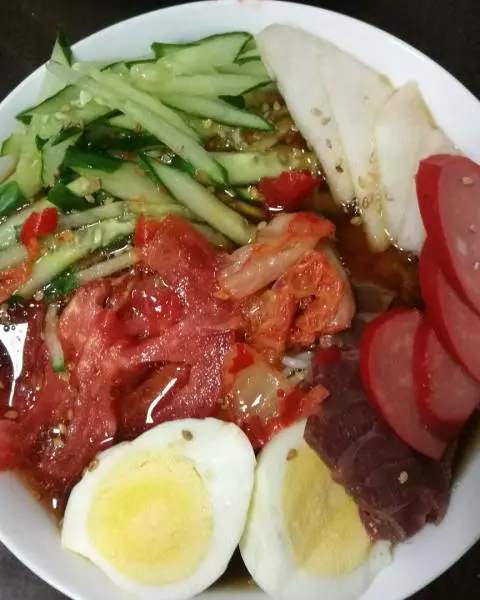
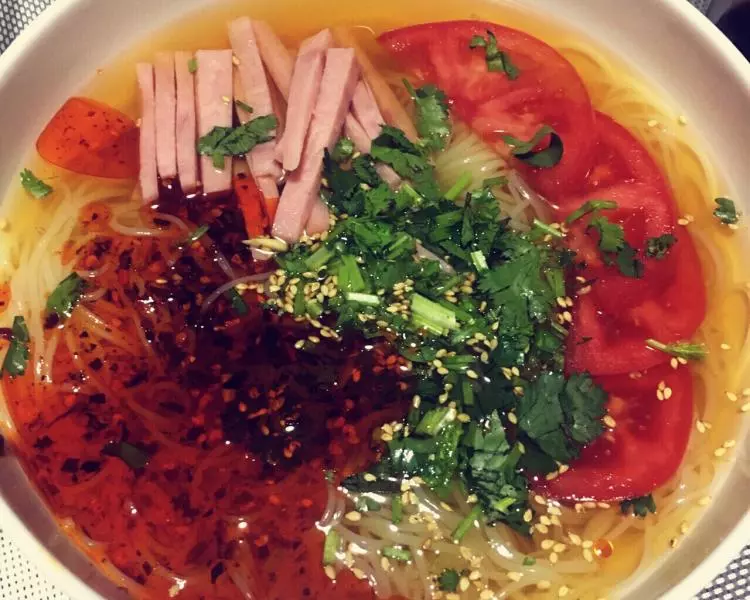
鸡蛋: 1个, 火腿肠: 半根, 醋: 喜欢酸多倒,不喜欢少倒, 糖: 均匀的洒满烤冷面片, 烧烤酱或蒜蓉辣酱: 挤够刷满面片的量, 金针菇: 一小把, 紫甘蓝: 半片叶子切碎, 小葱: 两根切碎
步骤
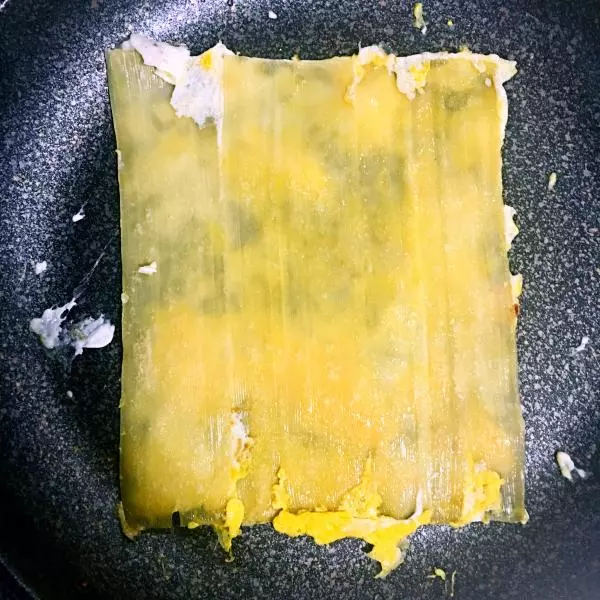
1放一丢丢的油,千万不要放很多哟,然后把面片放上去,紧接着打一个蛋(打蛋的时候离面片近一些,不然蛋打出来会流出去…),然后把蛋均匀的摊到面片上,边边角角也要摊到蛋液,这种边边不会卷硬,可以买图上这种摊煎饼的小工具哟,效果不错哈哈
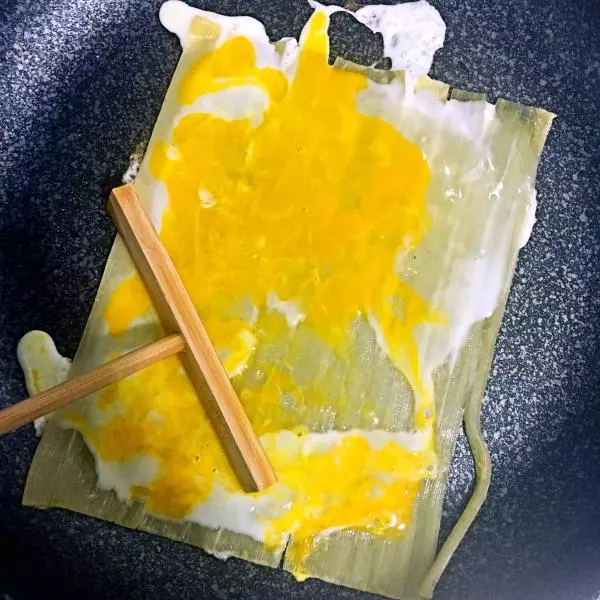
2鸡蛋有点成型不会淌的时候把面片翻过去,然后在面片边边角角容易干的地方撒上点水,防止干掉影响口感
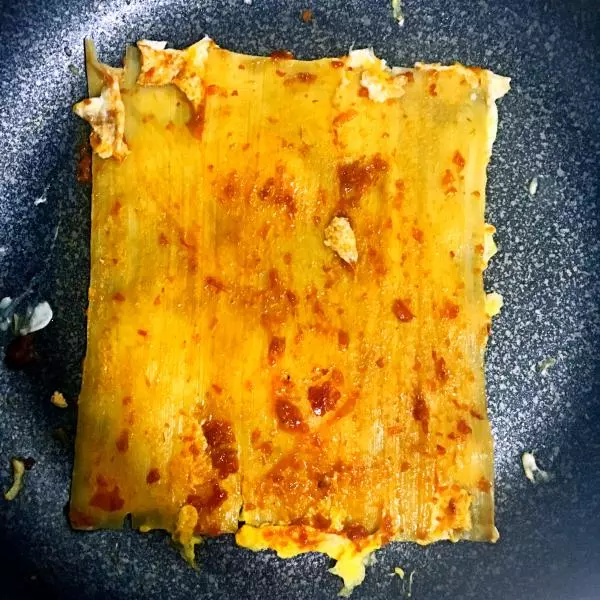
3挤上一坨酱,嗯,看着有点那啥哈哈

4用小刷子把酱刷匀活~
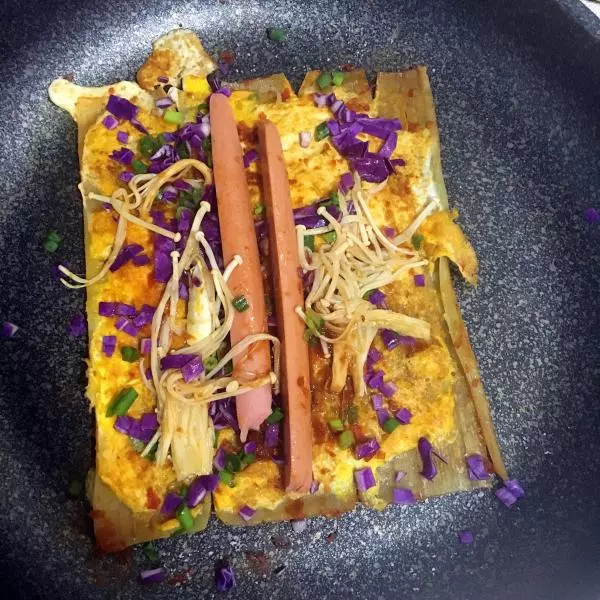
5然后把面片翻倒有蛋的那一面(这时候提前备好的金针菇可以放到锅空着的地方烤着了~),均匀的在这边也抹上酱,然后倒一点醋,倒多少看个人口味,然后均匀的撒上糖,如果不喜欢酸甜口可以直接忽略倒醋和糖这一步
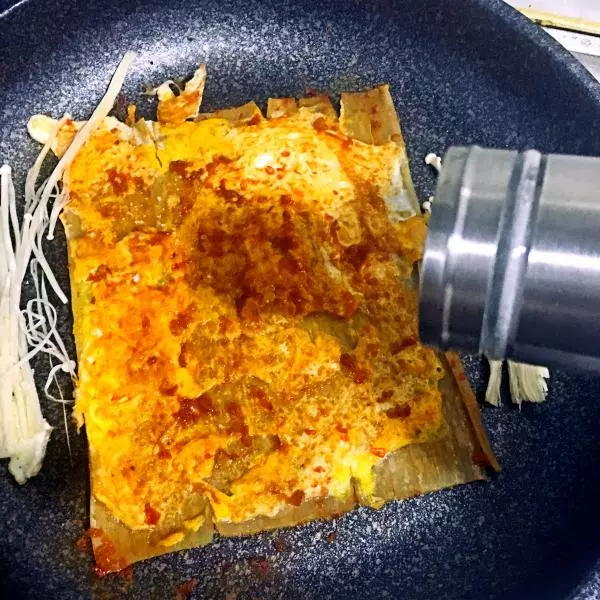
6用小刷子把糖和醋刷一下,和酱完美的融合到一起
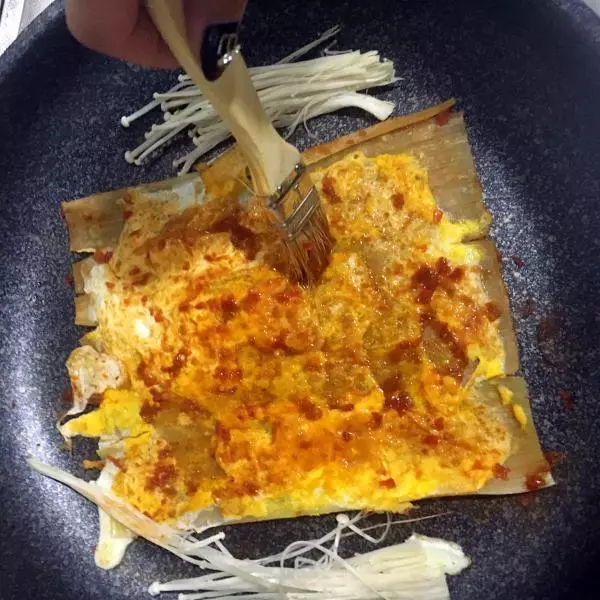
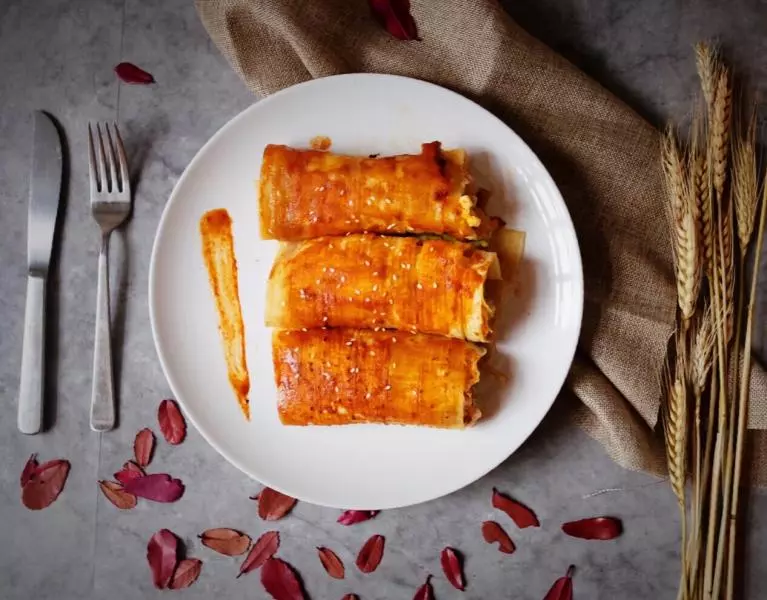
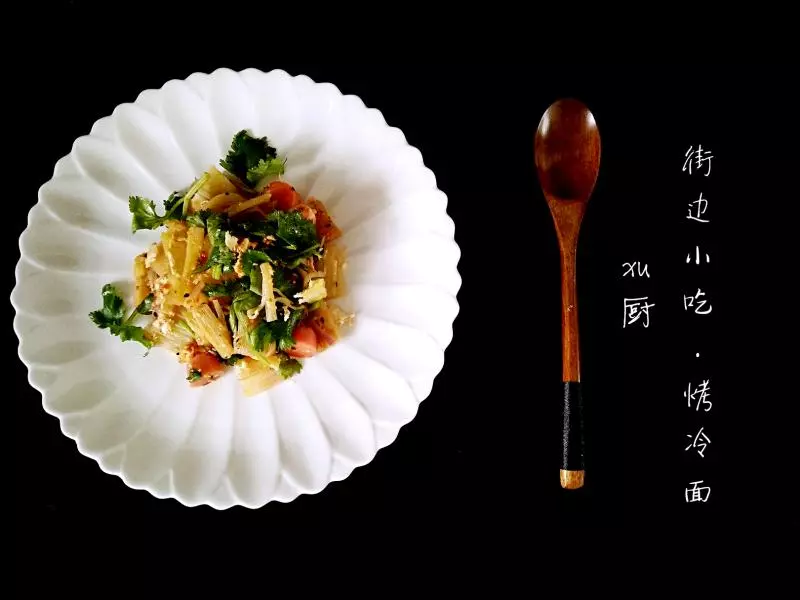
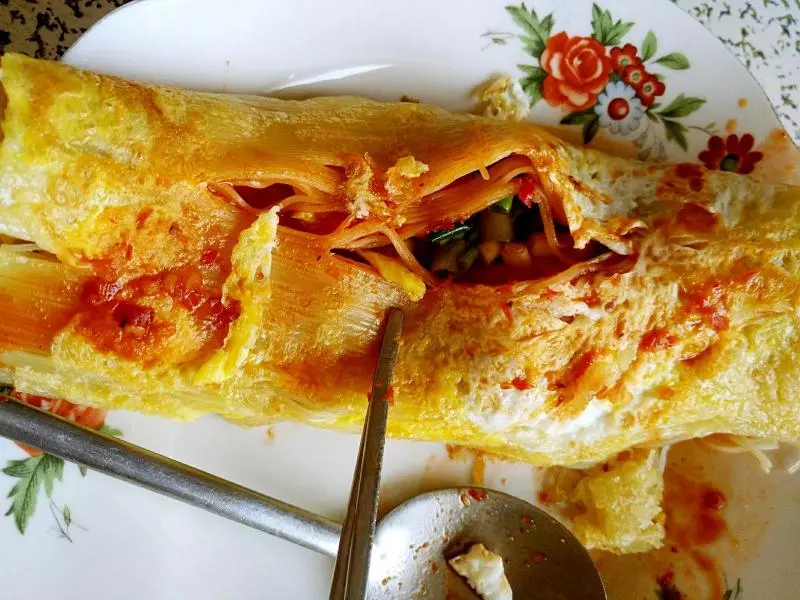
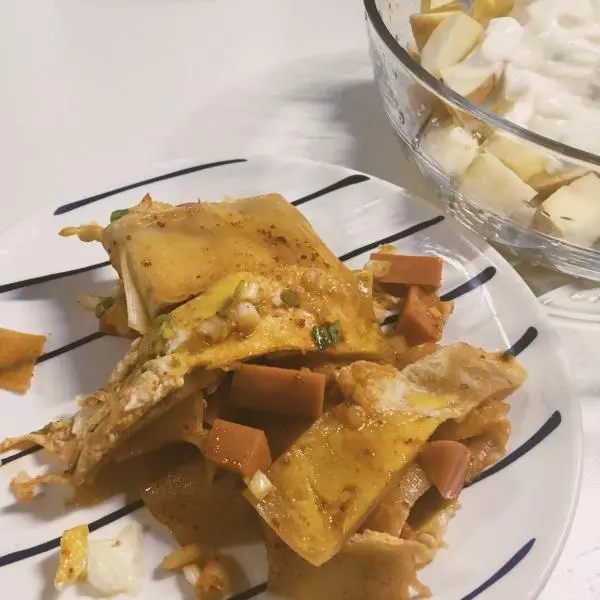
7把提前切碎的小葱花、紫甘蓝撒上,放上切好的肠,还有烤好的金针菇☺
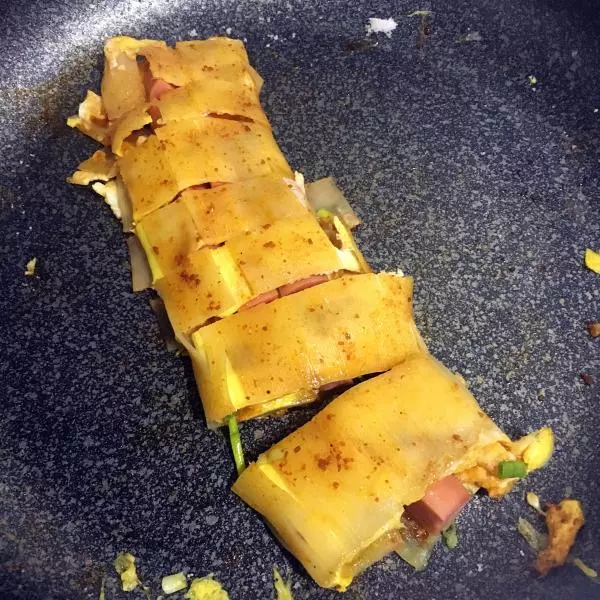
8切成段~(此图是顶替步骤用的,没放紫甘蓝,金针菇哟)
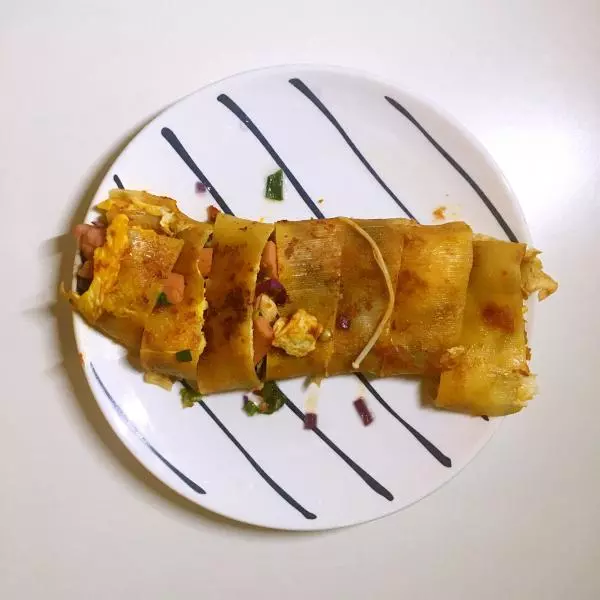
9装盘~~~就可以开吃啦~~终于不散开了哈哈
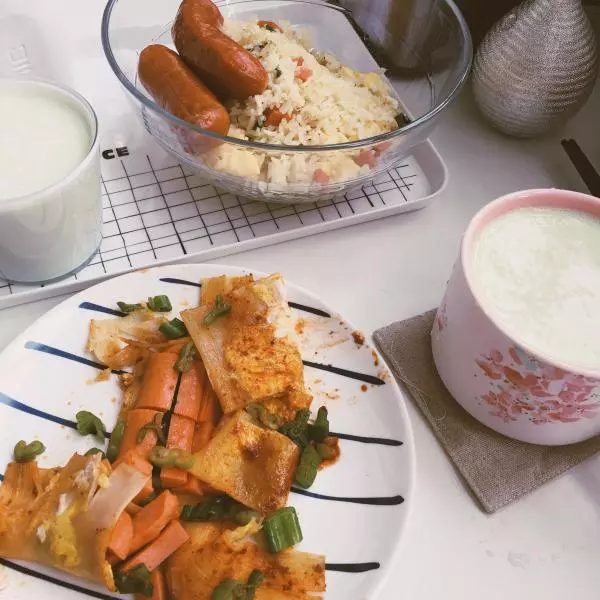
10这是之前只放基本款的烤冷面哈哈,很有食欲哟~~~

11万能的烤冷面,做起来方便又好吃~完美~~~走,出摊去了?
小技巧
小贴士都直接加在步骤里喽~最后的最后放什么菜自个随意,别乱搭配食物中毒就好?